10 Kitchen Island Design Mistakes to Avoid at All Costs (so You’ll Actually Love It)
You know that fantasy where the kitchen island is the heart of the home—coffee station by day, charcuterie HQ by night? Let’s keep it that way. Before you drop serious cash on stone, stools, and a sink you’ll regret, here are the biggest kitchen island mistakes to dodge like a hot pan without an oven mitt.
1. Going Too Big (Or Too Small) For The Space
Yes, bigger islands look luxurious, but an island that’s too wide or long turns cooking into a sideways shuffle. On the flip side, a tiny island floating in a large kitchen looks awkward and wastes potential.
Tired of snacking when you’re not even hungry? This reset helps you stop the loop and feel back in control.
A simple reset for moments when cravings take over. Easy to use, easy to repeat, and designed to help you feel satisfied instead of stuck.
Pro Spacing Rules
- Walkways: Leave 36–42 inches around all sides (48 inches if it’s a heavy cook zone).
- Width: Aim for 24–48 inches. Over 48 inches can feel like a buffet table, not a workstation.
- Length: 5–8 feet is the sweet spot for most homes.
Tip: Tape the footprint on the floor and “live with it” for a day. Try opening appliances. You’ll instantly see if it’s a traffic jam waiting to happen.
2. Forgetting The Work Triangle (Or Overcrowding It)
The island should help, not hijack, your sink-fridge-range triangle. If the island blocks a key path or crams a cook into a corner, you’ll feel it every single day.
Layout Check
- Keep triangle legs between 4–9 feet each for smooth movement.
- If you add a sink or cooktop to the island, map how you’ll move hot pots and prep bowls without collisions.
- Make sure appliance doors can open fully without smacking stools or drawers.
FYI: A prep sink on the island is amazing—if it doesn’t cut your counter into useless slivers.
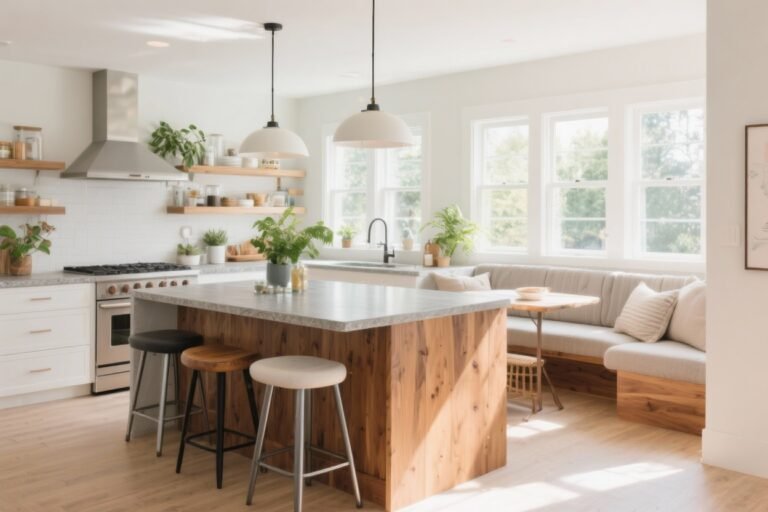
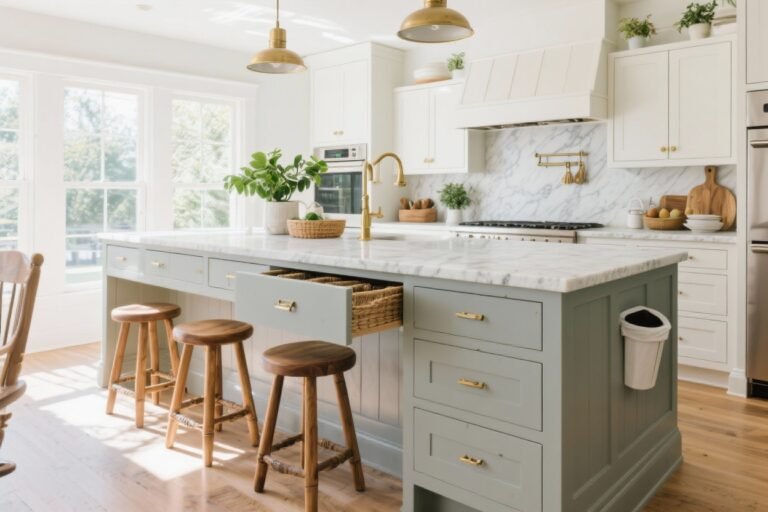
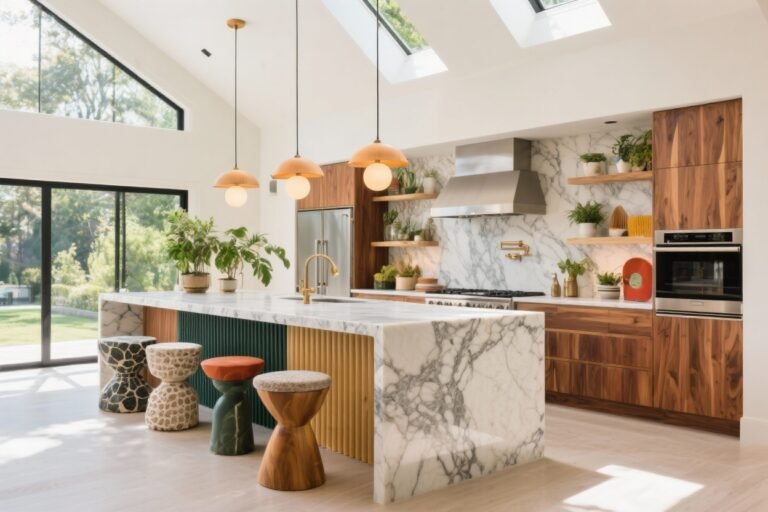
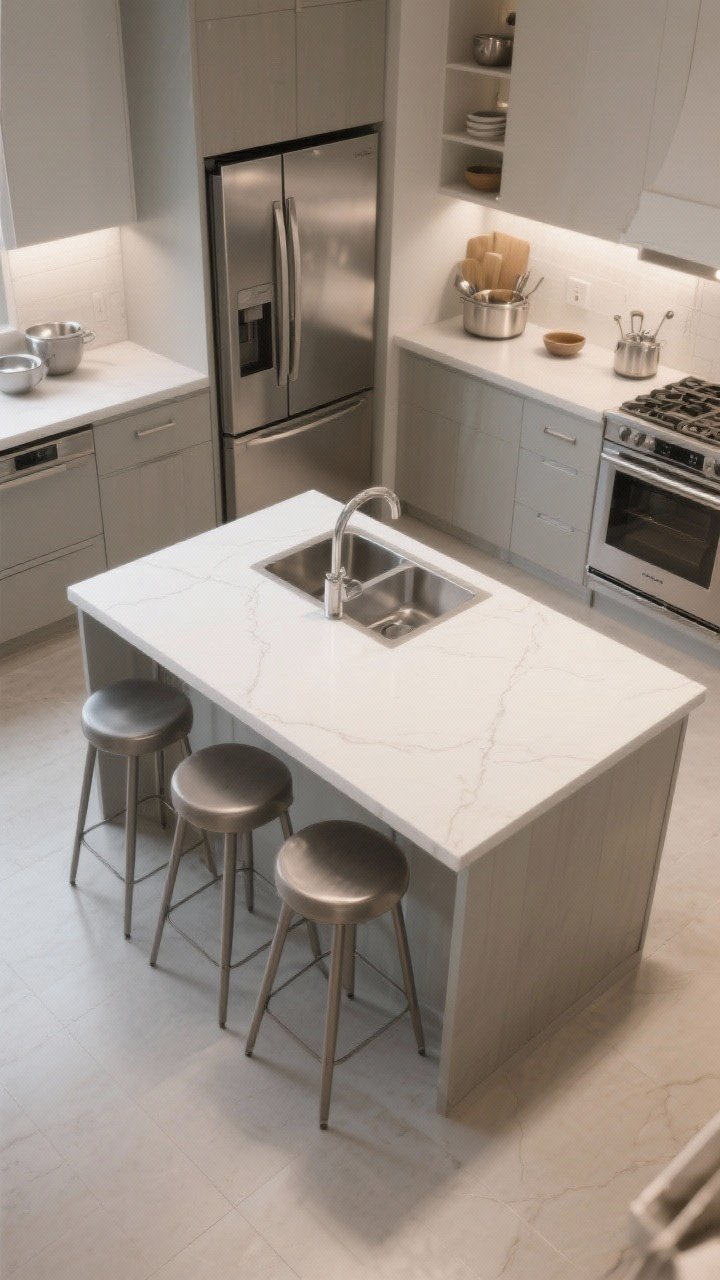
3. Skimping On Overhang And Seating Comfort

If people can’t sit comfortably, they won’t sit. An island with stingy overhang or awkward stool height becomes a “stand and hover” zone. Not the vibe.
Transform Your Home With 7,250+ Stunning Landscaping Designs—No Expensive Designers Needed!
- 🌿 Access 7,250+ stunning landscaping designs.
- 💰 Save thousands—no pro designer needed.
- 🏡 Plans for gardens, patios, walkways, and more.
- ✨ Simple, beginner-friendly DIY layouts.
- 🛠️ Customize any design to fit your yard.
Seating Must-Knows
- Overhang: 12 inches for counter seating (plan for 15 inches if you want extra comfort).
- Stool Spacing: 24 inches center-to-center for counter stools; 30 inches for armchairs or larger stools.
- Heights: 36-inch counter height pairs with 24–26 inch stools; 42-inch bar height pairs with 28–30 inch stools.
Tip: If you’re doing waterfall edges, make sure the overhang still fits knees—don’t let the pretty slab bully your shins.
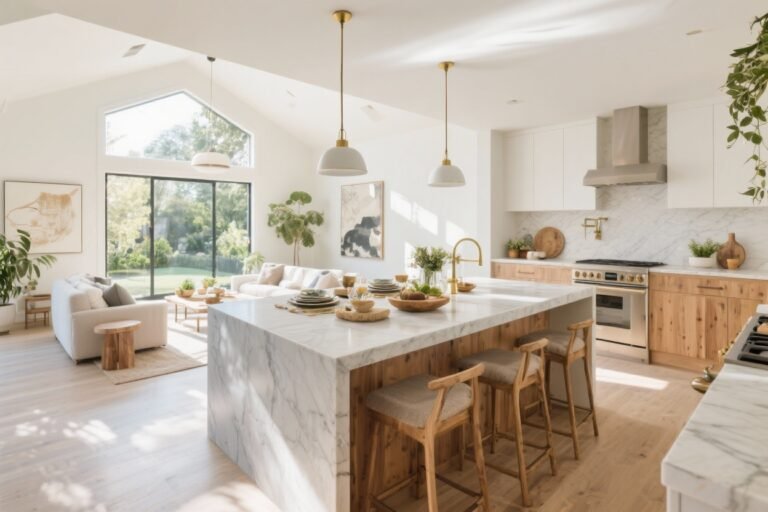
4. Choosing The Wrong Countertop Material For Your Lifestyle
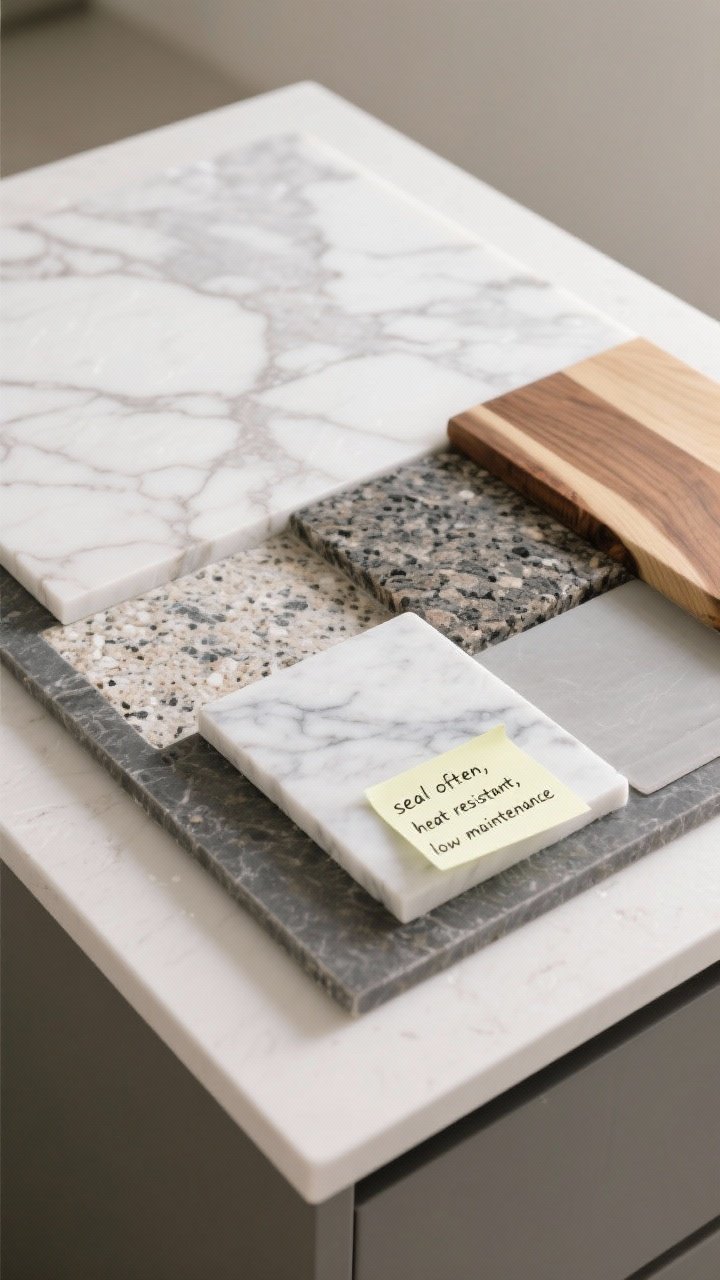
Gorgeous counters are fun until tomato sauce etches your marble and your heart. Pick a material that actually matches how you live, not just your Pinterest board.
Material Reality Check
- Quartz: Durable, low-maintenance, tons of looks. Great for families.
- Marble: Stunning, but stains and etches. Seal often and embrace patina (or you’ll go nuts).
- Granite: Tough and heat-resistant; pattern varies from subtle to bold.
- Butcher Block: Warm and repairable. Needs sealing and TLC around sinks.
- Porcelain/Sintered Stone: Heat and stain resistant, thinner profiles possible—very modern.
Tip: If you bake, a dedicated marble inset for pastry work can be dreamy without committing the entire island to high-maintenance stone.
5. Ignoring Power And Smart Outlets
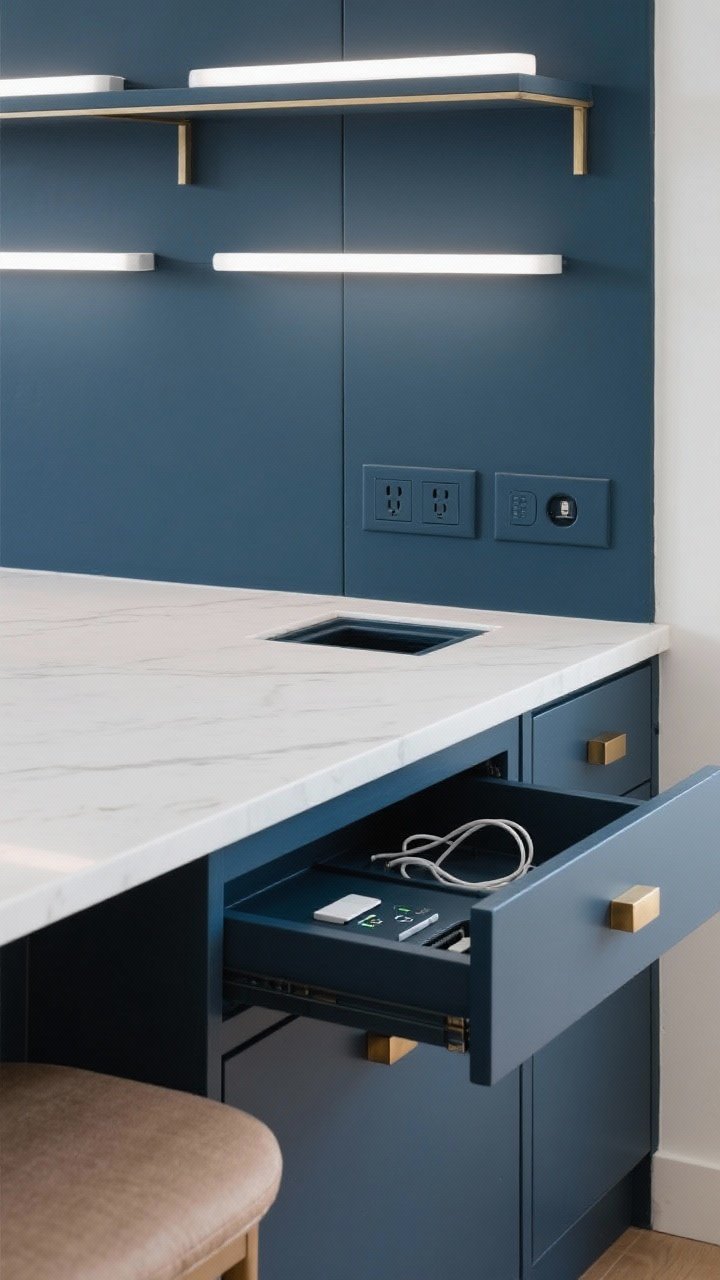
No outlets? Enjoy charging your mixer across the room or tripping over a blender cord. Islands are appliance central—plan the power early.
Plug-In Plan
- Install outlets on the sides or in a pop-up on the counter for a clean look.
- Consider a USB-C/USB-A combo for phones, tablets, and recipe screens.
- If you have two tiers (prep + seating), hide outlets under the seating overhang so they’re accessible but discreet.
Bonus: Add a charging drawer with cable pass-throughs. No more cords cluttering your counter—bliss.

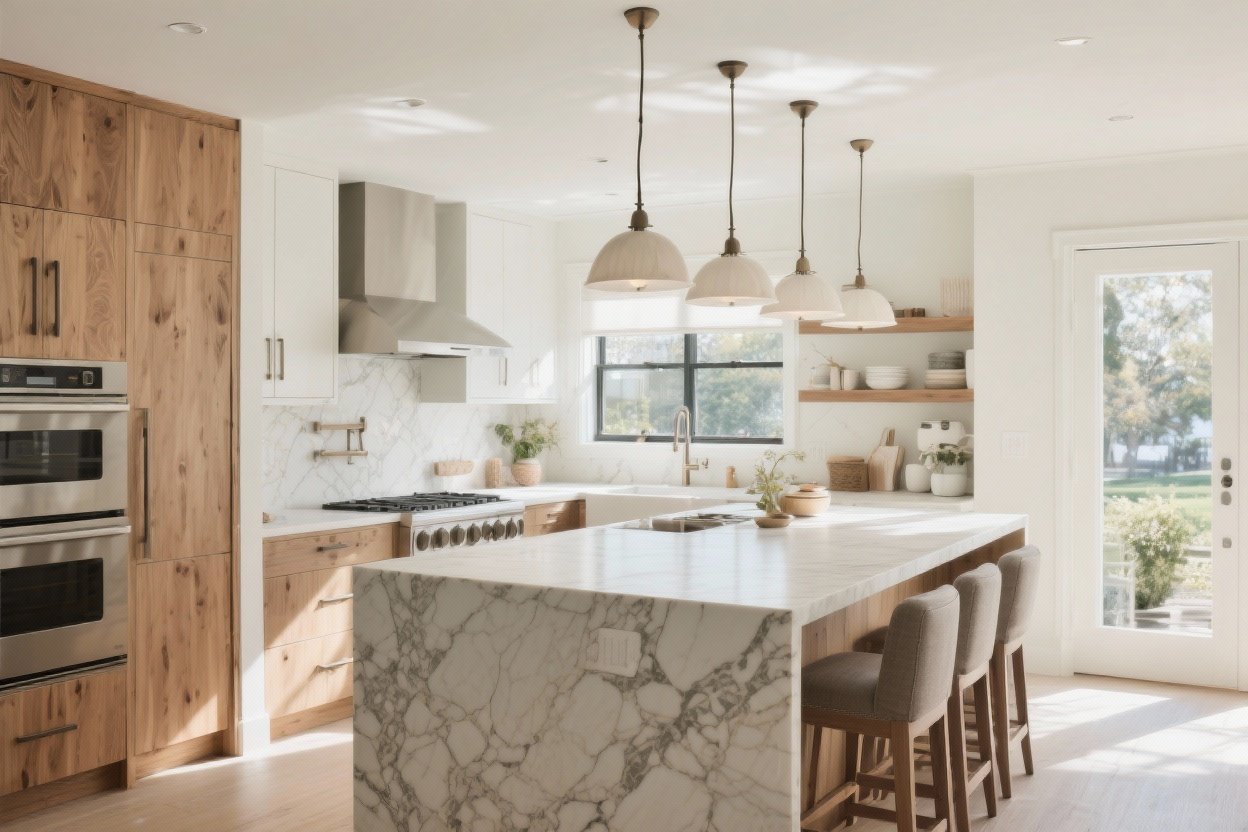
6. Bad Lighting That Kills The Vibe (And The Function)
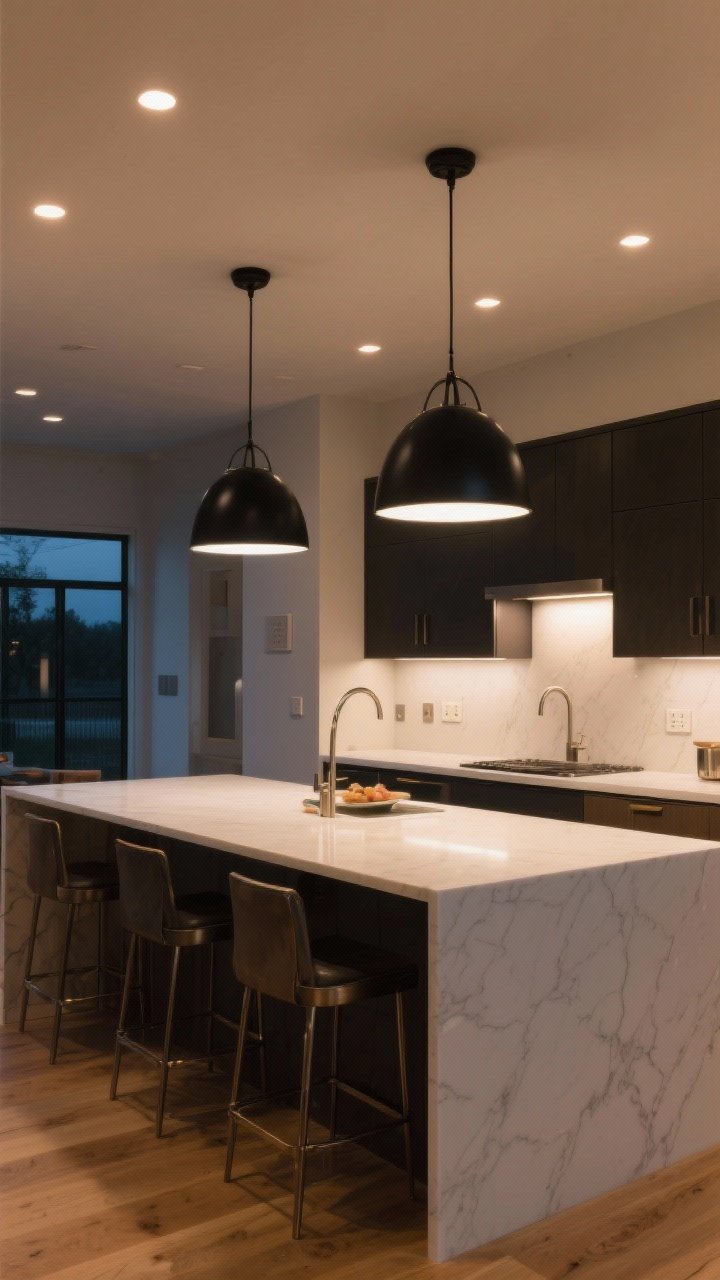
Great lighting turns your island into a magazine spread. Bad lighting turns it into a dim plank. You need a layered plan, not just two random pendants you liked at the store.
Lighting Layers
- Pendants: 28–34 inches above the counter, spaced evenly. Scale matters—better two larger than three teeny-tiny.
- Ambient: Recessed lights to fill in shadows so pendants aren’t doing all the heavy lifting.
- Task: If there’s a cooktop or chopping station, ensure beam spread covers work zones.
- Dimmers: Non-negotiable. Bright for chopping, moody for cocktails.
IMO: Mixing metals is fine, but keep the pendant scale cohesive with your island length and ceiling height.
7. Overloading The Island With Appliances And Sinks
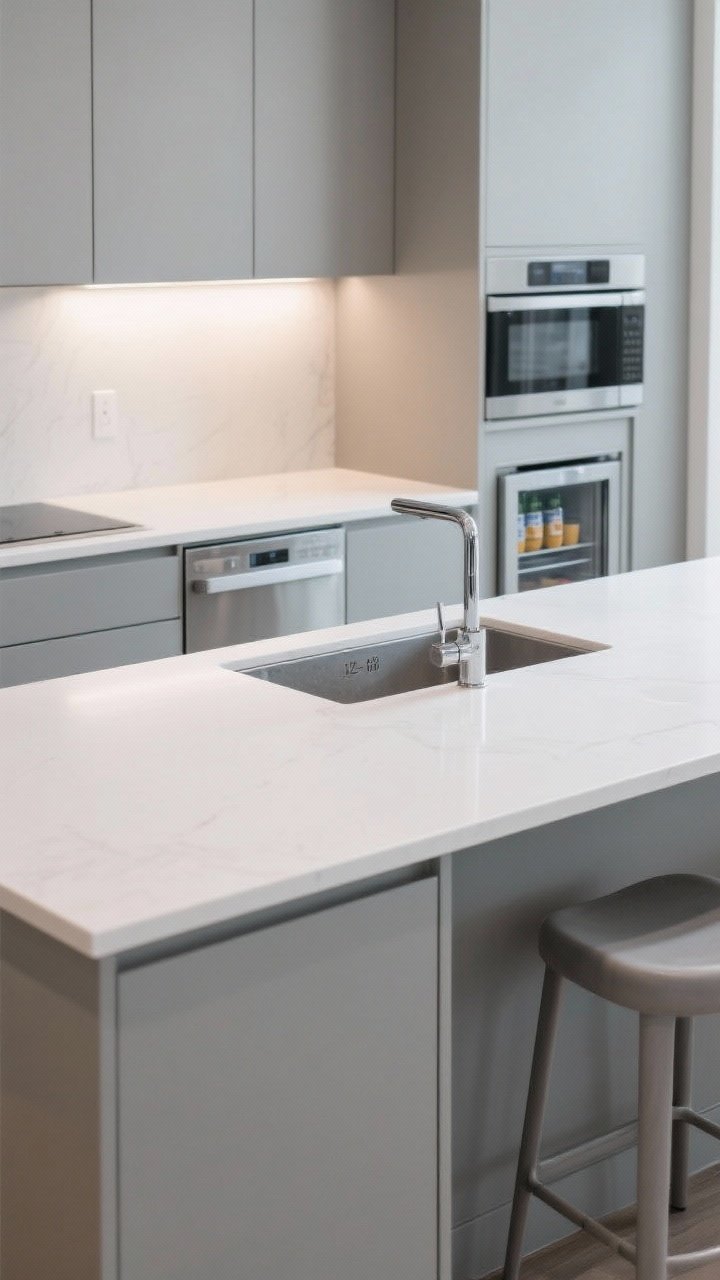
It’s tempting to make the island your Swiss Army knife, but too many cutouts chew up counter space and ruin the flow. Every appliance needs landing zones and clearance.
Keep It Balanced
- One hero feature: Choose either a sink, a cooktop, or a statement prep area—rarely all three.
- Landing zones: 12–18 inches on both sides of a sink; 15–24 inches on both sides of a cooktop.
- Consider drawer microwaves or beverage fridges on the stool side to keep guests out of the cook zone.
FYI: Cooktops on islands need serious ventilation. No one wants eau de salmon lingering over Saturday brunch.
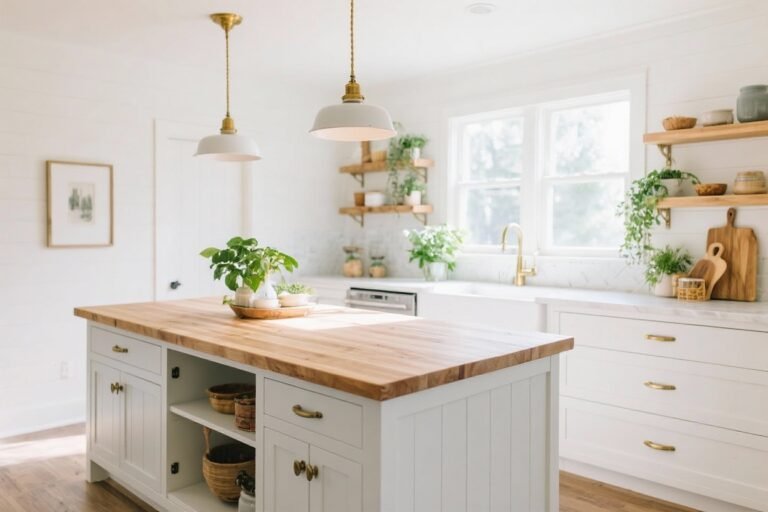
8. Skipping Real Storage Strategy

An island is prime storage. Don’t waste it on random shallow drawers that barely fit a whisk. Plan it like a mini kitchen.
Smart Storage Ideas
- Deep drawers for pots, pans, mixing bowls, and small appliances. Dividers = sanity.
- Trash/recycling pull-out right under the prep zone so scraps go straight down, not across the room.
- Tray/cutting board slots near the sink or prep area.
- Open shelves on the seating side for cookbooks or pretty bowls—style and function.
- Toe-kick drawers if you’re storage-obsessed and want every inch working overtime.
Tip: Inventory what you actually own. If you have a stand mixer, rice cooker, air fryer, and blender, design a drawer that fits them—don’t just “hope.”
9. Neglecting Clean-Up And Ventilation Logistics
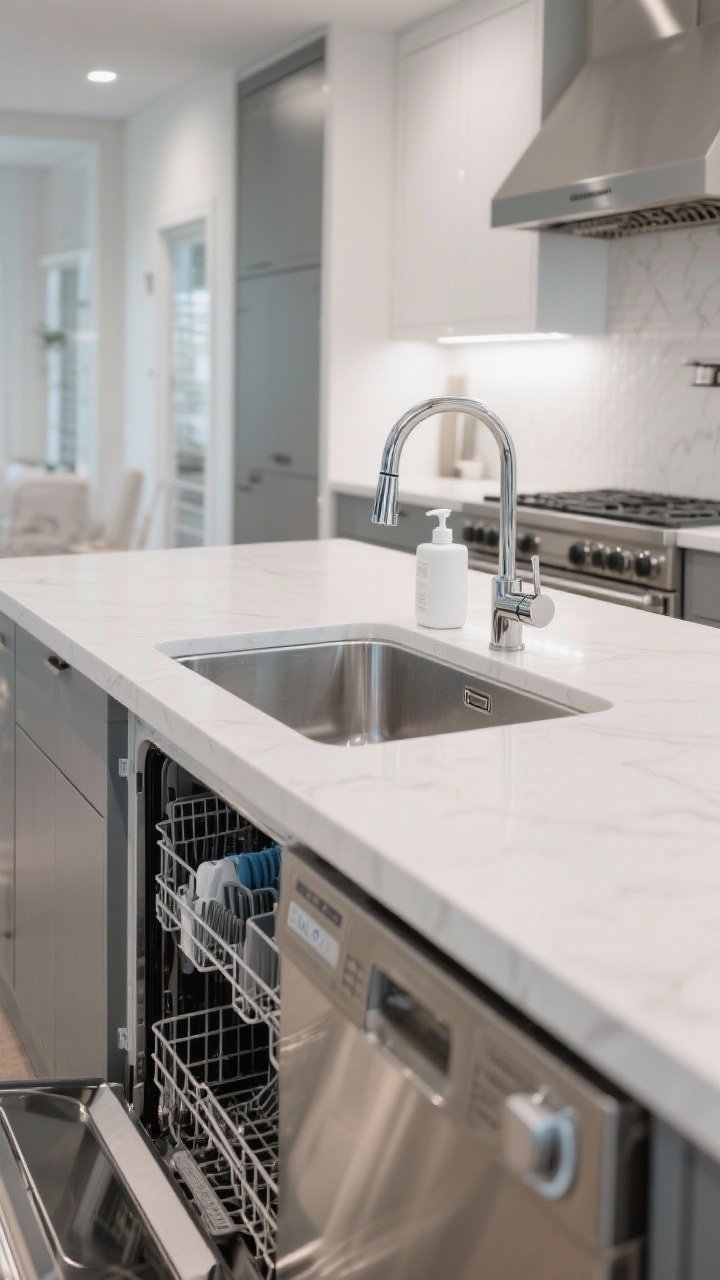
Prep and party is fun—clean-up is where islands live or die. If your sink, dishwasher, and waste aren’t triangulated, you’ll be dripping across the floor like a breadcrumb trail.
Clean-Up Workflow
- Dishwasher placement: On the same side as the sink with a landing space for unloading—preferably a cabinet for plates nearby.
- Splash zone: Choose an island sink with a recessed drain or drain grid to keep water under control.
- Ventilation: If you cook on the island, plan for a downdraft system or a statement hood with proper CFM. Under-venting = lingering smells and grease.
Pro Move: If your sink is in the island, add a soap dispenser, pull-down faucet, and air switch for the disposal. Clean and streamlined.
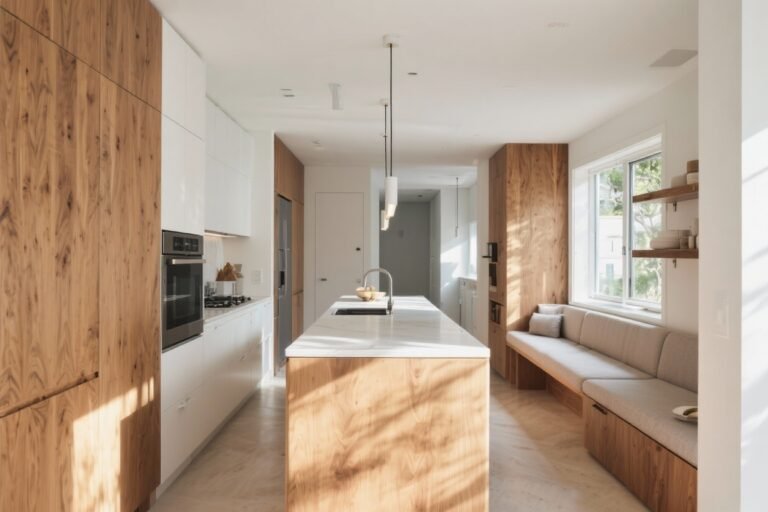
10. Treating The Island Like A One-Note Slab
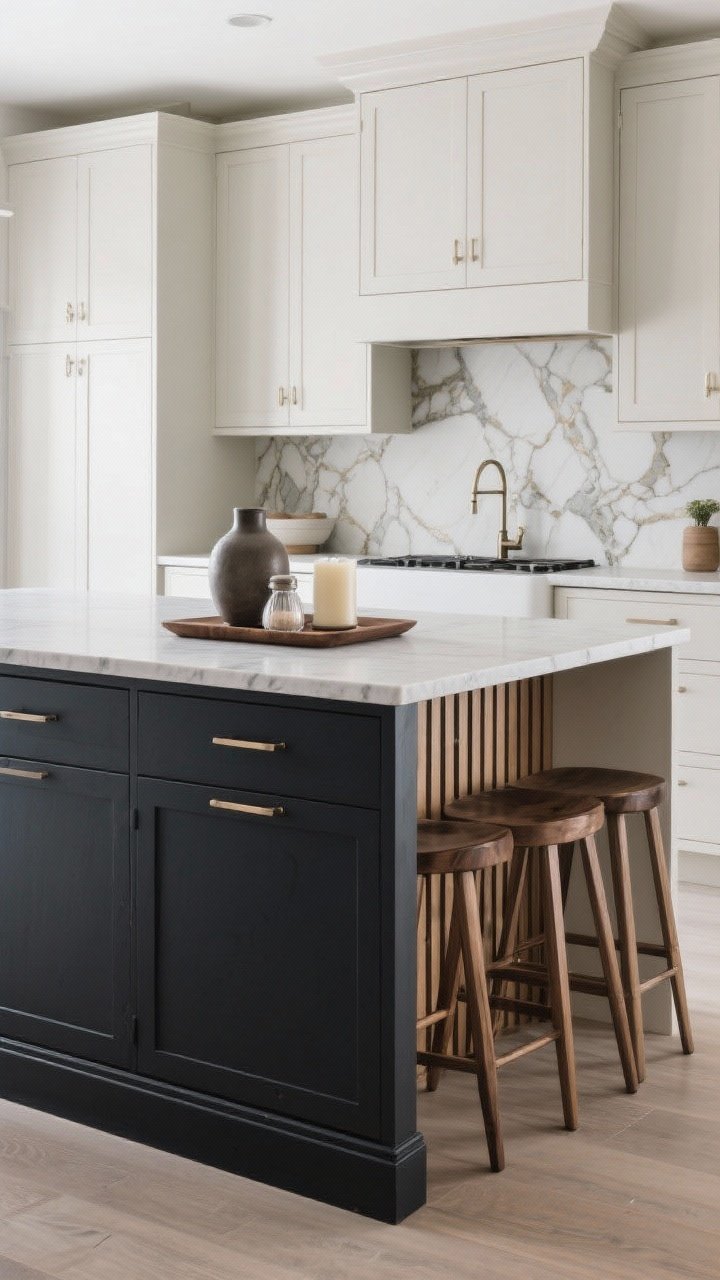
The island is a focal point. Make it a design moment—but not a random one. A mismatched material or trendy color with no context can look like a prop.
Make It Cohesive And Special
- Contrast with intention: If your perimeter cabinets are light, try a warm wood or deep paint tone on the island.
- Counter profile: Mitered edges or a waterfall can elevate the look. Just ensure edges match your overall style.
- Panel the back where stools go. Finished panels or slatted wood add polish and protect from scuffs.
- Hardware scale: Larger pulls or integrated finger rails can make the island feel custom, not builder-basic.
- Style bridge: Repeat one element—metal finish, wood tone, or stone veining—somewhere else for a pulled-together vibe.
Bonus Styling: A low-profile tray with a vase, salt cellar, and candle keeps it pretty without turning it into a clutter altar.
Conclusion

Your kitchen island should feel effortless—like it’s always been there, waiting for pancake Sundays and late-night chats. Dodge these mistakes, plan like a pro, and you’ll get an island that works hard, looks stunning, and earns its “heart of the home” status. Now, go measure that overhang and pick pendants you’ll brag about for years.