10 Kitchen Island Ideas You’ll Want to Copy Immediately (and Brag About)
Let’s be honest: the kitchen island is the main character. It’s your prep station, your coffee bar, your happy-hour hub, and low-key your storage hero. If yours is looking a little “meh,” I’ve got ten ridiculously good ideas that will turn it into the star it deserves to be. Ready to screenshot? Let’s go.
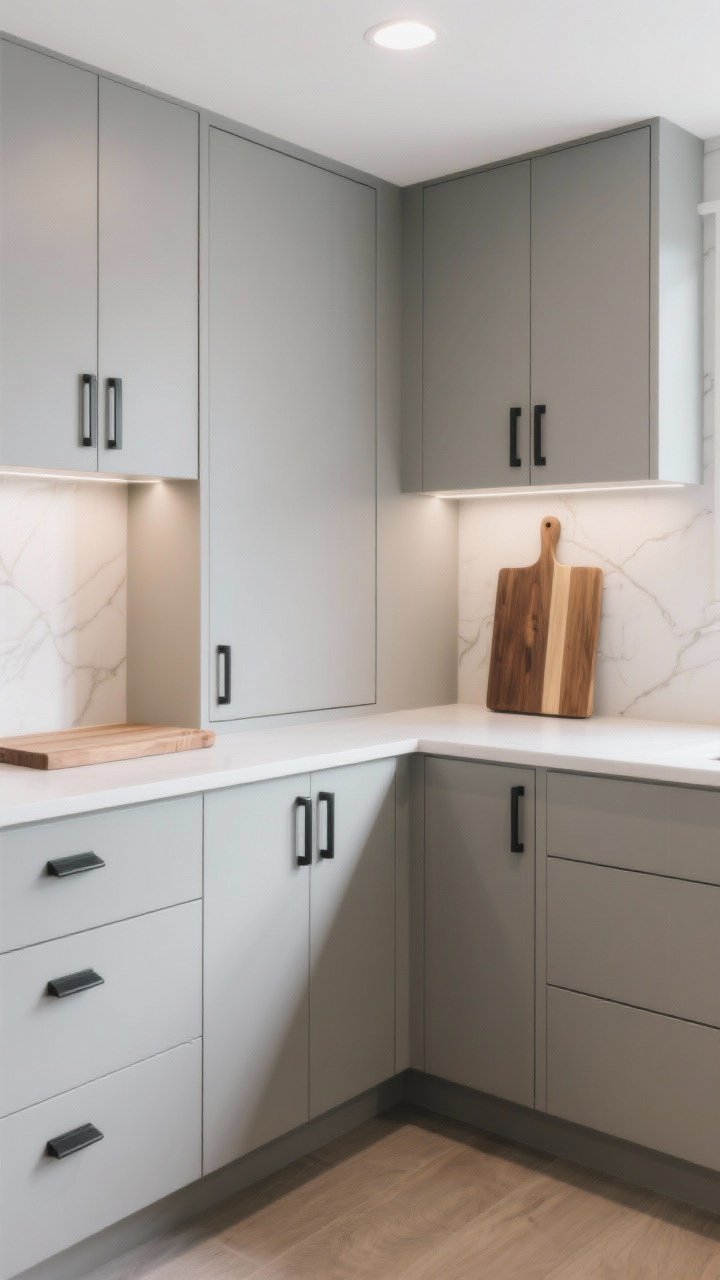
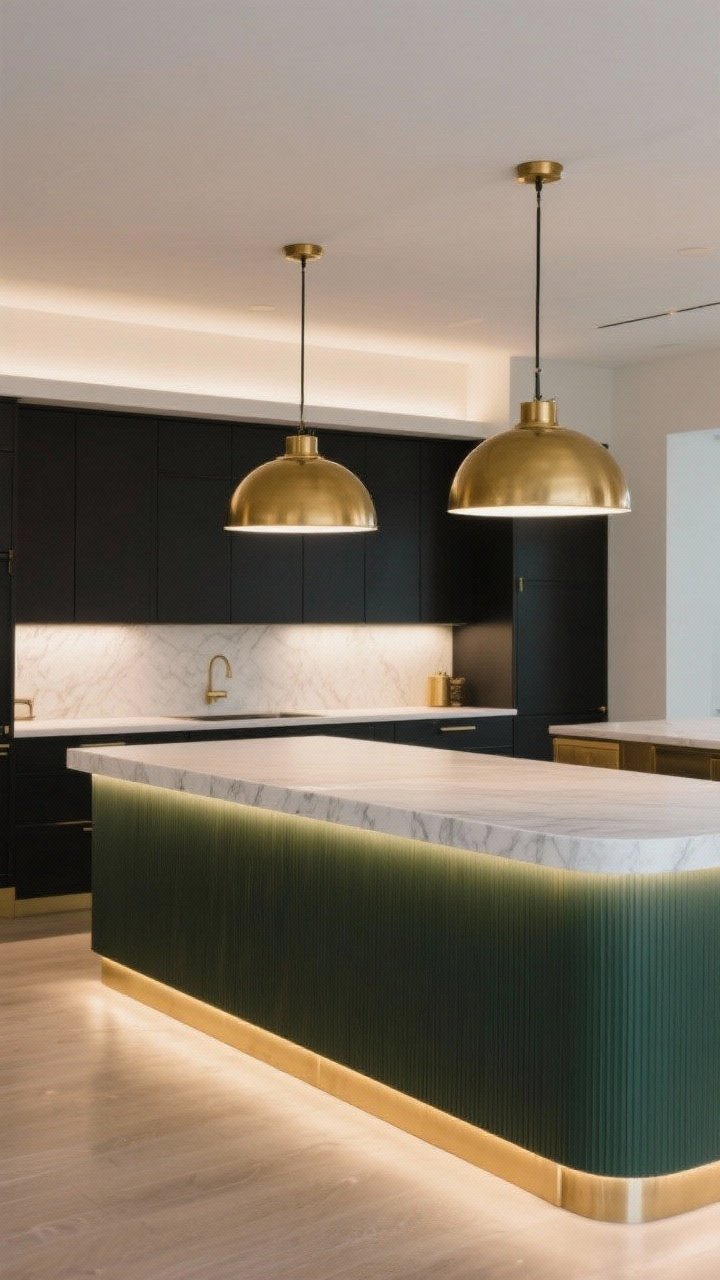
1. Go Bold With a Statement Base Color
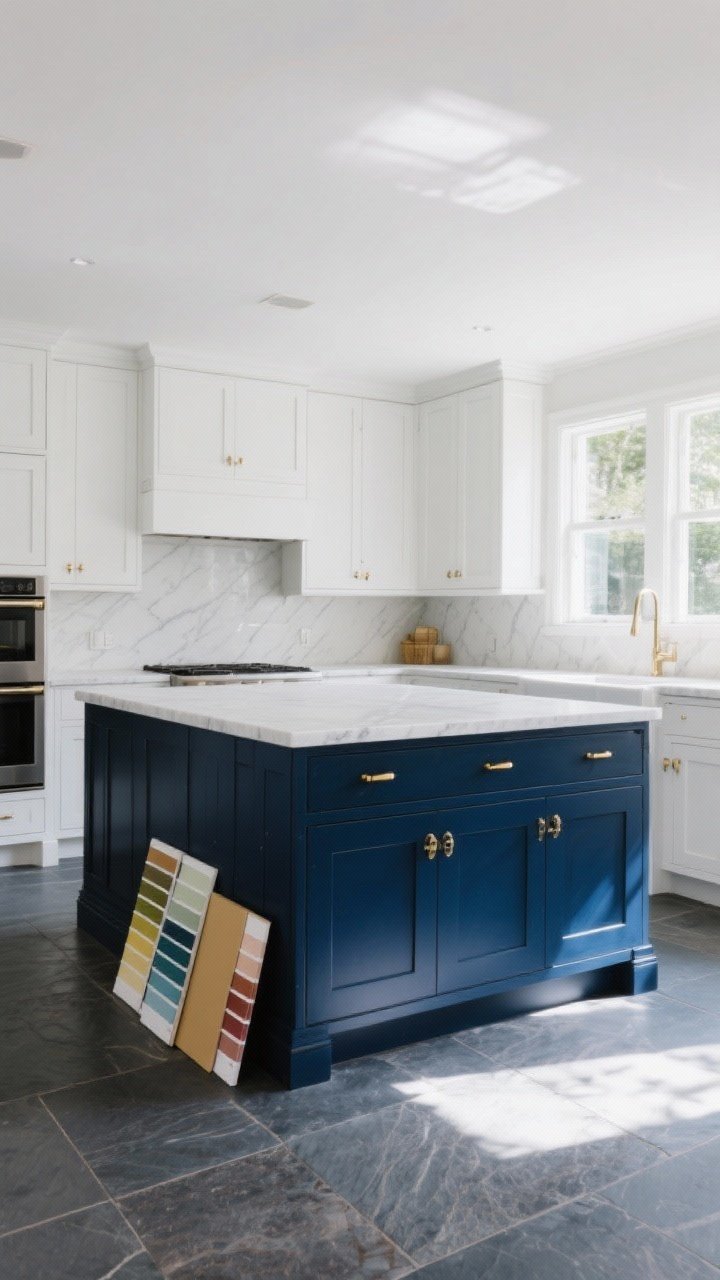
White cabinets are classic, but the island is where you get to be a little dramatic. Think deep navy, olive green, charcoal, or even a rich aubergine. A bold hue instantly grounds the space and makes everything else feel intentional.
Tired of snacking when you’re not even hungry? This reset helps you stop the loop and feel back in control.
A simple reset for moments when cravings take over. Easy to use, easy to repeat, and designed to help you feel satisfied instead of stuck.
How to choose the right color
- Match the undertones: If your floors are warm, pick a warm color (olive, terracotta). Cool floors? Try navy or slate.
- Test in different lighting: Paint a sample board and move it around. Kitchen lighting can be sneaky.
- Pair with hardware: Brass warms up dark greens and blues; matte black is sleek with lighter grays.
Pro tip: Finish it in a satin or semi-gloss for durability and easy wipe-downs. Because spaghetti night happens.
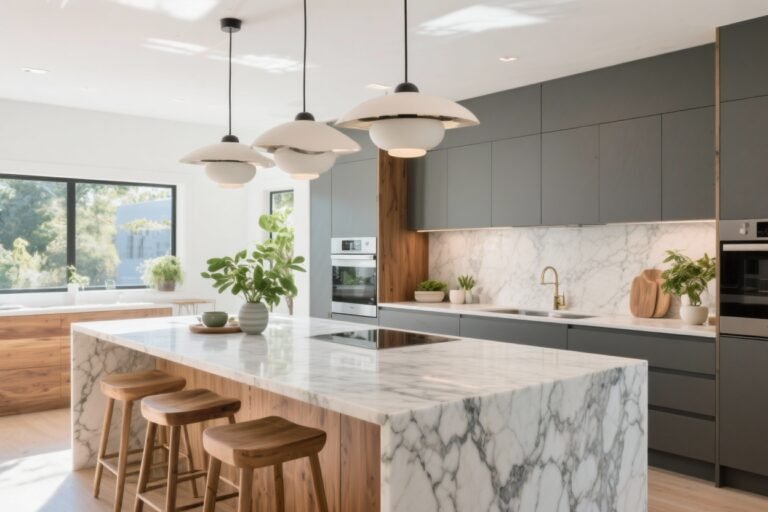
2. Upgrade the Countertop: Waterfall, But Make It Practical
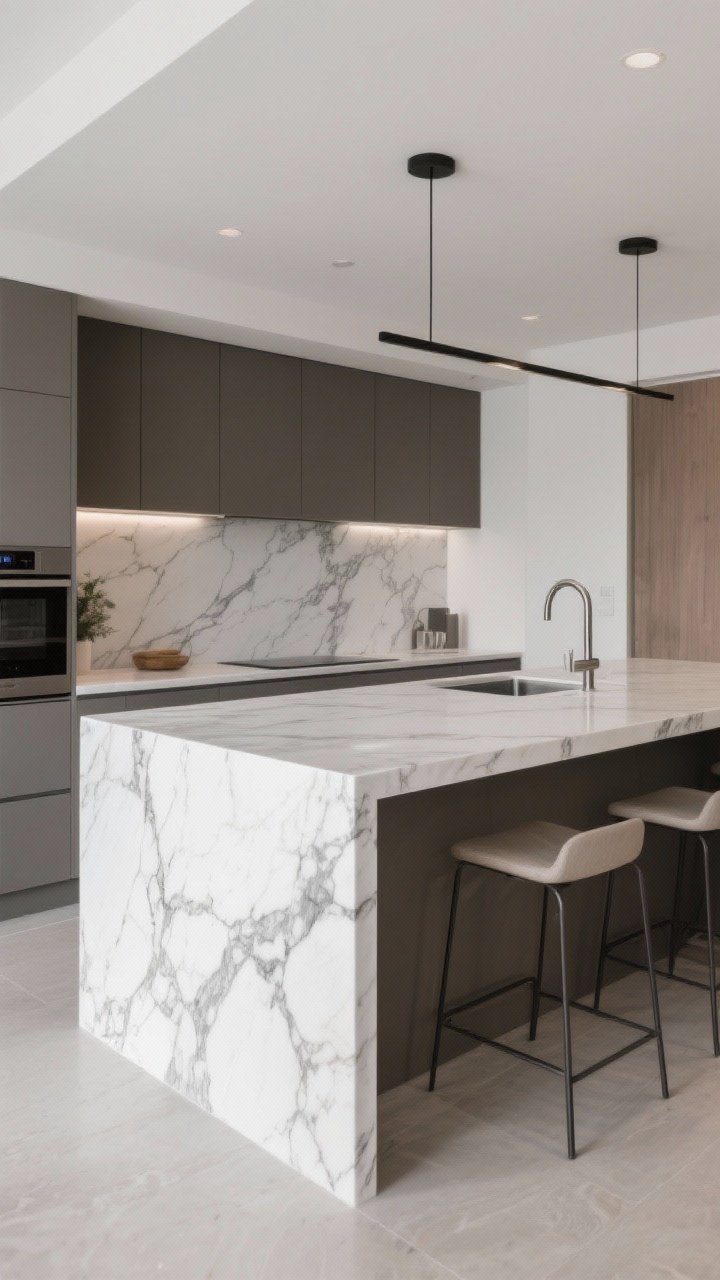
Waterfall edges aren’t just for Instagram. They protect your cabinet sides and create clean lines that make a kitchen look high-end. If a full waterfall is out of budget, do a partial wrap on one side for a stunning, asymmetric moment.
Material picks that won’t stress you out
- Quartz: Durable, low-maintenance, tons of patterns. Great for families or chronic snackers.
- Quartzite: Natural look, strong, slightly more care. Worth it if you love movement in stone.
- Butcher block: Warm and inviting. Seal it and designate zones (prep vs. serving) to keep it pretty.
FYI: Thicker profiles (2–3 inches) look luxe without shouting about it.
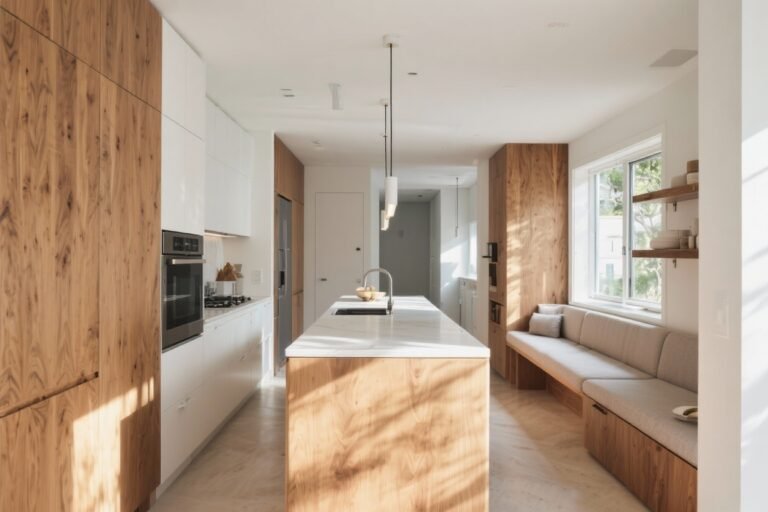
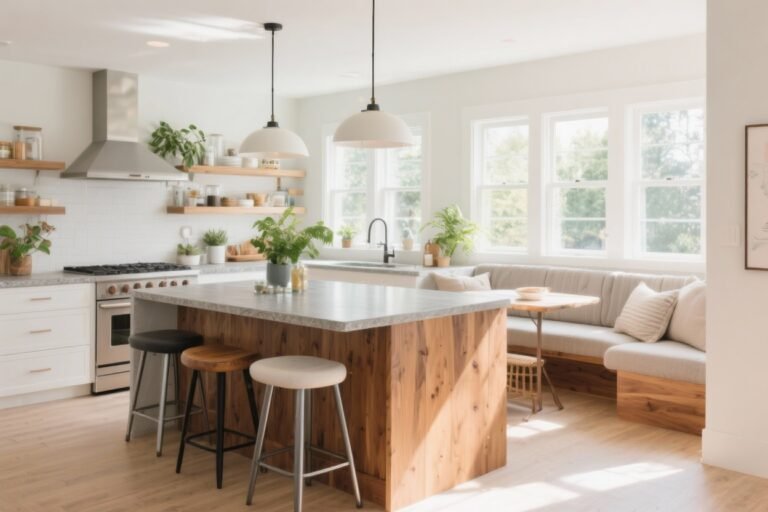
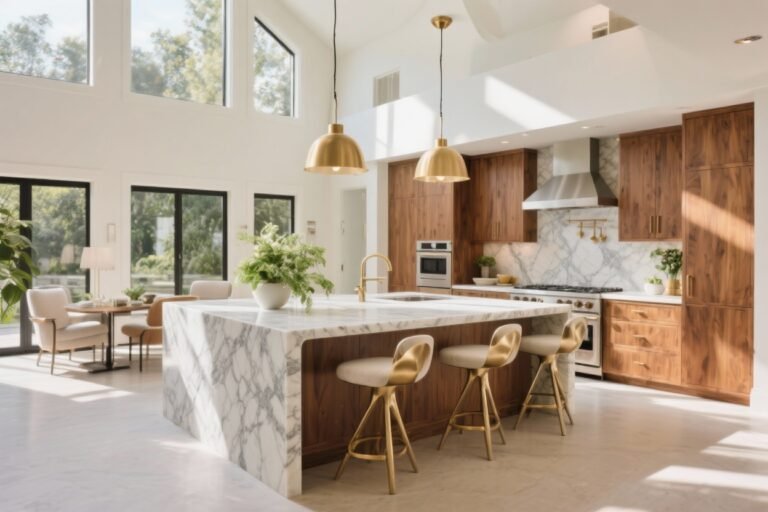
3. Mix Seating Heights for a Built-In Hosting Hack
Why choose between counter-height and table-height when you can have both? A lowered nook on one end of the island is perfect for kids, laptops, or casual dinners, while the main counter stays prep-ready.
Transform Your Home With 7,250+ Stunning Landscaping Designs—No Expensive Designers Needed!
- 🌿 Access 7,250+ stunning landscaping designs.
- 💰 Save thousands—no pro designer needed.
- 🏡 Plans for gardens, patios, walkways, and more.
- ✨ Simple, beginner-friendly DIY layouts.
- 🛠️ Customize any design to fit your yard.
Design it to fit your life
- Counter height (36″): Best for prepping and casual seating with stools.
- Bar height (42″): Great for cocktails and keeping guests out of the splatter zone.
- Table height (30″): Cozy, accessible, and ideal for work-from-kitchen days.
Pro tip: Choose backless stools that tuck in fully if your island is in a smaller space. Visual clutter is real.
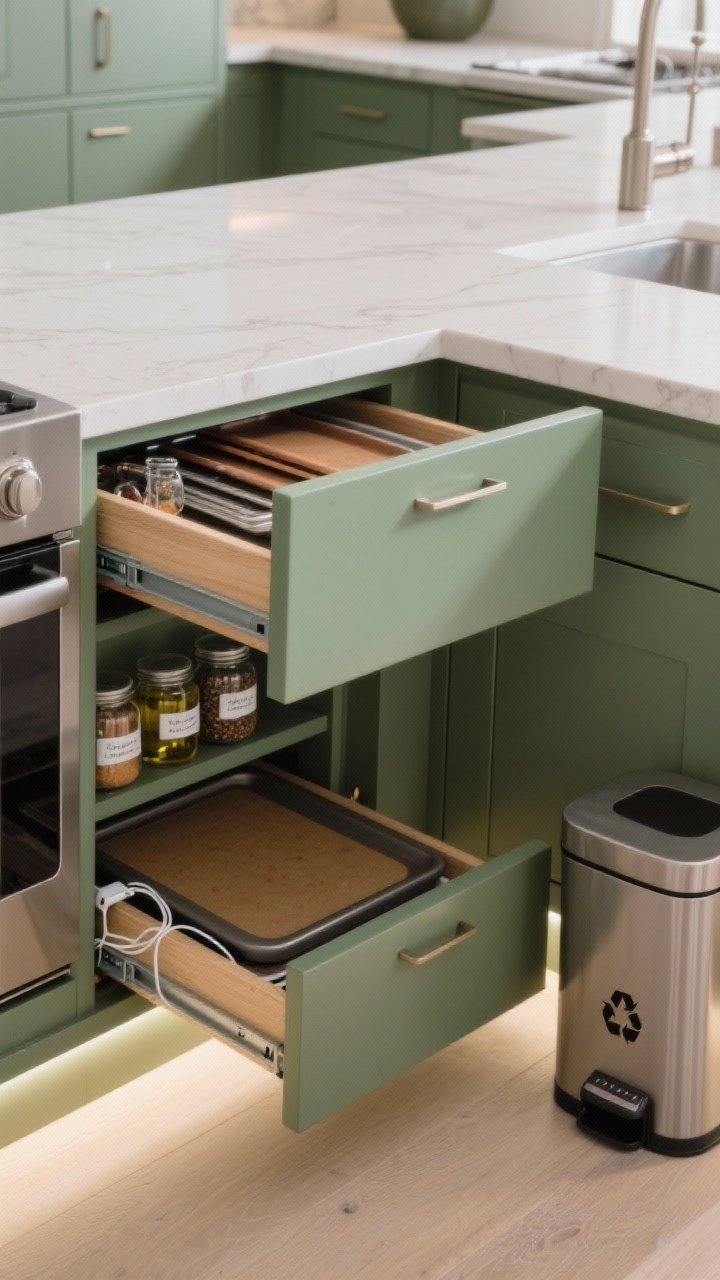
4. Add Hidden Storage Like a Kitchen Ninja
The prettiest island is the one that hides your chaos. Add storage that’s sneaky-smart, not just standard drawers. Think toe-kick drawers, vertical dividers, and charging drawers that keep cords out of sight.
Storage ideas that actually solve problems
- Toe-kick drawers: Slide sheets and platters into that forgotten 4-inch space.
- Pull-out trash and recycling: Put it near the prep zone; your future self will thank you.
- Spice and oil pull-outs: Narrow pull-outs save space and stop the avalanche effect.
- Appliance garage: A lift-up mixer shelf or cubby keeps counters clean. So satisfying.
IMO: A dedicated drawer for cutting boards + lids is peak organization joy.
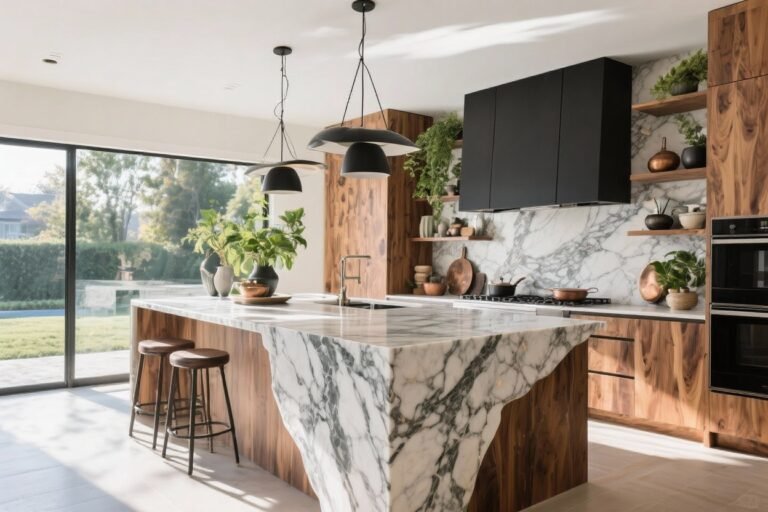
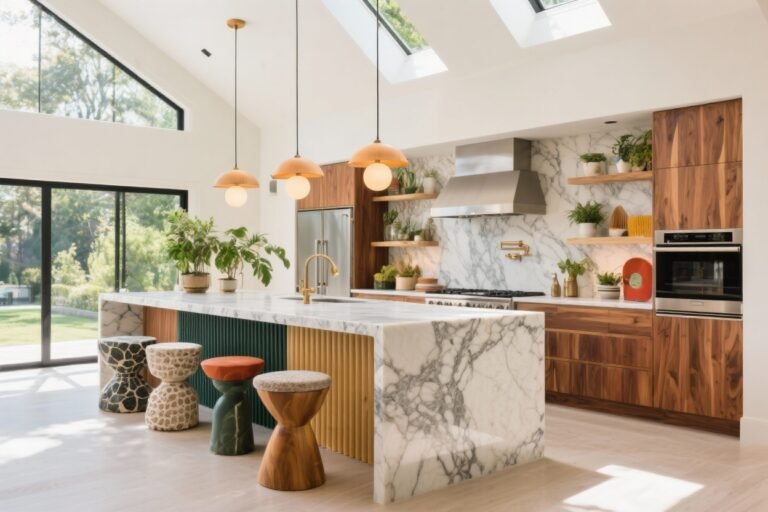
5. Style the Back Panel Like a Showpiece
Most people ignore the back of their island. Don’t. It’s prime real estate for texture, color, and character. A paneled or tiled back takes your kitchen from builder-basic to custom in a weekend.
Back-of-island upgrades
- Shiplap or beadboard: Adds texture and farmhouse-cool vibes without the clutter.
- Fluted or reeded panels: Trendy yet timeless. Adds shadow and interest.
- Statement tile: Go bold with patterned tile or zellige for a handmade feel.
- Arched niches or book ledges: Display cookbooks, plants, or pretty bowls.
Pro tip: If you have kids, use durable, wipeable finishes and consider corner guards. Sticky fingers happen.

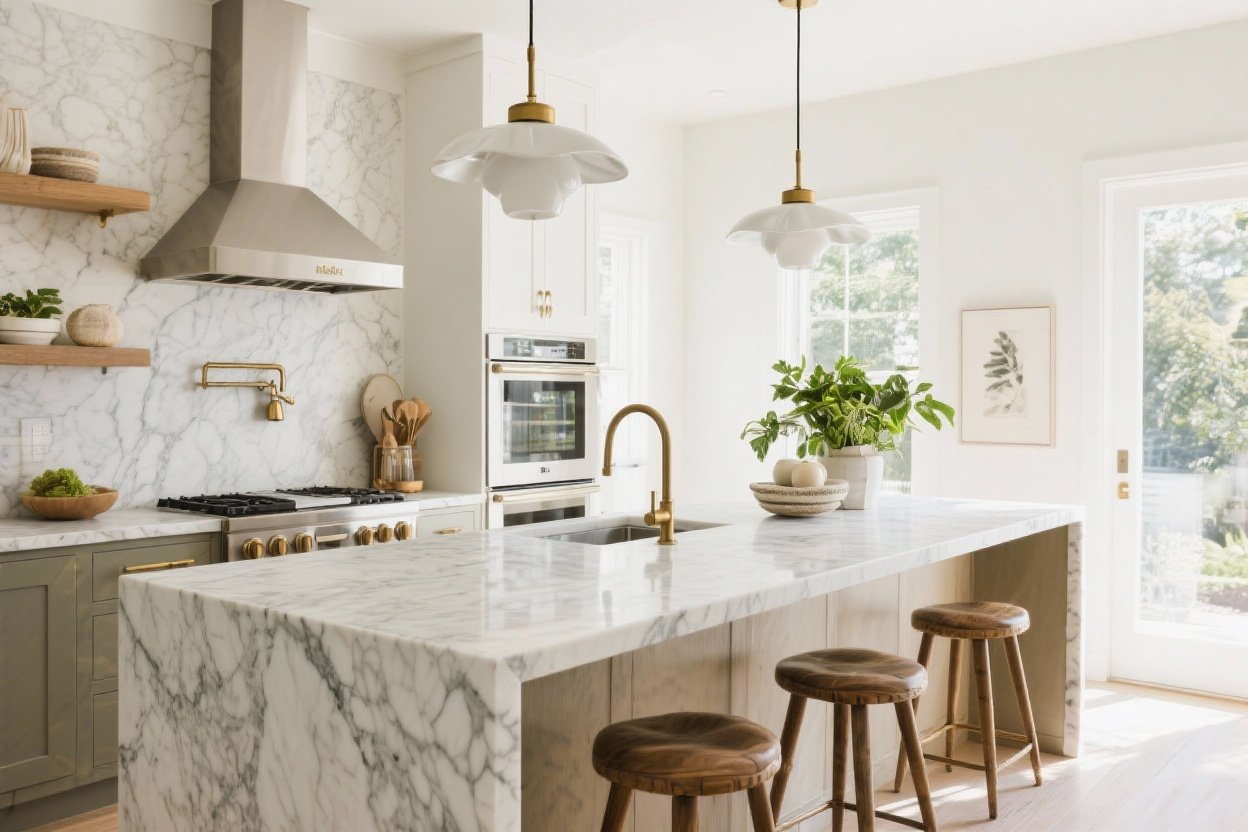
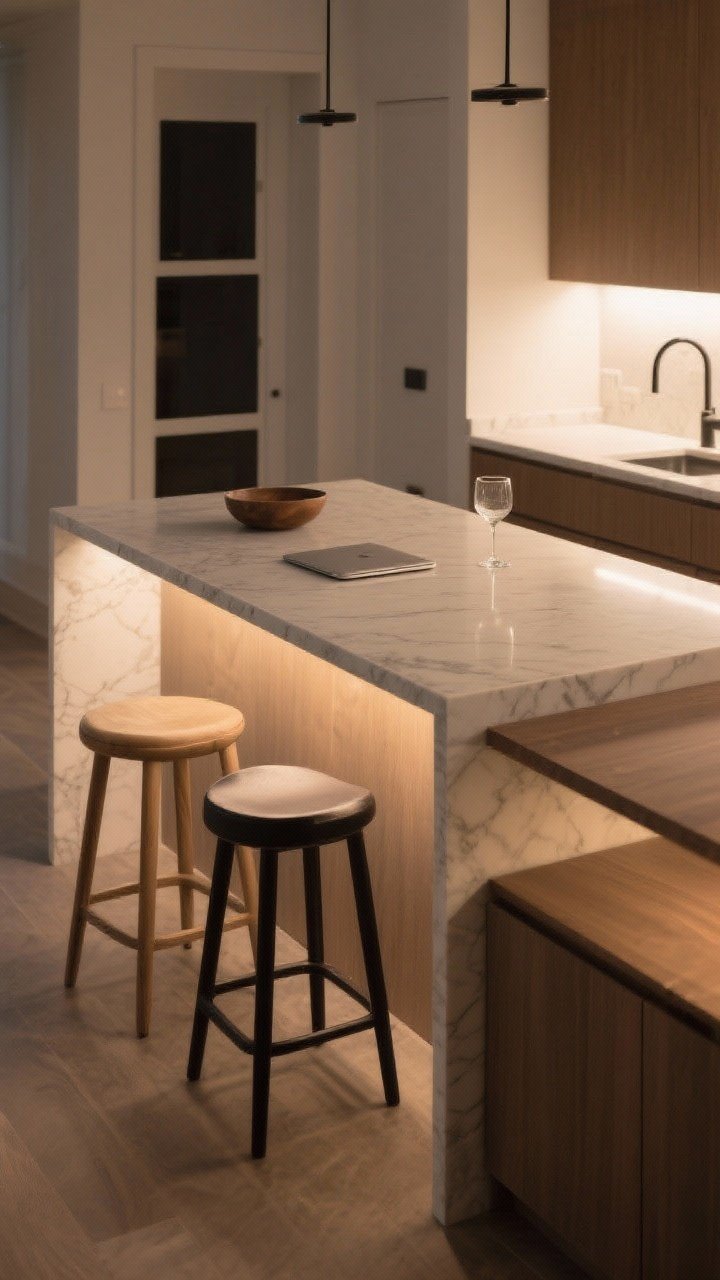
6. Light It Like You Mean It

Lighting can make an island look expensive even if it isn’t. Aim for a trio: pendants, under-counter accent lighting, and soft overheads. Layered lighting = instant mood.
Pendant rules that always work
- Size matters: For long islands, two large pendants beat three tiny ones. Aim for 1/3 the island width in combined visual weight.
- Hang height: 30–36 inches above the counter, or 66–72 inches from the floor—adjust for tall folks.
- Finish consistency: Mix metals carefully. Two max: for example, brass pendants and black hardware.
Bonus: Add LED strip lighting under the island overhang for a subtle glow. It’s like undercab lighting’s cooler cousin.
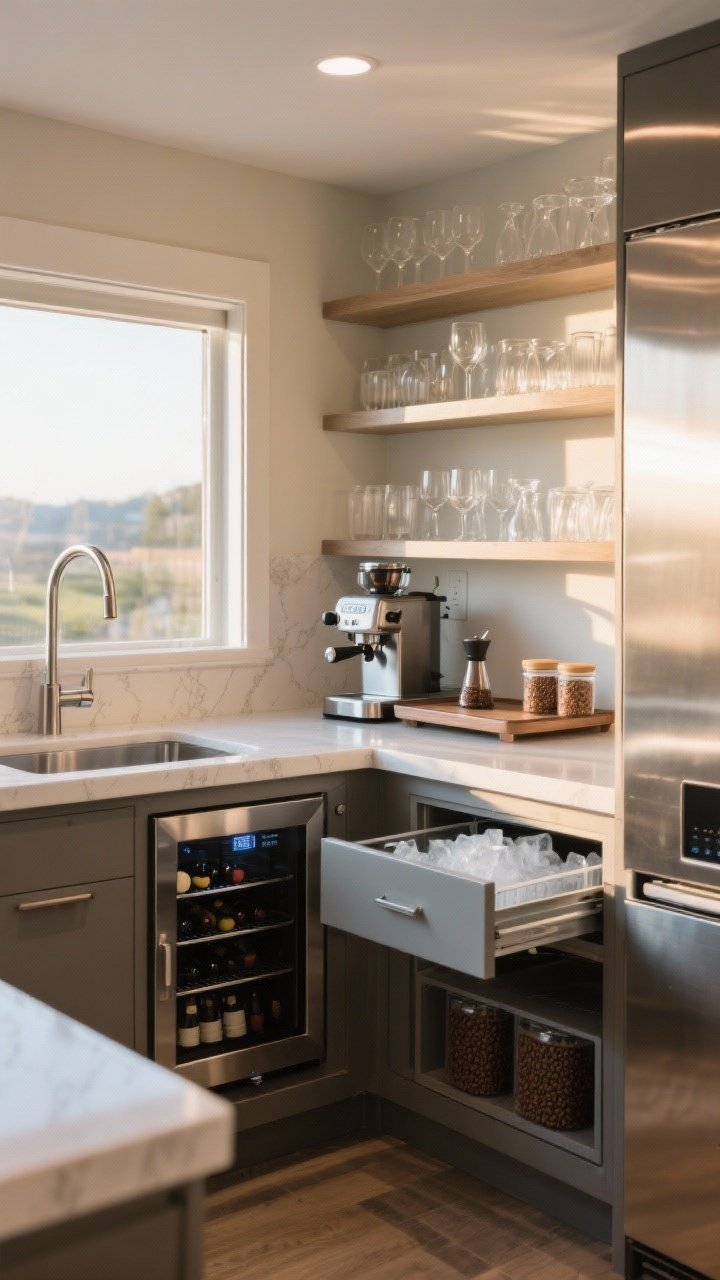
7. Create a Dedicated Beverage or Breakfast Station
Give coffee and cocktails their own zone so mornings (and evenings) run smoother. Built-in beverage drawers, a small sink, and open shelves turn the island into a lifestyle upgrade, not just a counter.
Build your dream station
- For coffee lovers: Add a pull-out tray for your espresso machine, a grinder drawer, and a canister insert for beans.
- For entertainers: Include a wine fridge, ice maker, and roll-out drawer for glassware.
- For families: Stock a cereal drawer, toaster garage, and kid-height cups and bowls.
FYI: A small prep sink near the beverage zone is a game-changer for rinsing fruits or filling kettles.
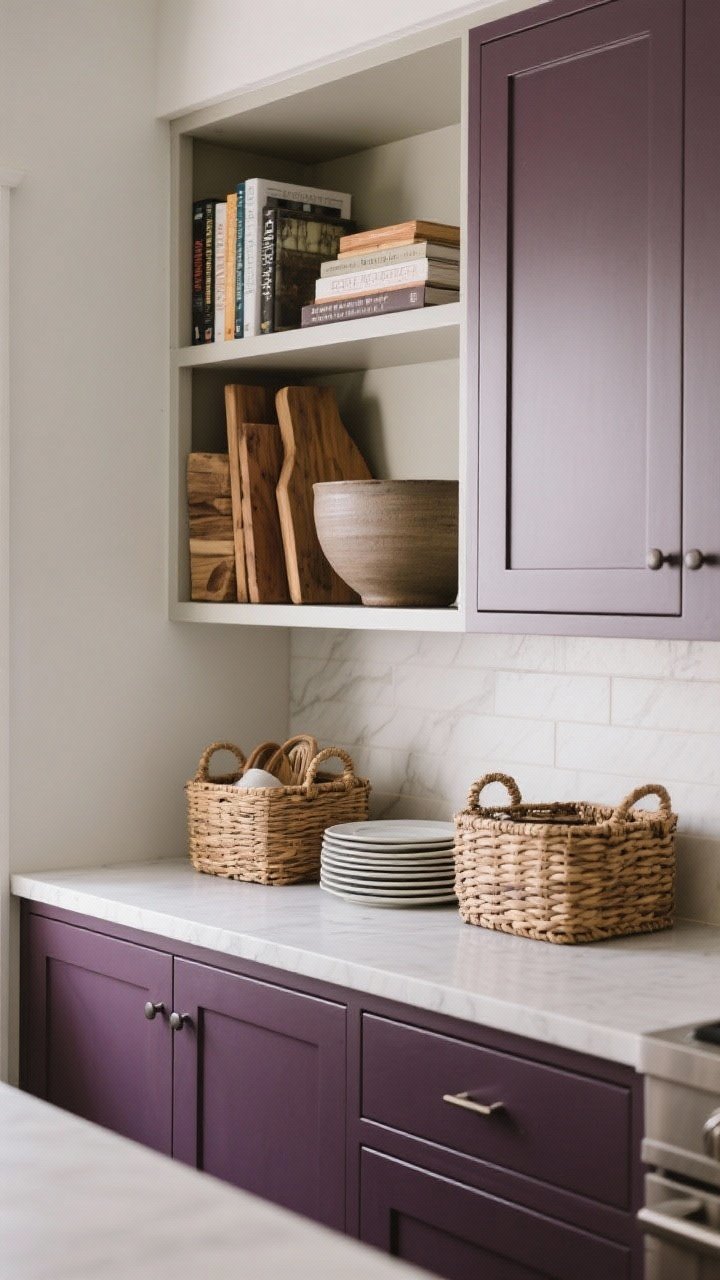
8. Blend Open Shelving With Closed Storage
Open shelves on an island keep it airy and let you show off your pretty things—without losing the function of closed cabinets. It’s the best of both worlds.
What to display vs. what to hide
- Display: Cookbooks, wooden boards, large bowls, and a curated set of everyday plates.
- Hide: Plastic containers, mismatched lids (the chaos!), and small appliances.
- Balance: One open bay for every two closed cabinets keeps the look tidy.
Pro tip: Use baskets to corral items on open shelves so it doesn’t look like a garage sale. Neat but lived-in is the vibe.
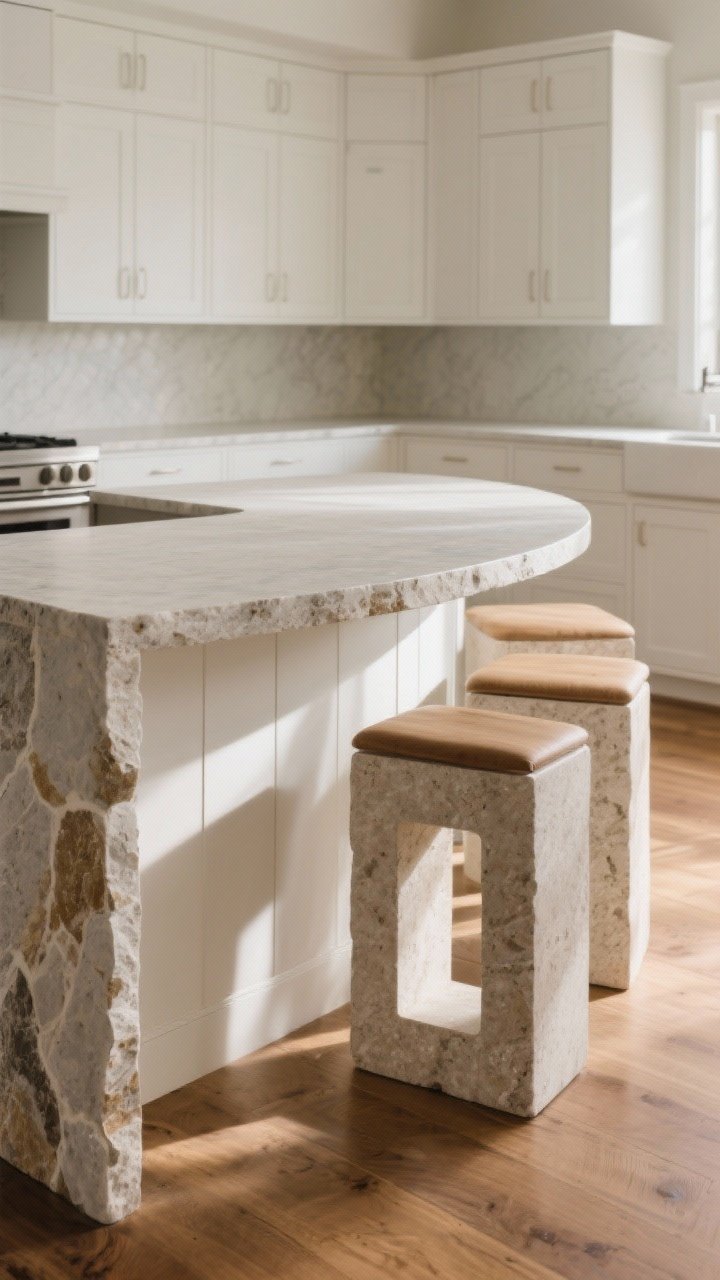
9. Add Architectural Legs, Overhangs, and Curves
If your island feels like a block, soften it. Curved corners, chunky furniture-style legs, and generous overhangs add elegance and comfort—plus fewer bruised hips, which is nice.
Design moves that elevate instantly
- Curved waterfall edge: A subtle radius on stone feels custom and ultra polished.
- Turned or square legs: Anchor seating zones and give the island a furniture look.
- Comfortable overhang: 12–15 inches for seating; add hidden supports for anything deeper.
Bonus: Chamfered or bullnose edges are softer on elbows and chips less than sharp profiles.
10. Make It Mobile (Or Modular) For Real-Life Flexibility
Not every kitchen can handle a built-in island—and that’s okay. A well-designed rolling or modular island gives you storage, prep space, and the option to move it for parties or deep-cleaning days.
Smart modular ideas
- Locking casters: Stability when you need it, mobility when you don’t.
- Drop-leaf ends: Extra seating or prep space on demand—folds down when not needed.
- Swappable tops: Butcher block for daily prep; stone or stainless for baking and entertaining.
- Power access: Add a cord channel and a pop-up outlet for mixers and laptops.
Pro tip: Match the finish to your cabinets or go intentionally contrasting for that “collected over time” look.
Bonus Styling Tips For Any Island
- Keep the center clear: Use a single large tray or bowl for a clean, cohesive focal point.
- Bring in life: Fresh herbs in a pot, a vase with seasonal stems, or a stack of wooden boards for warmth.
- Repeat materials: Echo your hardware metal or backsplash color in small accents for a pulled-together feel.
Ready to give your island the glow-up it deserves? Pick one idea to start—color, lighting, or storage—and run with it. Your kitchen’s about to become the hangout spot of everyone’s dreams (yours included). And yes, you’re absolutely allowed to take the credit.