10 Open Kitchen Island Designs That Make Entertaining Effortless (and Seriously Fun)
Your kitchen is the party’s HQ. If your island can’t handle cocktails, charcuterie, and cousin Greg’s “help,” it’s time for an upgrade. These open kitchen island ideas keep sightlines clear, workflows smooth, and vibes high—so you’re hosting like a pro without breaking a sweat.
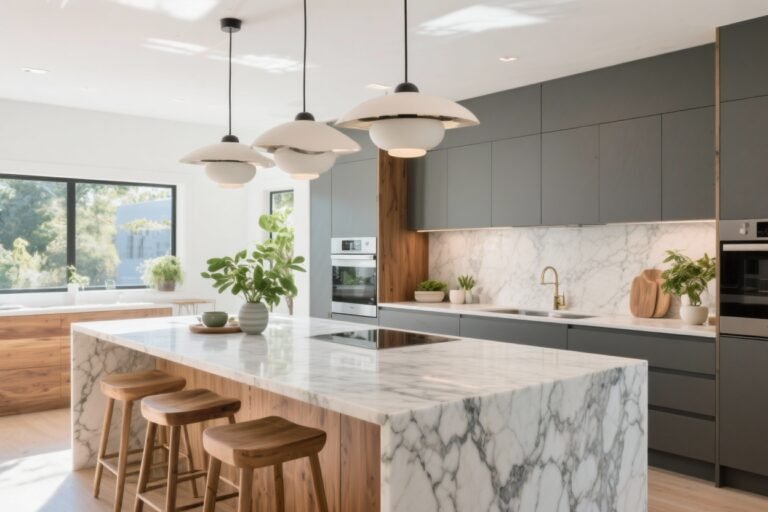
1. The Dual-Level Showstopper
Want to cook and chat without flashing your chopping chaos? A dual-level island gives you a raised bar for guests and a lower prep zone for you. It hides the mess and keeps the conversation flowing.
Tired of snacking when you’re not even hungry? This reset helps you stop the loop and feel back in control.
A simple reset for moments when cravings take over. Easy to use, easy to repeat, and designed to help you feel satisfied instead of stuck.
Why It Works
- Visual barrier: The higher ledge hides cutting boards and dishes from the dining area.
- Defined zones: Cook on one side, cocktails on the other. No elbow wars.
- Comfortable seating: Counter-height stools for longer hangs.
Pro Tips
- Choose a durable top for the prep side (quartz = MVP).
- Install a bar sink in the raised area for easy drink setup.
- Use pendant lights at two heights to accentuate the levels.
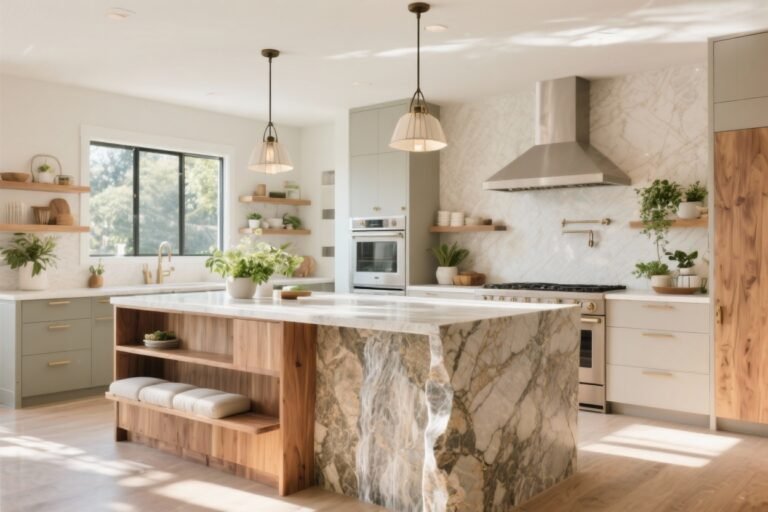
2. The Waterfall Edge With Hidden Storage
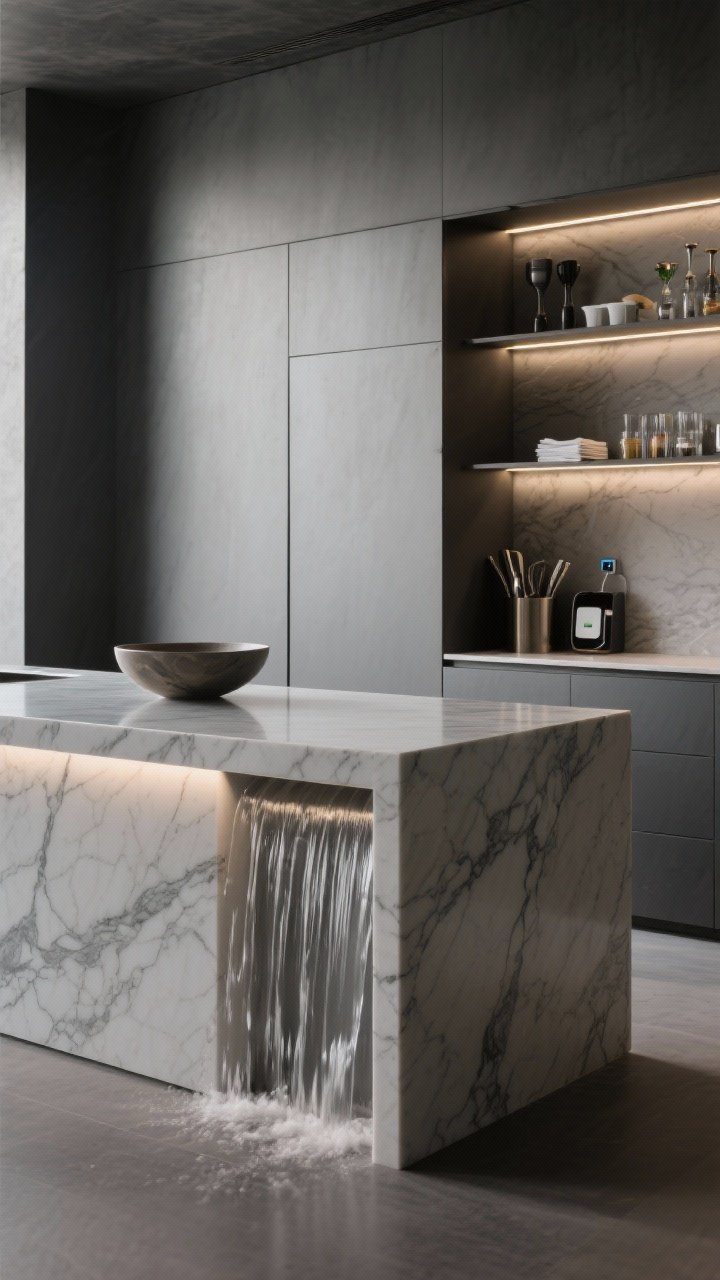
Love clean lines? A waterfall edge screams sleek, but you can sneak in storage behind those pretty panels. The trick: use the “waterfall” sides to conceal shelves and charging cubbies.
Why It Works
- Minimalist look: Seamless surfaces = instant modern energy.
- Hidden functionality: Tuck bar tools, napkins, and chargers into side-access cabinets.
- Performance materials: Engineered stone resists stains (red wine who?).
Pro Tips
- Match the veining on the edges for a luxe, continuous look.
- Add motion-sensor LEDs inside the hidden storage for instant visibility.
- Keep decor minimal—one sculptural bowl or a low vase. Done.
3. The Chef’s Workhorse With Open Shelving
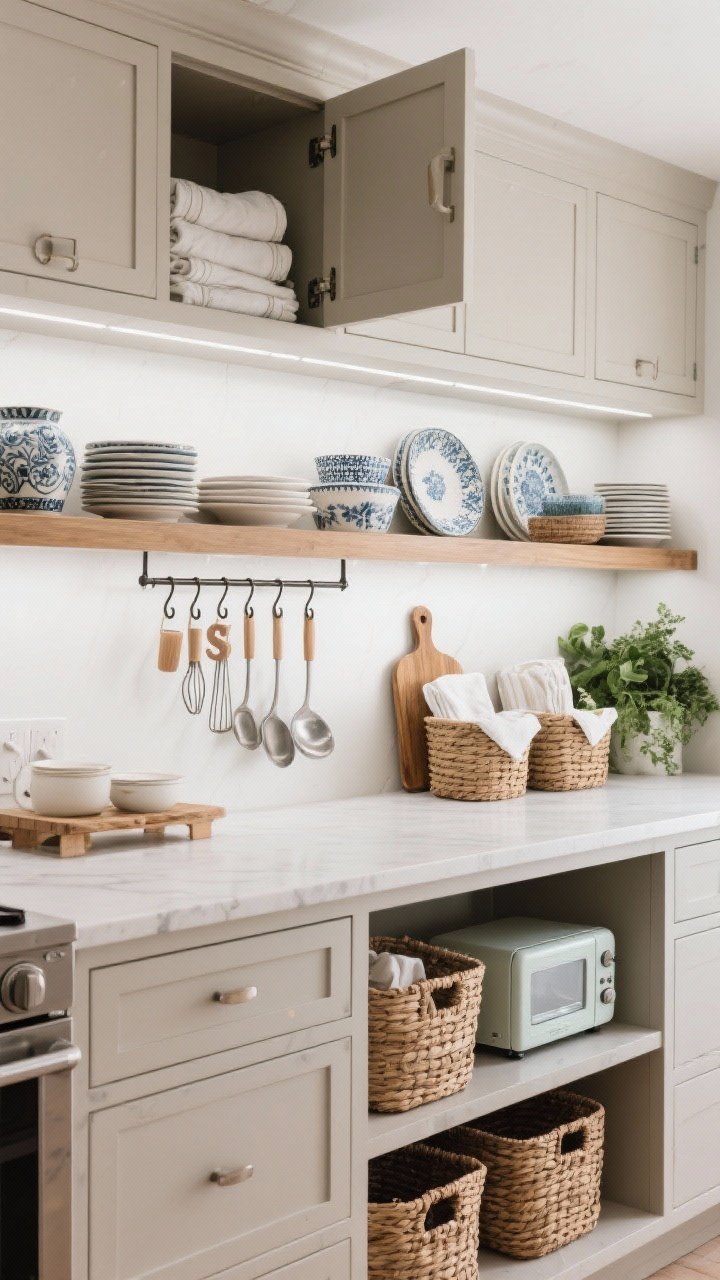
If you actually cook (like, a lot), this is your island. Open shelves make your tools, platters, and glassware easy to grab mid-meal. It looks styled, but it’s built for speed.
Why It Works
- Easy access: No doors to swing while juggling hot pans.
- Display-worthy: Show off pretty ceramics and serving boards.
- Flexible zones: Top drawer for linens, open shelf for plates, bottom for small appliances.
Pro Tips
- Use baskets to corral items and keep dust at bay.
- Style shelves with a 60/30/10 mix: practical, decorative, and greenery.
- Add a rail with S-hooks for ladles and tongs on the working side.
4. The Social S Curve
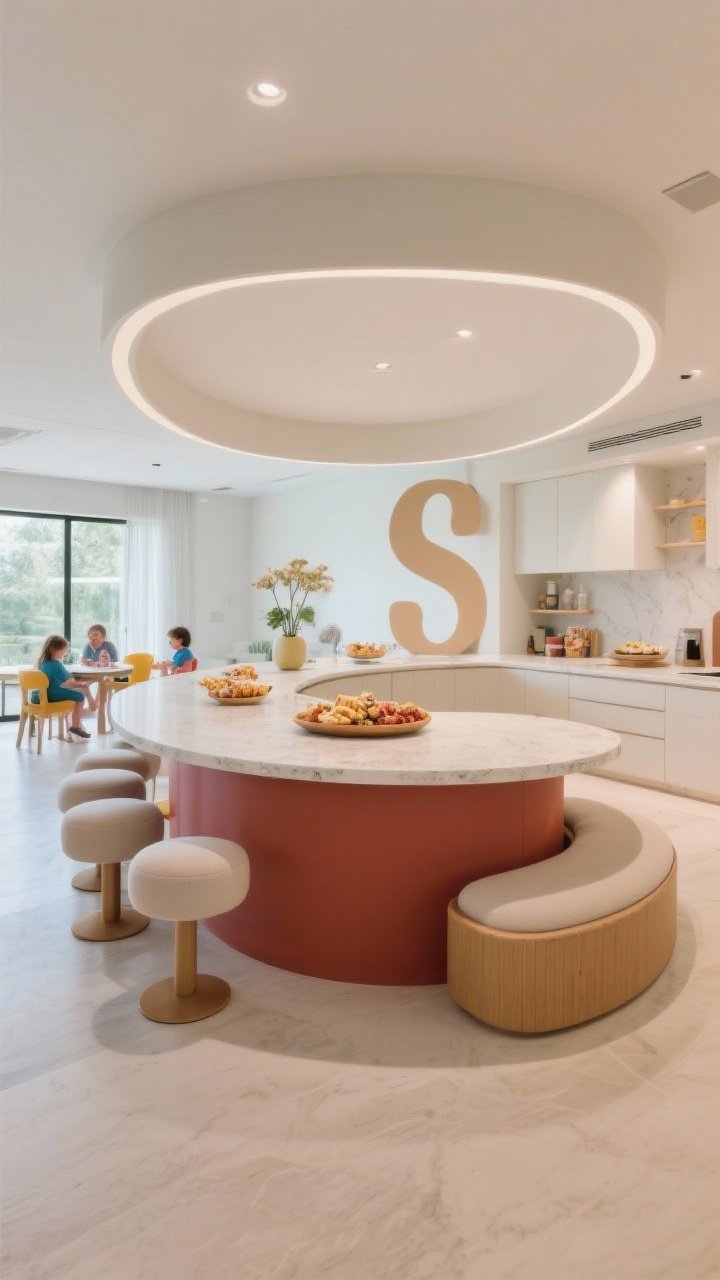
Curved islands soften traffic flow and make it way easier to gather. The shape invites people to cluster naturally—without a single “Can you scoot?”
Why It Works
- Better circulation: Round edges prevent bottlenecks.
- Conversation-friendly: Everyone can see each other (and the snacks).
- Kid-proof: Fewer sharp corners for little noggins.
Pro Tips
- Pair with rounded-back stools to echo the curve.
- Use a contrasting base color to highlight the silhouette.
- Install a curved footrest for comfort during long hangs.
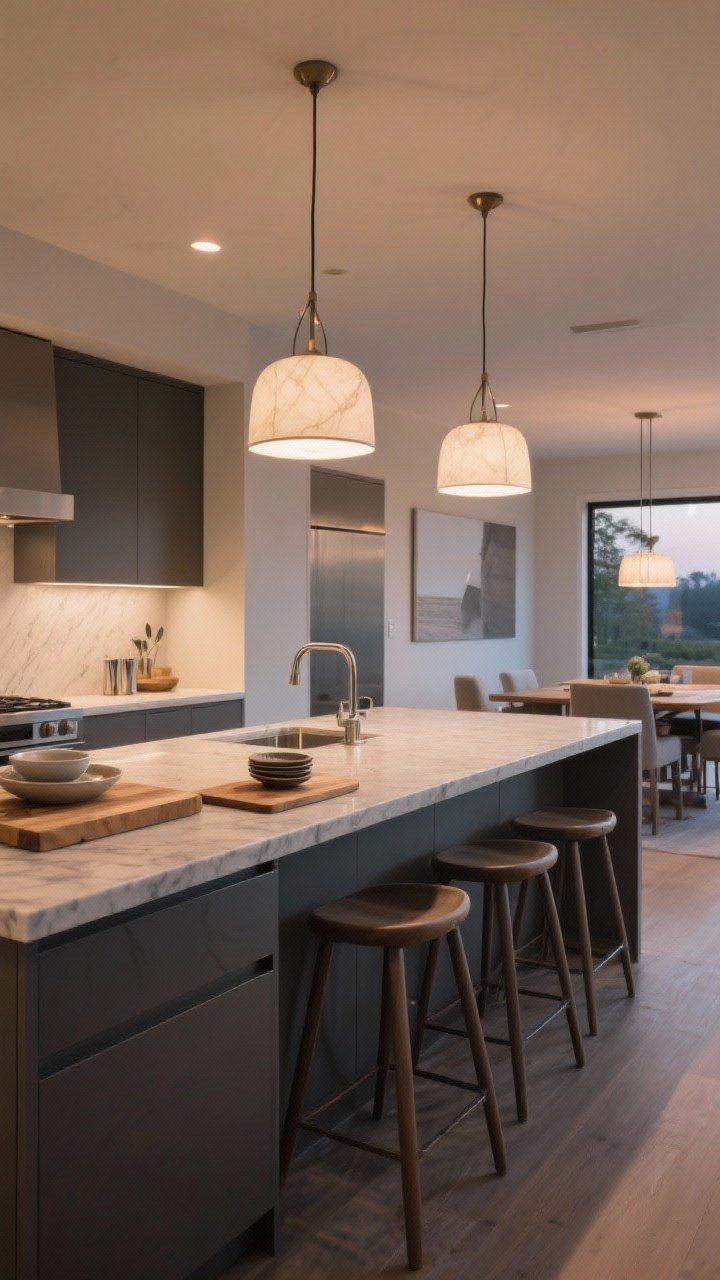
5. The Entertainer’s Back Bar
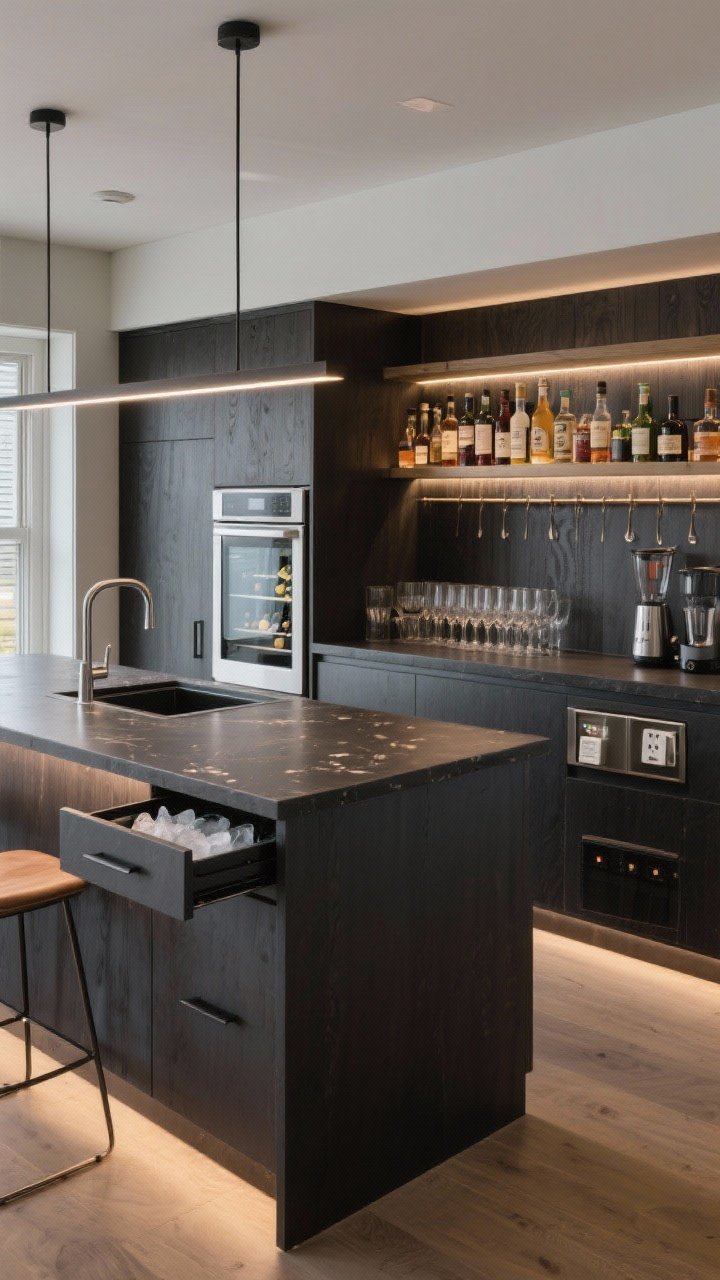
Make your island do double duty: kitchen on one side, micro back bar on the other. Perfect for self-serve cocktails so guests stop hovering at your stovetop.
Transform Your Home With 7,250+ Stunning Landscaping Designs—No Expensive Designers Needed!
- 🌿 Access 7,250+ stunning landscaping designs.
- 💰 Save thousands—no pro designer needed.
- 🏡 Plans for gardens, patios, walkways, and more.
- ✨ Simple, beginner-friendly DIY layouts.
- 🛠️ Customize any design to fit your yard.
Why It Works
- Self-serve drinks: Wine fridge, ice drawer, and glass storage keep the flow smooth.
- Clear division: You cook; they pour. Boundaries = bliss.
- Party-ready: A small sink becomes your MVP during big gatherings.
Pro Tips
- Use durable, dark countertop for the bar side—hides splashes and citrus stains.
- Add a narrow rail for syrups and bitters; it looks intentional and pro-level.
- Mount a slim outlet strip under the counter for blenders and frothers.

6. The Mobile Modular Island
Apartment or small space? A modular island on casters gives you flexibility and legit hosting power. Roll it out for parties, tuck it away on weeknights.
Why It Works
- Adaptable layout: Reconfigure for buffet, prep, or bar duty.
- Budget-friendly: You can DIY or mix-and-match components.
- Space saver: Open shelving keeps it visually light in tight kitchens.
Pro Tips
- Choose lockable casters for stability during chopping and pouring.
- Top with butcher block for warmth and easy maintenance.
- Keep a dedicated “party bin” on a shelf with candles, openers, and linens—just roll and go.
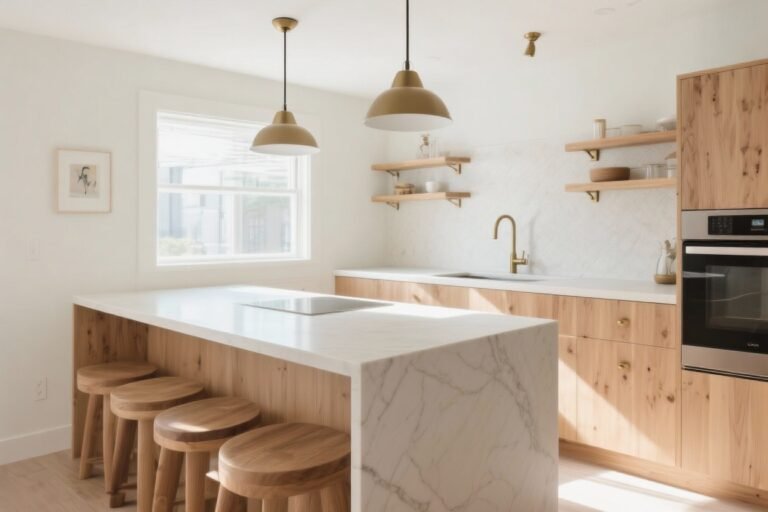
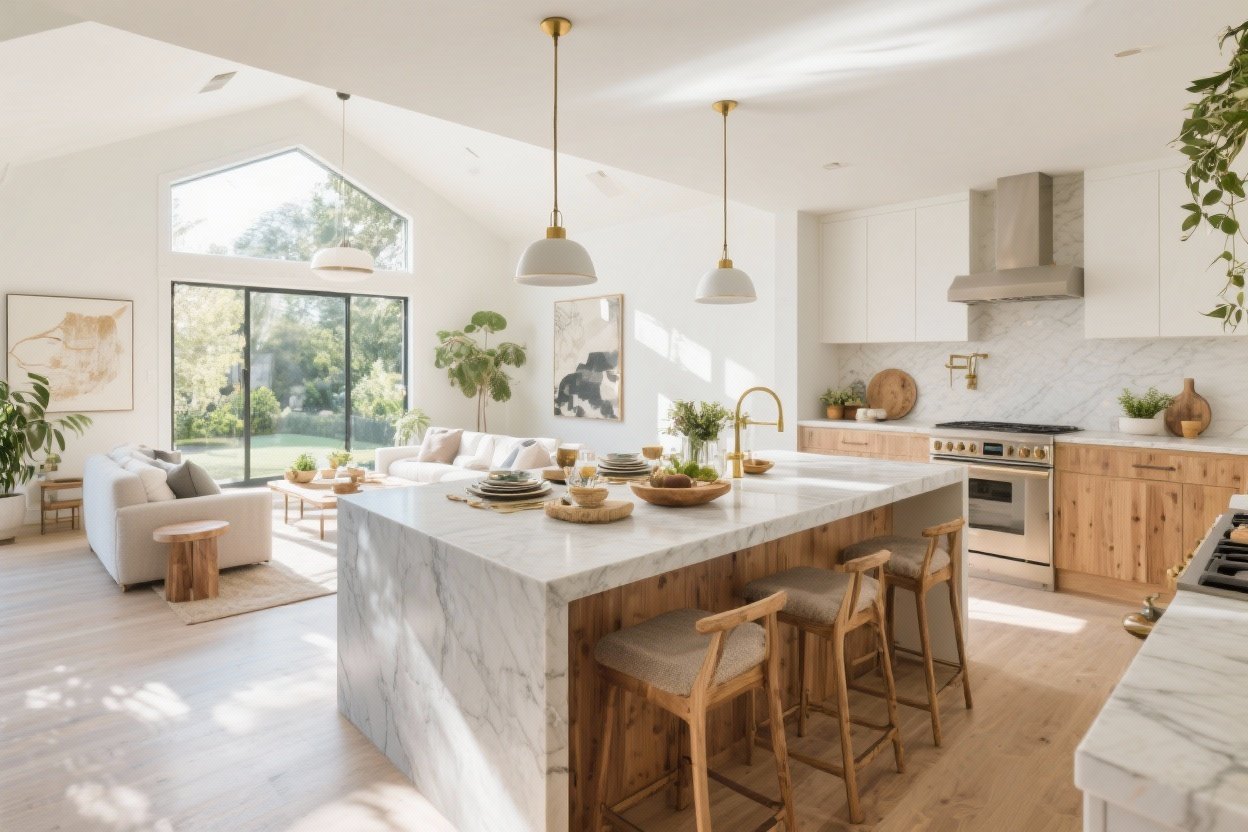
7. The Breakfast-To-Cocktail Peninsula
No room for an island? A peninsula can do the same job—and sometimes better. It frames the kitchen, keeps things open, and turns into a natural buffet line.
Why It Works
- Built-in traffic control: One way in, one way out = no kitchen gridlock.
- Multi-use seating: Breakfast nook by day, wine-and-snacks zone by night.
- Seamless look: Continuous counters unify the space.
Pro Tips
- Extend the overhang to 12–15 inches for comfy knees.
- Use counter stools that tuck fully under—clean lines, fewer tripping hazards.
- Mount a dimmer so the peninsula can glow while the kitchen chills.
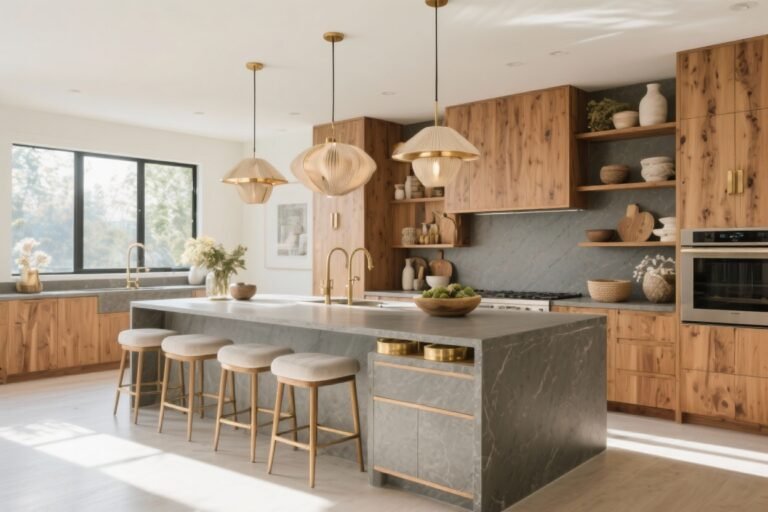
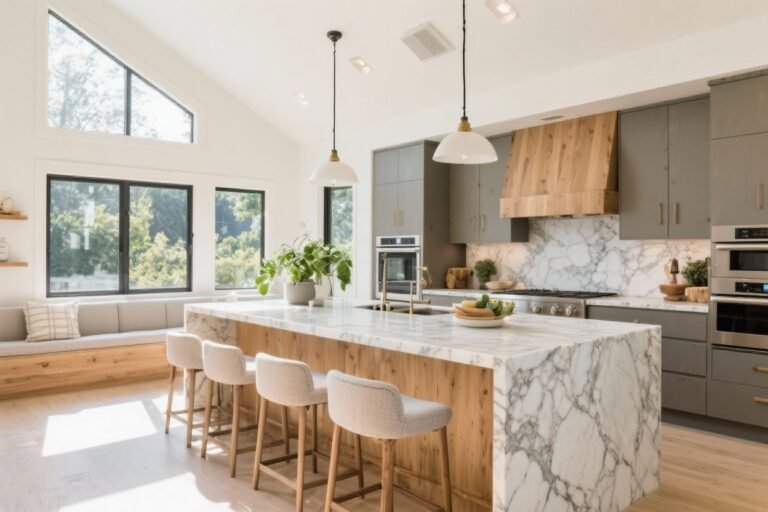
8. The Mixed-Materials Statement
Nothing says “I have taste” like an island that blends materials: stone, wood, and metal. It adds depth and makes the whole room feel curated—without feeling try-hard, IMO.
Why It Works
- Visual interest: Wood warms stone; metal adds edge.
- Zoning by material: Butcher block for prep, stone for plating, metal rail for tools.
- Timeless-tone mix: Neutrals make it feel cohesive.
Pro Tips
- Repeat one material elsewhere (floating shelves, hood trim) to tie it together.
- Choose hardware that matches your lighting finish for a pulled-together look.
- Seal wood tops and use trays to define drink areas—water rings begone.
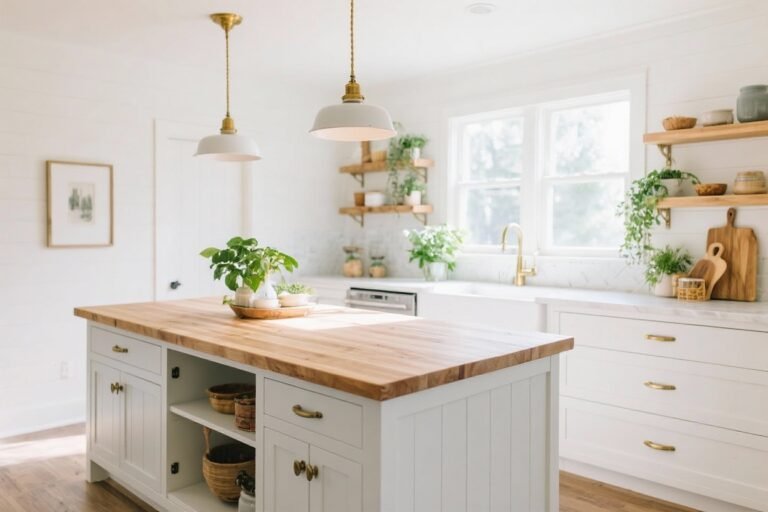
9. The Open-Under Island With Leggy Charm
Leave the base open and let the island breathe. Think furniture-style legs, slender lines, and airy storage—great for smaller spaces or anyone allergic to bulky cabinetry.
Why It Works
- Lighter footprint: Keeps sightlines open in compact or open-plan homes.
- Flexible storage: Baskets for linens, trays for boards, and display-worthy cookware.
- Furniture feel: Makes the kitchen feel more like living space.
Pro Tips
- Add a lower slatted shelf for airflow (great for produce baskets).
- Use counter stools with lighter silhouettes—no heavy backs.
- Anchor the look with a statement runner that’s washable. FYI: pattern hides spills.
10. The Tech-Forward Prep Hub

Smart outlets. Wireless charging. A tucked-away tablet stand. This island is the brains of the operation—recipes, playlists, and hosting timers at your fingertips.
Why It Works
- Clutter control: Dedicated charging zones and cord management keep surfaces clear.
- Hands-free help: Voice-controlled lighting and faucets for cleaner prep.
- Guest-friendly: Pop-up outlets mean no one crawls under the counter.
Pro Tips
- Install a pop-up outlet with USB-C and wireless charging in a corner of the counter.
- Tuck a narrow drawer with dividers for remotes, markers, and bottle openers.
- Program lighting scenes: “Prep,” “Party,” and “Afterglow” (yes, please).
How to Choose the Right Open Island for You
- Space and flow: Leave 36–48 inches around the island for comfy circulation.
- Entertaining style: Big dinners? Choose storage-forward. Casual gatherings? Go curved or open-under.
- Maintenance level: Quartz is low-fuss. Wood is warm but needs sealing. Marble is gorgeous but… delicate.
- Lighting matters: Aim for three pendants or one large statement fixture. Dimmer is non-negotiable.
Styling Essentials (Because Vibes Matter)
- A hefty tray to corral oils, salt, and a small plant—instant styling, easy to lift for cleaning.
- One sculptural bowl or cake stand for height.
- Soft linens in a tight color palette—reuse them across seasons.
- Fresh herbs in a low planter. Pretty and practical.
Bottom line: your island should be as open and easygoing as your parties. Pick the design that matches your space and your hosting style, layer in smart storage and lighting, and you’re set. Now text the group chat—you’ve got room for everyone, and the island’s ready to shine.