10 Simple Kitchen Decor Changes That Make a Big Impact You’ll Love
Ready to make your kitchen look insanely good without a full reno? Same. The secret is quick wins that deliver big visual payoff. Think: a few swaps, some strategic styling, and maybe a little peel-and-stick magic. Let’s makeover your space the fun way—no contractor required.
1. Upgrade Hardware, Upgrade Everything
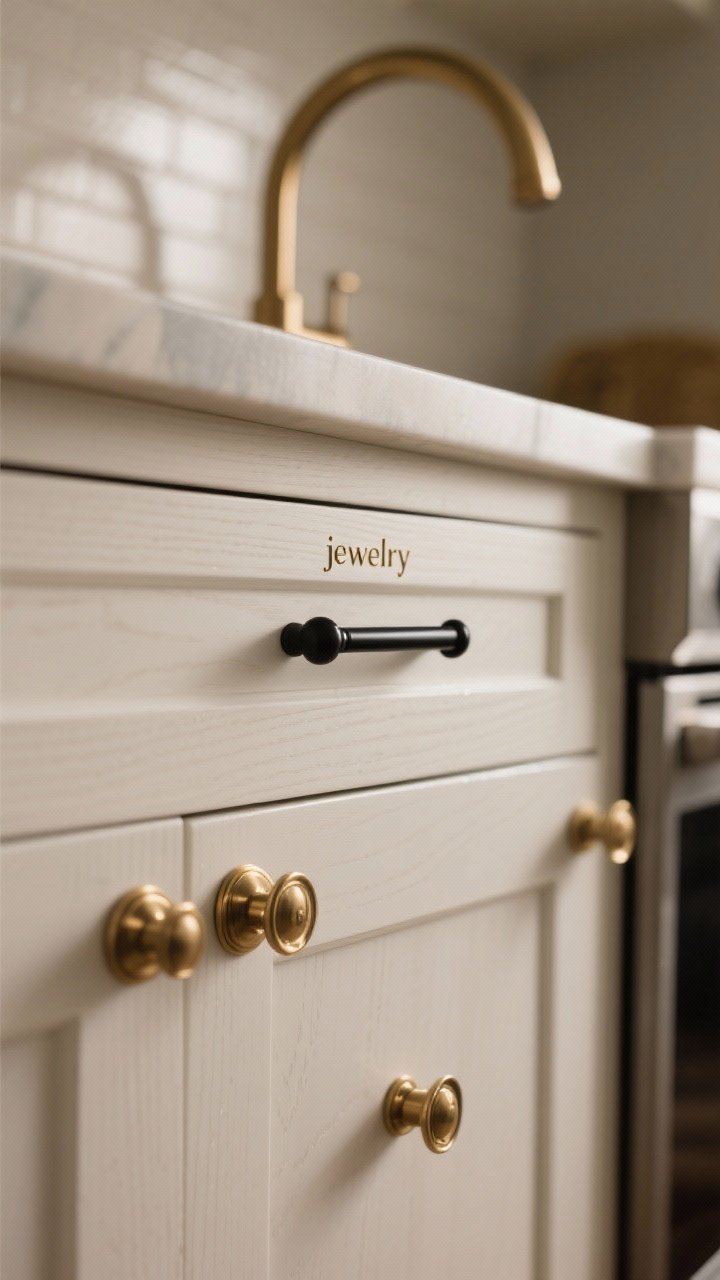
If you want instant polish, start with cabinet hardware. New knobs and pulls are basically jewelry for your kitchen—small pieces, huge drama. Matte black for modern, brushed brass for warmth, or mixed metals if you like it spicy.
Tired of snacking when you’re not even hungry? This reset helps you stop the loop and feel back in control.
A simple reset for moments when cravings take over. Easy to use, easy to repeat, and designed to help you feel satisfied instead of stuck.
How to Choose the Right Hardware
- Match the vibe: Sleek bars for contemporary, cup pulls for cottage, vintage knobs for eclectic charm.
- Check measurements: Replacing pulls? Measure center-to-center so you don’t have to drill new holes (you’re welcome).
- Coordinate metals: It’s okay to mix, but pick one dominant finish so it feels intentional.
Pro tip: Swap your faucet to match. It’s like coordinated accessories—effortless and elevated.
2. Paint (Or Repaint) Just One Thing
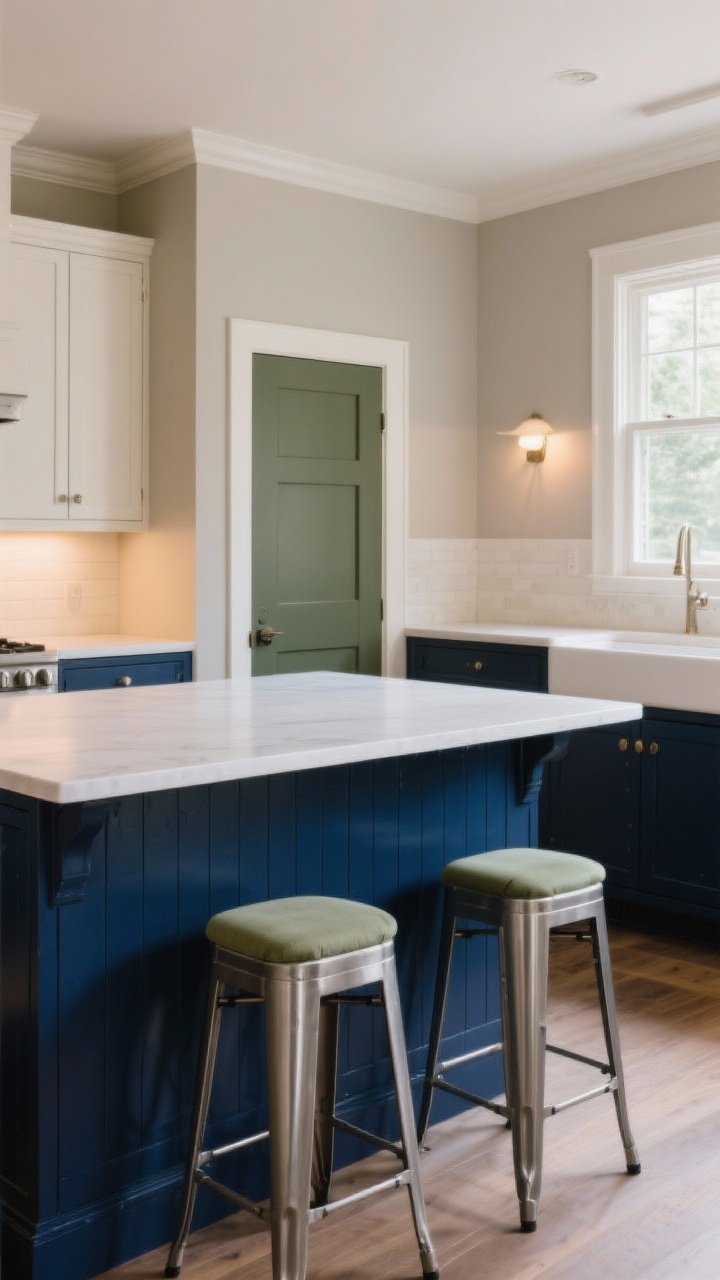
Paint is the cheapest magic trick. You don’t have to tackle the entire kitchen—just paint the island, the lower cabinets, or a feature wall. One bold move = major transformation.
Color Ideas That Never Miss
- Deep navy or charcoal for an elevated, cozy feel.
- Warm greige or taupe to soften harsh whites.
- Muted sage or olive if you want earthy and calm.
FYI: If you’re commitment-phobic, try color on bar stools or a statement pantry door. You’ll get the vibe without a full paint marathon.
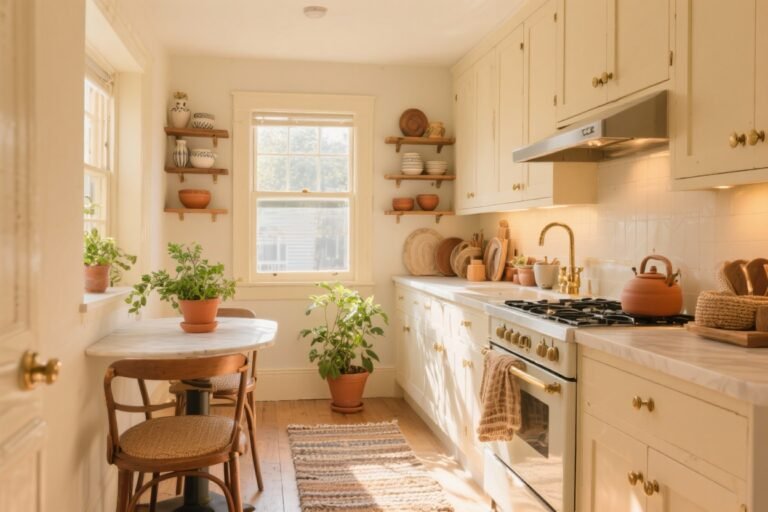
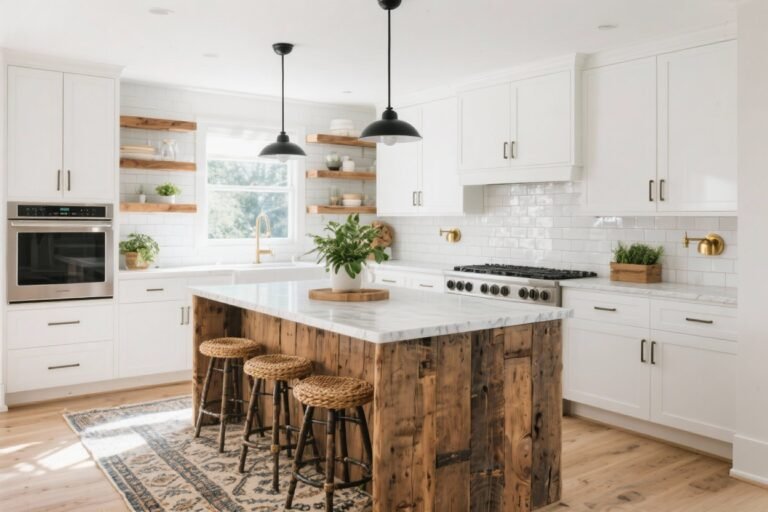
3. Style Your Countertops Like a Designer

Clutter is the enemy of style. Clear your counters, then add back a few curated moments. Think practical, pretty, and purposeful.
Transform Your Home With 7,250+ Stunning Landscaping Designs—No Expensive Designers Needed!
- 🌿 Access 7,250+ stunning landscaping designs.
- 💰 Save thousands—no pro designer needed.
- 🏡 Plans for gardens, patios, walkways, and more.
- ✨ Simple, beginner-friendly DIY layouts.
- 🛠️ Customize any design to fit your yard.
Three Zones That Always Work
- By the stove: Olive oil decanter, salt cellar, wooden spoon crock, petite board—functional and chic.
- By the sink: A tray with hand soap, dish soap, a scrub brush, and a tiny plant.
- Breakfast spot: Canister of coffee beans, mugs, and a cute sugar bowl.
Layer in a vintage cutting board or a stoneware bowl of lemons. It’s giving “I cook here” without visual chaos.
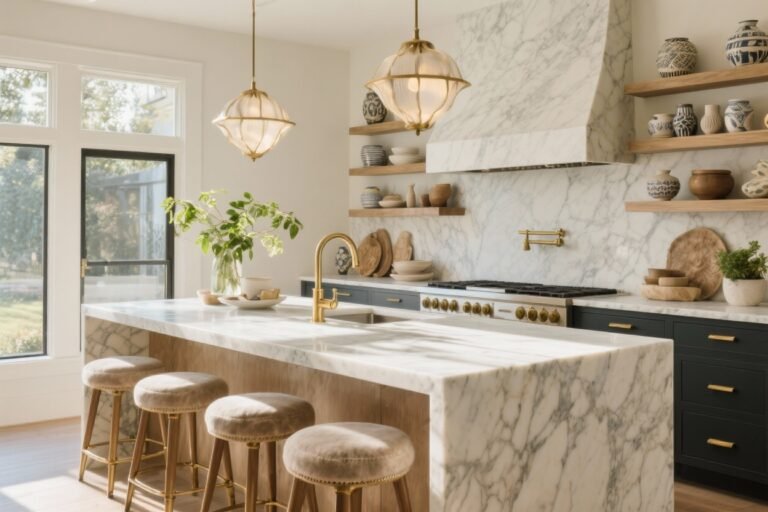
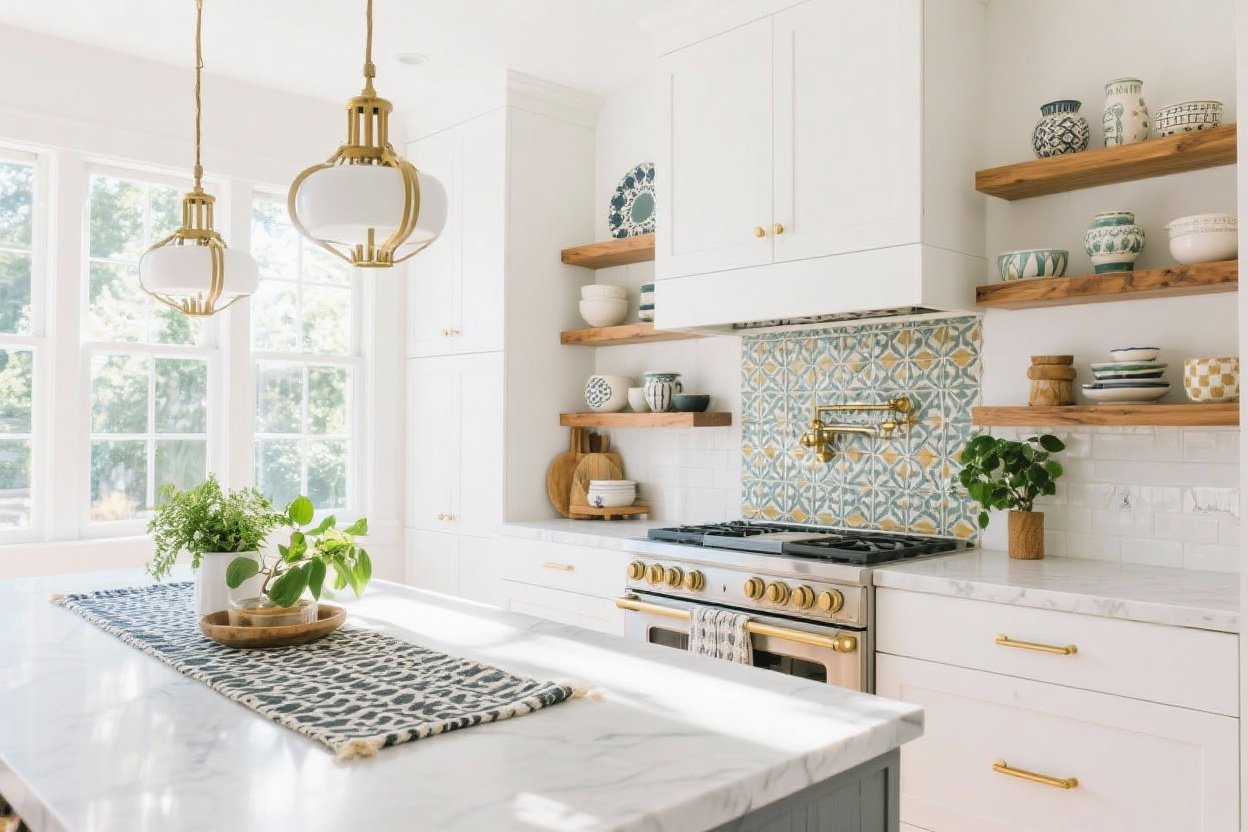
4. Light Fixtures That Steal the Show

Bad lighting can make a million-dollar kitchen look meh. Swap your pendants or add a cute semi-flush fixture and watch the whole room glow up.
Lighting Tips That Make a Difference
- Scale matters: Over an island, 2 larger pendants > 3 tiny ones. Don’t be shy.
- Mix materials: Rattan or linen shades for warmth, glass for airiness, metal for drama.
- Bulbs are key: 2700–3000K for a warm, flattering light. Dimmers if you’re fancy (you are).
Bonus: Add LED tape lights under cabinets. It’s subtle, luxe, and great for late-night snacking.
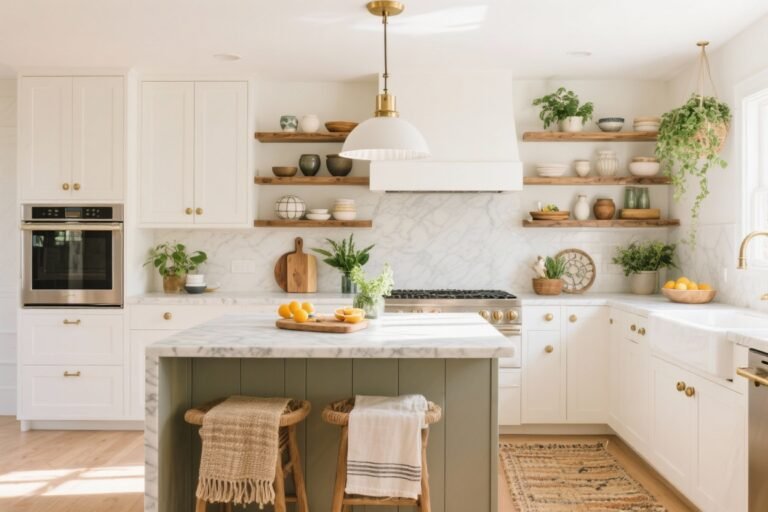
5. Open Shelves, But Make Them Practical

You don’t need a wall of open shelves—just one or two can pull focus and break up heavy cabinetry. Use them for the pretty stuff you actually reach for.
What to Style on Repeat
- Stacks of dishes in white or a cohesive color.
- Glass jars with dry goods (pasta, oats—hello, Pinterest).
- Cookbooks with spines facing out and a small framed print.
- Greenery: A trailing pothos never fails.
Keep it 70% functional, 30% decorative. If it collects dust and you never touch it, it’s probably not shelf material.

6. Backsplash Glow-Up (No Tile Saw Needed)
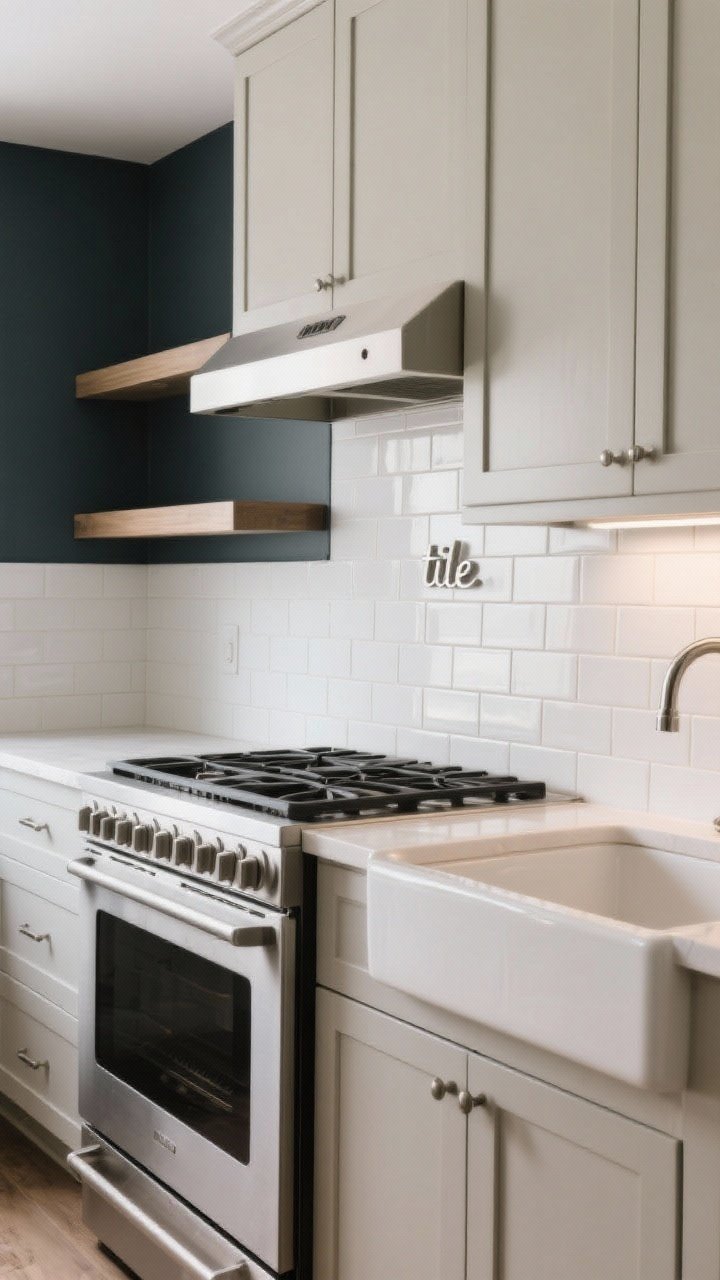
No time or budget for tile? Totally fine. Peel-and-stick backsplash, pre-cut beadboard, or even painted backsplash can change everything. Clean lines, fresh color, instant polish.
Easy Backsplash Options
- Peel-and-stick “tile”: Great for rentals; looks real from normal human distances.
- Beadboard panels: Paintable and charming, especially in cottages or farmhouse styles.
- High-contrast paint: Paint the wall a darker tone for a bold, graphic look.
Seal behind the sink if you’re using paint or beadboard. Because water will find a way—always.
7. Textiles Do the Heavy Lifting
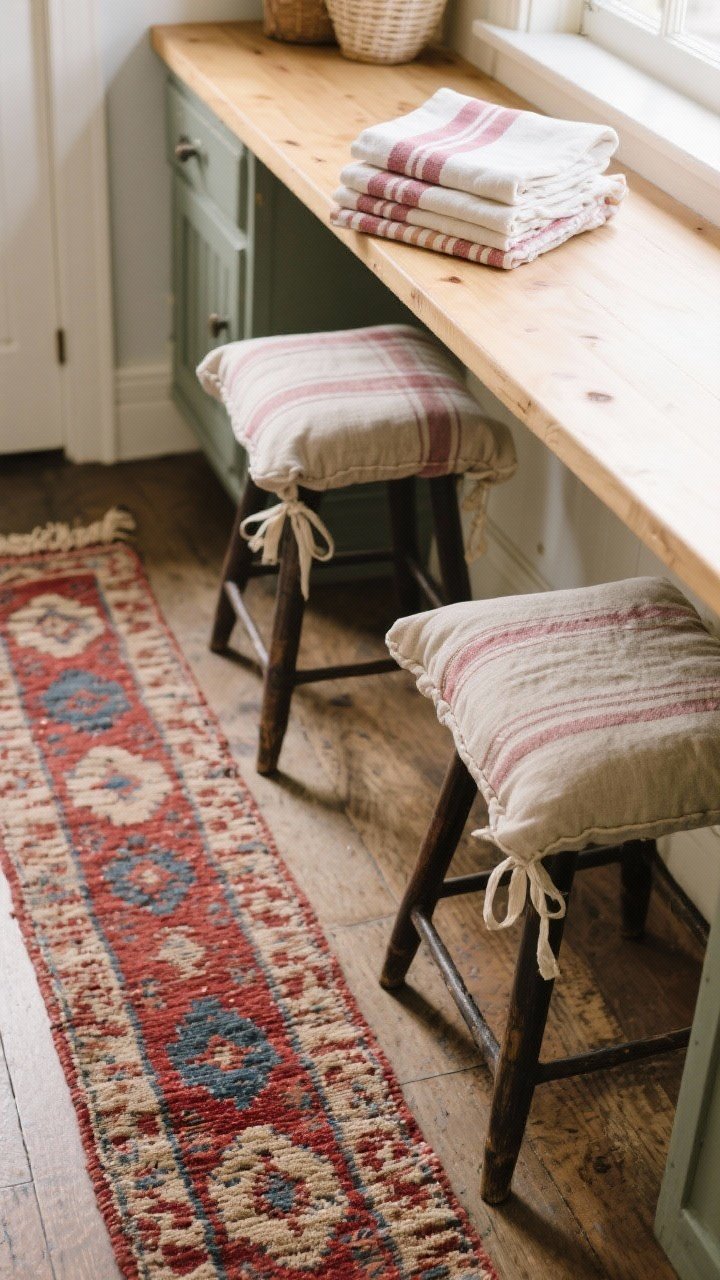
Textiles add warmth fast. A runner rug, upgraded tea towels, and cushioned seat pads can take your kitchen from sterile to styled.
Texture + Pattern = Instant Personality
- Kitchen runner: Vintage-style, washable, and patterned to hide crumbs (we’re real here).
- Tea towels: Ditch the logo ones. Go for linen blends in stripes or checks.
- Chair cushions: Add comfort and color—ties in a matching fabric for a pulled-together look.
IMO, textiles are the easiest way to play with color without long-term commitment.
8. Bring In Real (Or Real-Looking) Greenery
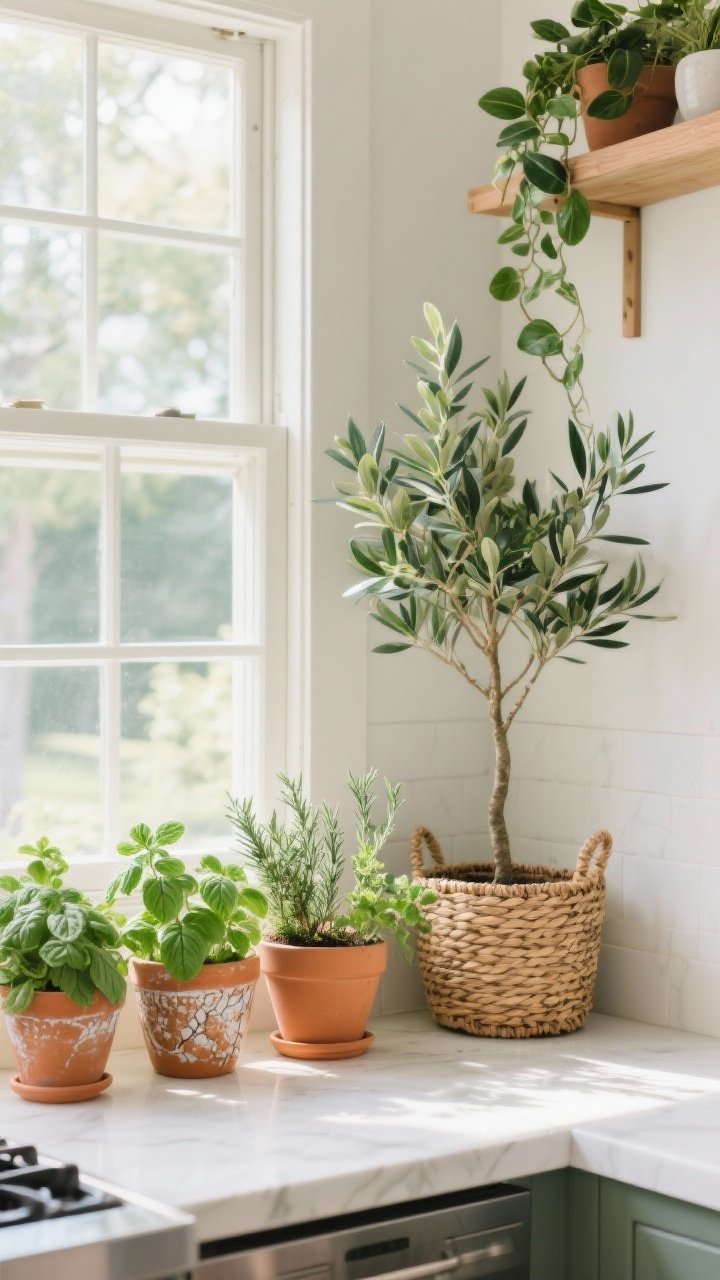
Plants wake up a kitchen instantly. A little fresh herb garden by the window? Cute and useful. A tall olive tree or fiddle leaf fig in an empty corner? Statement made.
Plant Picks That Thrive Indoors
- Herbs: Basil, mint, rosemary—grow what you cook with.
- Low light champs: Pothos, ZZ plant, snake plant.
- Faux options: Go high-quality; mix with real to keep the illusion alive, lol.
Put plants in textured pots—terracotta, ceramic, or woven baskets—and thank me later.
9. Art That Says “Yes, I Have Taste”
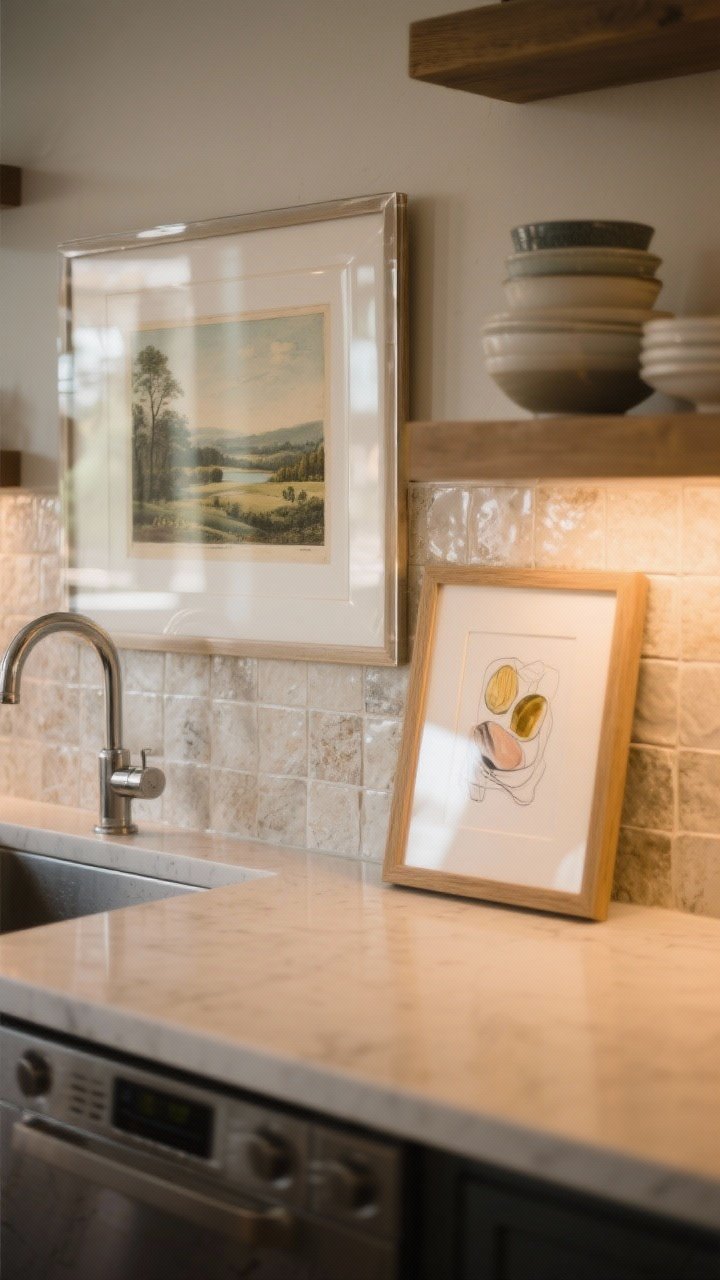
Art in the kitchen? Absolutely. It softens the hard surfaces and makes the room feel intentionally lived-in. Go for vintage prints, food sketches, or abstracts for a modern hit.
Where to Put It
- On a ledge: Lean a framed print on the counter against the backsplash.
- Above the sink: A small landscape is unexpectedly charming.
- On open shelves: Layer a tiny frame behind dishes.
Stick to moisture-resistant frames or use acrylic glazing. Kitchens are steamy; protect your art like the treasure it is.
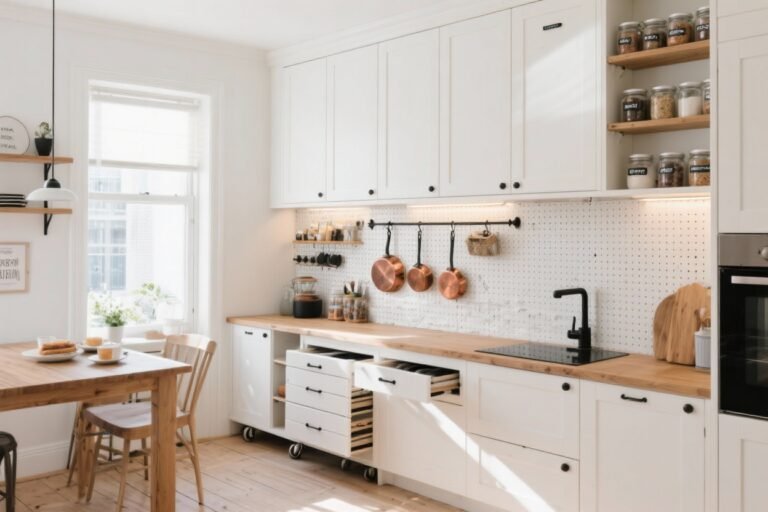
10. Declutter Like You Mean It (Then Decant)
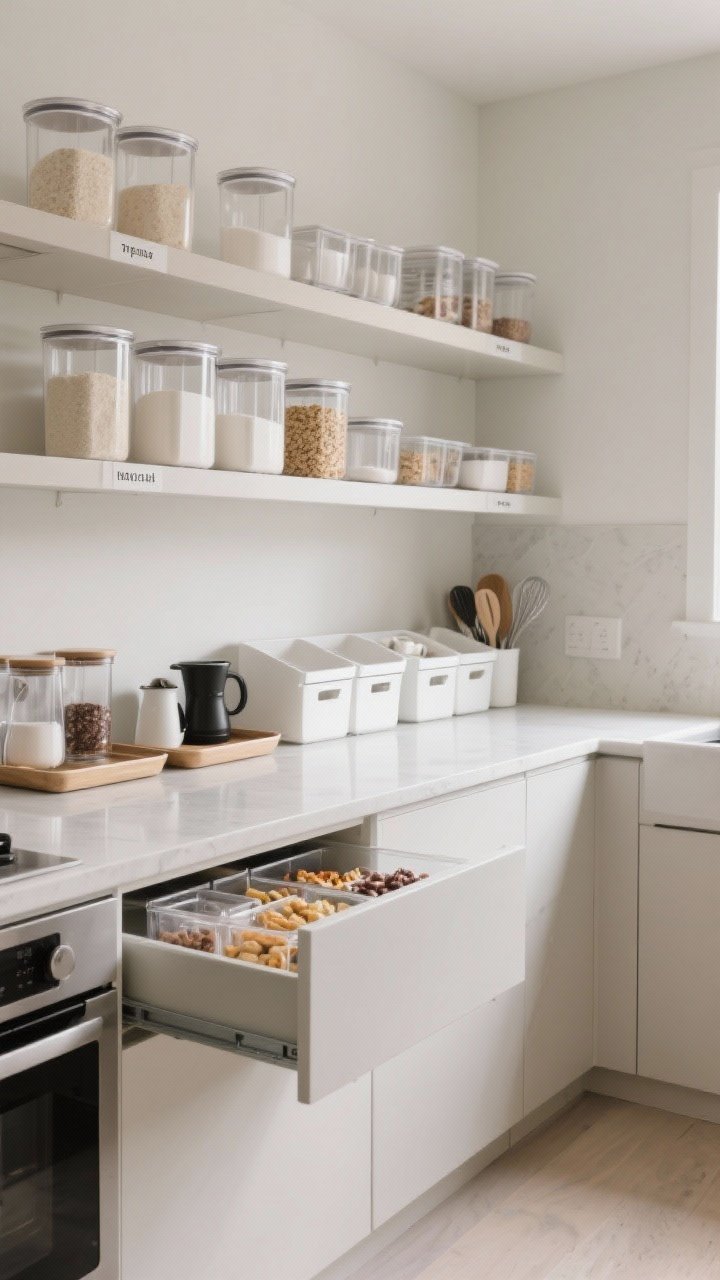
Hot take: the biggest transformation comes from editing. Clear out gadgets you never use, streamline the rest, and then make it look good with smart storage.
Easy Wins That Change the Daily Flow
- One-in, one-out rule: If you buy a new tool, donate an old one.
- Decant staples: Flour, sugar, cereal—use matching glass or airtight containers for a uniform look.
- Label lightly: Simple labels keep it chic (and no mystery jars).
- Use trays and bins: Corral coffee gear, baking tools, and snack zones like a pro.
Once you edit, your pretty decor finally shines. Chaos never looks curated, FYI.
Quick Mix-and-Match Plan
- Weekend 1: Hardware + faucet swap.
- Weekend 2: Paint the island + add a runner.
- Weeknight hours: Style counters, hang art, plant herbs.
- When motivation strikes: Peel-and-stick backsplash + new pendants.
That’s the glow-up playbook—fast, fun, and fully achievable.
Final pep talk: You don’t need a demo day to get a dreamy kitchen. Pick two or three ideas from this list, commit for a weekend, and watch the space start working harder and looking better. You’ve got this—now go make your kitchen the room everyone wants to hang out in.