10 Easy Small Kitchen Ideas You Can Do in a Weekend That Wow
Small kitchen? Same. But guess what—tiny can be mighty with a few smart moves and a Saturday’s worth of effort. These ideas are simple, affordable, and wildly satisfying. We’re talking instant storage, extra prep space, and style that finally matches the rest of your home.
Grab your toolbox (or at least your measuring tape) and let’s make your kitchen work harder—and look better—by Monday morning.
Tired of snacking when you’re not even hungry? This reset helps you stop the loop and feel back in control.
A simple reset for moments when cravings take over. Easy to use, easy to repeat, and designed to help you feel satisfied instead of stuck.
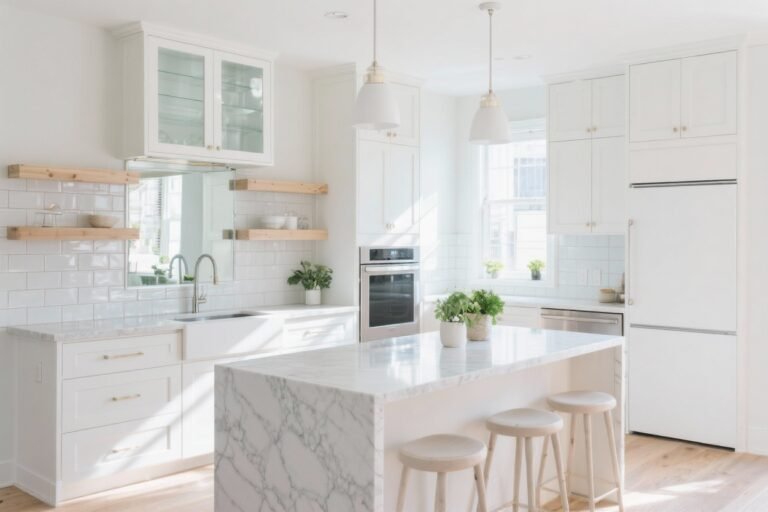
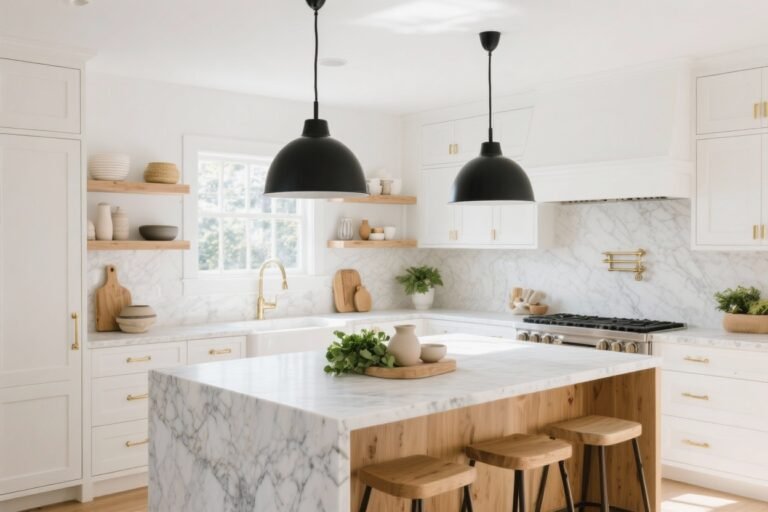
1. Go Vertical With Sleek Open Shelves
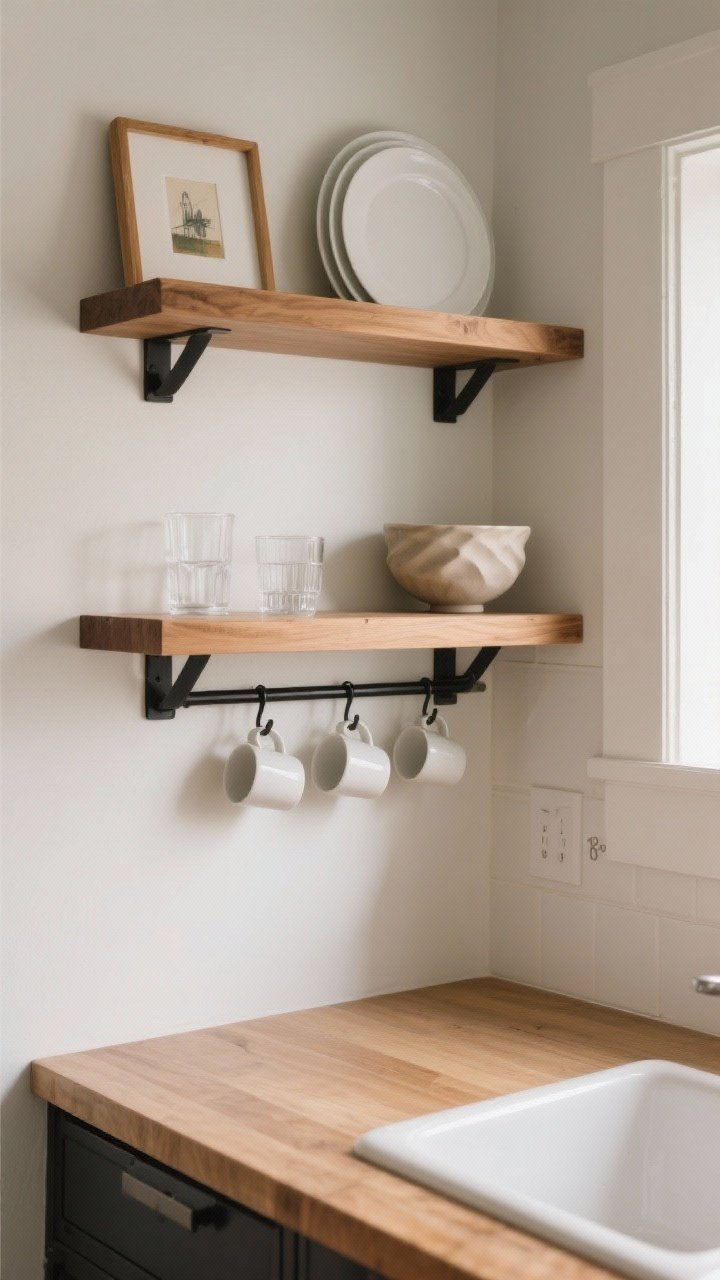
When countertop space is precious, the walls are your best friends. A couple of well-placed open shelves can handle your everyday dishes, glasses, and even a few cute plants. Bonus: it makes your kitchen look airy and intentional.
Style Tips
- Use two to three floating shelves above your counter or sink to keep it balanced.
- Stick to matching plates and clear glasses for a calm, curated look.
- Mix in one decorative moment per shelf—like a small framed print or a sculptural bowl.
Install Like a Pro
- Hit studs if you can; if not, use heavy-duty wall anchors.
- Keep the lowest shelf about 18 inches above the counter for easy reach.
- Finish with under-shelf hooks for mugs or measuring cups.
FYI: Go for wood tones or matte black brackets for instant warmth and contrast.
2. Swap Bulky Hardware For Slim, Chic Pulls
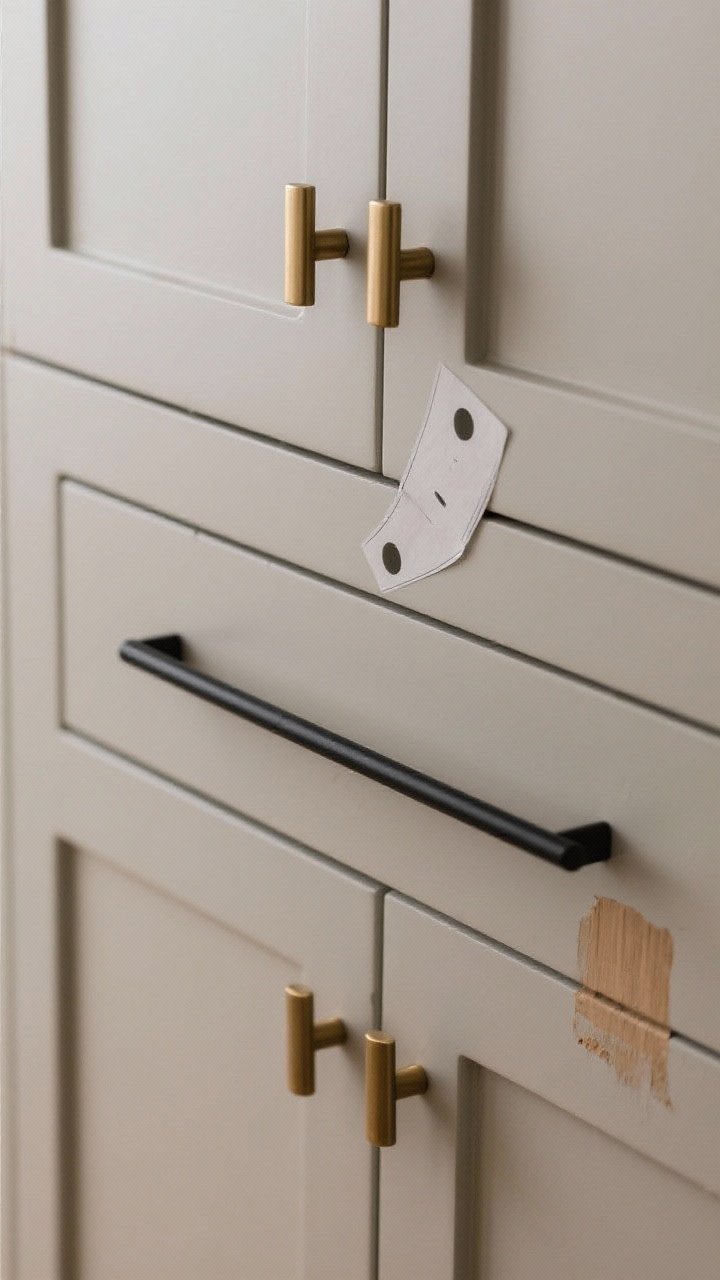
New hardware = instant glow up. It’s the quickest way to modernize dated cabinets without paint or power tools. Think of it as jewelry for your kitchen.
What To Choose
- Matte black or brushed brass for a modern, designer vibe.
- Long bar pulls on drawers make them look wider (hello, visual stretch).
- Slim finger pulls for ultra-minimal styles.
Quick Install
- Use a template so every hole lines up (no guessing).
- Patch and touch up if you’re changing the hole spacing—wood filler is your friend.
- Keep screws snug but not overtight—no cracked cabinet faces, please.
Small effort, big polish. You’ll be shocked at the difference.
Transform Your Home With 7,250+ Stunning Landscaping Designs—No Expensive Designers Needed!
- 🌿 Access 7,250+ stunning landscaping designs.
- 💰 Save thousands—no pro designer needed.
- 🏡 Plans for gardens, patios, walkways, and more.
- ✨ Simple, beginner-friendly DIY layouts.
- 🛠️ Customize any design to fit your yard.
3. Paint A High-Contrast Accent Wall Or Backsplash
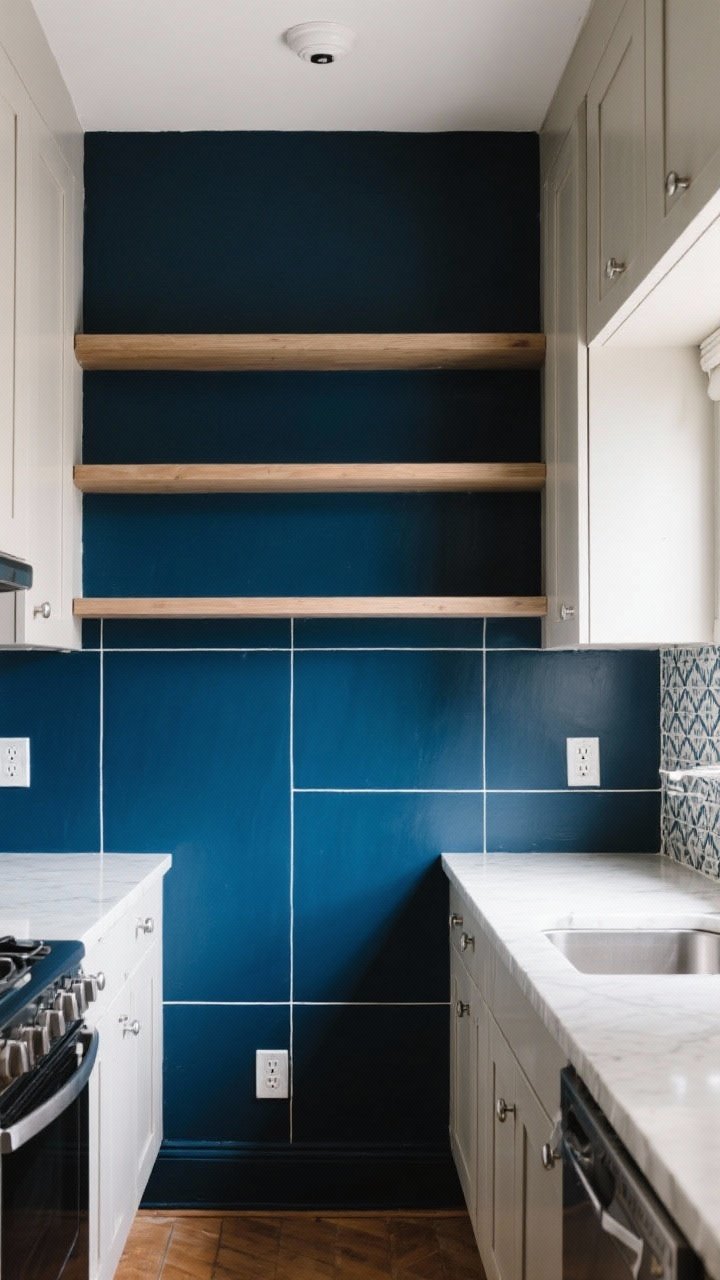
Can’t redo your whole kitchen? Paint can fake it fast. A high-contrast accent wall or painted backsplash brings depth and makes a small space feel designed, not cramped.
Color Play
- Try deep navy, charcoal, or forest green if your cabinets are light.
- Go soft greige or warm white if your cabinets are dark.
- For renters: use removable peel-and-stick backsplash tiles for texture.
Pro Moves
- Choose scrubbable, satin or semi-gloss paint—easier cleaning.
- Tape meticulously around outlets and counters. It’s worth the extra 10 minutes.
- Stop the paint at a clean line behind open shelves for that designer look.
Think of it as instant drama without the commitment of new cabinets.
4. Add A Rolling Island Or Slim Cart
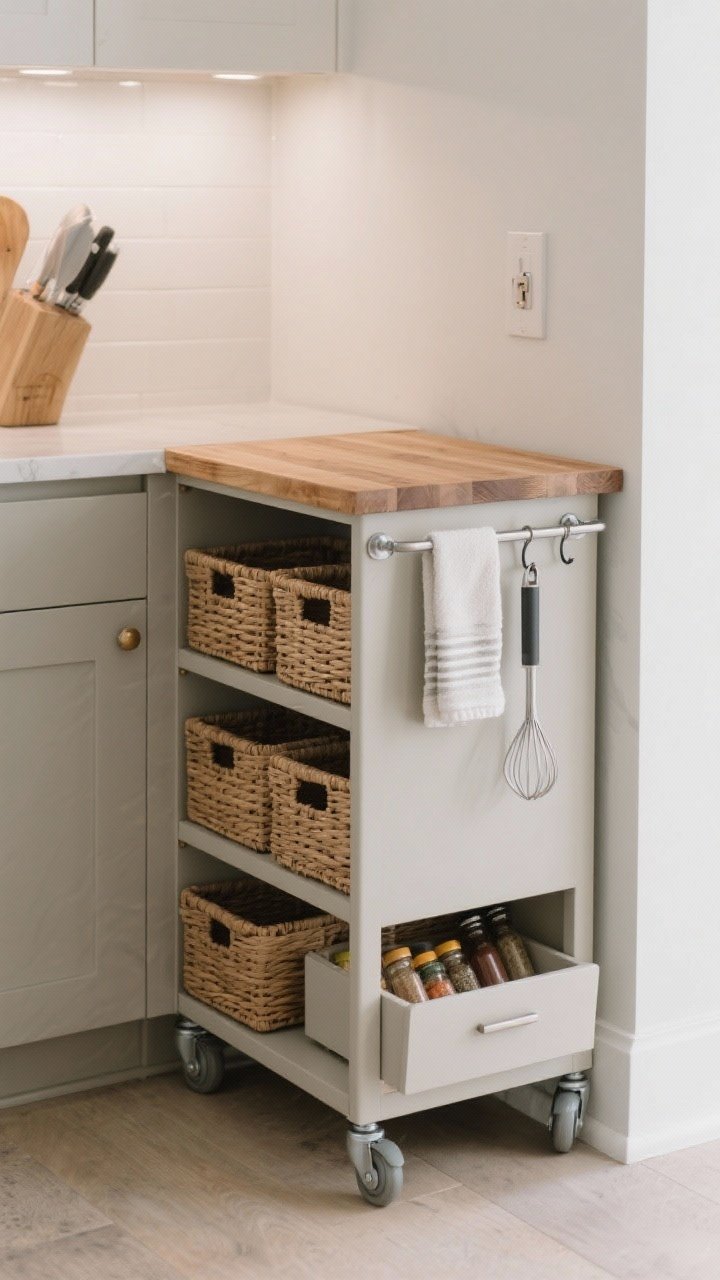
Need more prep space but don’t have the square footage? A wheeled cart or narrow island is pure magic. Roll it out when you’re cooking; tuck it away when you’re done.
What To Look For
- Narrow depth (12–18 inches) to squeeze into tight spots.
- Locking casters so it doesn’t drift away mid-chop.
- Shelves or a drawer for mixing bowls, spices, or linens.
Styling Ideas
- Top with a butcher block or stone-look surface.
- Hang hooks on the side for towels, tongs, or oven mitts.
- Use matching baskets on the lower shelf for pretty storage.
When space is tight, mobility is everything. This one’s a no-brainer.
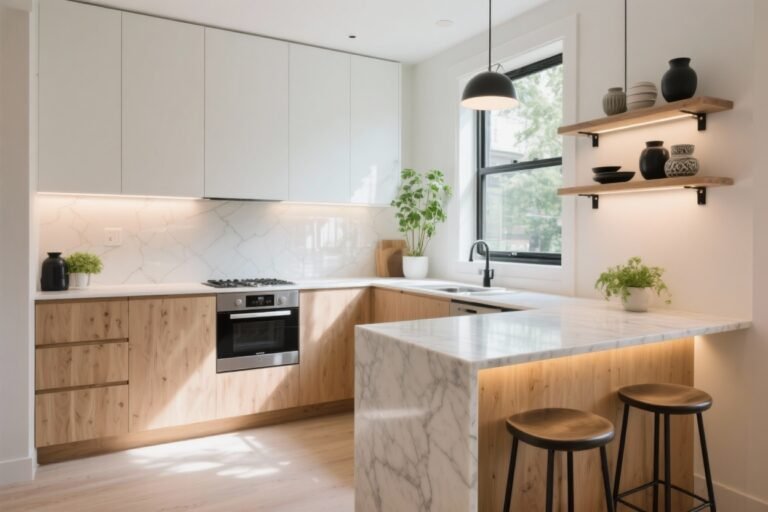
5. Install Under-Cabinet Lighting For Instant Luxe
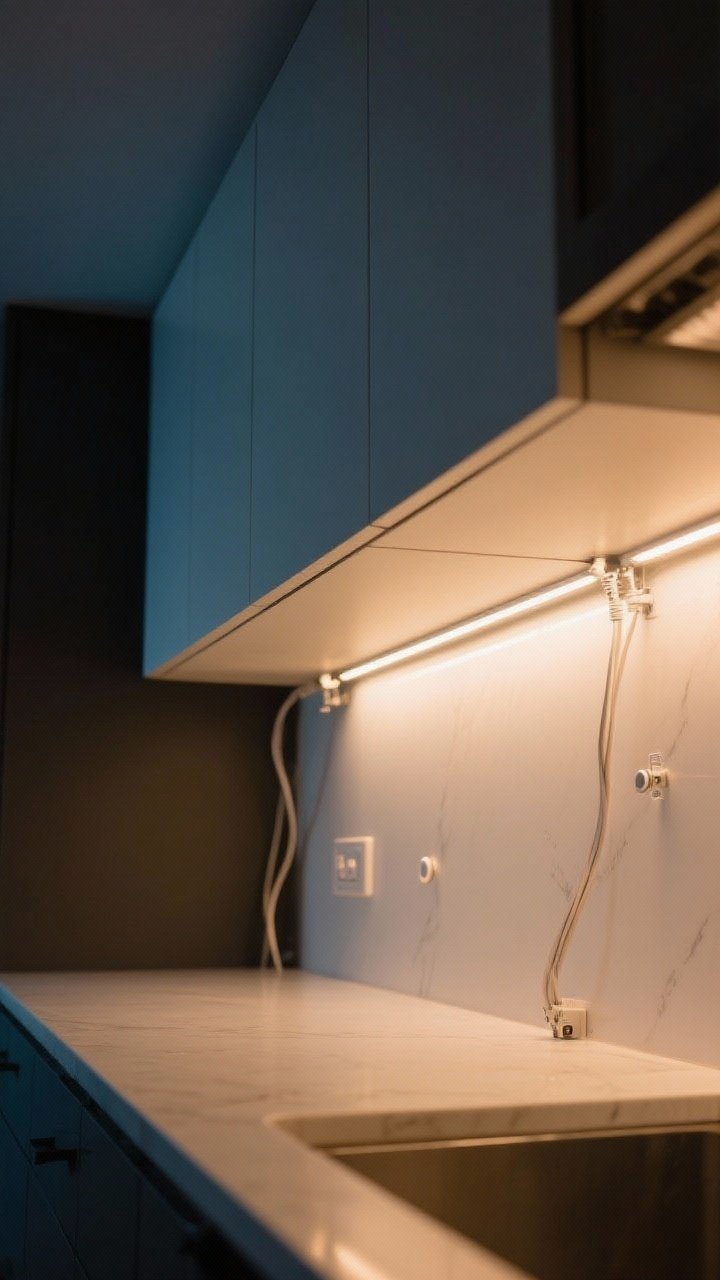
Good lighting makes even a tiny kitchen look expensive. Under-cabinet lighting adds ambiance and function without a complicated install.
Easy Options
- USB or battery puck lights for super-fast setup.
- LED light strips for a continuous, modern glow.
- Motion-activated if you love a little high-tech moment.
Installation Tips
- Mount lights toward the front edge of the cabinet to avoid shadows.
- Choose warm white (2700–3000K) to keep things cozy.
- Route wires with adhesive cable clips so everything looks tidy.
It’s the glow-up your countertops deserve.

6. Declutter Ruthlessly, Then Decant The Keepers
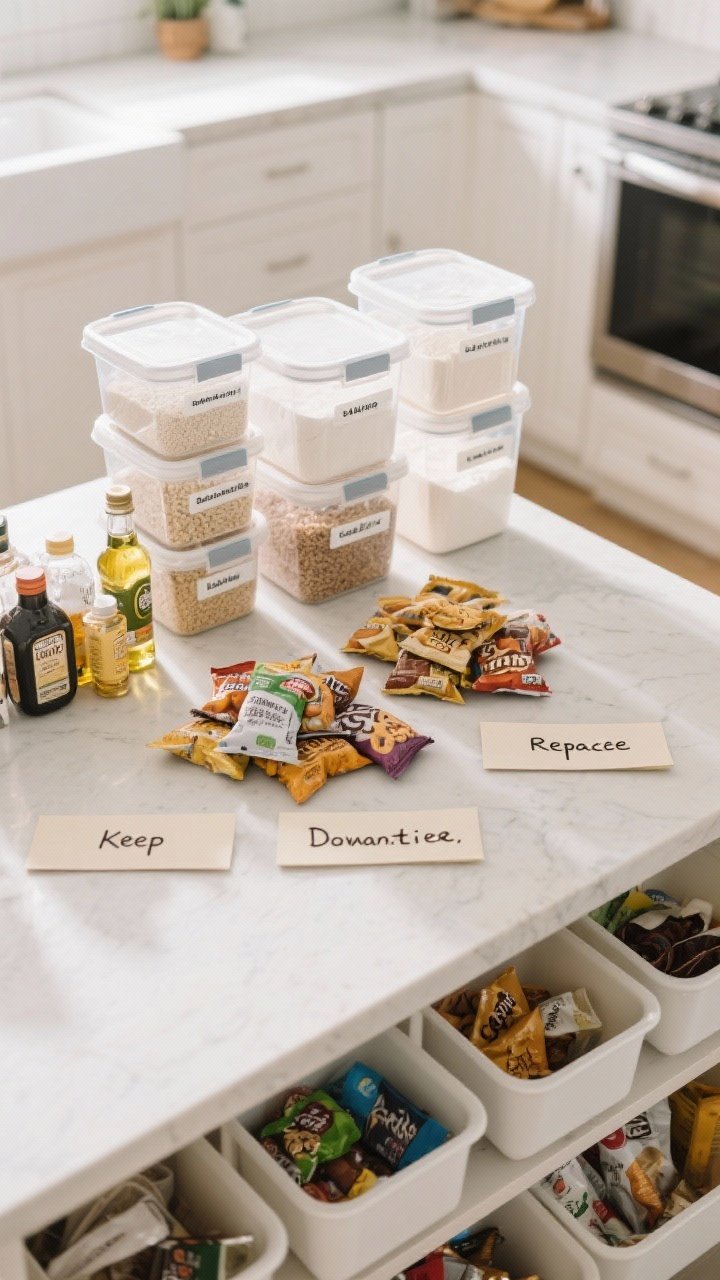
Before buying more storage, edit what you already have. Clear counters and visually quiet pantries make small kitchens feel bigger—instantly.
One-Weekend Declutter Plan
- Pull everything out and create three piles: Keep, Replace, Donate.
- Keep only the daily-use tools within arm’s reach.
- Group like with like: oils, snacks, baking, breakfast, coffee/tea.
Decanting 101
- Use clear, stackable containers for flour, sugar, snacks, and grains.
- Label with a simple label maker or chalk stickers.
- Corral loose items with shallow bins so nothing gets lost in the back.
IMO, this step alone can make your kitchen feel brand new.
7. Maximize Cabinets With Smart Inserts

If you’ve got cabinets, you’ve got potential. The right inserts double your storage and make everything easier to reach—no more mystery lids falling on your head.
Game-Changing Add-Ons
- Pull-out shelves for deep lower cabinets (life-changing for pots and pans).
- Tiered organizers for spices and canned goods.
- Vertical dividers for sheet pans, cutting boards, and trays.
- Back-of-door racks for wraps, foil, or cleaning supplies.
Measure First, Buy Once
- Measure width, depth, and height—twice. Cabinet interiors can be sneaky.
- Look for no-drill or adhesive options if you rent.
- Choose metal mesh over solid plastic trays to avoid crumbs collecting.
It’s like turning your cabinets into mini pantries. So satisfying.
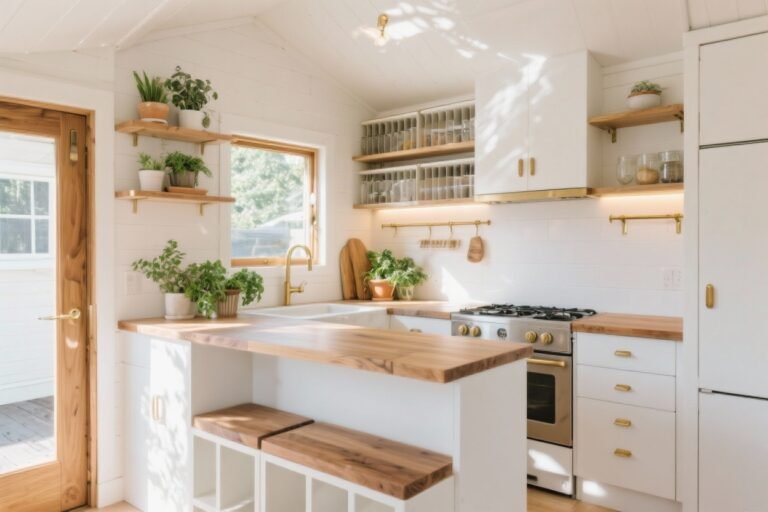
8. Create A Stylish Coffee Or Breakfast Zone
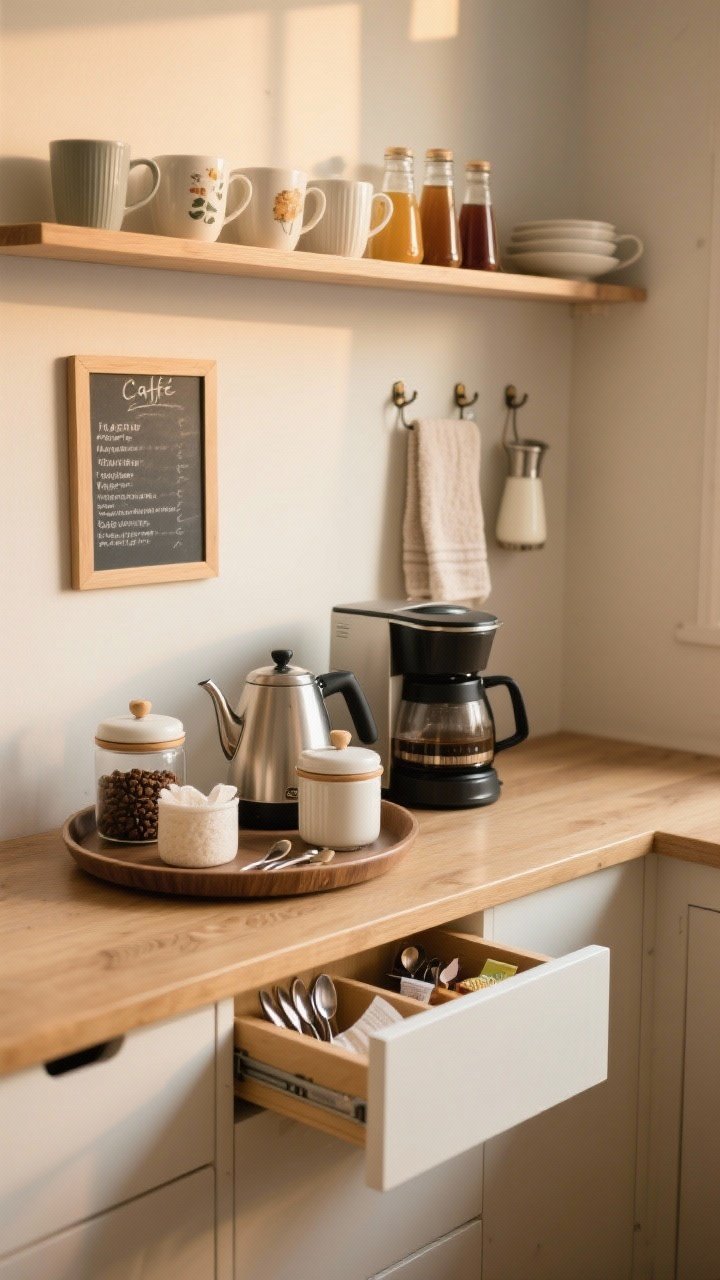
Dedicate one small area to your morning routine. It keeps traffic flowing and frees up space elsewhere. Also, it looks charming—like your kitchen has its life together.
Set The Scene
- Tray or lazy Susan for the coffee maker, kettle, or espresso machine.
- Canisters for beans, tea, and sugar—matching if you can swing it.
- Small drawer organizer for spoons, filters, and tea bags.
Wall Add-Ons
- Mount a narrow shelf for mugs or syrups.
- Add a tiny art print or menu-style chalkboard for personality.
- Install two hooks for towels or a milk frother.
This zone keeps the chaos contained and the vibes very café-at-home.
9. Use Hooks, Rails, And Magnetic Strips Everywhere
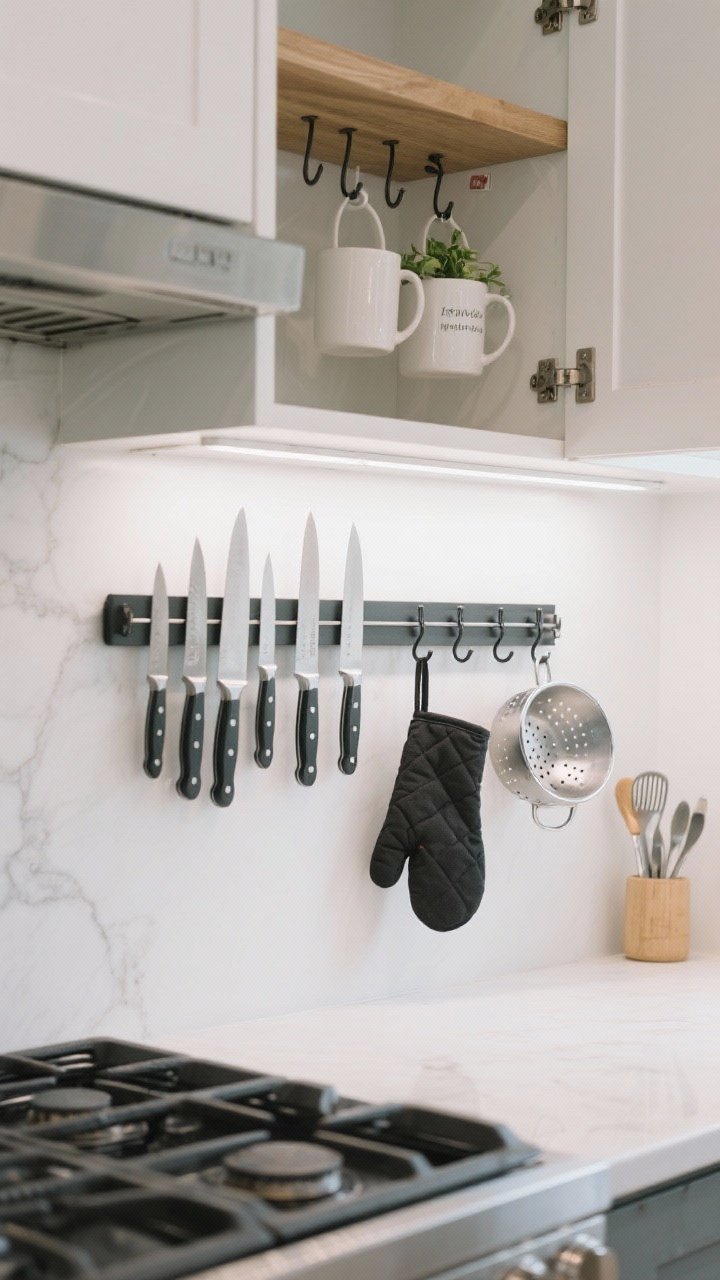
When drawers overflow, go vertical again. Hooks, rails, and magnetic strips turn blank walls and awkward corners into hard-working storage.
Where To Add Them
- Magnetic knife strip to free up counter space and drawer real estate.
- Rail with S-hooks for utensils, oven mitts, and mini colanders.
- Ceiling or shelf hooks for mugs, strainers, or a small hanging plant.
Placement Tips
- Keep rails at eye level near your main prep spot.
- Mount a knife strip away from the stove for safety.
- Use command hooks inside cabinet doors for measuring spoons and oven mitts.
It’s minimal effort with maximum payoff. Your future self will thank you every time you cook.
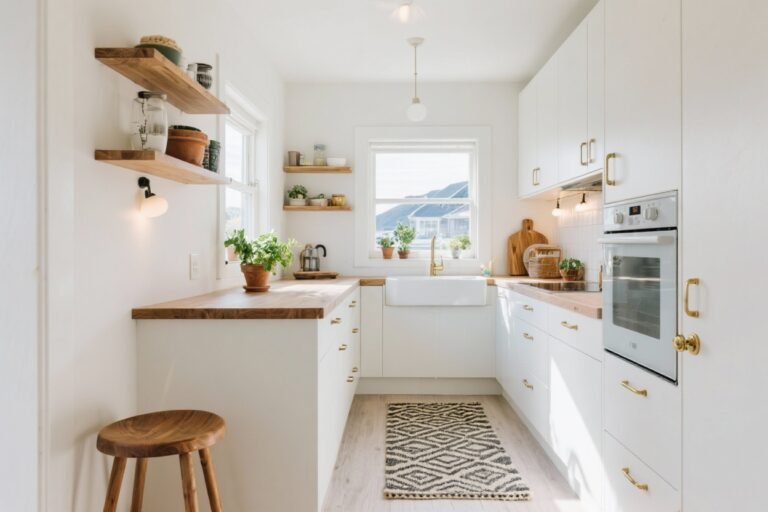
10. Dress The Floor And Windows Like They Matter
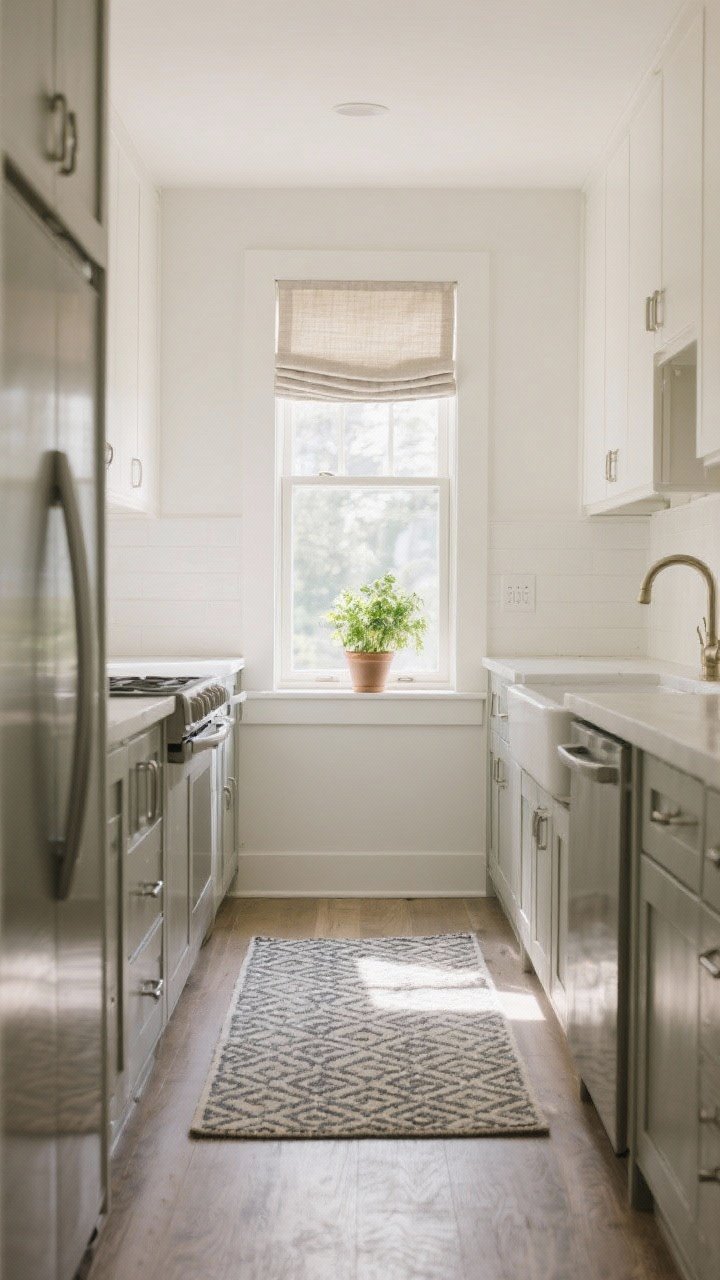
We tend to ignore floors and windows in small kitchens, but they’re prime real estate for style. A new rug and light-filtering shades can shift the whole mood in, like, 15 minutes.
Rug Rules
- Choose a low-pile, washable runner or mat in front of the sink.
- Go patterned to hide spills and crumbs between cleanings.
- Use a grippy rug pad so you don’t slip while whisking like a pro.
Window Glow-Up
- Install light-filtering Roman shades or sleek roller blinds.
- Keep it simple and neutral to bounce light and calm the space.
- Add a tiny plant or herb pot on the sill for life and color.
It’s surprising how much these soft finishes make everything feel intentional and pulled together.
Weekend Game Plan Cheat Sheet
- Day 1 morning: Declutter, decant, and install cabinet inserts.
- Day 1 afternoon: Paint an accent wall or stick on a backsplash.
- Day 1 evening: Swap hardware and lay down a washable runner.
- Day 2 morning: Install shelves, rails, and magnetic strips.
- Day 2 afternoon: Add under-cabinet lighting and roll in your cart or island.
- Day 2 evening: Style your coffee zone and admire your handiwork.
None of this requires major reno energy—just a little effort and a good playlist. With these 10 easy small kitchen ideas you can do in a weekend, you’ll get a space that’s smarter, prettier, and way more fun to cook in. You’ve got this—now go make that tiny kitchen feel like a big deal.