10 Kitchen Cabinet Ideas That Instantly Update Any Kitchen (no Remodel Required)
You don’t need a gut renovation to make your kitchen feel brand new. Your cabinets are doing most of the visual heavy lifting, which is great news because small tweaks here can equal big magic. Ready for instant gratification? Let’s give those doors some personality and make your kitchen the room everyone crowds into—on purpose.
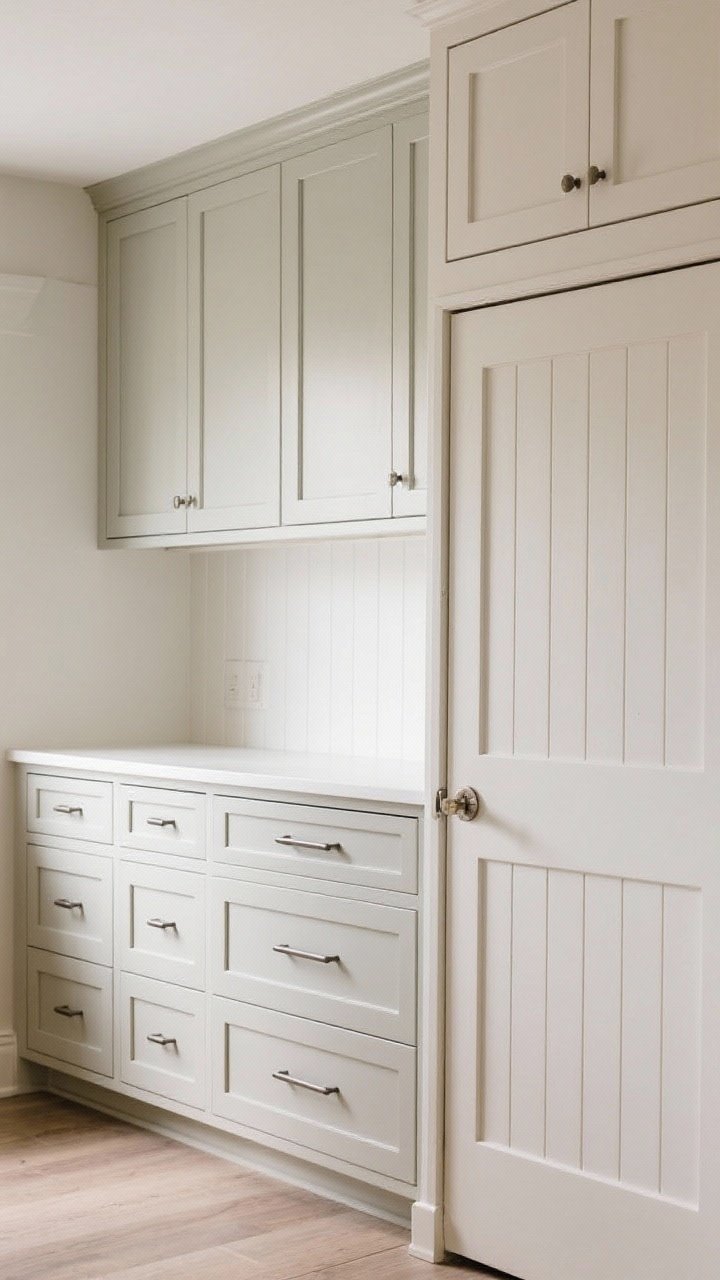
1. Paint It Bold (Or Soft) And Own The Mood
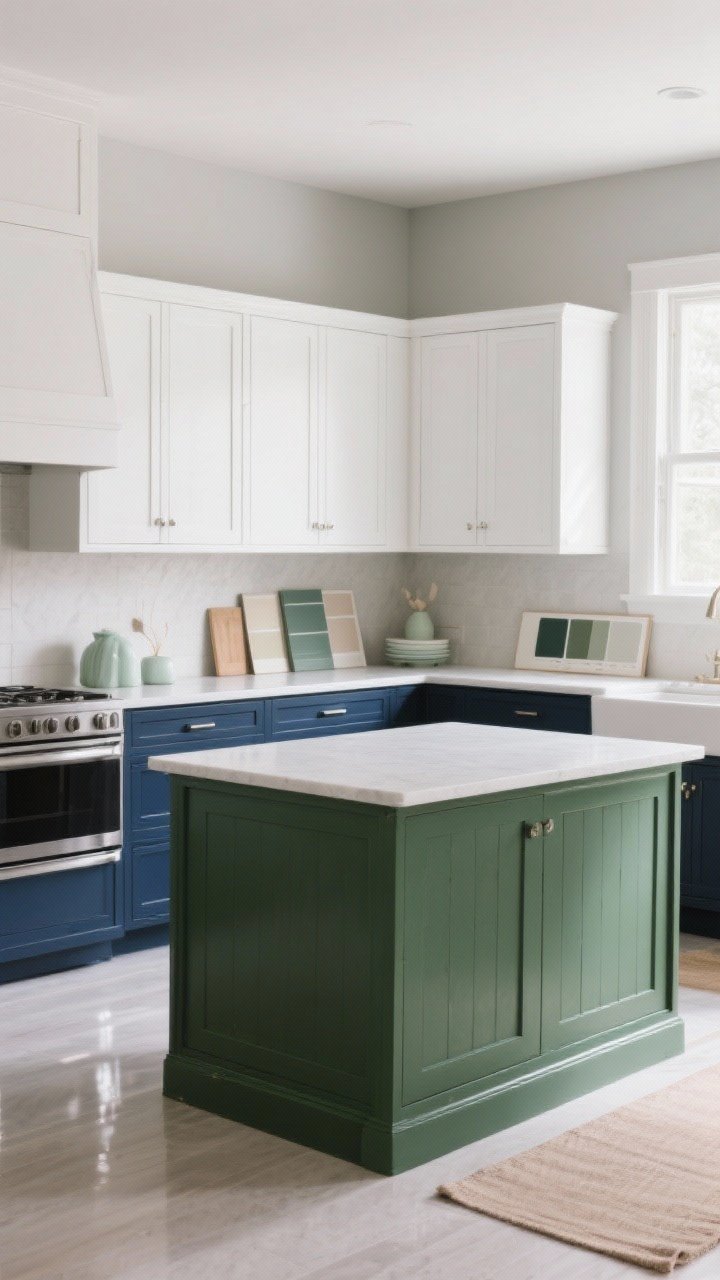
Paint is the easiest, cheapest way to fake a full makeover. Go bold with inky navy, forest green, or matte black for drama, or keep it airy with greige, pale sage, and soft mushroom tones. The right shade can modernize even the most “builder-basic” cabinets.
Tired of snacking when you’re not even hungry? This reset helps you stop the loop and feel back in control.
A simple reset for moments when cravings take over. Easy to use, easy to repeat, and designed to help you feel satisfied instead of stuck.
Pro Tips
- Prep is everything: Degrease, sand lightly, and use a bonding primer. Otherwise the paint will judge you later.
- Finish matters: Satin or semi-gloss is more wipeable. High-gloss looks luxe but shows imperfections.
- Two-tone trick: Dark lowers + light uppers = instant custom vibe and a lighter feel up top.
Color ideas: Try Hale Navy, Pewter Green, or Pure White if you’re stuck. FYI, sample boards beat tiny swatches every time.
2. Swap Hardware Like You Mean It
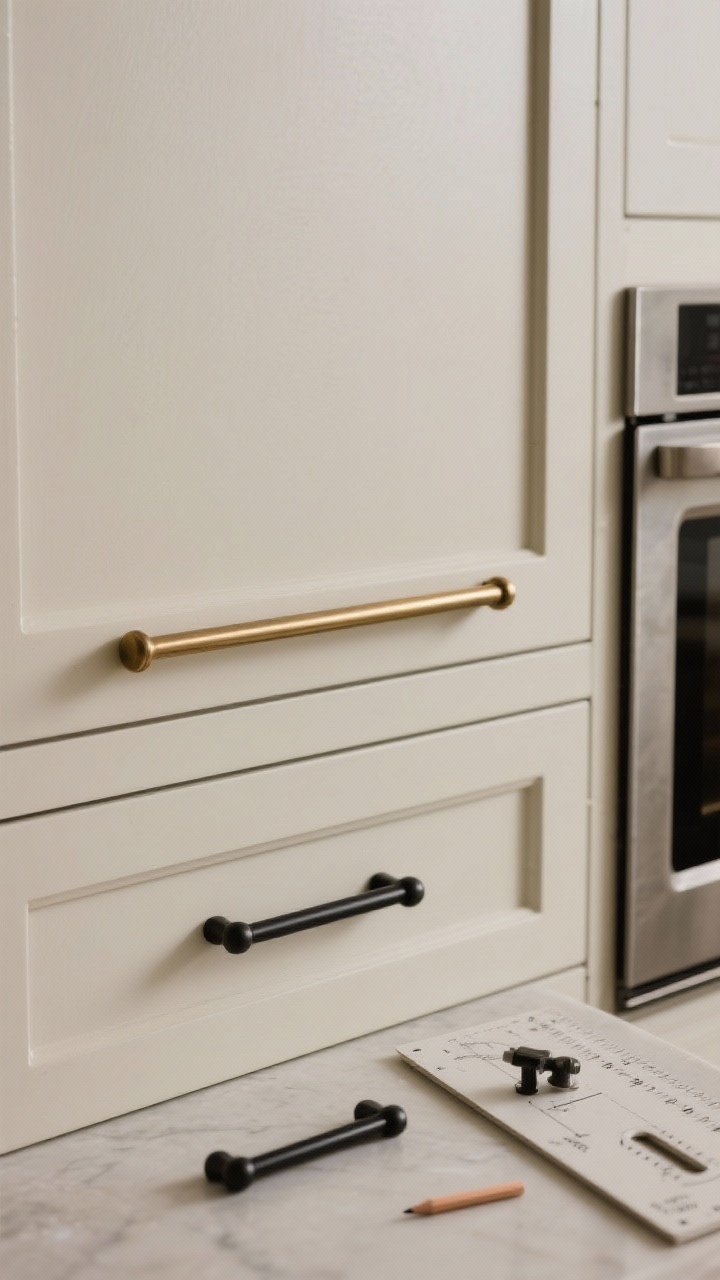
Cabinet hardware is kitchen jewelry. Switching from dated knobs to sleek brushed brass pulls or matte black bars can do more than you’d think—like a fresh pair of boots for your outfit.
Pro Tips
- Scale it right: Longer pulls on drawers feel modern and practical. Tiny knobs = tiny impact.
- Finish harmony: Don’t match every metal rigidly. Aim for cohesion, not uniformity. Brass + black? Chic.
- Template FTW: Use a hardware jig to avoid wonky holes. Your eyeballs will thank you.
Want extra edge? Try appliance pulls on big drawers for a chef’s-kitchen look—no pro budget required.
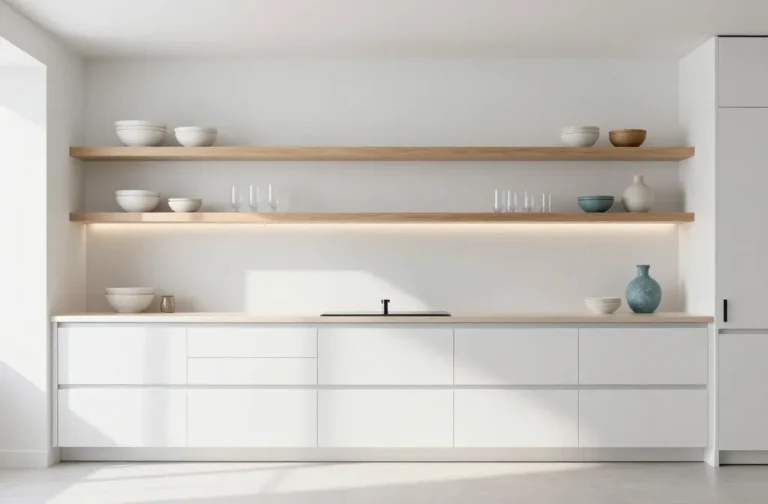
3. Go Glass-Front (Or Faux It)
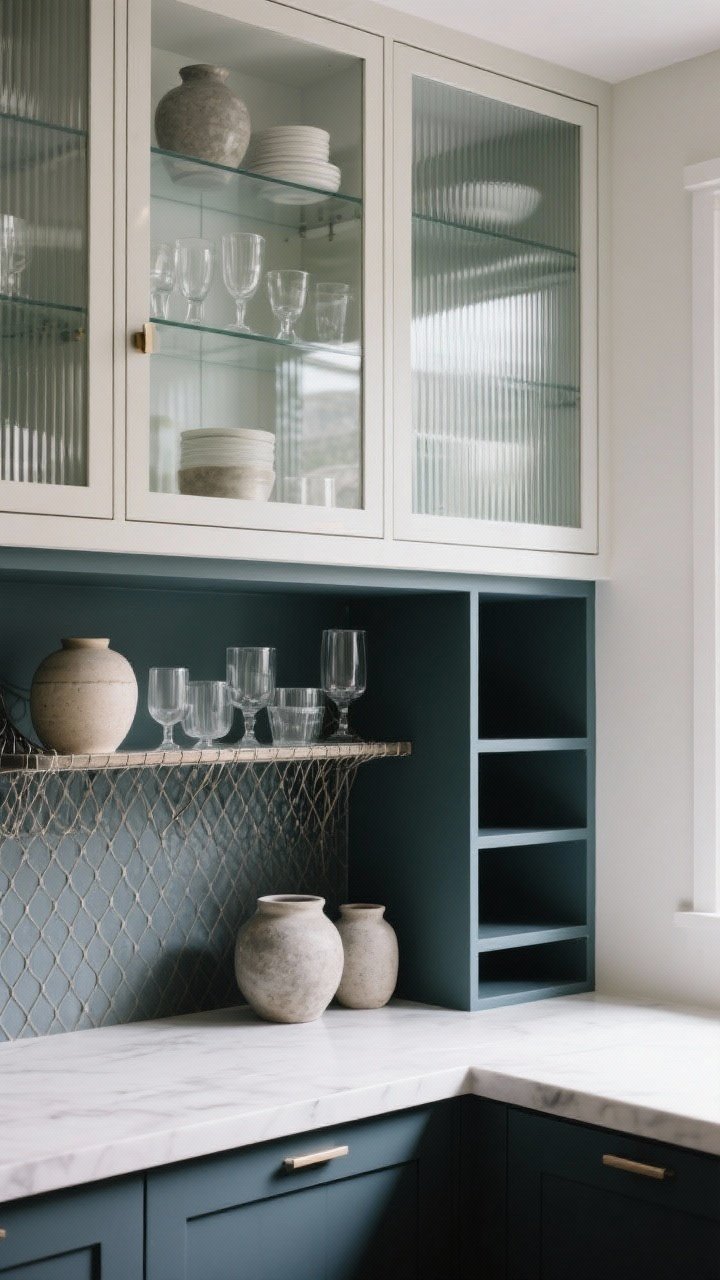
Glass-front uppers instantly lighten the room and make your storage feel curated instead of cramped. Show off pretty stoneware, glasses, or your hard-earned coffee mug collection (don’t worry, we all have one).
Transform Your Home With 7,250+ Stunning Landscaping Designs—No Expensive Designers Needed!
- 🌿 Access 7,250+ stunning landscaping designs.
- 💰 Save thousands—no pro designer needed.
- 🏡 Plans for gardens, patios, walkways, and more.
- ✨ Simple, beginner-friendly DIY layouts.
- 🛠️ Customize any design to fit your yard.
Options to Consider
- Clear glass: Clean and classic. Best if your shelves aren’t chaos.
- Ribbed or reeded glass: Trendy and forgiving. Blurs the clutter—praise be.
- Wire or mesh inserts: Adds texture and a bit of farmhouse-meets-industrial flair.
No glass? Remove a few doors for open shelving moments. Paint the inside a contrast color for drama that took you 45 minutes.
4. Add Molding For A Custom, Built-In Look
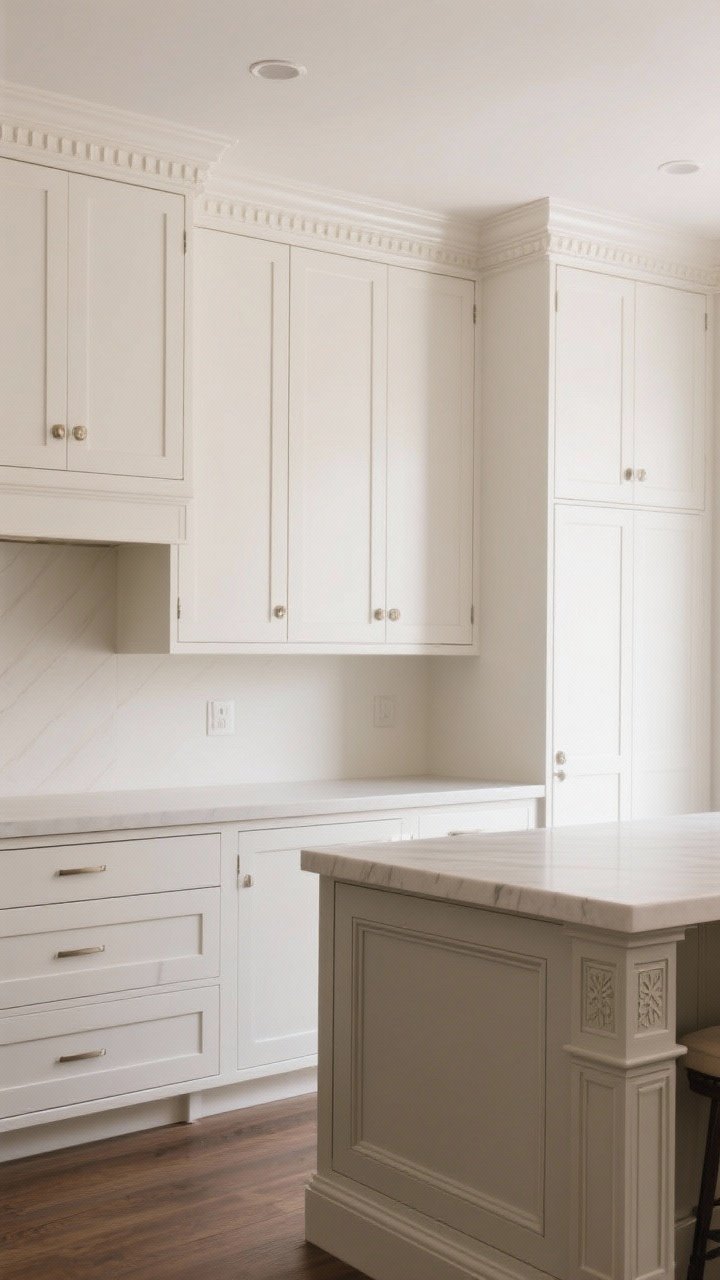
Flat-pack cabinets can look fancy with the right trim. Add crown molding to bridge the gap to the ceiling, or install light rail molding under uppers for a polished finish (and to hide under-cabinet lighting).
DIY-Friendly Upgrades
- Shaker magic: Apply thin MDF strips to slab doors to mimic Shaker style; paint to match.
- Toe-kick makeover: Box out the toe-kick for a “furniture” look on islands or standalone cabinets.
- End panels: Add decorative panels to exposed cabinet sides. Big impact, low cost.
Result: Instant custom without calling a millworker (IMO, the best kind of illusion).
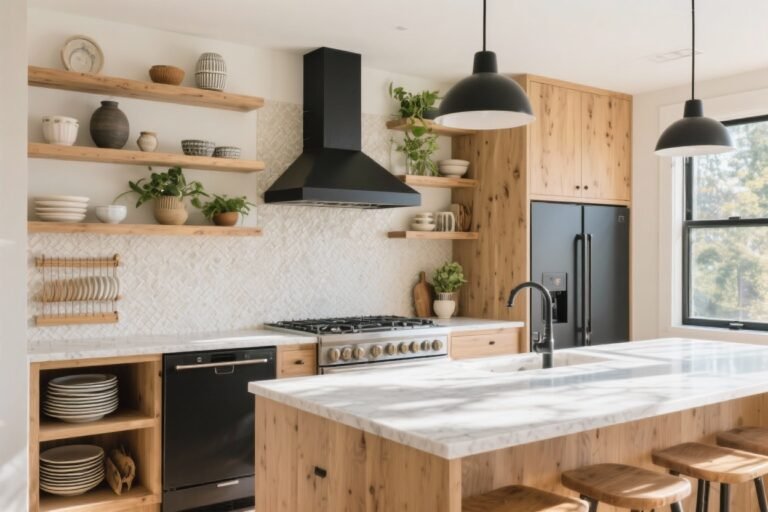
5. Embrace Warm Wood (Yes, It’s Back)
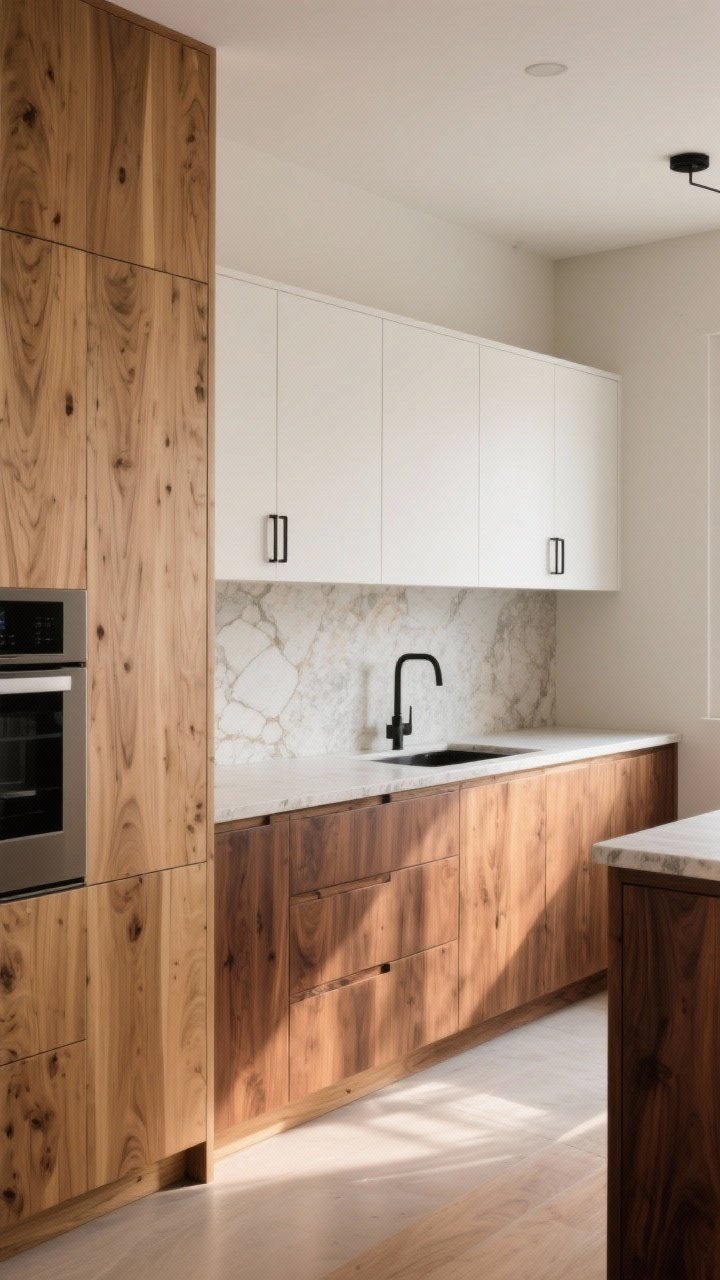
Wood isn’t stuck in 90s orange oak land anymore. Today’s look is warm, toned-down wood—think white oak, walnut, or ash with a subtle matte finish. It brings texture, warmth, and a “someone hired a designer” vibe.
How To Nail It
- Refinish, don’t replace: Strip, stain, and seal with a water-based matte topcoat to avoid yellowing.
- Mix with paint: Wood lowers + painted uppers = balanced and modern.
- Lean into grain: Choose stains that highlight the grain instead of drowning it.
Pair warm wood with stone-look counters and black hardware for a calm, chic palette.

6. Install Under-Cabinet Lighting That Works Overtime
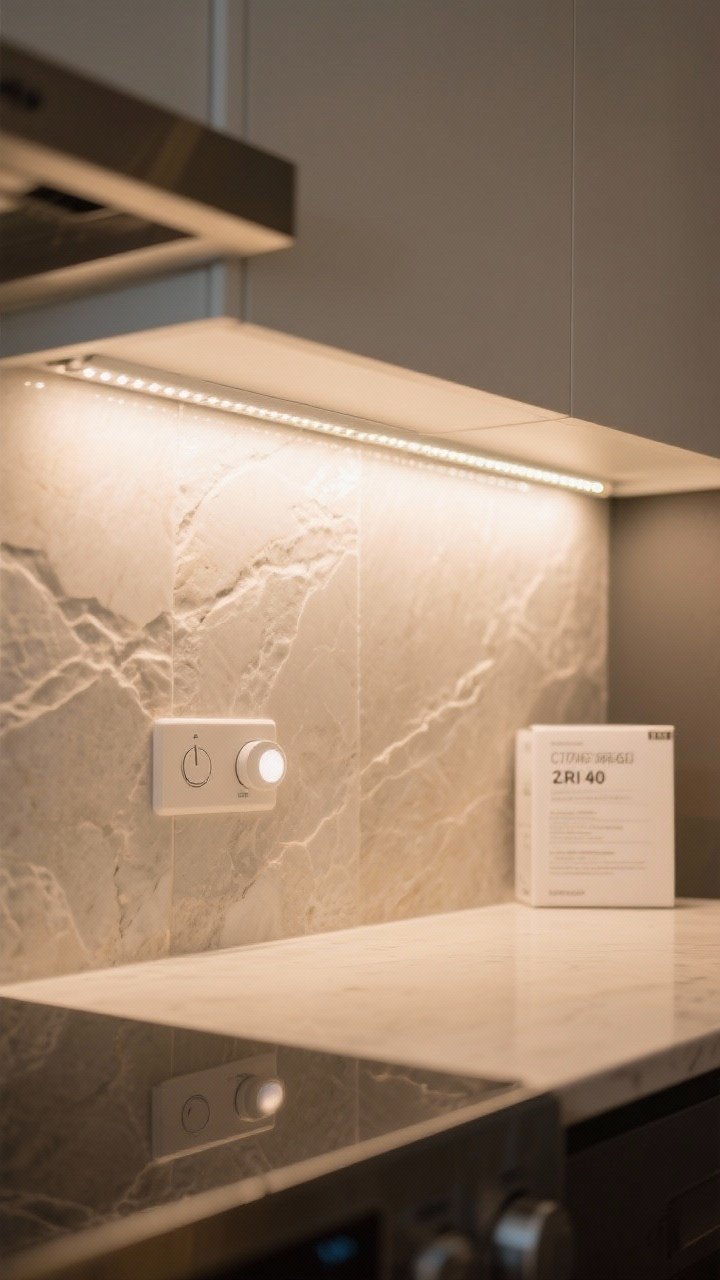
Light is the secret sauce. Good under-cabinet lighting makes your kitchen feel clean, modern, and expensive—even on a Tuesday night with cereal for dinner.
Lighting Options
- LED tape strips: Sleek, dimmable, and easy to hide. Go for high CRI (90+) so colors look true.
- Puck lights: Great for spotlighting decor or task zones. Wireless options exist for rentals.
- Motion sensors: Hands full? Lights on. Fancy and practical.
Pro move: Add a light rail molding to conceal the LEDs and avoid glare. Warm white (2700–3000K) is your friend.
7. Reface Doors And Keep The Boxes
Cabinet refacing is the middle ground between painting and replacing. You keep the frames, but swap doors and drawer fronts for a new style. It’s faster, produces less waste, and feels like a new kitchen—because visually, it is.
What To Choose
- Shaker: Timeless and versatile. Works with most homes.
- Flat slab: Minimalist and modern. Perfect with long pulls.
- Beadboard: Cozy cottage charm without the twee.
Bonus: Add soft-close hinges while you’re at it. The sound of doors thudding shut? Gone. Peace restored.
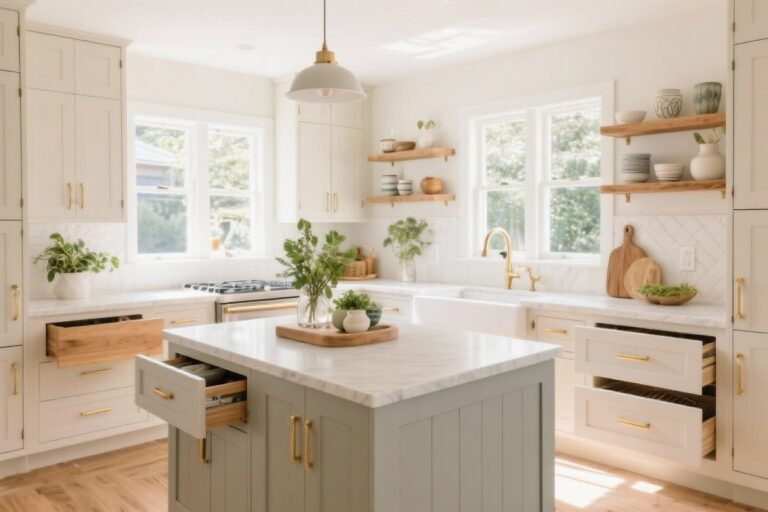
8. Style The Inside Like It’s On Purpose
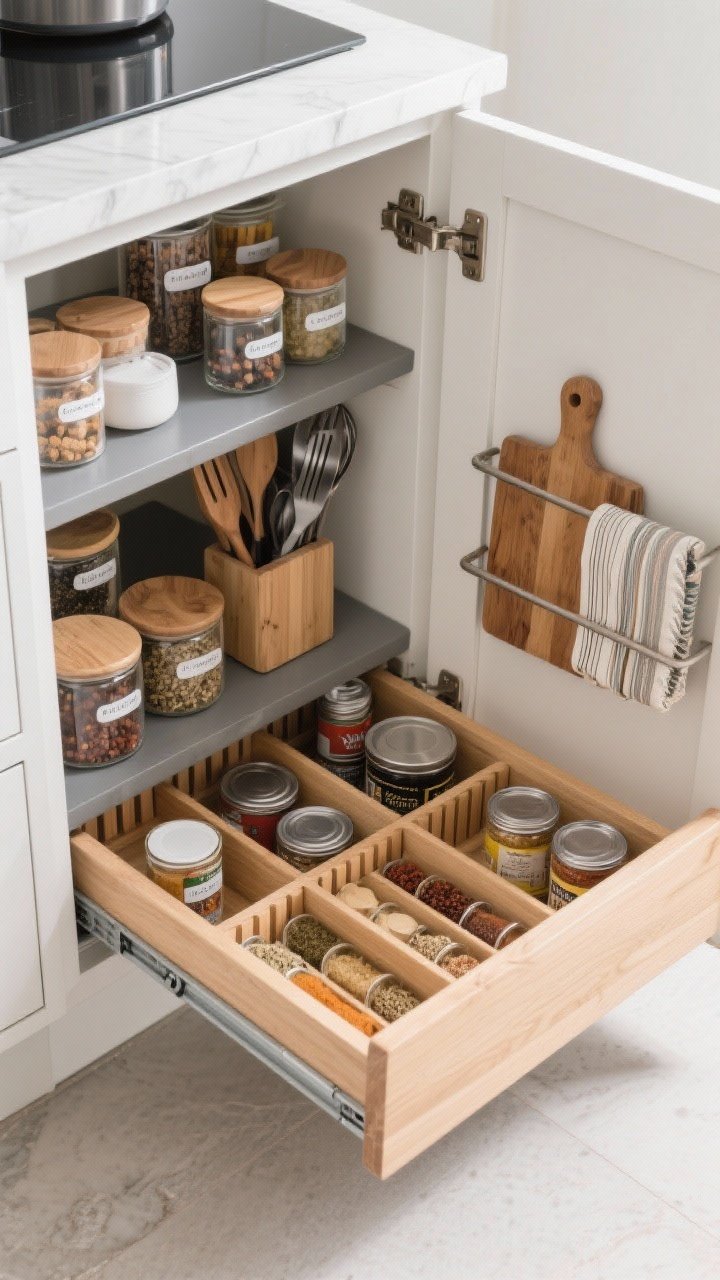
Open a cabinet and instantly feel calm? That’s the goal. A few small interior upgrades make daily life smoother and look shockingly elevated when doors are open (or glass-fronted).
Upgrade Ideas
- Pull-out shelves: No more crouching to find the paprika. Your knees will write thank-you notes.
- Drawer dividers: Custom wooden inserts feel boutique-level fancy.
- Matching containers: Decant dry goods into glass or clear bins. Labels if you’re extra.
- Back-of-door storage: Slim racks for spices, wraps, or cutting boards.
Line shelves with matte shelf liner to protect paint and keep things from sliding around. Small detail, big payoff.
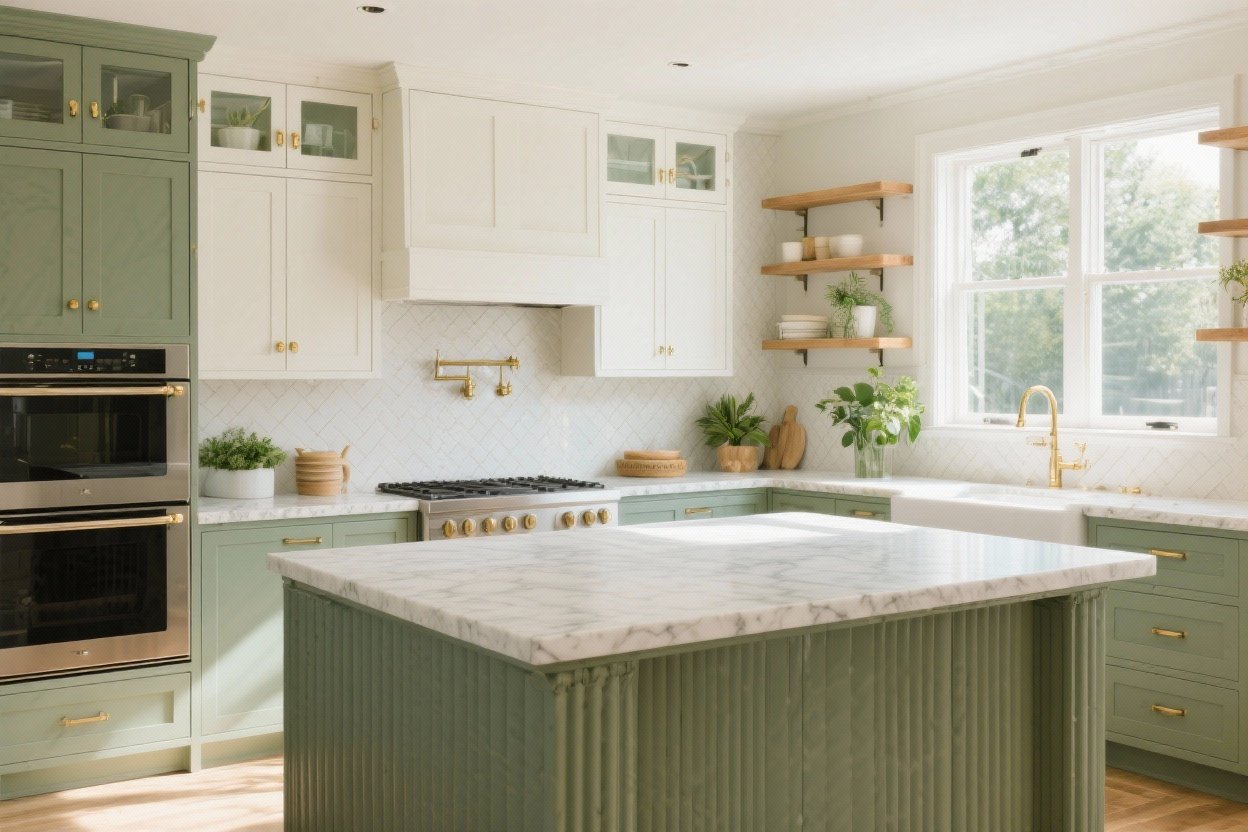
9. Create A Statement Island (Or Faux One)
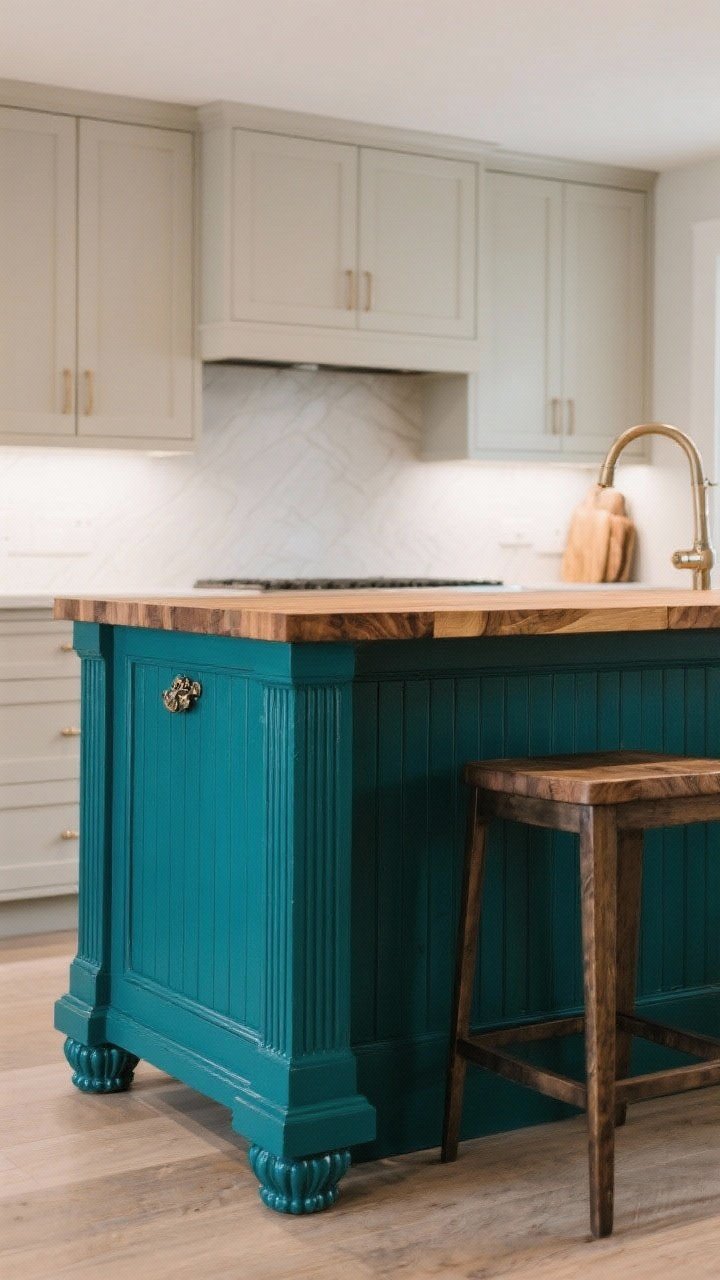
Your island is your kitchen’s main character. Even if you’re working with a peninsula or a standalone cabinet, you can make it sing. Think contrast color, paneling, or statement hardware.
Design Moves
- Color pop: Deep teal, charcoal, or hunter green on the island against neutral perimeter cabinets.
- Fluted panels: Add fluting or vertical slats for texture you can actually feel.
- Furniture feet: Swap blocky toe-kicks for decorative feet to create a custom furniture look.
No island? Paint a freestanding piece and add a butcher-block top to fake one. Extra storage, extra style, zero demo.
10. Bring In Texture With Panels, Inserts, And Finishes
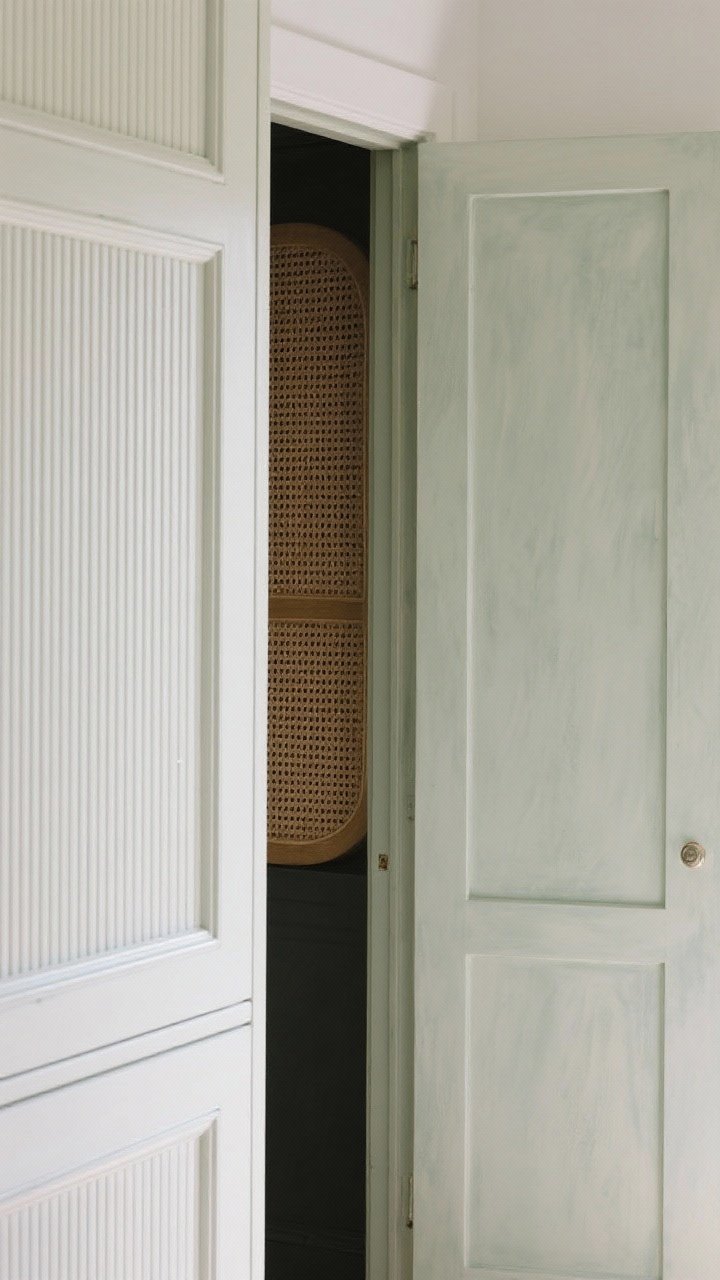
Texture = depth. If your cabinets feel flat, add tactile elements that play well with light and shadow. It’s an easy way to create the designer “layered” look without changing your entire layout.
Textural Strategies
- Reeded or fluted doors: Add slim half-round molding to slab fronts, then paint to match. Subtle but stunning.
- Cane or rattan inserts: Great for a breezy, coastal-modern vibe. Also lets cabinets breathe—hello, airflow for potatoes.
- Limewash or matte lacquer: A soft, velvety finish that feels high-end and hides minor imperfections.
- Contrast interiors: Stain or paint the inside a darker tone so open doors feel polished.
Round it out with soft-close everything and you’ve got the tactile trifecta: looks good, feels good, functions beautifully.
Quick Planning Checklist
- Pick one hero move (paint, reface, or wood refinish).
- Support with two sidekicks (hardware + lighting, or molding + texture).
- Finish strong with organization upgrades. Clutter sabotages good design—every time.
Final thought: You don’t need a contractor to make your cabinets look custom. Pick a lane, commit, and enjoy the compliments when everyone thinks you remodeled. You can tell them your “designer” did it—or just drop a wink.