10 Kitchen Island Ideas That Instantly Upgrade Your Entire Kitchen—no Reno Required
You know how some kitchens just feel expensive even if they’re not? That’s the island working overtime. It’s the MVP of storage, seating, and “pretending to cook while snacking.” Ready to give yours a glow-up? These 10 kitchen island ideas will instantly make your whole space look curated, custom, and way more functional.
1. Go Bold With Contrasting Color
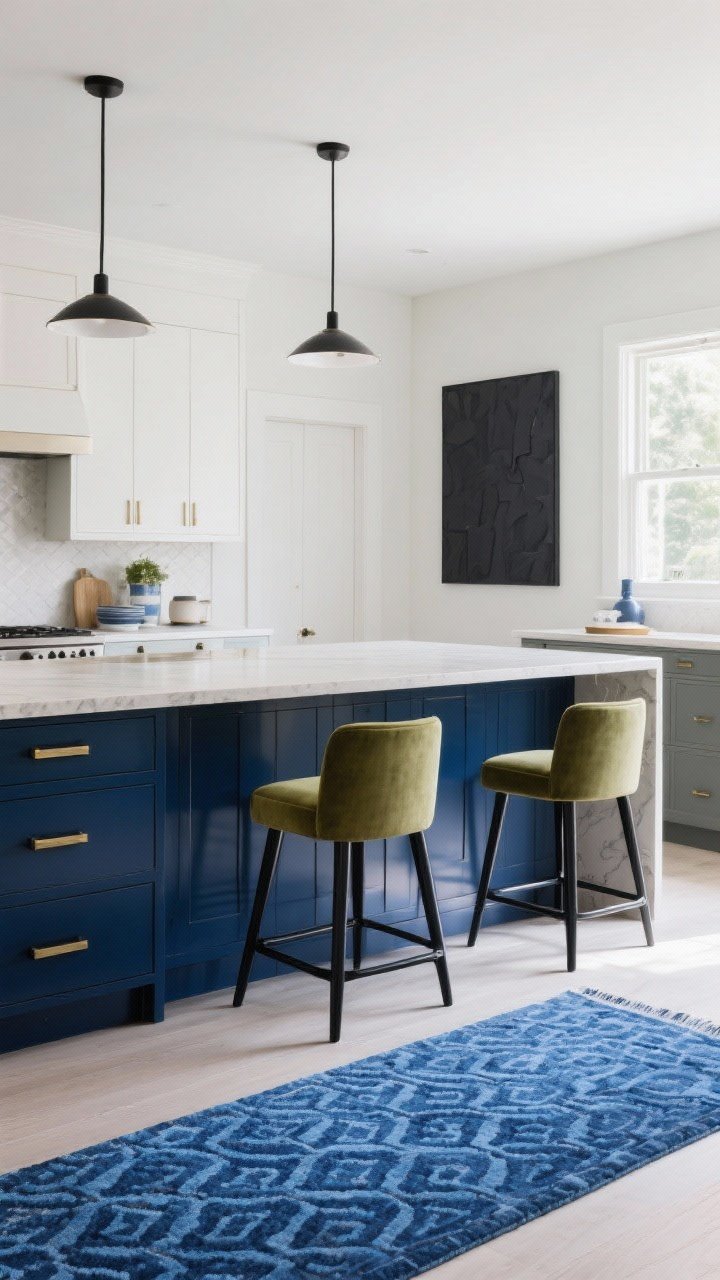
Stop playing it safe with all-white everything. A bold island color grounds the space and makes your kitchen look designer-level instantly. Think navy, forest green, charcoal, or deep plum if you want moody and luxe. Or try cobalt, sage, or terracotta for a fresher vibe.
Tired of snacking when you’re not even hungry? This reset helps you stop the loop and feel back in control.
A simple reset for moments when cravings take over. Easy to use, easy to repeat, and designed to help you feel satisfied instead of stuck.
- Paint pick tips: Choose a satin or semi-gloss finish—it’s easier to clean and holds up to kicks and spills.
- Hardware matters: Brushed brass or matte black pops beautifully against a dark base. Nickel reads classic.
- Tie it together: Echo the island color in a rug, bar stools, or a piece of art across the room.
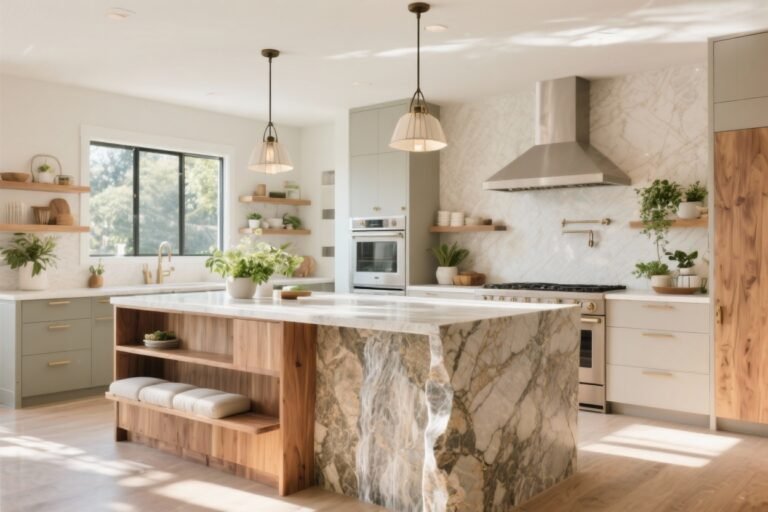
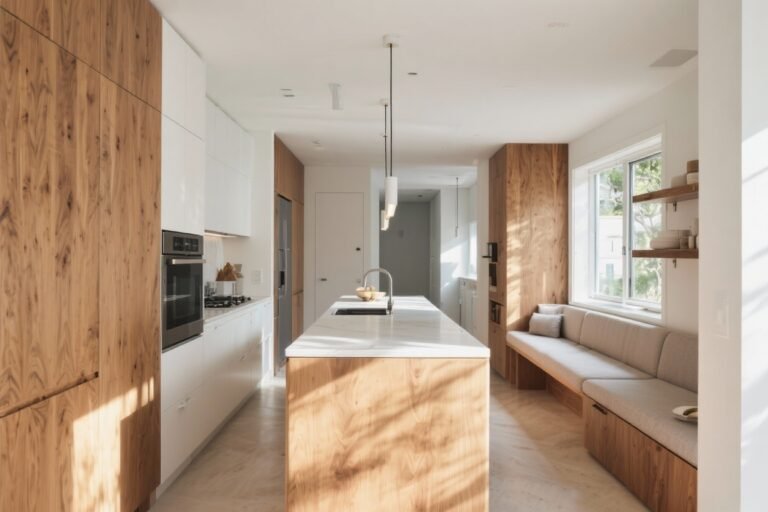
2. Upgrade Your Countertop (Without Crying Over the Cost)
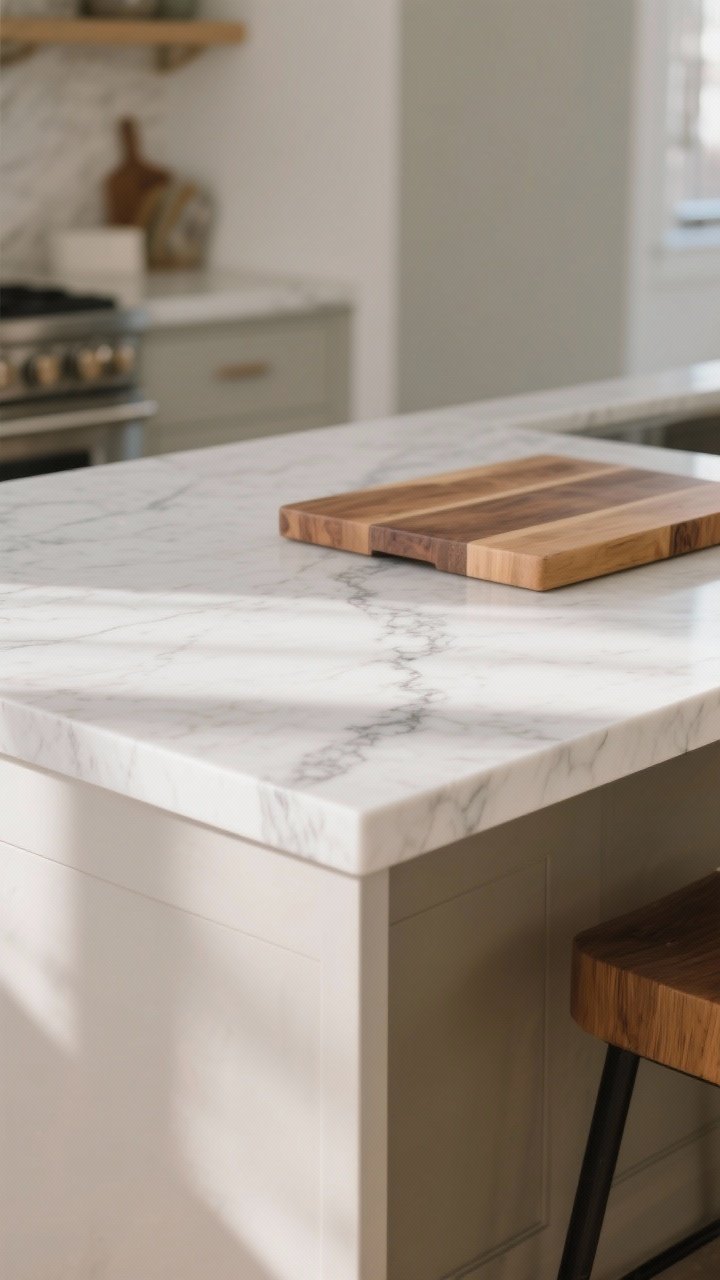
That slab on top is basically your island’s crown. Switching it—yes, even just the island—can change the whole kitchen’s vibe. You don’t need marble to get the look.
Smart Surface Ideas
- Quartz: Marble-look quartz is durable, low-maintenance, and chic. Great for busy kitchens.
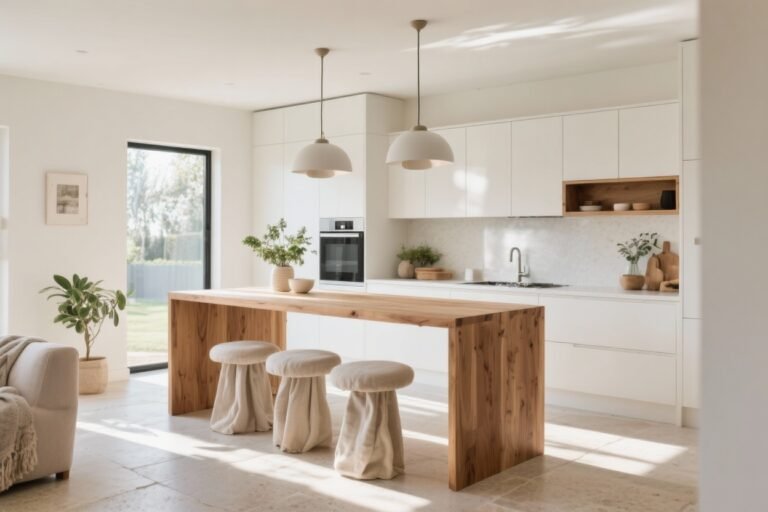
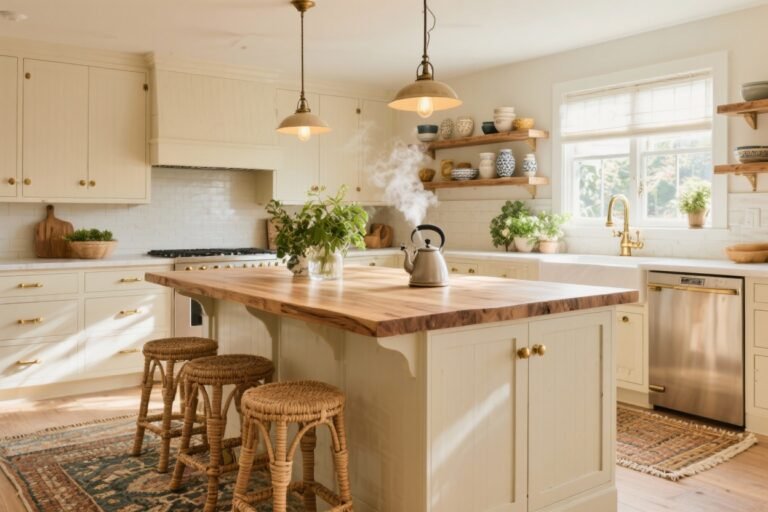
- Butcher block: Warm, cozy, and perfect if you cook a lot. Oil it regularly and embrace the patina.
- Porcelain slab: Heat-resistant and ultra-thin options give a sleek, modern profile.
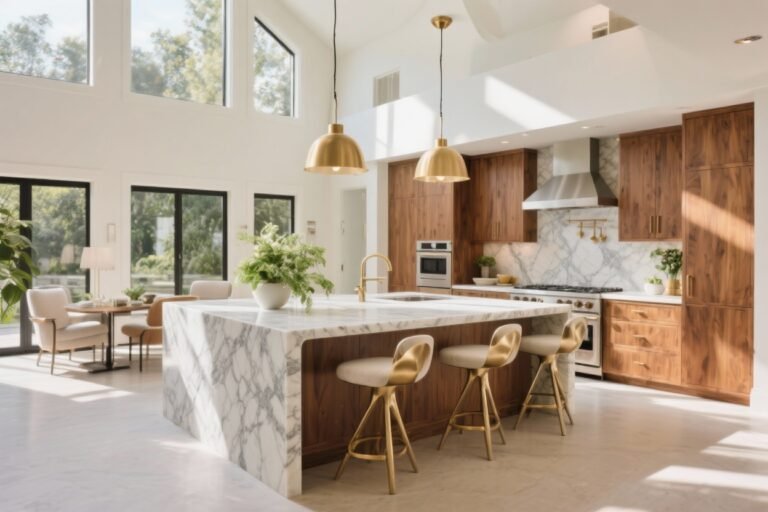
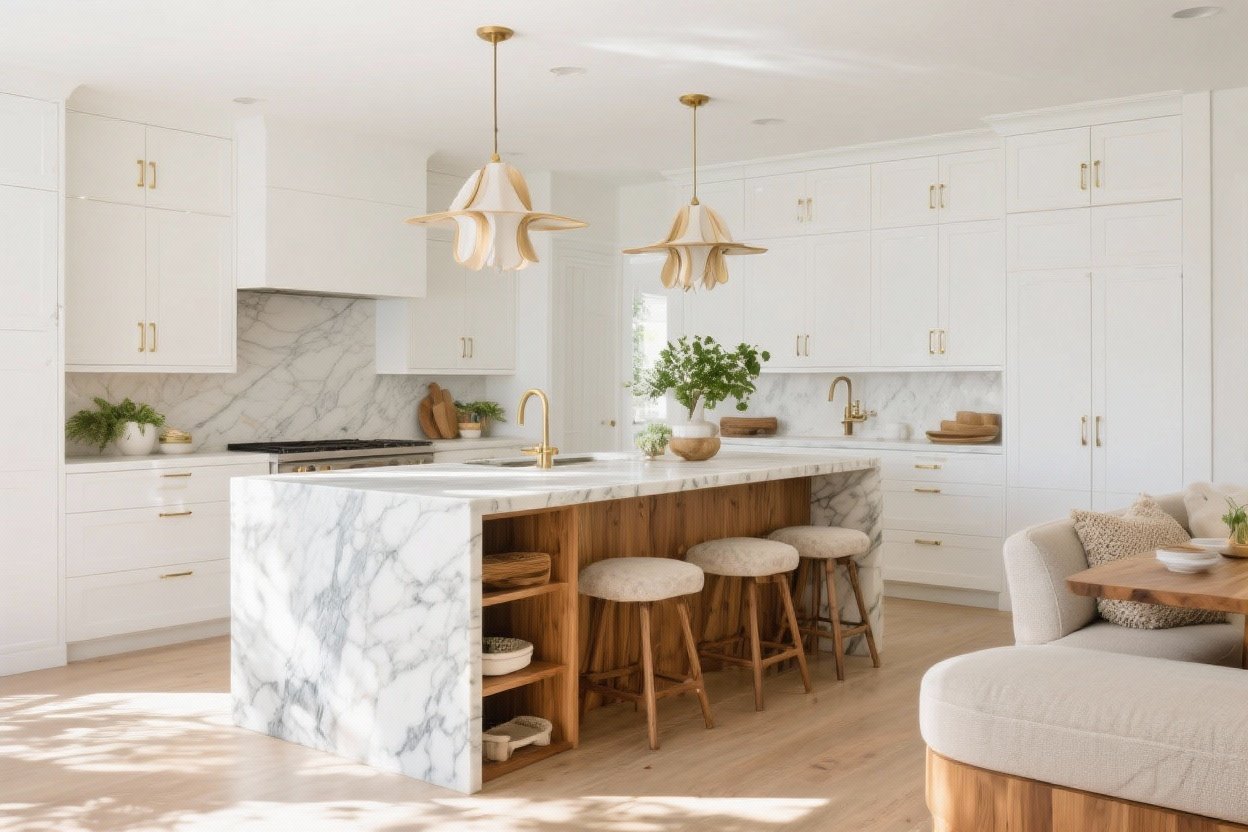
- Waterfall edge: A simple waterfall on one or both sides instantly screams custom.
FYI: If your base is sturdy, a new top is a relatively quick swap that delivers maximum impact.
3. Add Seating That Actually Works For Real Life
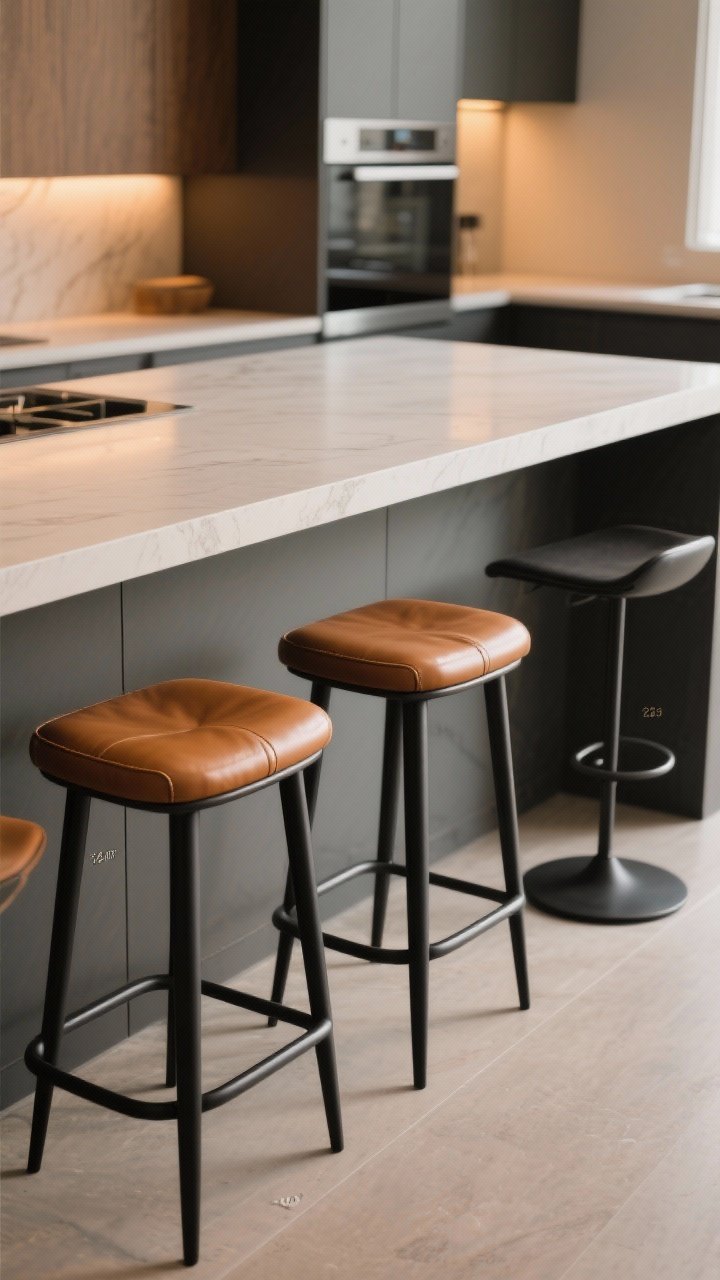
Stools make or break the island. Uncomfortable ones collect dust; comfy ones basically turn the island into your new living room.
What To Look For
- Correct height: Counter-height stools for standard islands (24–26″), bar-height for taller (28–30″).
- Footrests: Non-negotiable. Comfort matters if you want people to linger.
- Mixed materials: Think leather + metal, cane + wood, or upholstered seats for softness.
- Back vs. backless: Backless looks sleek and tucks away. Backs are comfier for long hangs.
Pro tip: Leave 24 inches of width per seat so no one’s elbowing their neighbor during taco night.
Transform Your Home With 7,250+ Stunning Landscaping Designs—No Expensive Designers Needed!
- 🌿 Access 7,250+ stunning landscaping designs.
- 💰 Save thousands—no pro designer needed.
- 🏡 Plans for gardens, patios, walkways, and more.
- ✨ Simple, beginner-friendly DIY layouts.
- 🛠️ Customize any design to fit your yard.
4. Layer Lighting Like You Mean It
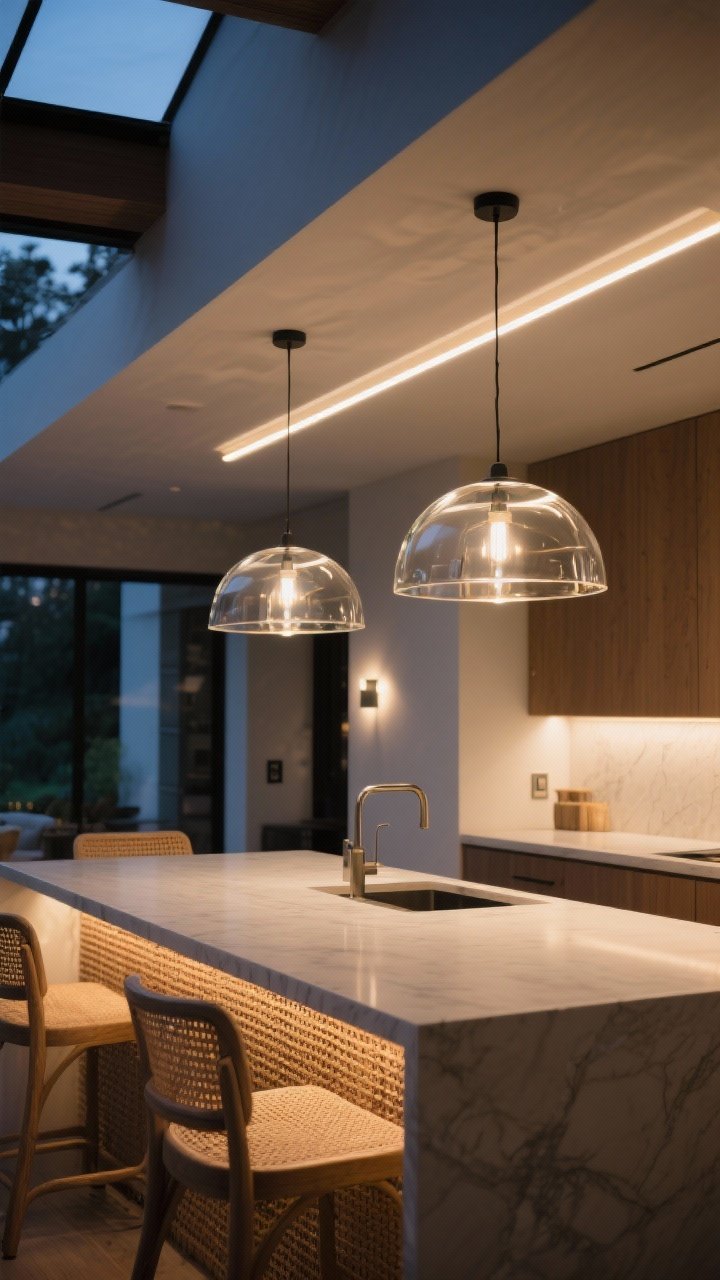
If your island lighting is one lonely mini pendant, we need to talk. Good lighting makes your kitchen feel bigger, warmer, and more expensive.
Lighting Formula
- Pendants: Two or three over a larger island; one wider fixture over a small one. Hang them 30–36 inches above the countertop.
- Under-counter LEDs: Add LED strips under the overhang for a subtle glow (bonus: nightlight vibes).
- Dimmer switches: Critical. Bright for prep; low for mood.
Style tip: Oversized pendants say “designer.” Glass shades keep things airy; linen or rattan warms it up.
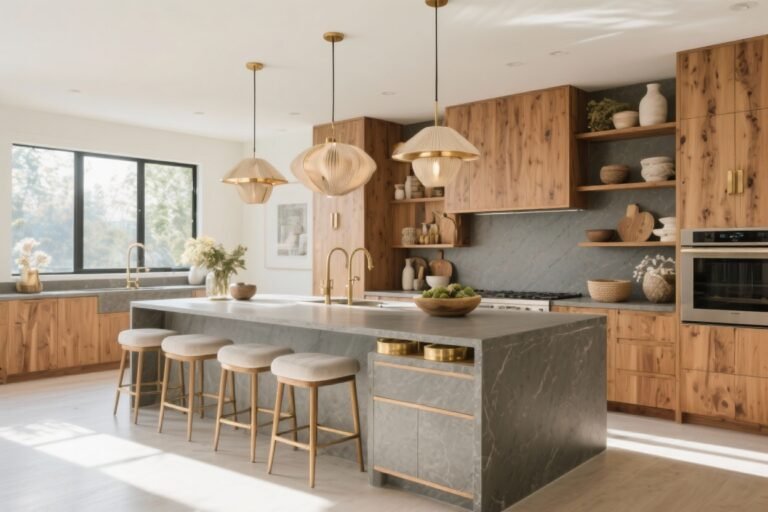
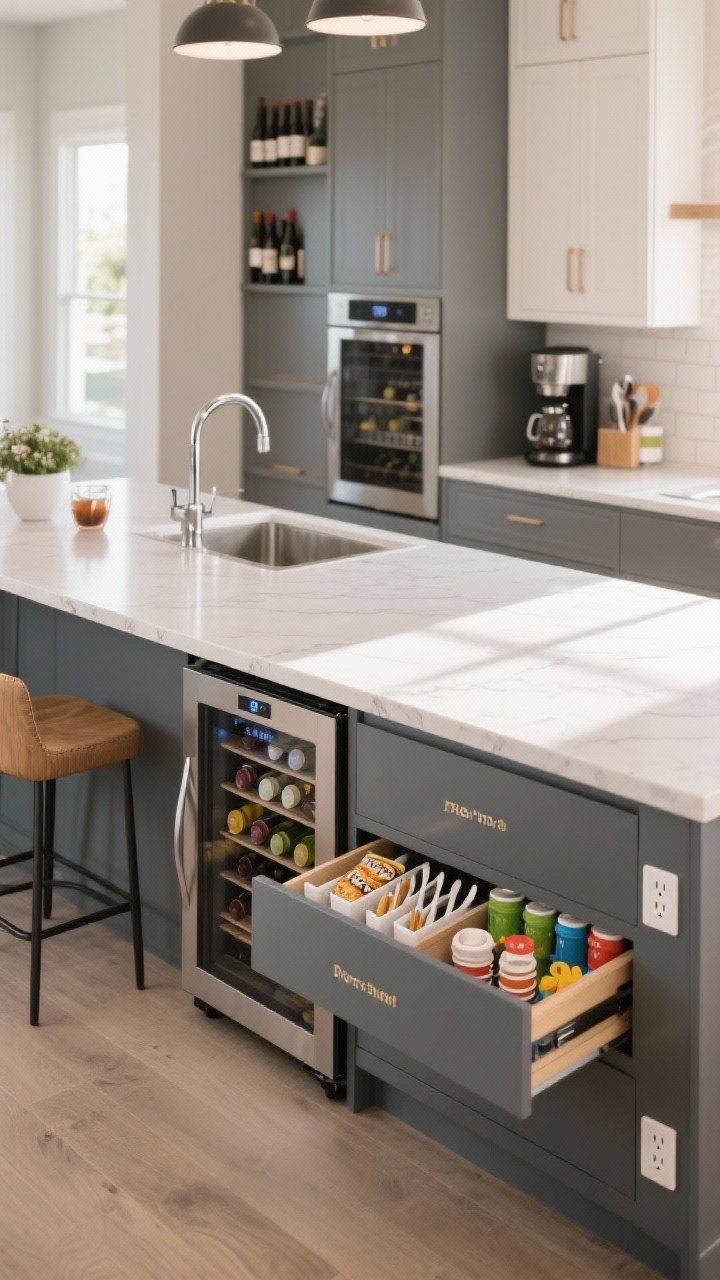
5. Make It A Storage Powerhouse
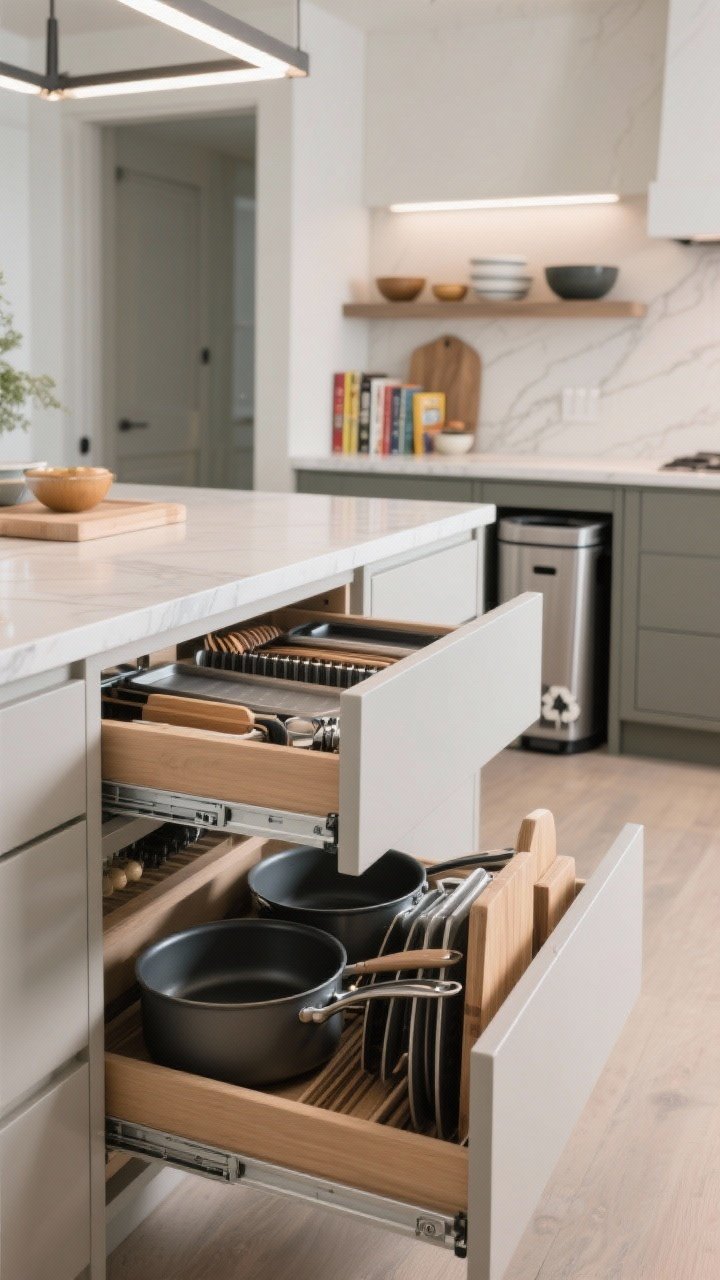
Cluttered counters? Not on our watch. Your island can hold way more than pots and pans if you plan it right.
- Deep drawers: Fit pots, pans, and small appliances. Way more ergonomic than cabinets—no more crawling inside.
- Tray dividers: Add vertical partitions for baking sheets and cutting boards.
- Hidden trash + recycling: A pull-out bin system keeps things clean and out of sight.
- End-cap shelves: Style your cookbooks, bowls, or baskets. Functional and pretty.
- Charging drawer: Add a power strip inside a drawer for devices. Goodbye, cord chaos.
IMO, soft-close hardware is worth every penny. It makes everything feel higher-end.

6. Turn It Into A Breakfast Bar (Or Wine HQ)
Design your island for how you actually live. Coffee every morning? Charcuterie on weekends? There’s a setup for that.
Zone Ideas
- Coffee bar: Add a small sink, hidden trash, and a drawer with dividers for pods, spoons, and tea.
- Wine and dine: Install a narrow wine fridge on the seating side and a drawer for openers and linens.
- Kid station: Lower drawer for snacks, cups, and plates. Easy access = fewer questions.
Bonus: Add outlets on each end for appliances or laptops. Your island just became a mini coworking space.
7. Style The Sides: Panels, Posts, And Pretty Details
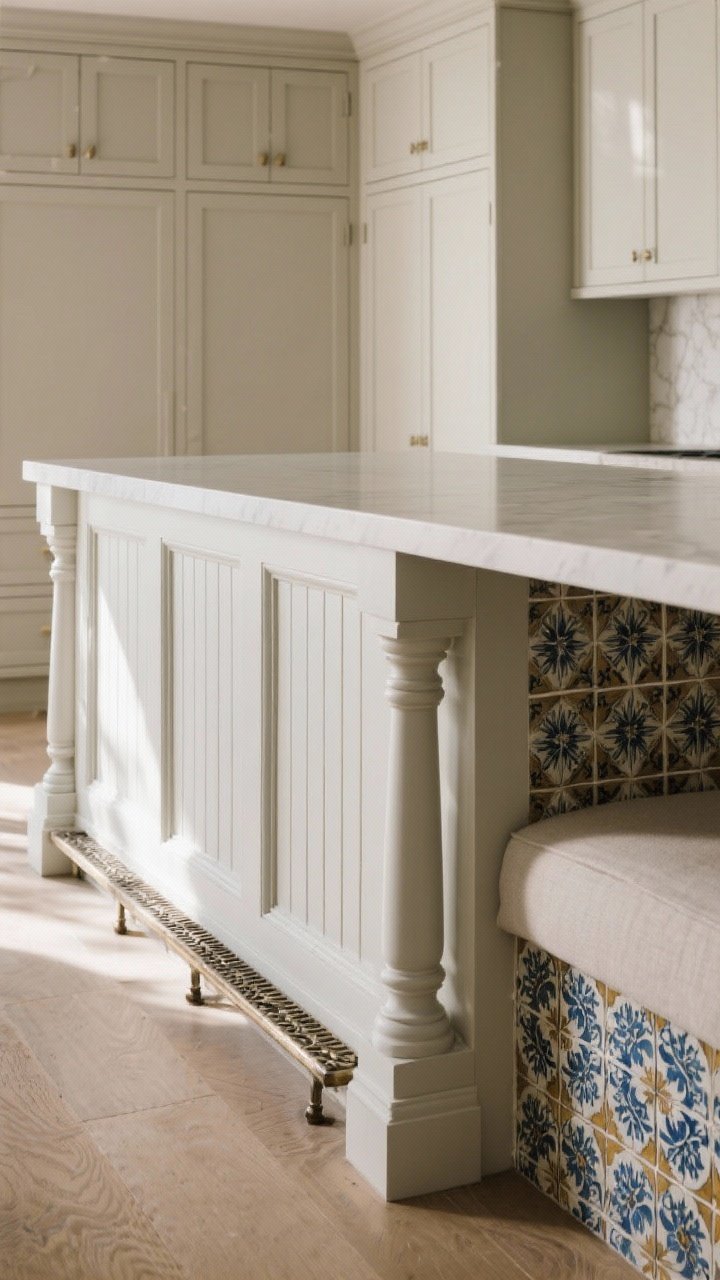
The sides of your island are like the outfit’s shoes—overlooked, but they pull the whole look together. A few simple details can make it feel furniture-level.
- Shiplap or beadboard: Adds texture and cottage charm. Paint it to match or contrast.
- Fluted panels: Trendy but timeless if you keep the color simple. Adds shadow and interest.
- Furniture legs or turned posts: Creates a custom, built-in look, especially around seating areas.
- Decorative toe kick: A small inset or metal strip elevates the base and protects from scuffs.
- Stone or tile face: Clad one end in marble or zellige for a boutique-hotel vibe.
Keep the details cohesive with your cabinet style so it feels intentional, not random.
8. Embrace Mixed Materials For Big-Designer Energy
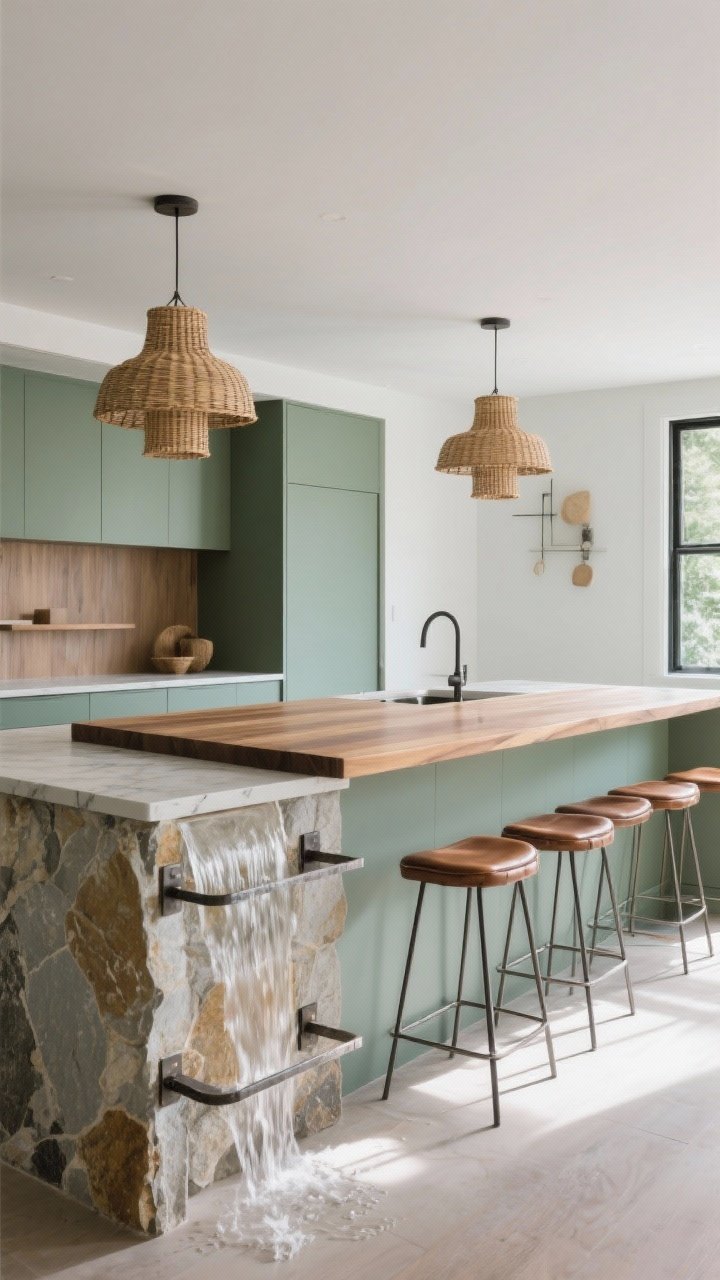
When everything matches perfectly, it can feel flat. Mixing materials gives your island depth and personality.
Winning Combos
- Painted base + wood top: Feels warm and custom without trying too hard.
- Stone top + metal base accents: Try iron brackets or a brass footrail for visual interest.
- Leather stools + rattan pendants: Soft plus organic equals balanced.
- Stone waterfall + wood shelves: Luxe meets cozy—chef’s kiss.
Stick to 2–3 materials max so it feels curated, not chaotic.
9. Add A Prep Sink (And Treat It Like A Jewel)
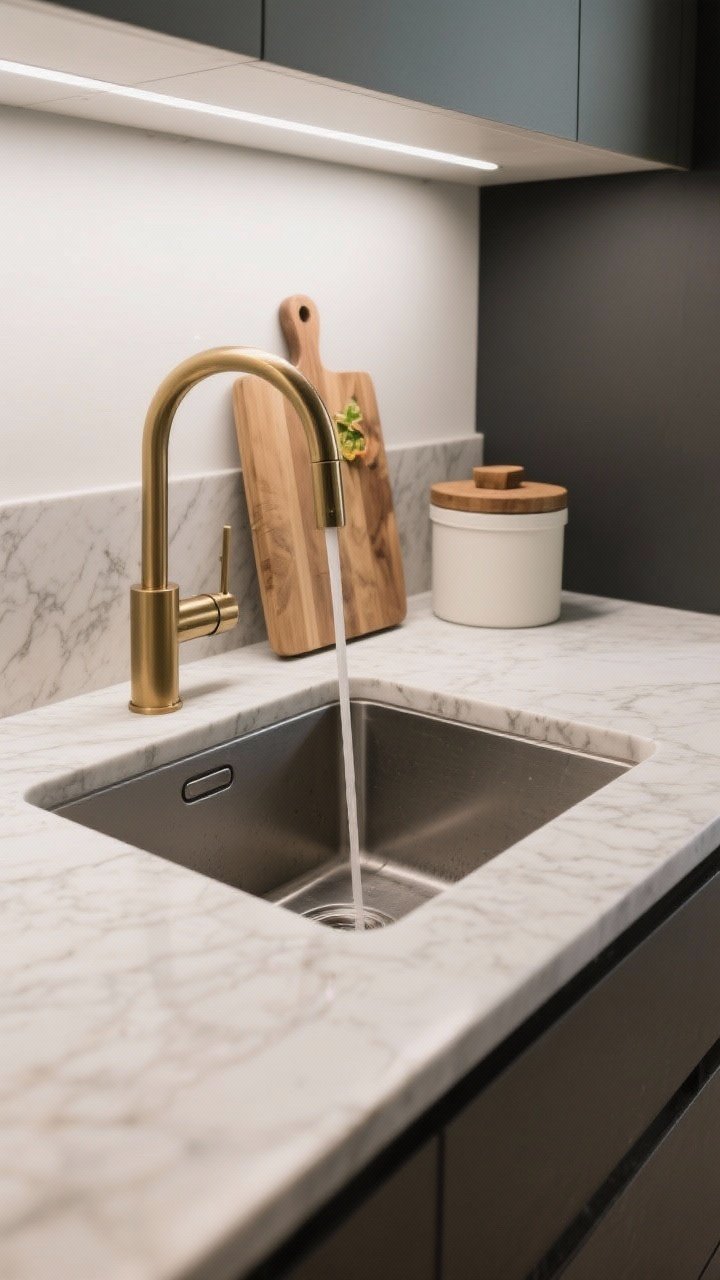
A small sink on the island is one of those upgrades you don’t think you need—until you have it. It streamlines cooking and entertaining, and it looks legit pro-kitchen.
- Go smaller: A compact bar or prep sink keeps the main counter clear.
- Fancy faucet: Choose a statement finish or a pull-down sprayer. This is your chance to have fun.
- Chop and drop: Fit a cutting board over the sink and sweep scraps straight in. Add a compost bin nearby.
- Consider placement: Offset the sink so you still have a generous landing zone for prep or serving.
FYI: If plumbing is a headache, you can still fake the vibe with a built-in ice bucket or recessed tray for garnishes when entertaining.
10. Style It Like A Pro With Everyday Decor
Even the fanciest island can look meh if the styling falls flat. Keep it simple, practical, and beautiful—no clutter allowed.
Easy Styling Formulas
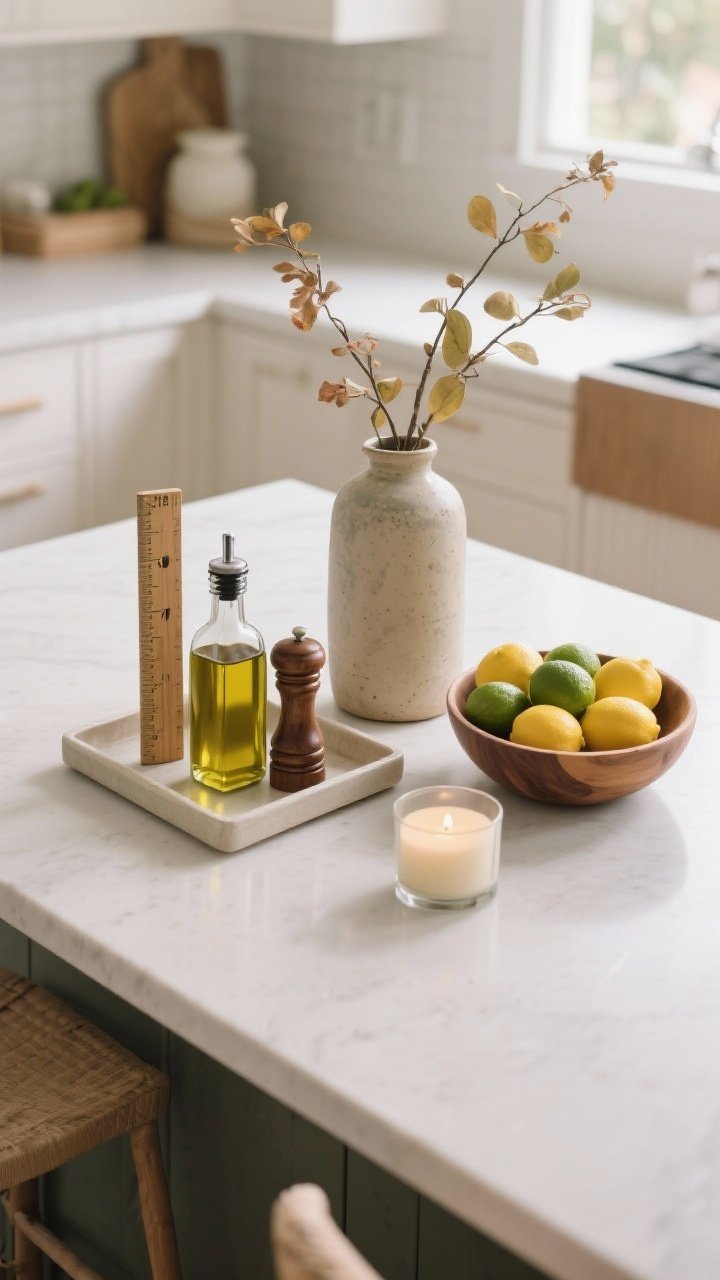
- Three-piece rule: One tall (vase or lamp), one medium (bowl or tray), one small (candle or salt cellar).
- Edible decor: A big wood bowl with lemons, limes, or apples. Fresh and low-effort.
- Trays = magic: Corrals oils, vinegar, pepper grinder, and keeps it tidy. Moveable for cleaning.
- Seasonal swap: Switch the flowers, tea towels, or fruit each month. Instant refresh without buying a thing.
Keep the center clear if your island doubles as a workstation. Beautiful doesn’t have to mean fussy.
Quick Measurements Cheat Sheet
- Clearance: Leave at least 36–42 inches of walkway around the island.
- Overhang: 10–12 inches for comfortable knee room at seating sides.
- Pendants: Space roughly 24–30 inches apart, or divide the island into equal thirds.
- Seating: Plan about 24 inches of width per stool and 15 inches of depth.
Budget-Friendly Moves That Look Luxe
- Swap hardware: New pulls on the island alone can change the whole room’s vibe.
- Paint + caulk: A fresh coat plus crisp edges instantly elevates.
- Add hooks: Discreet hooks under the overhang for towels or bags—so practical.
- Runner rug: A washable runner along the working side brings color and softness.
There you go—ten ways to make your island (and your entire kitchen) feel intentionally designed, wonderfully functional, and very you. Start with one upgrade or stack a few—color, lighting, and new stools are a killer combo. Your kitchen’s about to become everyone’s favorite hangout. Don’t say I didn’t warn you.