10 Smart Kitchen Island Layout Ideas Designers Swear by (you’ll Want Them All)
Your kitchen island can be a hardworking hero or a bulky speed bump—there’s no in-between. Let’s make sure yours is the former. These 10 smart kitchen island layout ideas designers swear by will help you squeeze every bit of function and style out of that prime real estate. Short, sweet, and super doable—let’s go.
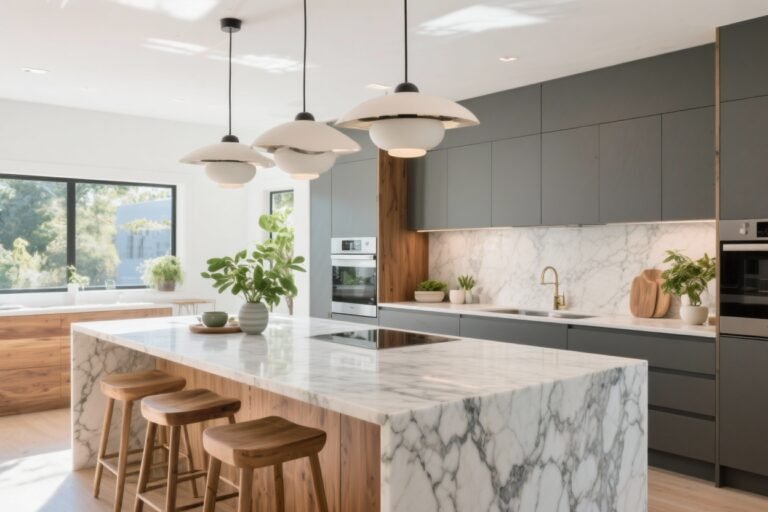
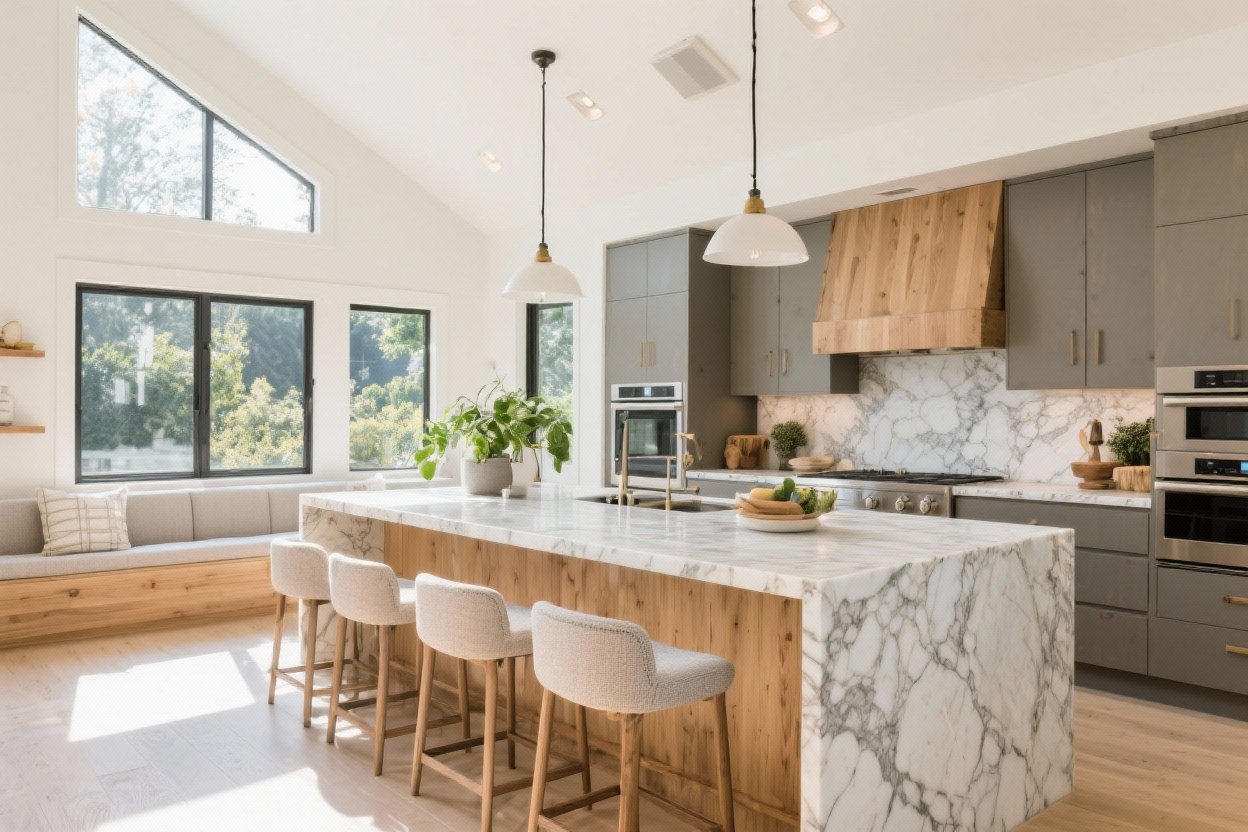
1. Zone Like a Boss: Prep, Cook, Serve
Think of your island as a mini city with districts. There’s the prep zone (knives, cutting boards, outlets), the cooking zone (cooktop or nearby range access), and the serving zone (seating, napkins, staging platters). When each area has a job, your whole kitchen runs smoother.
Tired of snacking when you’re not even hungry? This reset helps you stop the loop and feel back in control.
A simple reset for moments when cravings take over. Easy to use, easy to repeat, and designed to help you feel satisfied instead of stuck.
How to Divide the Island
- Prep zone: Near the fridge and trash. Add a pull-out compost or hidden waste bin.
- Cooking zone: Keep spices and oils in a narrow pull-out nearby. If you put a cooktop on the island, include a downdraft or a statement hood.
- Serving zone: Place seating opposite the mess. A raised ledge keeps splatter out of sight—just saying.
Pro tip: If the island is under 6 feet, choose two zones max so it doesn’t feel cramped.
2. Nail the Flow: The Golden Aisle Rule
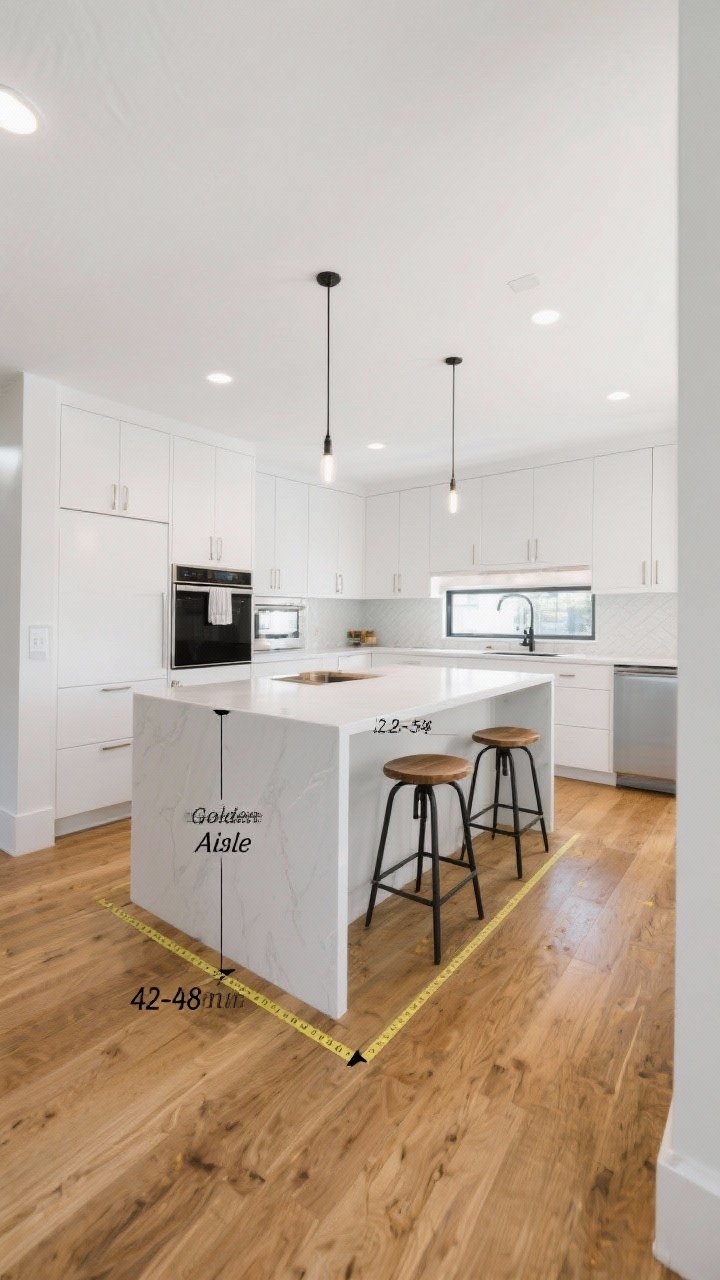
You can have the prettiest island in the world, but if people can’t walk around it, it’s a no. Designers swear by these clearances for good reasons: they work.
- 36 inches minimum aisle space (between island and cabinets).
- 42–48 inches in high-traffic kitchens or if multiple cooks are involved.
- 24 inches per seated diner, plus 12–15 inches of overhang for knees.
FYI: If you’re squeezing an island into a tight space, consider a narrow island (24–30 inches deep) or a peninsula instead.
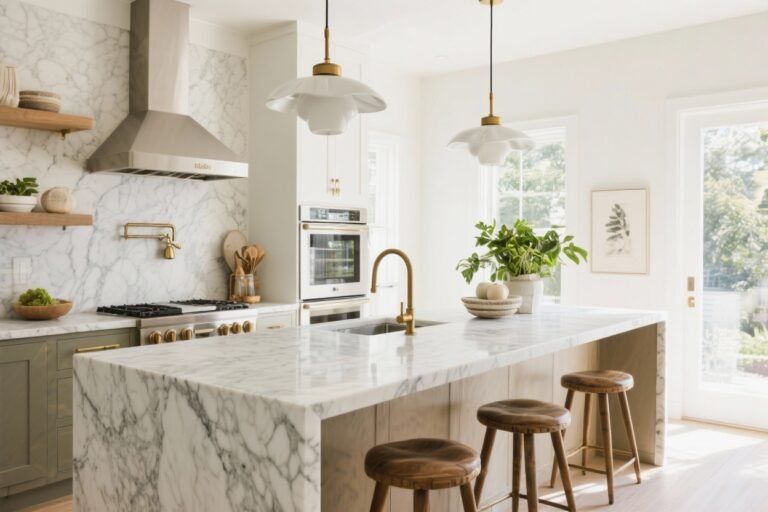
3. Water Works: Sink + Dishwasher Power Pair
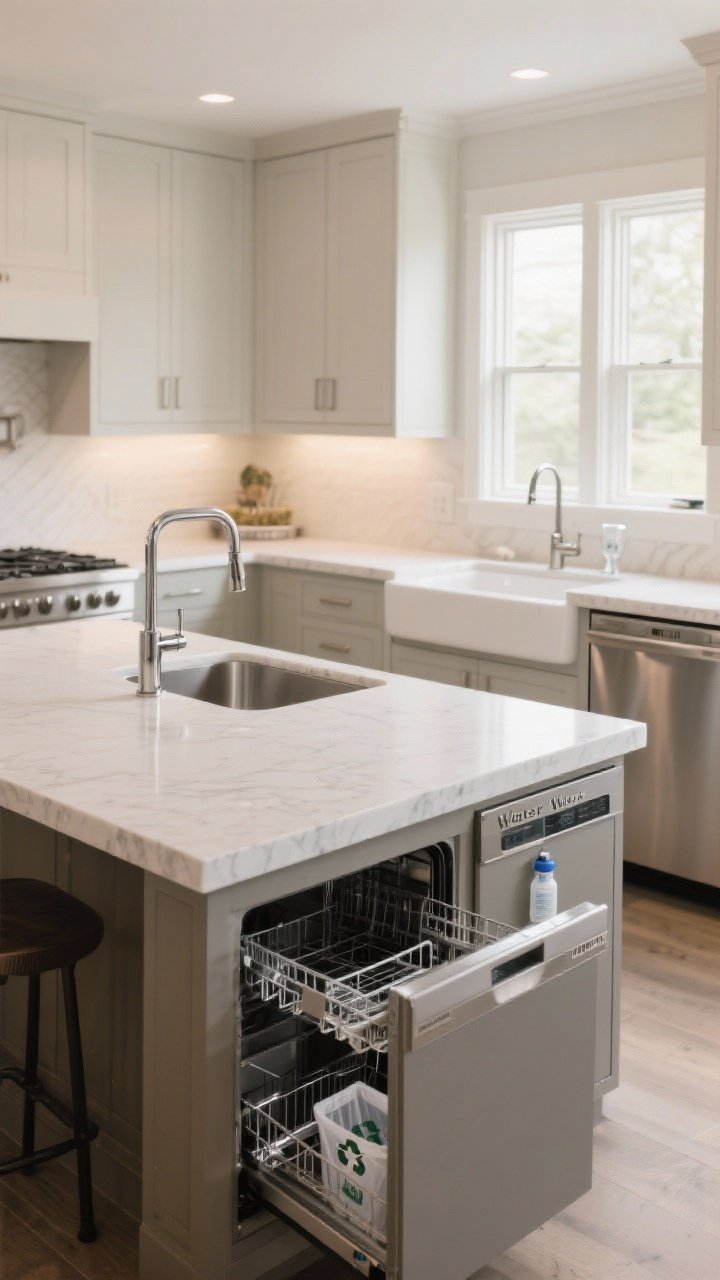
A prep sink on the island is a game-changer. It keeps produce washing, pasta straining, and sticky hands away from your main cleanup zone. And the dishwasher? Park it right next to that sink with a trash pull-out on the other side. That’s the holy trinity.
Transform Your Home With 7,250+ Stunning Landscaping Designs—No Expensive Designers Needed!
- 🌿 Access 7,250+ stunning landscaping designs.
- 💰 Save thousands—no pro designer needed.
- 🏡 Plans for gardens, patios, walkways, and more.
- ✨ Simple, beginner-friendly DIY layouts.
- 🛠️ Customize any design to fit your yard.
Smart Layout Tips
- Place the sink off-center to leave a big, uninterrupted prep area.
- Use a single-bowl sink for maximum workspace.
- Add a filtered water faucet if you don’t want the fridge door constantly opening.
Bonus: If you entertain, a bar sink on the “guest” side keeps people out of your prep zone.
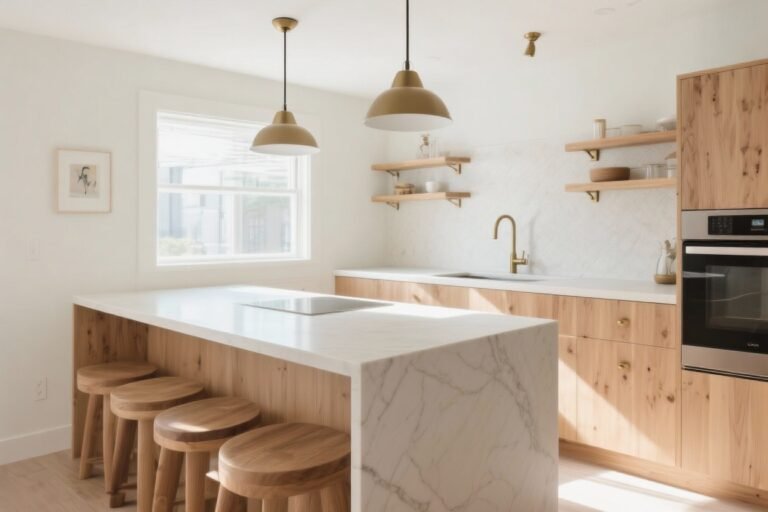
4. Seating That Works: Comfort Meets Conversation

Island seating is where homework happens, coffee chats occur, and snacks disappear. Get the details right, and people will actually want to linger.
- Depth: Aim for a 12–15 inch overhang for comfort. Add corbels or steel brackets for support if overhang exceeds 12 inches.
- Spacing: 24 inches per stool, 30 if you’ve got armchairs or big elbows.
- Height: 36-inch counter height is cozier; 42-inch bar height feels more “cocktail hour.”
Design move: Wrap seating around a corner in an L-shape for cozier conversation and better traffic flow.
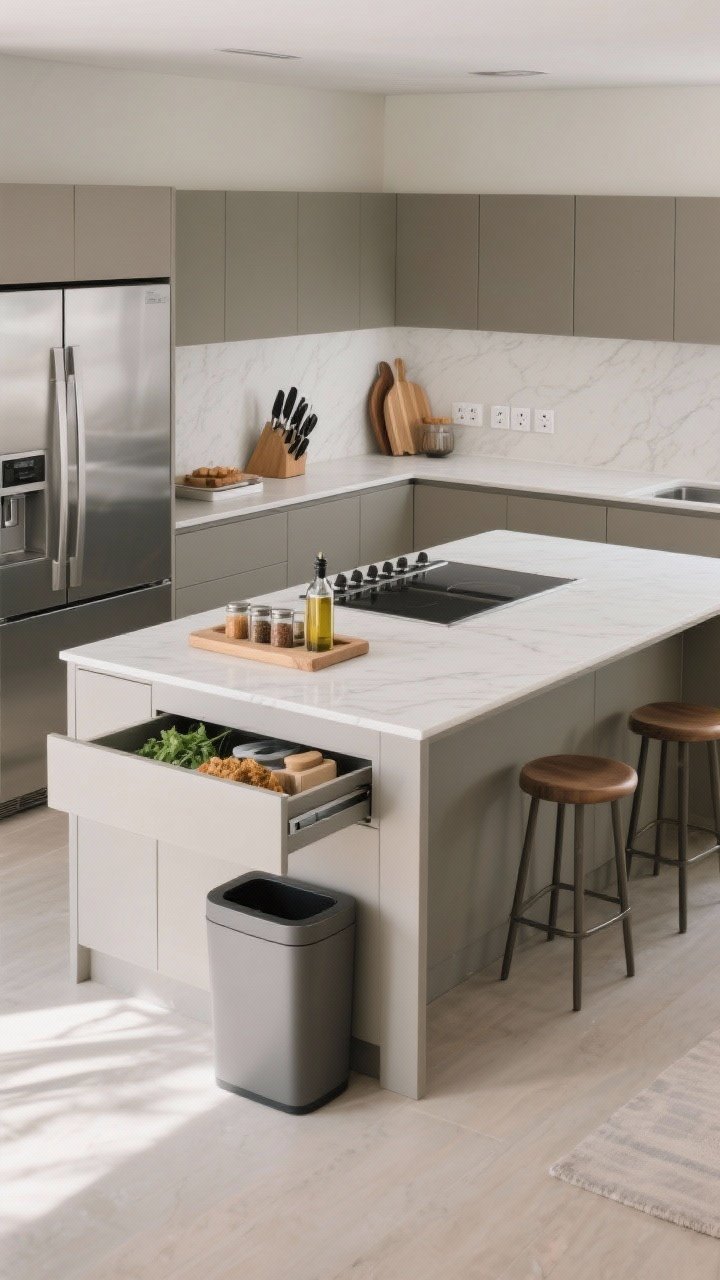
5. Storage Wizards: Drawers Over Doors
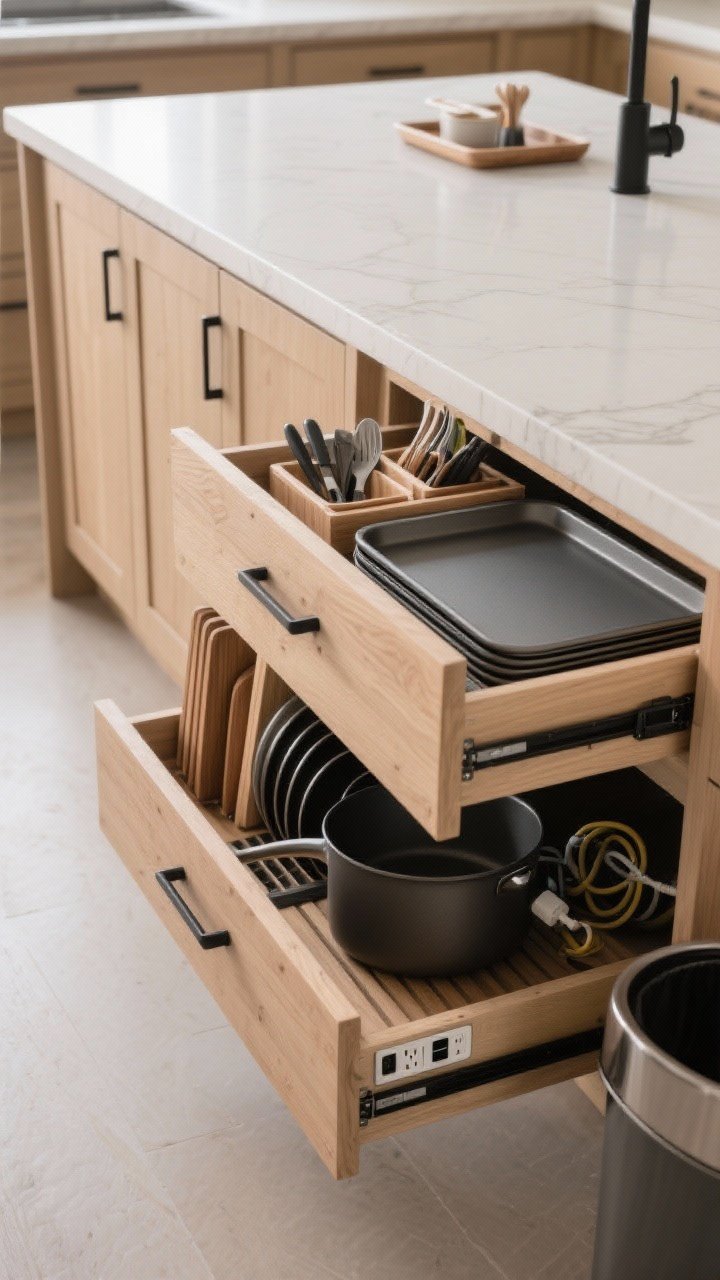
If you’re still opening cabinets to reach into the abyss, it’s time to evolve. Deep drawers are king for pots, pans, and even plates. They pull out so everything comes to you—no awkward crouching.
Designer-Favorite Storage Upgrades
- Double-decker drawers: A shallow top layer for utensils, with a deep section below.
- Tray dividers: Stand baking sheets and cutting boards vertically—way easier to grab.
- Hidden charging drawer: Outlets + a shallow drawer = a clutter-free countertop.
- Trash/recycling pull-out: On the prep side. You’ll use it 50 times a day.
IMO, a built-in knife block drawer near the prep zone is perfection. Safer too.

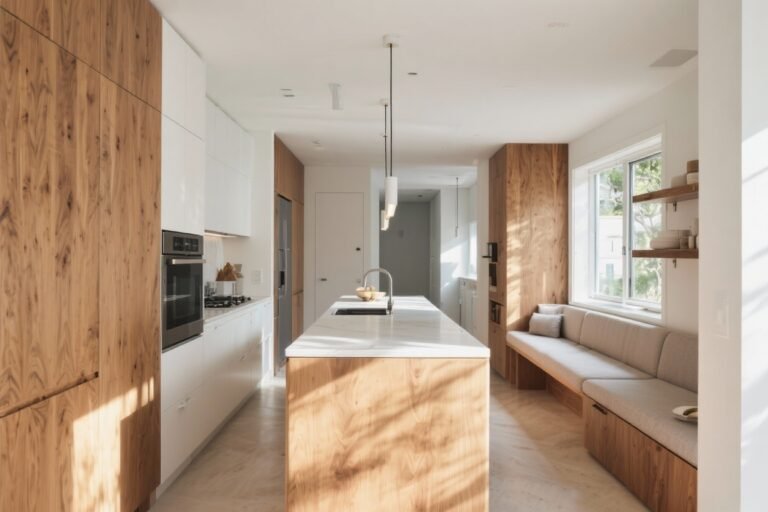
6. Double Duty Surfaces: Mix Materials

You don’t need a single slab across the whole island. Mixing materials gives function and personality. Designers love durable quartz for most of the island, paired with a butcher block insert or a marble pastry section.
- Butcher block end cap: Perfect for chopping without a separate board.
- Marble inset: Cool surface for pastry work—also looks incredible.
- Waterfall edge: Makes the island feel sculptural; just know it eats into budget.
Pro tip: If you do an integrated wood zone, add a discreet knife slot and a pull-out trash beneath for chef-level efficiency.
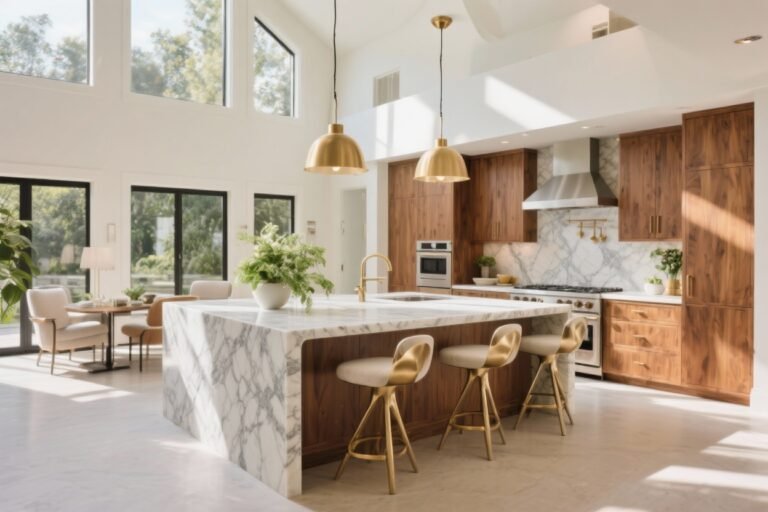
7. Lighting That Flatters (You And The Food)

Good lighting makes everything look intentional. Bad lighting makes gorgeous countertops look sad. You need a mix: pendants for mood, recessed for overall brightness, and under-cabinet or toe-kick for drama.
Lighting Playbook
- Pendants: Two large or three small. Hang them 30–36 inches above the counter.
- Temperature: 2700–3000K for warm, flattering light—not dentist office vibes.
- Dimmers: Non-negotiable. Bright for prep, soft for wine-and-pasta o’clock.
FYI: Center pendants to the island surface, not the room. It looks cleaner and feels intentional.
8. Appliance Islands: Go Big Or Go Compact

Yes, you can put appliances in an island—just be strategic. Big cook who entertains? Consider a cooktop with downdraft on the island so you can face your guests. Compact kitchen? A drawer microwave or beverage fridge in the island frees wall space.
- Microwave drawer: Safer for kids and less cluttered than over-the-range.
- Beverage center: Put it on the guest side so people don’t invade your cooking zone.
- Warming drawer: The unsung hero of big families and late dinners.
Just remember: Appliances need power, ventilation, and clearances. Plan the guts first, then the glam.
9. Shape Shifters: Curves, Tiers, And Overhangs
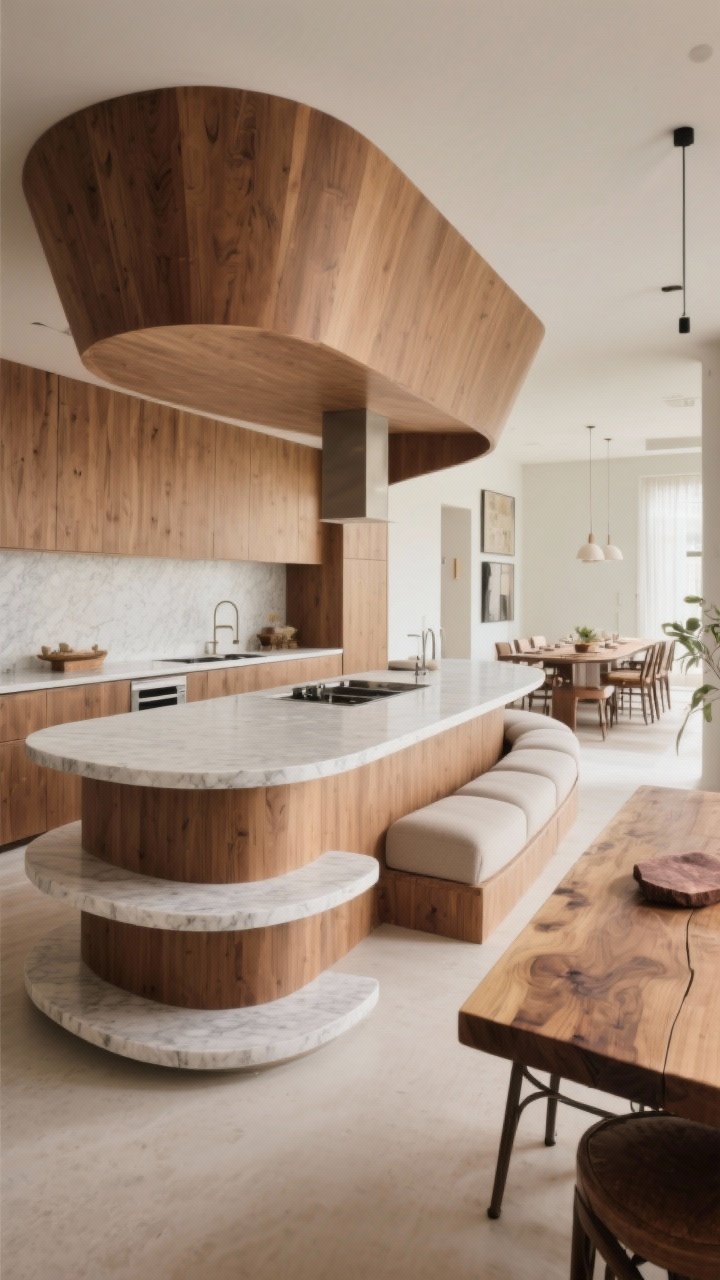
Your island doesn’t have to be a plain rectangle. Consider a curved seating side for better conversation, or a tiered island to separate messy prep from neat serving.
Smart Shape Tweaks
- Rounded corners: Softer look, fewer hip bruises—especially in tight kitchens.
- Angled end: Adds visual interest and improves flow toward an adjacent space.
- T-shaped island: Great for big kitchens—one arm for cooking, one for gathering.
Have a super long room? Break up a runway island with a built-in butcher block table at one end. Instant bistro vibes.
10. Style It Like A Designer: Details Make The Difference
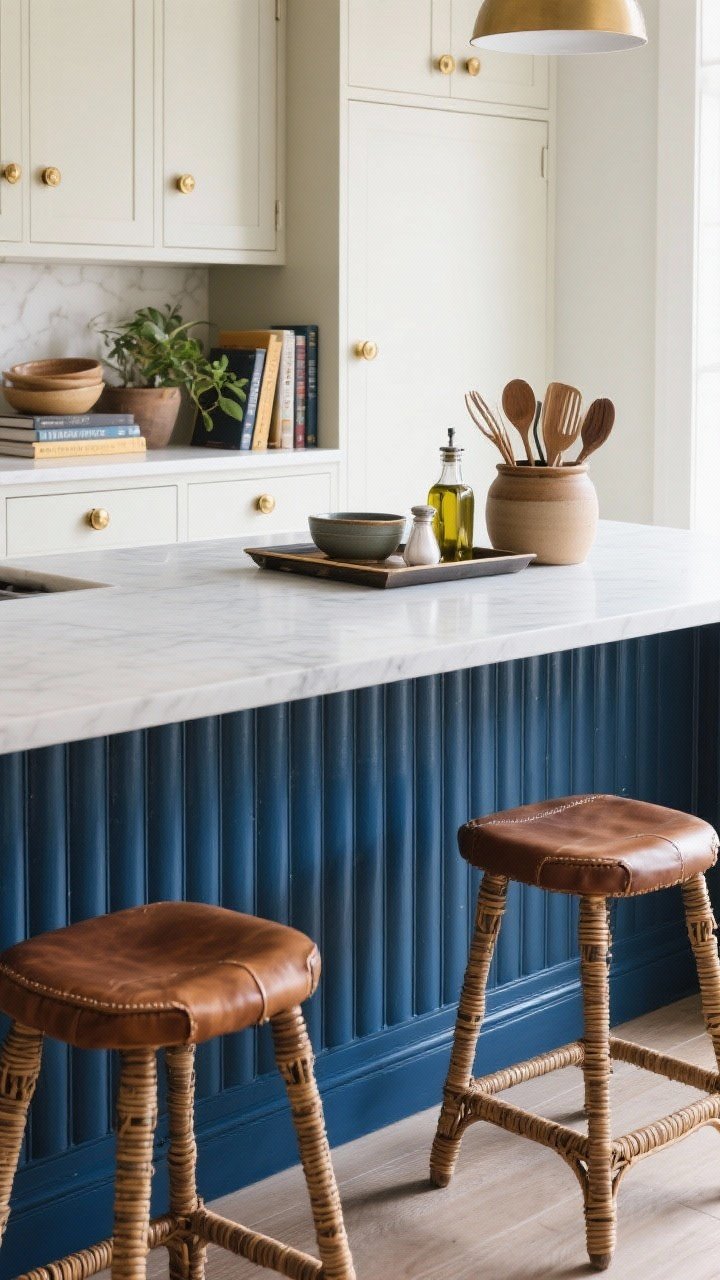
Once the layout works, the styling seals the deal. Think about paneling, color, hardware, and accessories to make your island feel curated—not copy-paste.
Designer Styling Moves
- Statement base: Use fluted panels, beadboard, or reeded details for texture.
- Contrast color: Paint the island a bold hue (ink blue, olive, charcoal) against lighter perimeters.
- Hardware mix: Knobs on drawers, pulls on doors—or vice versa. Keep finishes consistent.
- Open shelf end cap: Display cookbooks, bowls, or plants. This softens the mass of the island.
- Pretty but practical: A tray with a crock, olive oil, and salt cellar keeps things tidy and intentional.
And please—add stools with personality. They’re the jewelry of the island. Leather, rattan, metal—pick your vibe and commit.
Quick Planning Checklist
- What are the top three tasks you do daily? Design zones around those.
- Do you entertain? Build a guest-friendly side with seating and a beverage drawer.
- Measure, then measure again: aisles, overhangs, stool spacing, appliance clearances.
- Future-proof with durable finishes: quartz, porcelain, or sealed natural stone.
- Layer lighting and add dimmers. Thank yourself later.
There you go—10 smart kitchen island layout ideas designers swear by that actually make life easier (and your kitchen prettier). Start with flow, nail your zones, then have fun with materials and styling. You’re about to build the most popular spot in your house—again.