10 Clever Kitchen Cabinet Organization Ideas You’ll Wish You Knew Sooner
Let’s be honest: most kitchen cabinets are a game of Tetris you’re consistently losing. Pots avalanche, spices go missing, and the snack shelf becomes a black hole. The good news? With a few smart tweaks, your cabinets can go from chaos to “did a professional do this?” in an afternoon.
Here are 10 clever kitchen cabinet organization ideas that are simple, stylish, and ridiculously effective. Ready to upgrade your cabinets and your sanity?
Tired of snacking when you’re not even hungry? This reset helps you stop the loop and feel back in control.
A simple reset for moments when cravings take over. Easy to use, easy to repeat, and designed to help you feel satisfied instead of stuck.
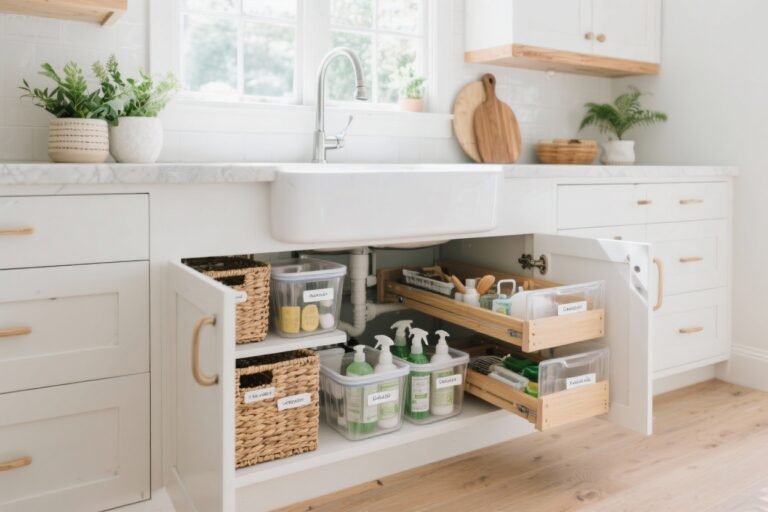
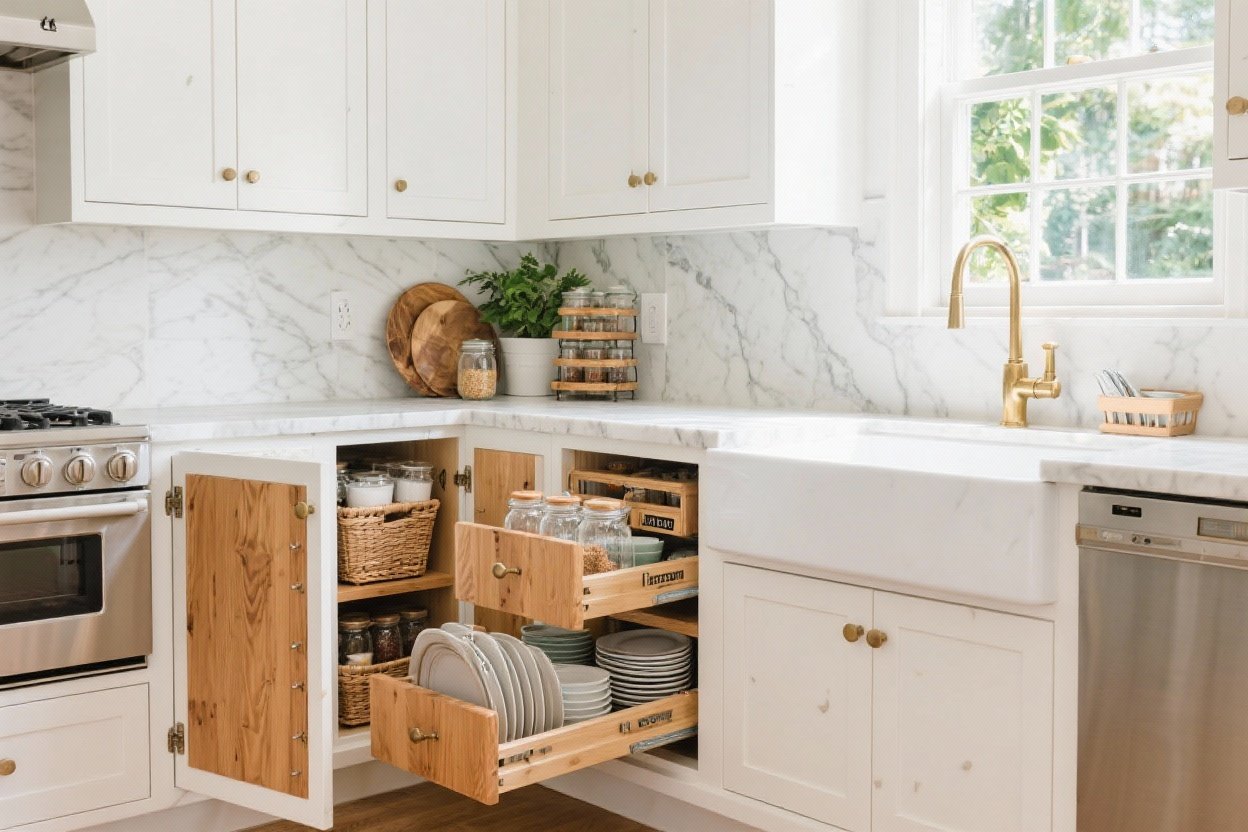
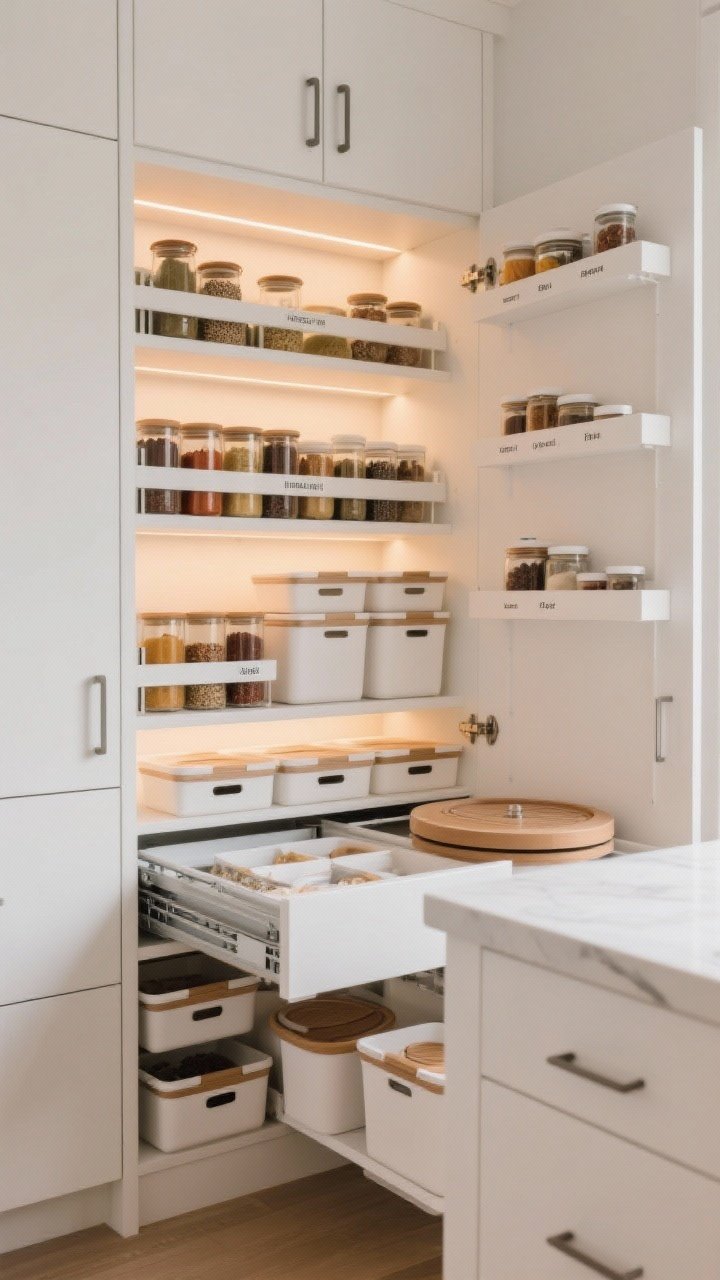
1. Divide And Conquer With Pull-Outs
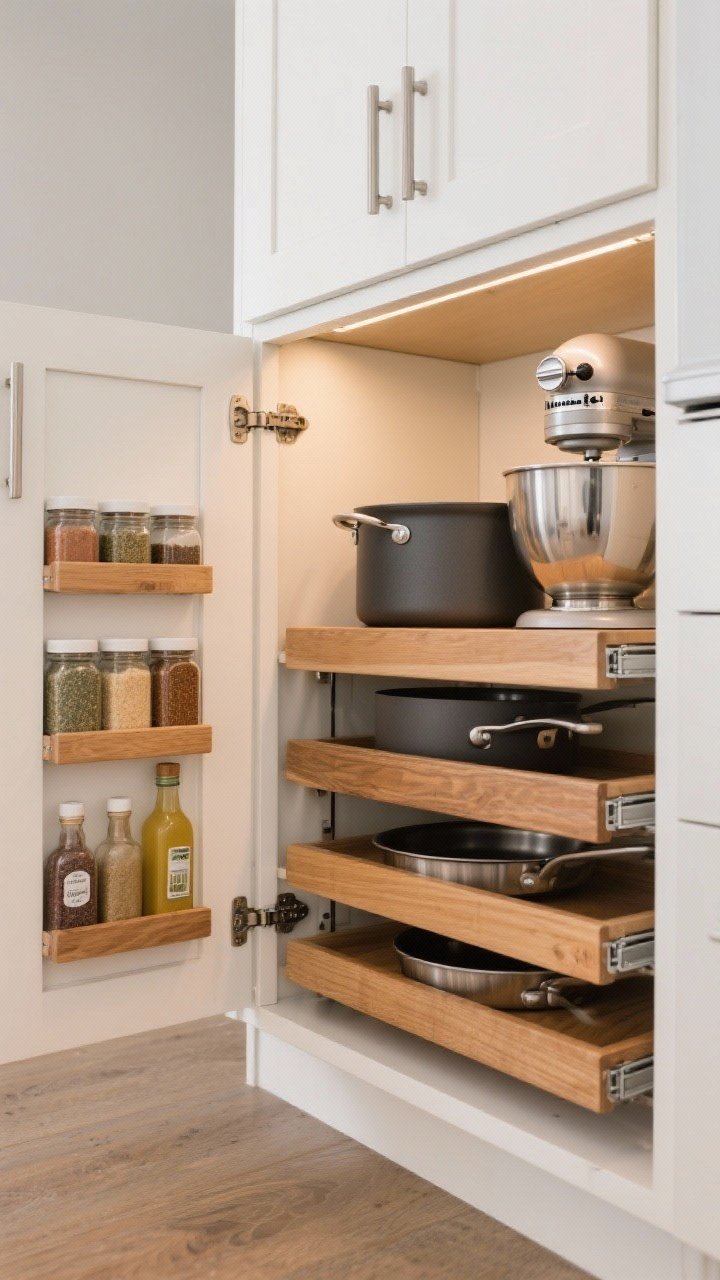
Pull-out shelves are like glasses for your cabinets—you’ll finally see what’s actually in there. No more crouching and digging for that one roasting pan you use twice a year.
Why It Works
- Max visibility: Everything slides out, so nothing gets “lost” in the back.
- Ergonomic: Your knees and lower back will send thank-you notes.
- Customizable: Choose single, double, or even tiered pull-outs.
Pro Tips
- Use slim pull-outs for spice cabinets and narrow gaps.
- Install heavy-duty pull-outs in base cabinets for pots and appliances.
- Add soft-close glides to keep things quiet and smooth.
2. File Your Bakeware, Don’t Stack It
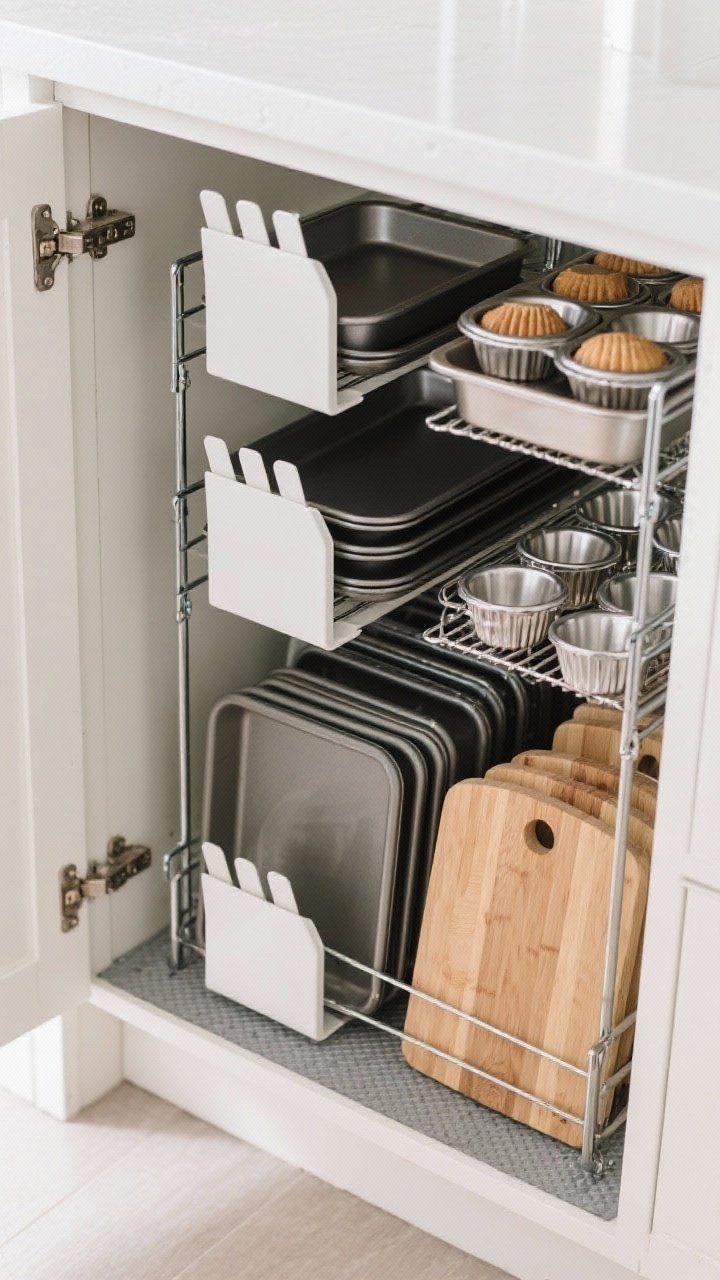
Stacked baking sheets and cutting boards are chaos waiting to happen. Instead, store them vertically like files—easy to grab, easy to put away.
What You’ll Need
- Adjustable dividers or tension rods inside a base cabinet.
- Magazine/file holders for budget-friendly separation.
- Non-slip liners to keep everything in place.
Bonus Win
- Separate by material (nonstick vs. stainless) to protect finishes.
- Keep cutting boards closest to prep zones for speed.
3. Double Your Space With Shelf Risers
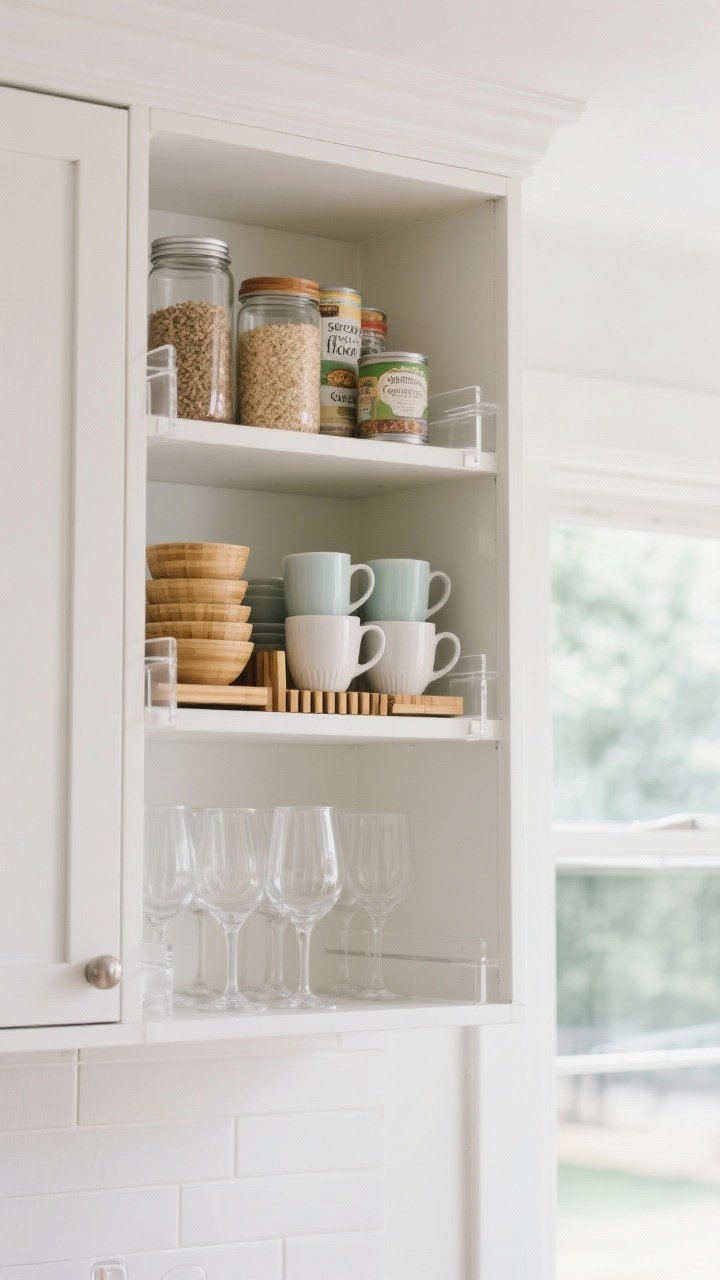
If your cabinet shelves are tall, there’s probably a lot of wasted air in there. Enter shelf risers—they’re simple, affordable, and basically give you a second floor.
Use Risers For
- Mugs and bowls: Stack without the teetering tower effect.
- Pantry goods: Keep cans and jars visible and tidy.
- Glassware: Separate everyday cups from special ones.
Smart Setup
- Measure first (seriously). Make sure the riser height fits your tallest item.
- Mix clear acrylic risers for a sleek look or bamboo for warmth.
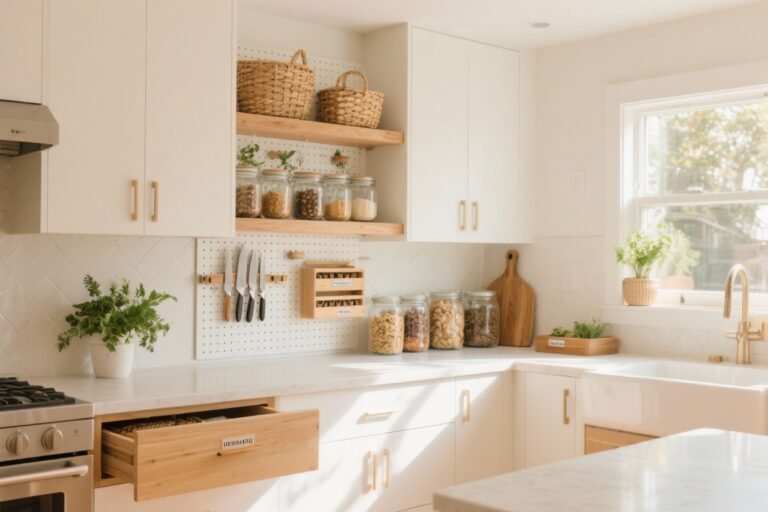
4. Hang What You Can: Doors, Walls, And Sides
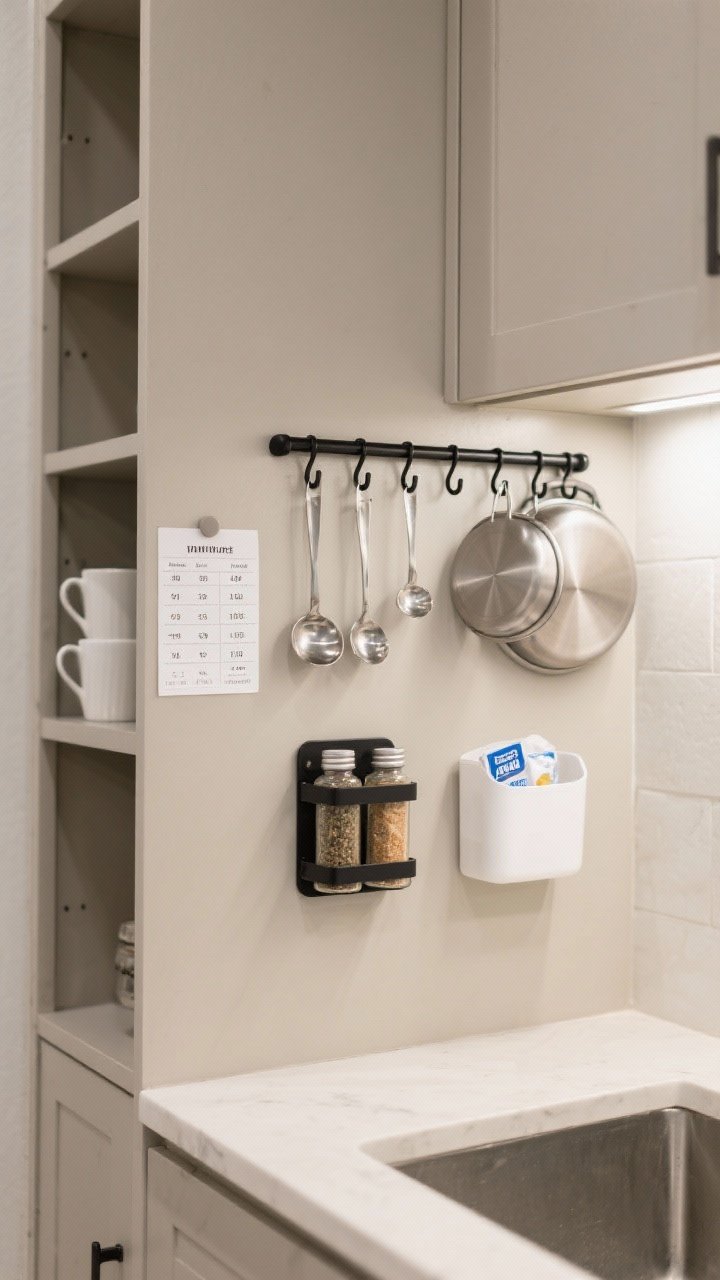
Your cabinet doors and side walls are prime real estate. Use them. Hooks, rails, and adhesive organizers keep small items at your fingertips and free up shelf space.
Transform Your Home With 7,250+ Stunning Landscaping Designs—No Expensive Designers Needed!
- 🌿 Access 7,250+ stunning landscaping designs.
- 💰 Save thousands—no pro designer needed.
- 🏡 Plans for gardens, patios, walkways, and more.
- ✨ Simple, beginner-friendly DIY layouts.
- 🛠️ Customize any design to fit your yard.
Door-Mounted Ideas
- Measuring spoons and cups on hooks—add a conversion chart inside the door for extra credit.
- Spice racks for small bottles (check door clearance with shelves).
- Foil and wrap holders so you stop wrestling crinkled boxes.
Side-Wall Hacks
- Install a short rail with S-hooks for pot lids or small pans.
- Use Command caddies for dishwasher pods or cleaning cloths under the sink.
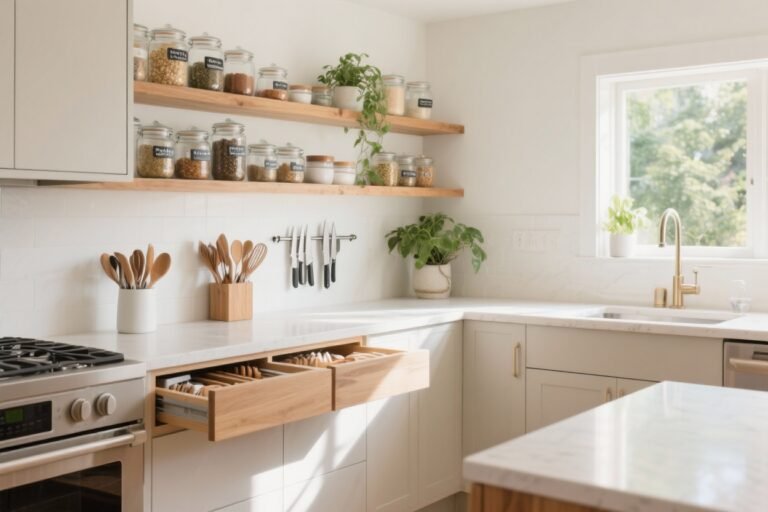
5. Tame Spices With Tiered Shelves Or Drawers
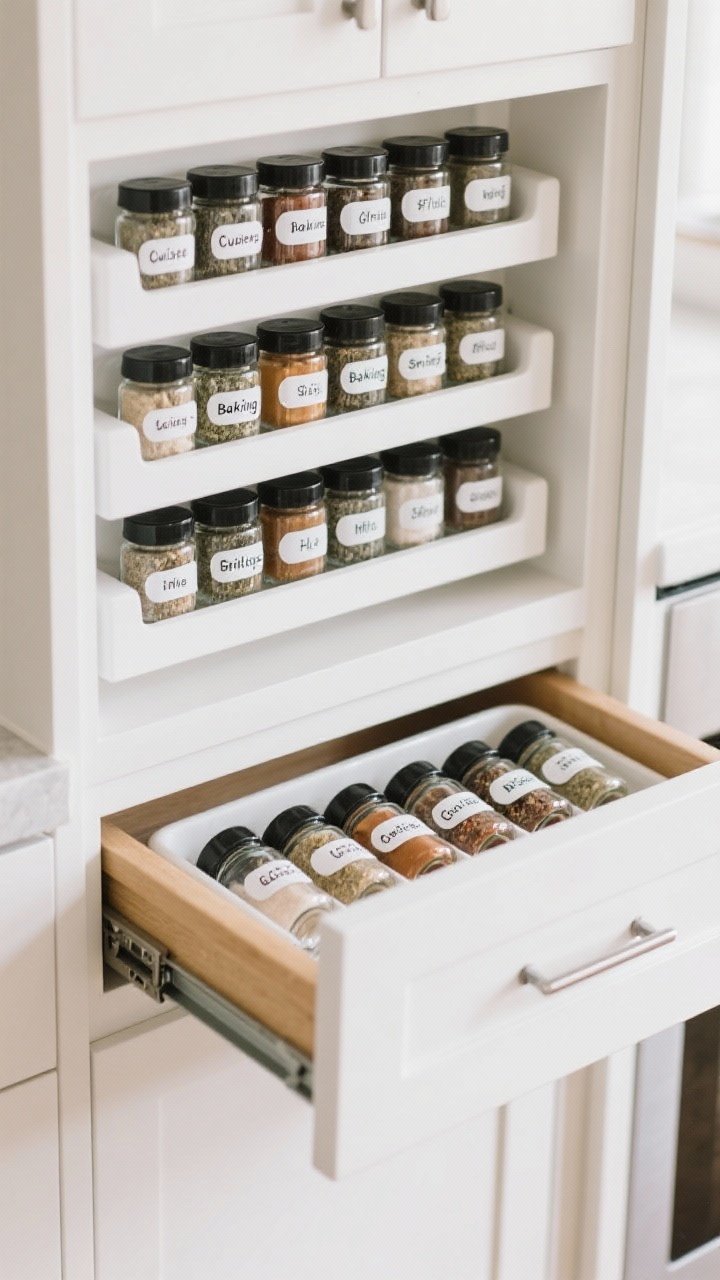
Spices are tiny but mighty—and messy. Keep them visible and alphabetical so you don’t buy paprika… again.
Two Great Options
- Tiered shelf inserts: Best for upper cabinets; everything’s in plain sight.
- Spice drawer trays: Lay bottles on their sides with labels facing up. Chefs swear by this.
Pro Moves
- Decant into uniform jars for a clean look (FYI: it helps with consistent sizing).
- Group by cuisine or use (baking vs. grilling) for speed.

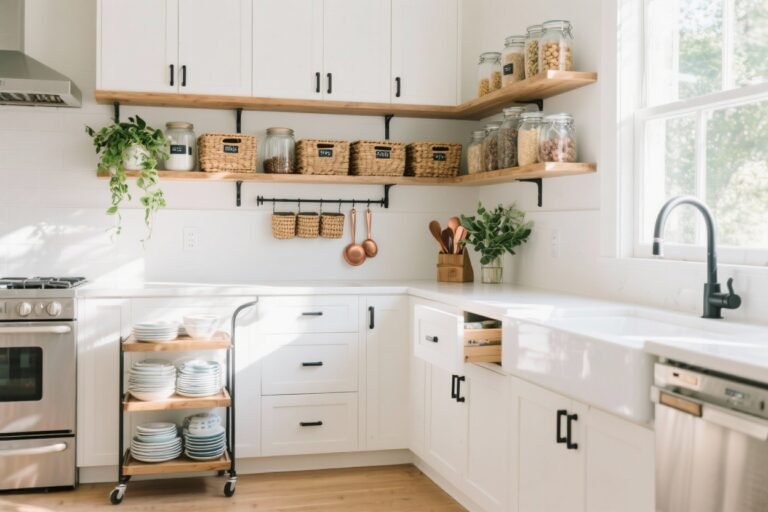
6. Create Zones Like A Grocery Store
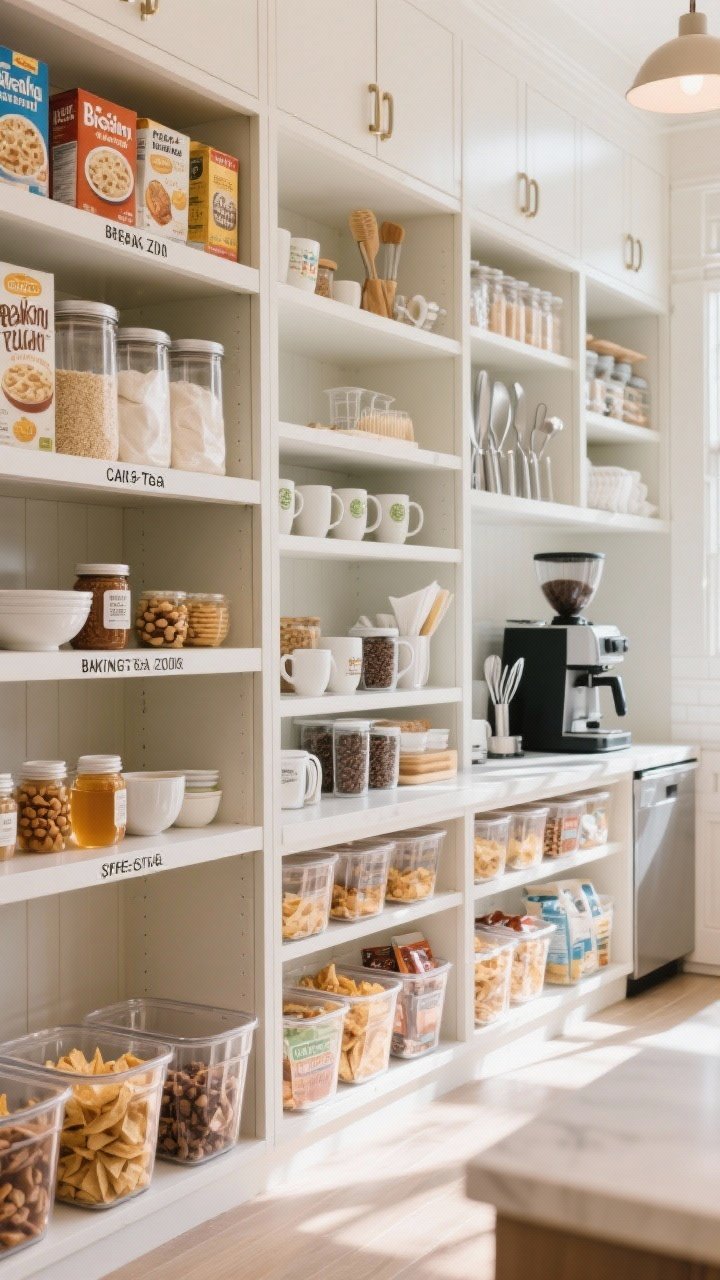
Think of your kitchen like a mini market. Zone your cabinets by task: breakfast, baking, coffee, snacks. It cuts decision-making and makes everything easier to find.
Set Up Zones
- Breakfast Zone: Cereal, oatmeal, bowls, honey, nut butters.
- Baking Zone: Flours, sugars, baking tools, measuring sets.
- Coffee/Tea Zone: Mugs, filters, beans, sweeteners, frother.
- Snacks Zone: Jars for chips, bars, and grab-and-go bites.
Tips To Keep It Tight
- Use clear bins with labels so other people put things back correctly (dream big).
- Place zones near their action spot—coffee stuff near the machine, baking near the mixer.
7. Use Lazy Susans For Corners And Condiments
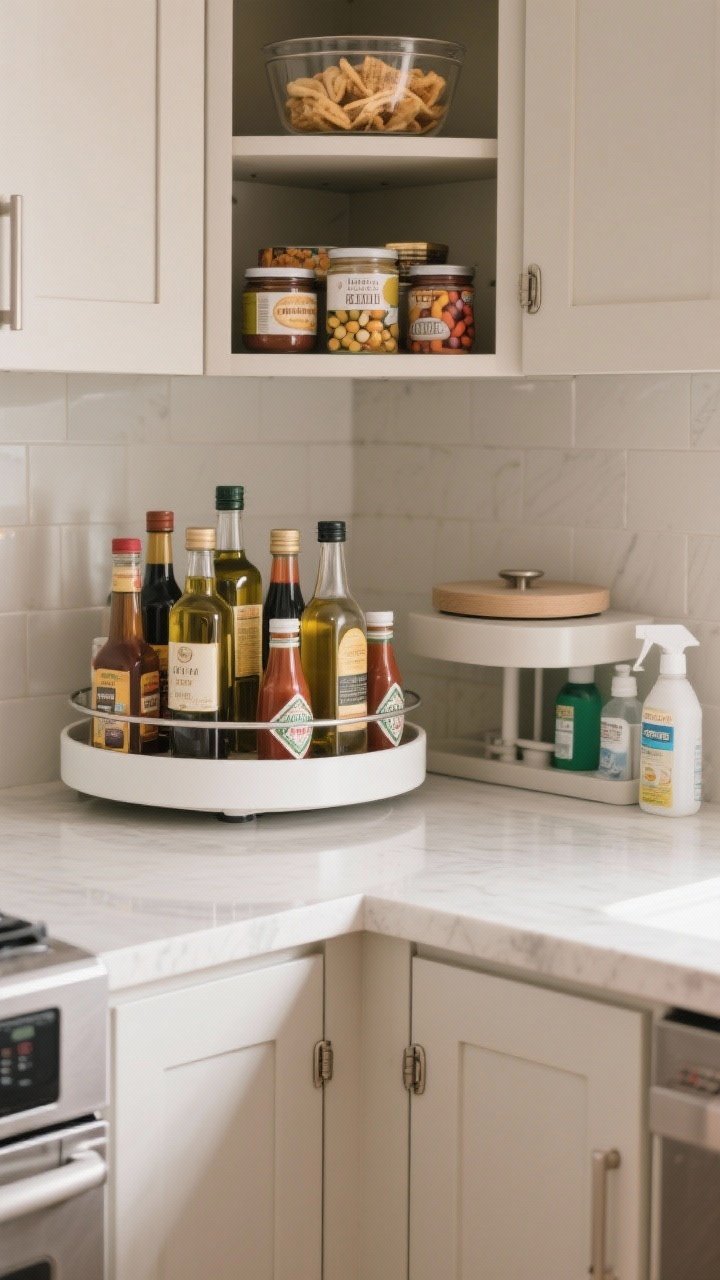
Corner cabinets are where hopes and Tupperware go to disappear. A lazy Susan turns that dead zone into a smooth, spin-to-win storage moment.
Where To Spin
- Corner base cabinets: For oils, vinegars, and sauces.
- Upper cabinets: For snacks, spreads, and vitamins.
- Under the sink: For cleaners and sprays—super helpful.
What To Look For
- Choose rimmed edges so bottles don’t fly off.
- Measure carefully—round doesn’t mean one-size-fits-all.
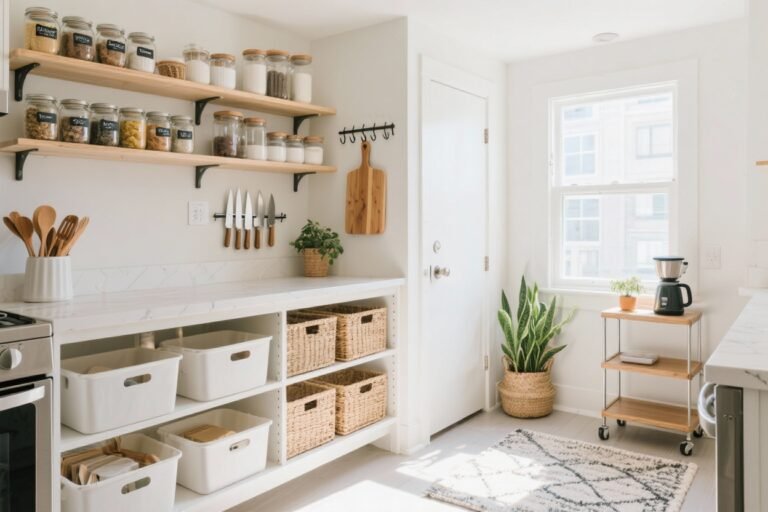
8. Contain The Chaos With Bins And Labels
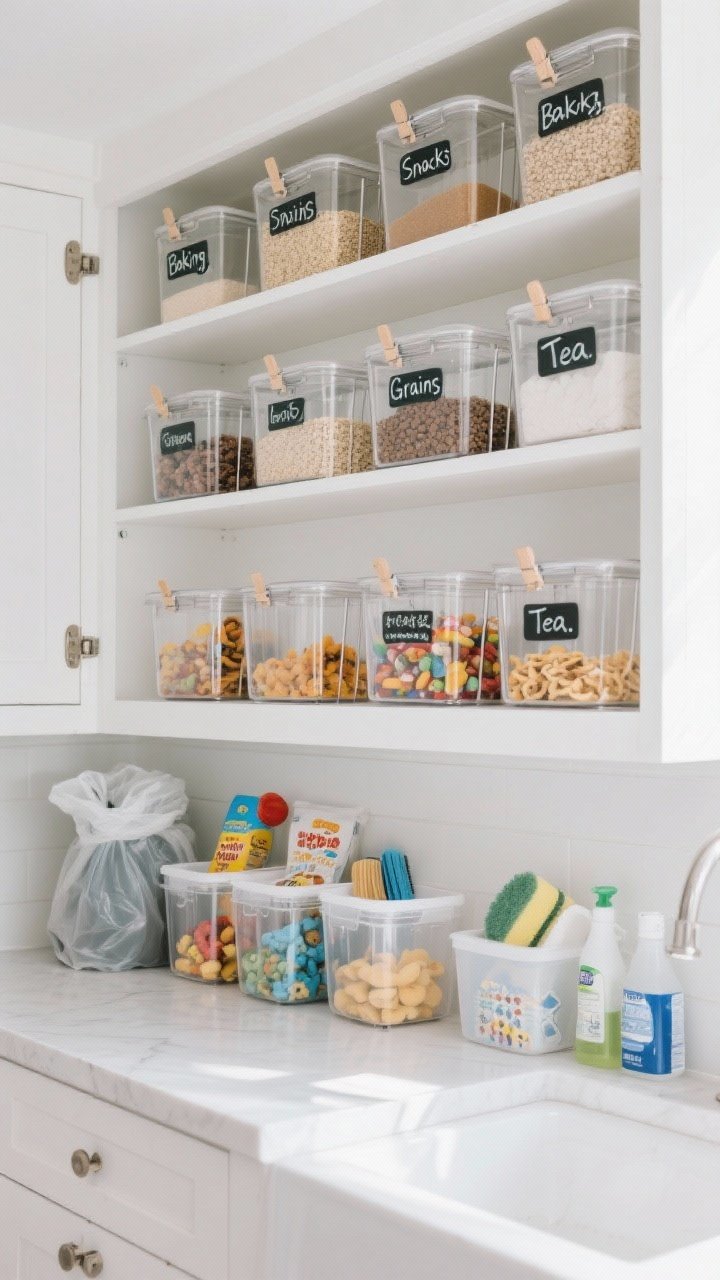
Bins are the secret sauce. They reduce visual clutter, keep categories together, and make cleanup faster. Plus, a good label turns good intentions into actual habits, IMO.
Best Bin Uses
- Pantry-style cabinets: Snacks, baking ingredients, pasta, broths.
- Under-sink: Trash bags, sponges, dish tabs, cleaners.
- Kid-friendly shelf: Pre-portioned snacks in clear, easy-grab bins.
Label Like A Pro
- Use clip-on labels for wire bins and chalk labels for plastic.
- Keep it simple: “Baking,” “Snacks,” “Grains,” “Tea.” Not a novel.
9. Master Lid Storage (Because That’s Half The Battle)
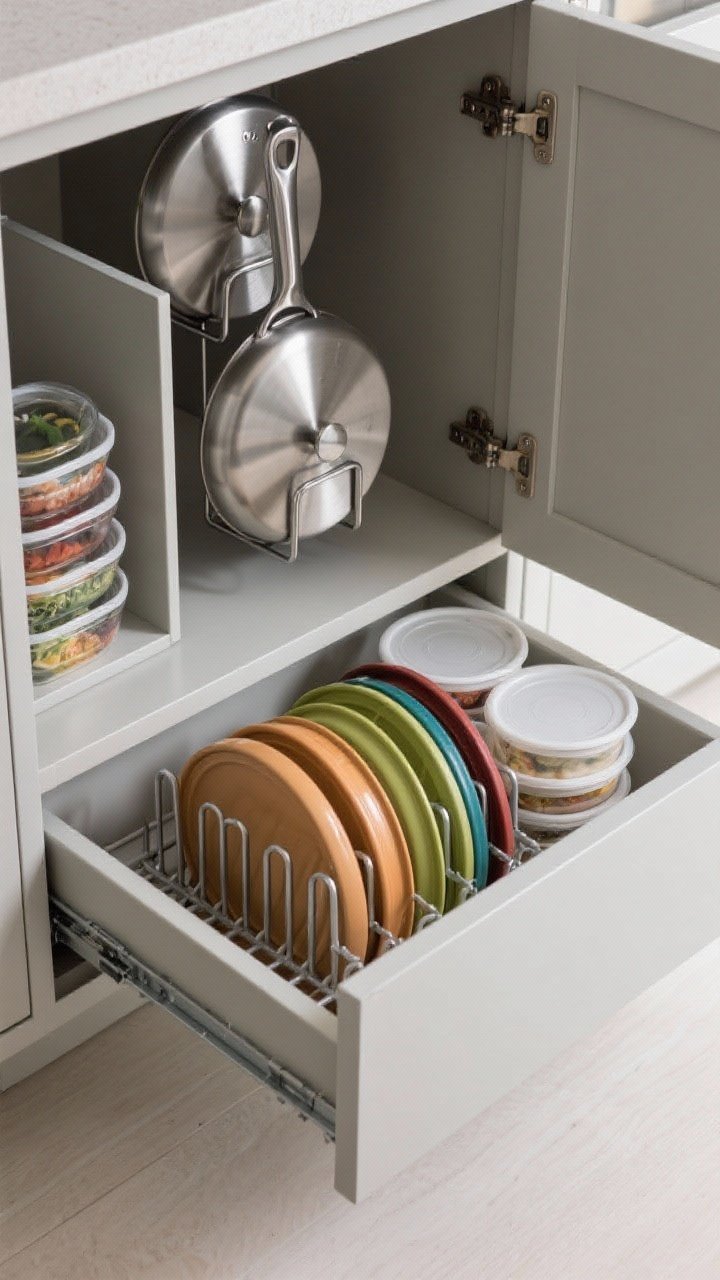
Containers aren’t the problem—lids are. If you solve lid storage, you basically win at cabinet organization.
Smart Lid Solutions
- File lids vertically using a rack or adjustable divider in a shallow drawer.
- Mount a lid holder on the inside of a cabinet door for pot lids.
- Use pan organizers horizontally to separate lids by size.
Keep It Consistent
- Stick to one container system if you can—uniform sizes save room.
- Store containers nested in one stack, lids in another. No mix-ups.
10. Adjust Shelves And Add Lighting For A Luxe Feel
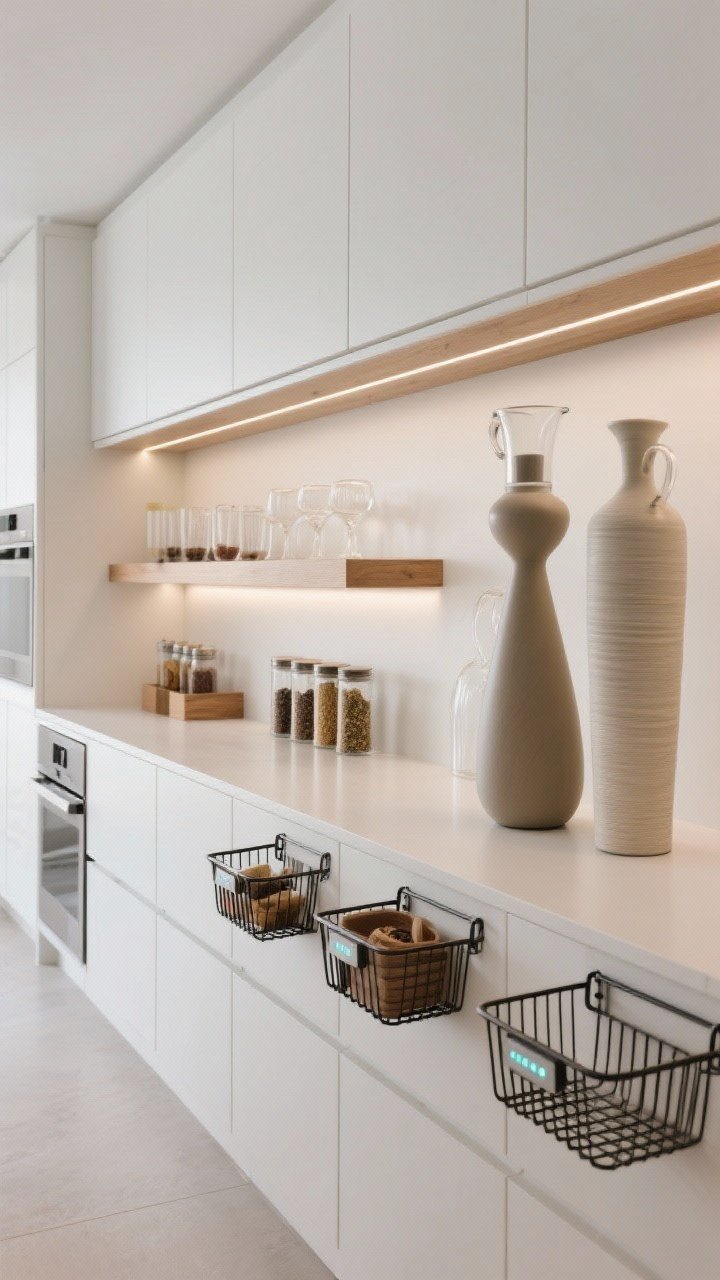
Sometimes the best upgrade is free. Adjust your cabinet shelves to fit what you actually own (shocking, I know). Then add motion-sensor LED lights for a high-end vibe without rewiring anything.
Small Tweaks, Big Impact
- Set one shelf to short items (glasses, spices) and one to tall items (pitchers, vases).
- Use clip-on under-shelf baskets to add an instant bonus layer.
- Stick LED strip lights under upper shelves for visibility and drama.
Maintenance Tip
- Do a 10-minute reset each month. Toss expired goods, re-home strays, wipe shelves. Future you will be thrilled, FYI.
Conclusion
Your cabinets don’t need a full renovation—just a smarter strategy. With pull-outs, zones, lazy Susans, and a few well-placed labels, your kitchen can look organized and stay that way. Start with one cabinet, get a quick win, and keep going. You’ve got this—and your spices will finally agree.