10 Pantry Organization Ideas That Keep Everything Neat and Easy to Find—without Trying
If your pantry currently looks like a snack tornado hit it, you’re not alone. The good news? A few smart upgrades can turn chaos into “wow, that was easy.” These pantry organization ideas are simple, stylish, and don’t require a label maker PhD—though we’ll use it, obviously.
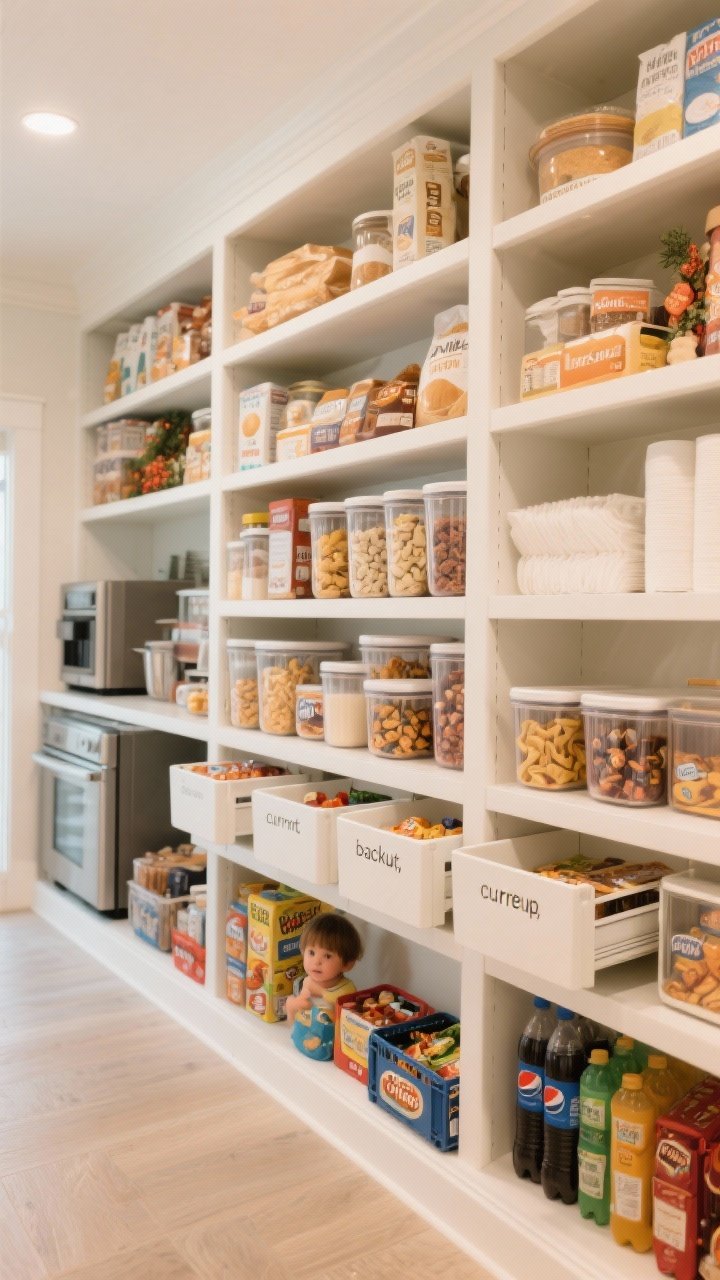
1. Create Zones So Everything Has A Home
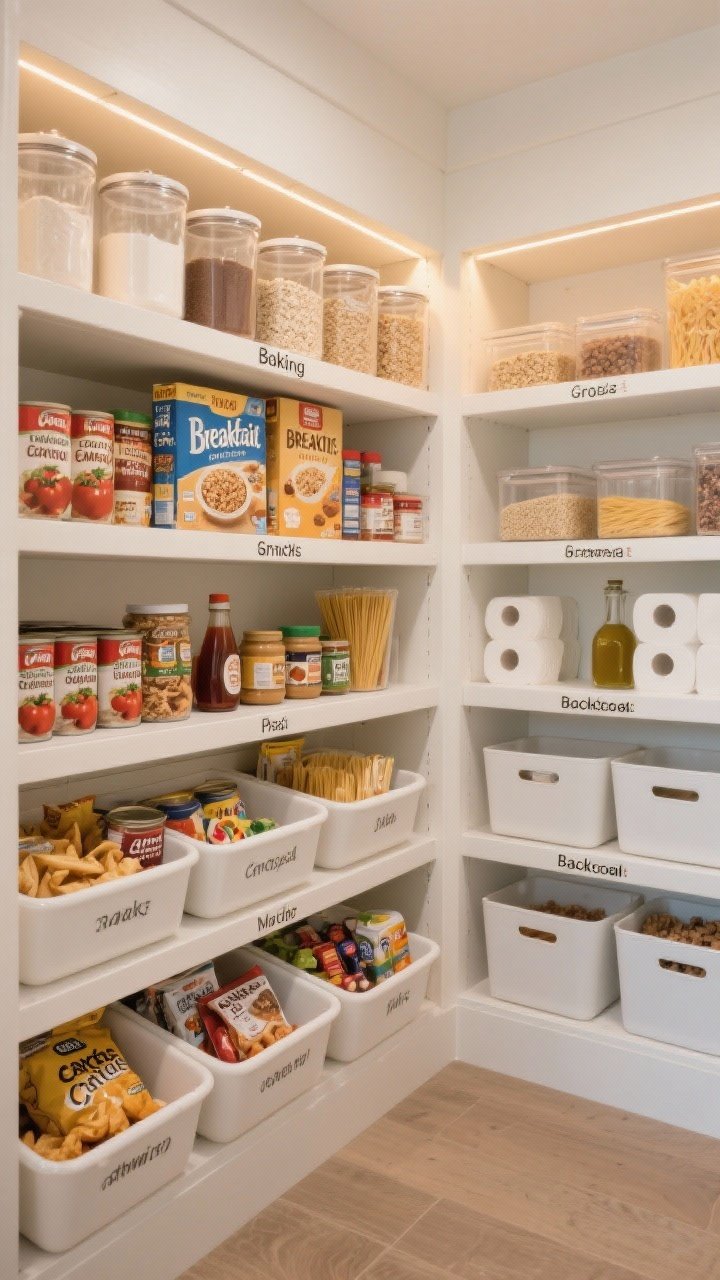
Zones are the secret sauce. When every category has a designated spot, you stop losing the cinnamon and buying it four more times. It also makes restocking fast and brainless—yes, please.
Tired of snacking when you’re not even hungry? This reset helps you stop the loop and feel back in control.
A simple reset for moments when cravings take over. Easy to use, easy to repeat, and designed to help you feel satisfied instead of stuck.
How To Set Up Zones
- Baking Zone: Flour, sugar, cocoa, baking powder, extracts.
- Breakfast Zone: Cereal, oats, granola, nut butters, syrups.
- Snacks Zone: Chips, bars, crackers, fruit snacks. Kid eye-level!
- Canned & Jars: Soups, beans, tomatoes, sauces.
- Grains & Pasta: Rice, quinoa, noodles, couscous.
- Backstock Zone: Extras you’ve stocked up on—paper towels, extra oil, etc.
Keep each zone contained to specific shelves or bins. If it doesn’t fit, it doesn’t belong—harsh but effective.
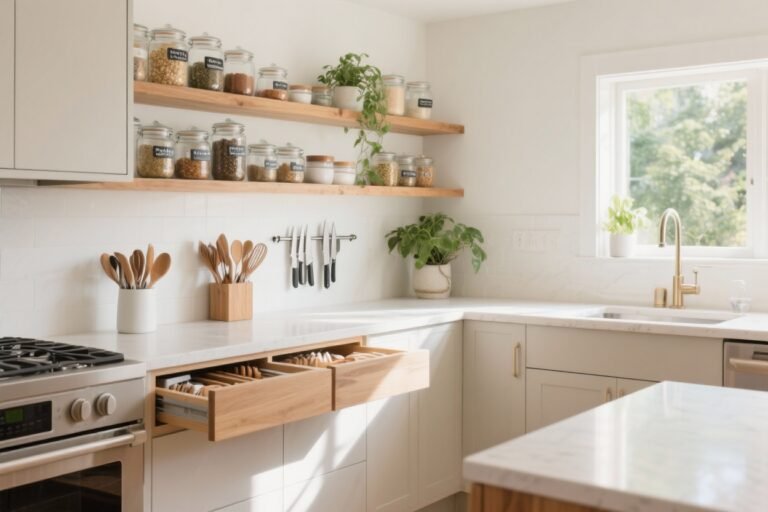
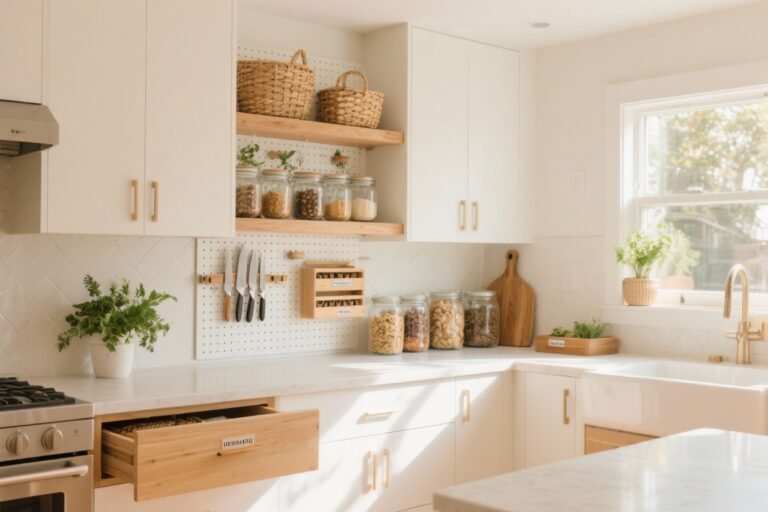
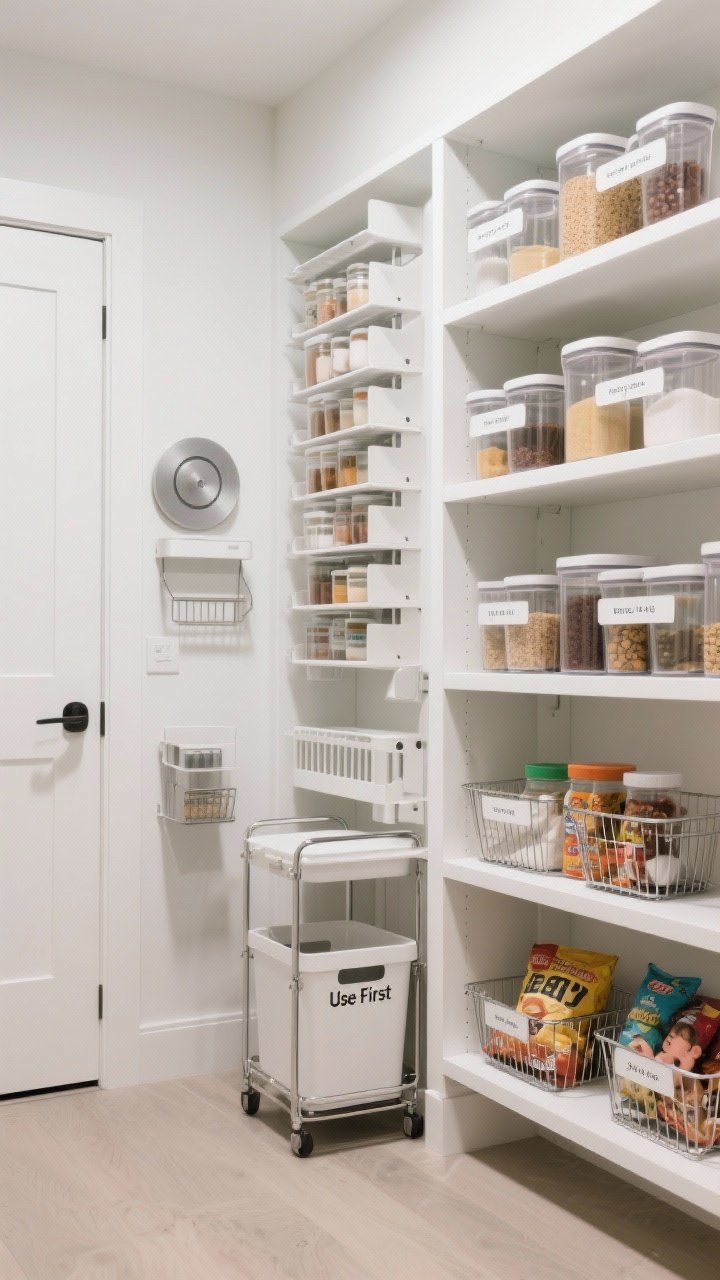
2. Decant Into Clear Containers (But Be Strategic)
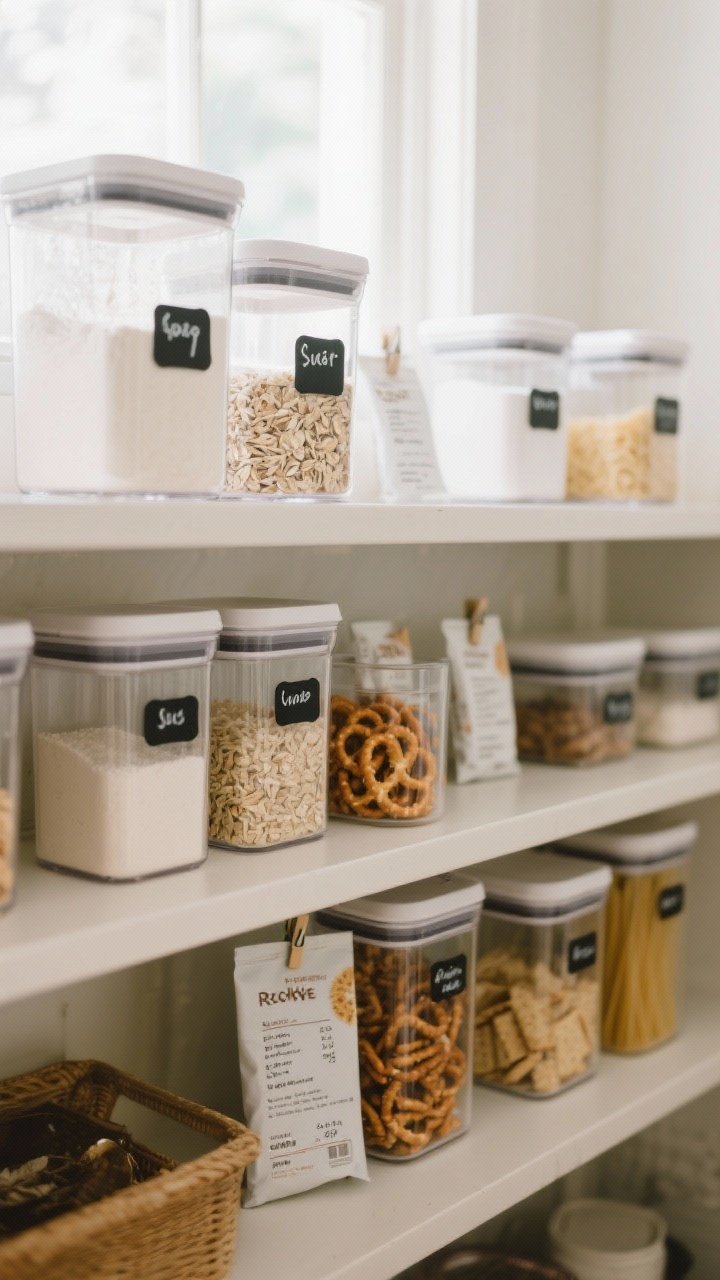
Decanting isn’t just for Instagram—it keeps food fresh and makes it easy to spot when you’re low. But you don’t need to decant everything, or you’ll be decanting until retirement.
What To Decant
- Always: Flour, sugar, oats, rice, pasta—anything that attracts pests or goes stale fast.
- Maybe: Snacks like pretzels or crackers—if your crew eats them often.
- Skip: Tiny items with instructions you need (gelatin, mixes), unless you clip the label.
Choose square or rectangular airtight containers to maximize shelf space. Add simple labels with the item name and cooking info (time, ratio) for quick cooking without Googling mid-stir.
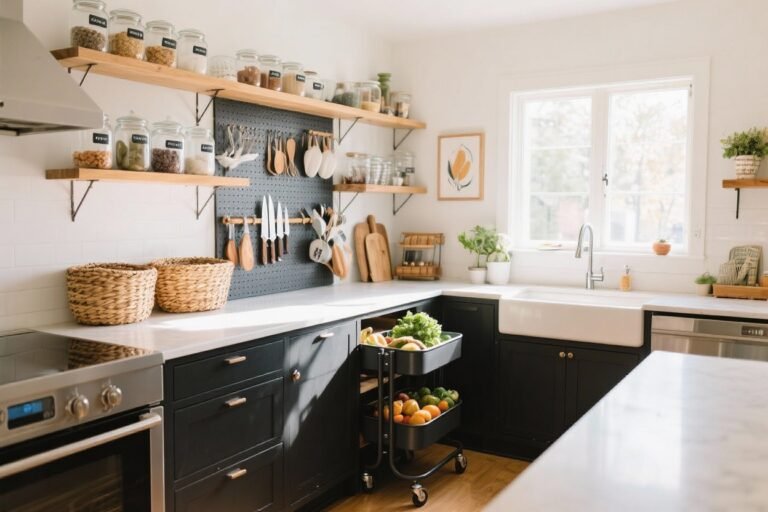
3. Use Bins And Baskets To Contain The Chaos

Loose bags are how you end up with popcorn kernels in your socks. Bins and baskets keep everything corralled and easy to grab. They also hide the ugly packaging so the whole pantry feels calm.
Transform Your Home With 7,250+ Stunning Landscaping Designs—No Expensive Designers Needed!
- 🌿 Access 7,250+ stunning landscaping designs.
- 💰 Save thousands—no pro designer needed.
- 🏡 Plans for gardens, patios, walkways, and more.
- ✨ Simple, beginner-friendly DIY layouts.
- 🛠️ Customize any design to fit your yard.
Smart Bin Ideas
- Stackable plastic bins for snacks and small items you reach for daily.
- Wire baskets for produce like potatoes and onions (so they can breathe).
- Deep bins for backstock items—clearly labeled, so you don’t double-buy.
- Handled bins on higher shelves to pull down safely—no acrobatics required.
Pro tip: Use low, wide bins for kid zones so they can help themselves (and help put things away—one can dream).
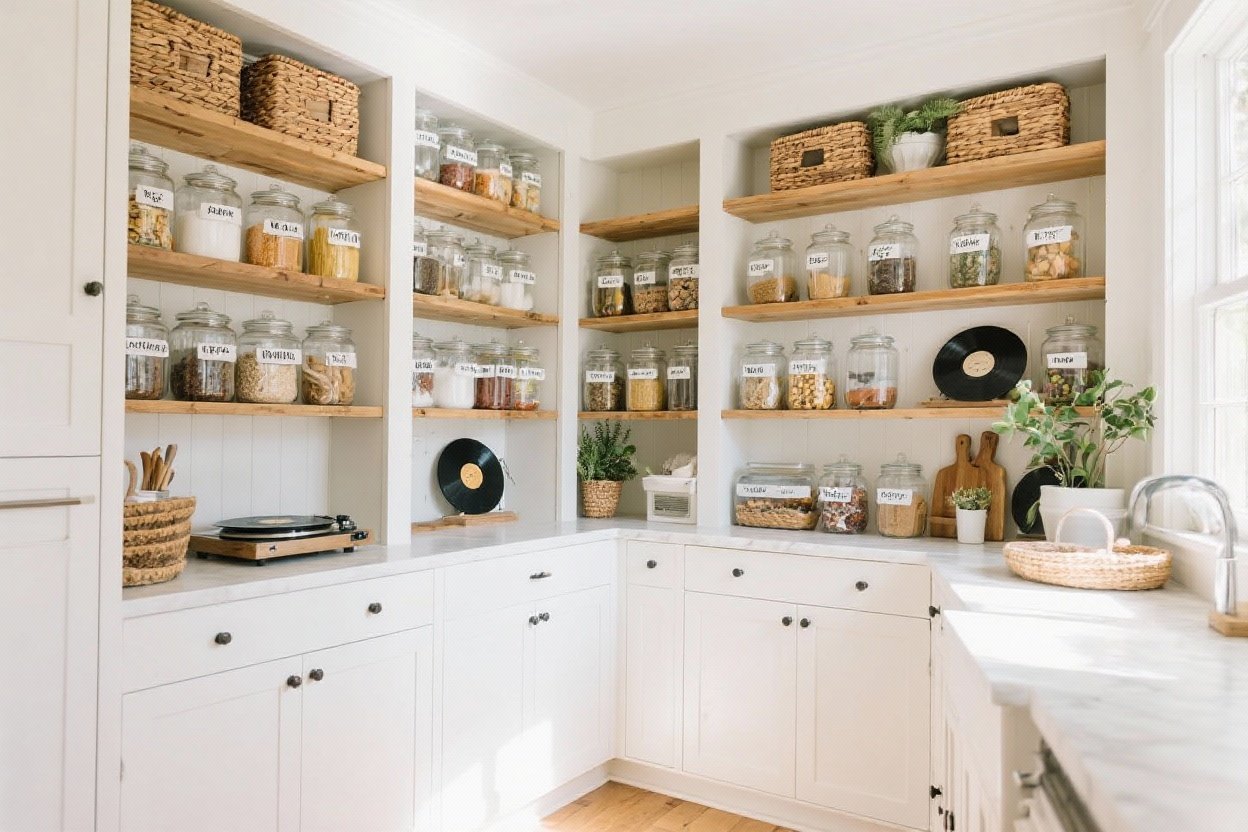
4. Label Like You Mean It
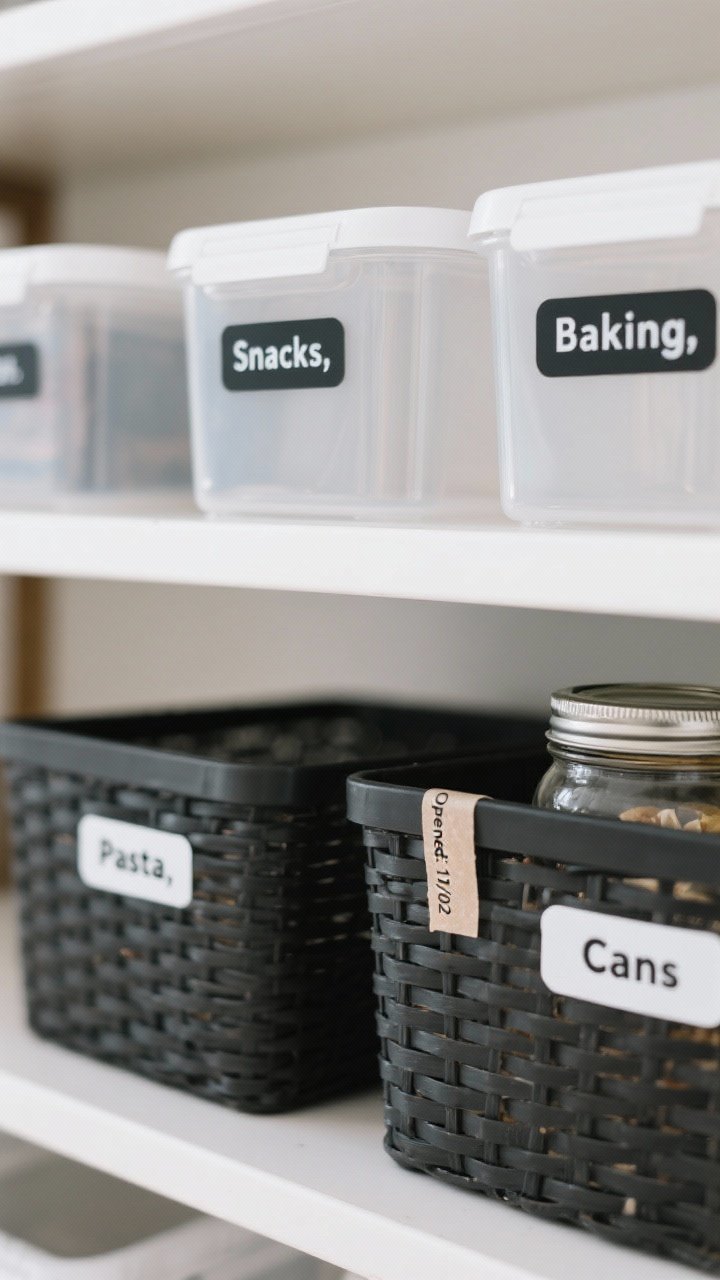
Labels are how your pantry stays organized longer than a week. They’re the “put it back where you found it” of adulting.
Labeling Tips
- Keep it simple: One clear word: Snacks, Baking, Pasta, Cans.
- Use contrast: White labels on dark bins, black on clear bins.
- Be consistent: Same font and size = instant polish and less visual clutter.
- Include dates: For decanted items, add a small sticker with expiration or opened date (FYI: washi tape works perfectly).
If you love a clean look, try minimal vinyl labels. If you like flexibility, go for clip-on bin labels or chalk labels you can change as your pantry evolves.
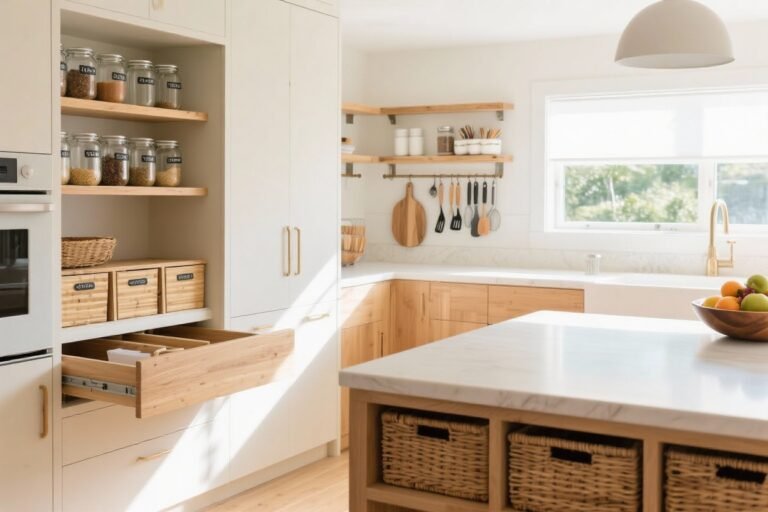
5. Max Out Vertical Space With Risers, Shelves, And Under-Shelf Baskets
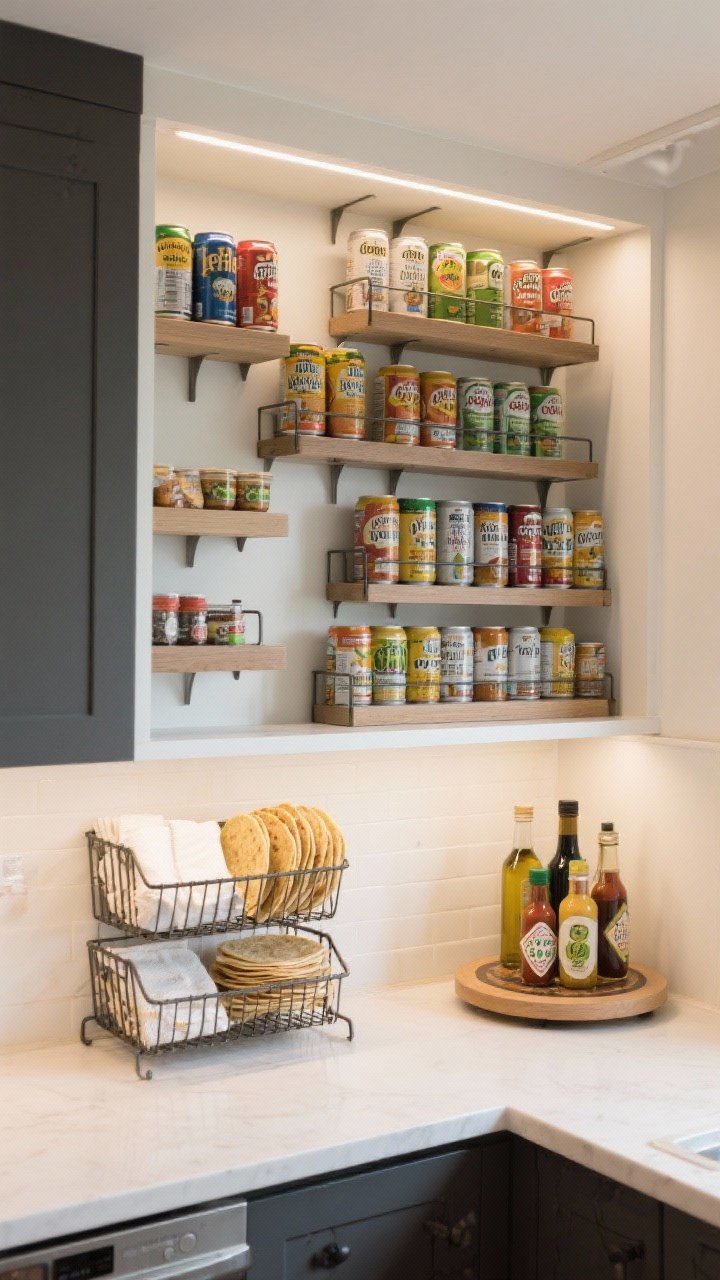
Most pantries waste the vertical space between shelves. That’s prime real estate! Use stackers and risers to build upward like a tiny food metropolis.
Space-Saving Power Moves
- Can risers: Step-style platforms so you can see everything (no can left behind).
- Under-shelf baskets: Slide onto a shelf to store wraps, napkins, or tortillas.
- Stackable shelves: Create a second layer for shorter items—hello, double storage.
- Turntables (lazy Susans): Perfect for oils, vinegars, sauces—spin to win.
Just don’t overload risers with mixed categories. Keep each one zoned, even when stacked.

6. Put Daily-Use Items At Eye Level And Heavy Stuff Down Low
Think like a grocery store. The things you use daily should be right in front of you; heavy or occasional items can hang out elsewhere.
Shelf Strategy
- Eye-level: Snacks, breakfast staples, most-used ingredients.
- Upper shelves: Baking backstock, seasonal items, extra paper goods.
- Lower shelves/floor: Heavy appliances, bulk packages, drinks.
- Kid-level: Pre-portioned snacks, lunchbox items, kid-friendly bowls.
If you have deep shelves, use pull-out bins or a two-bin system (front bin for current, back bin for backup). No more spelunking for pasta sauce.
7. Tame Small Stuff With Jars, Clips, And Mini Bins
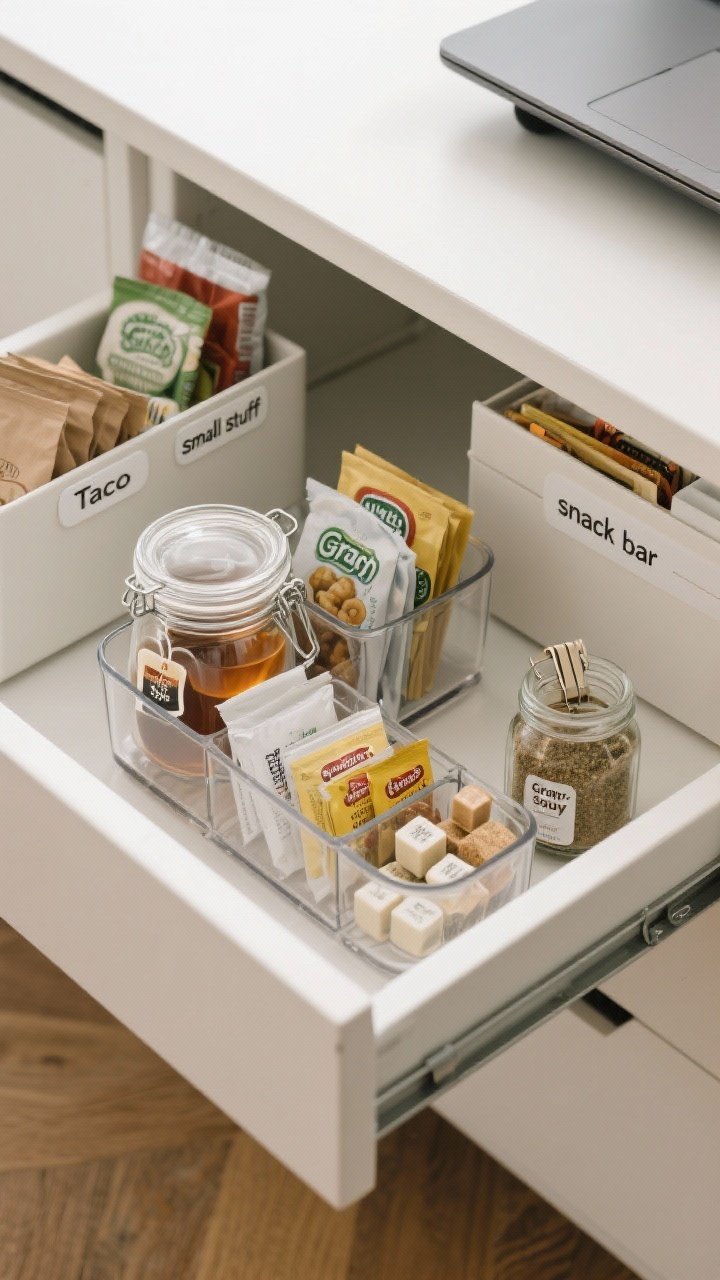
Packets, pouches, and seasoning envelopes are where organization dreams go to die. Give the tiny things a home so they don’t disappear into the void.
Solutions For Smalls
- Clear jars for tea bags, drink packets, and bouillon cubes.
- Shallow drawer organizers inside a bin for gravy mixes, yeast packets, and spice blends.
- Chip clips or bag sealers to keep half-used bags fresh and folded neatly.
- Packet file: Use a desktop file box with labeled tabs (Taco, Ranch, Gravy, Soup) for easy browsing.
For the whimsical touch: a small “snack bar” jar for odds and ends—half a pack of gummies, a rogue granola bar—so they actually get eaten.
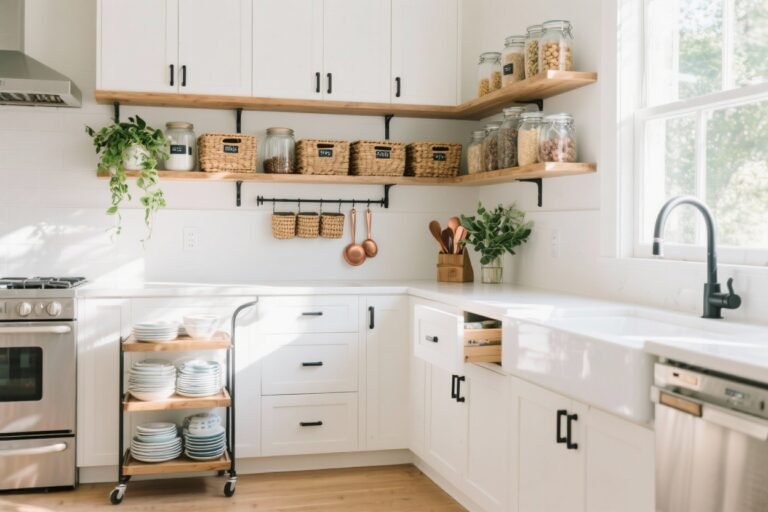
8. Upgrade Your Doors And Dead Space
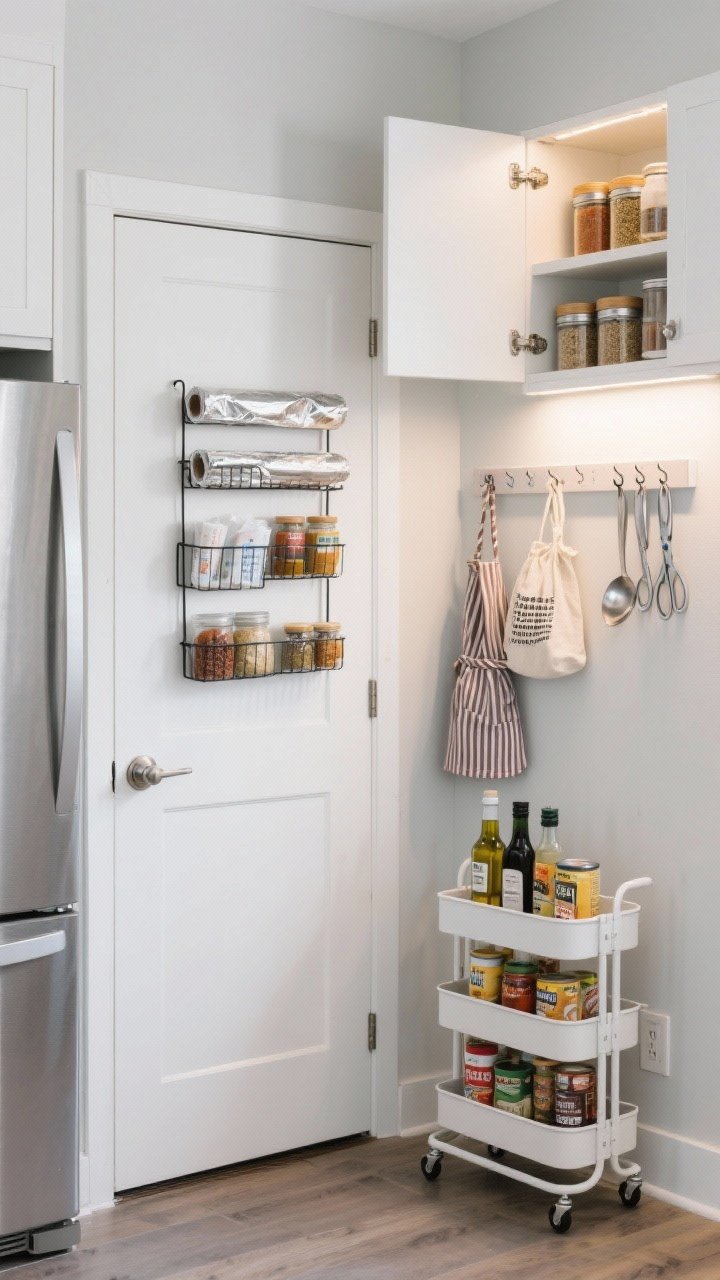
Pantries have hidden storage spots just begging to be used. Doors, the sides of cabinets, and even narrow gaps can be total game changers.
Dead Space, Meet Your Purpose
- Over-the-door racks: Store wraps, foils, spices, or jars you reach for often.
- Slim rolling cart: Slide one between the fridge and wall for oils, vinegars, or canned goods.
- Command hooks: Hang aprons, reusable bags, or kitchen scissors where you’ll actually find them.
- Magnetic strips: Mount inside a cabinet for spice tins or metal scoops.
FYI: Measure, then buy. Over-the-door racks come in all sizes—no one enjoys the return line.
9. Create A Snack Station And A Coffee/Tea Hub
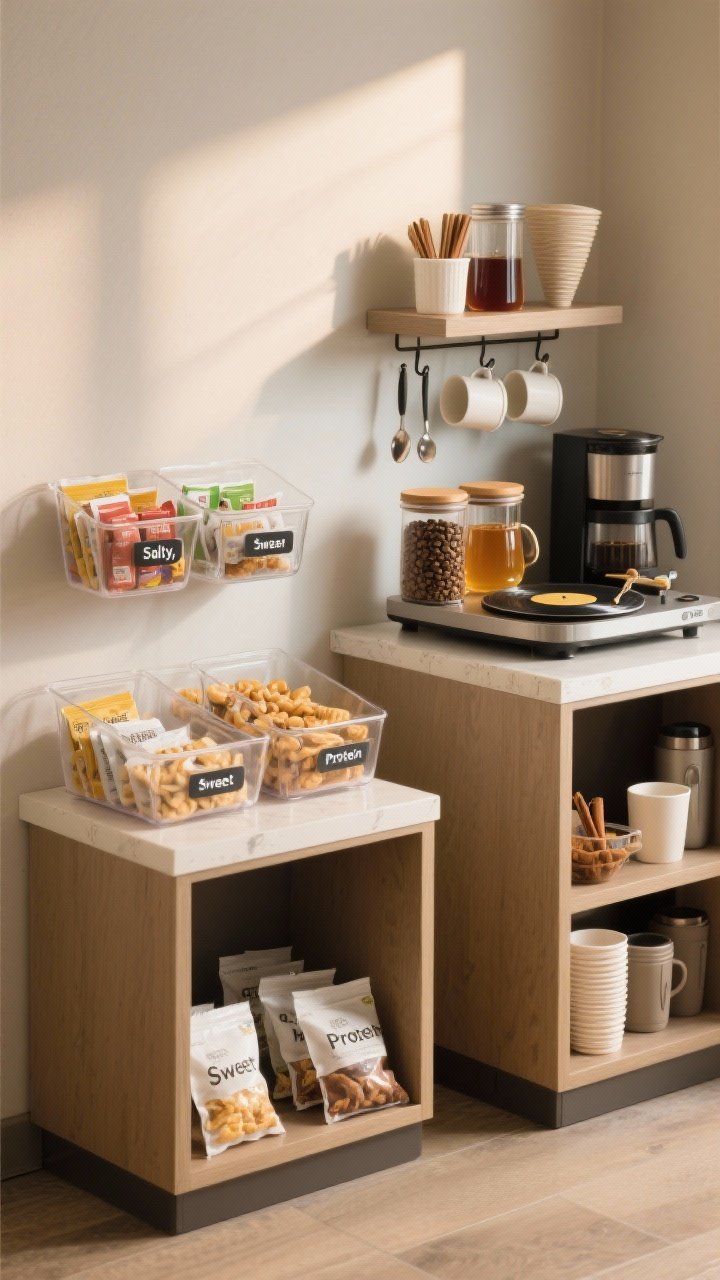
Pantries work best when they support your daily routines. Set up mini stations so you can make snacks or coffee without walking in circles like a confused barista.
Snack Station
- Clear bins with single-serve options for grab-and-go ease.
- Pre-portion: Use reusable snack bags or cups—saves time and keeps serving sizes in check.
- Labels: “Salty,” “Sweet,” “Protein,” so choices are fast and intentional.
Coffee + Tea Hub
- Turntable for syrups, honey, and cinnamon.
- Canisters for beans or grounds, with a scoop clipped inside the lid.
- Mug shelf or hooks nearby if space allows—instant café vibes.
Keep filters, spoons, and travel cups in the same area. Morning you will be thrilled.
10. Set Up A Simple Inventory And Restock Routine
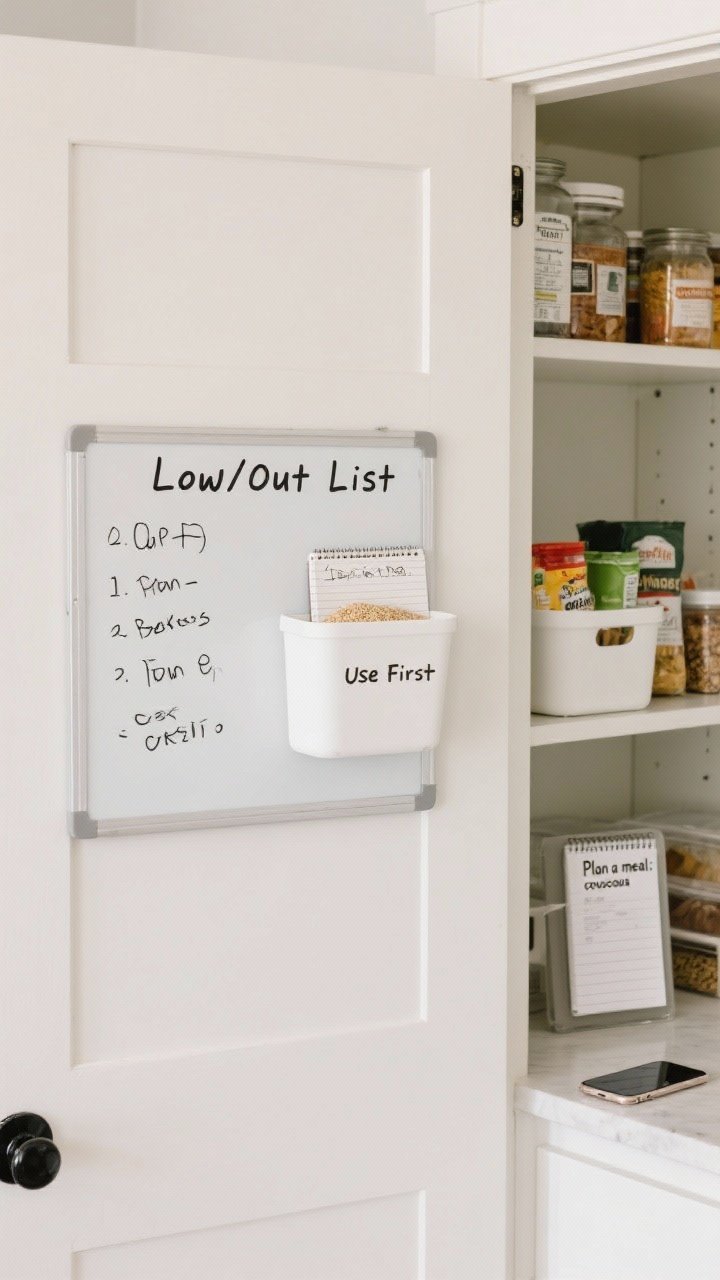
Organization isn’t a one-and-done—it’s a tiny habit that saves big time and money. A quick weekly check keeps your pantry gorgeous and your grocery list accurate.
What To Track
- Low/Out List: Keep a notepad or whiteboard on the door. When something’s low, write it down right then.
- Expiry Sweep: Do a 2-minute scan weekly and put soon-to-expire items in a “Use First” bin.
- Meal Tie-In: Plan a meal around what you have (that couscous isn’t going to eat itself).
IMO, a shared digital list app is the ultimate power move—whoever stops at the store grabs what’s needed, no guessing required.
Bonus Habits That Keep It Tidy
- One-in, one-out: If a new cereal comes in, the old one gets finished first or donated.
- Weekly 5-minute reset: Return or re-home any wanderers. It’s basically pantry yoga.
- Seasonal declutter: Donate extras before holidays and check summer/bbq items in spring.
Conclusion
You don’t need a makeover show to have a pantry that works hard and looks good. Create zones, decant the basics, label everything, and use the vertical space like a pro. Add a couple of routines, and you’ve got a system that practically runs itself—no more mystery cans or rogue cracker crumbs. Your future self (and your snack-loving crew) will thank you.