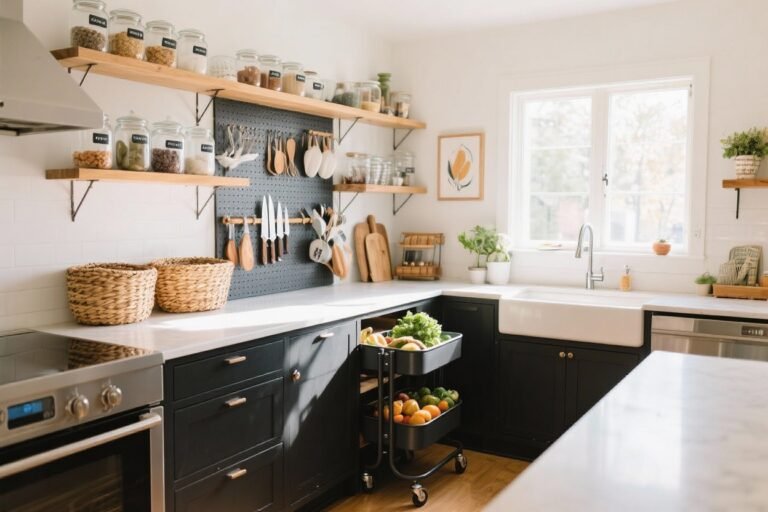
10 Space-saving Kitchen Organization Ideas for Small Cabinets You’ll Actually Use
Your tiny kitchen is not the problem. The chaos inside those small cabinets? That’s the real villain. The good news: with a few clever moves, you can turn those cramped cubbies into a storage dream. We’re talking more space, easier access, and no more avalanche of Tupperware every time you open a door.
Grab a coffee (or a measuring tape). Here are 10 smart, space-saving kitchen organization ideas for small cabinets that are stylish, practical, and surprisingly affordable.
Tired of snacking when you’re not even hungry? This reset helps you stop the loop and feel back in control.
A simple reset for moments when cravings take over. Easy to use, easy to repeat, and designed to help you feel satisfied instead of stuck.
1. Double Your Vertical Space With Shelf Risers
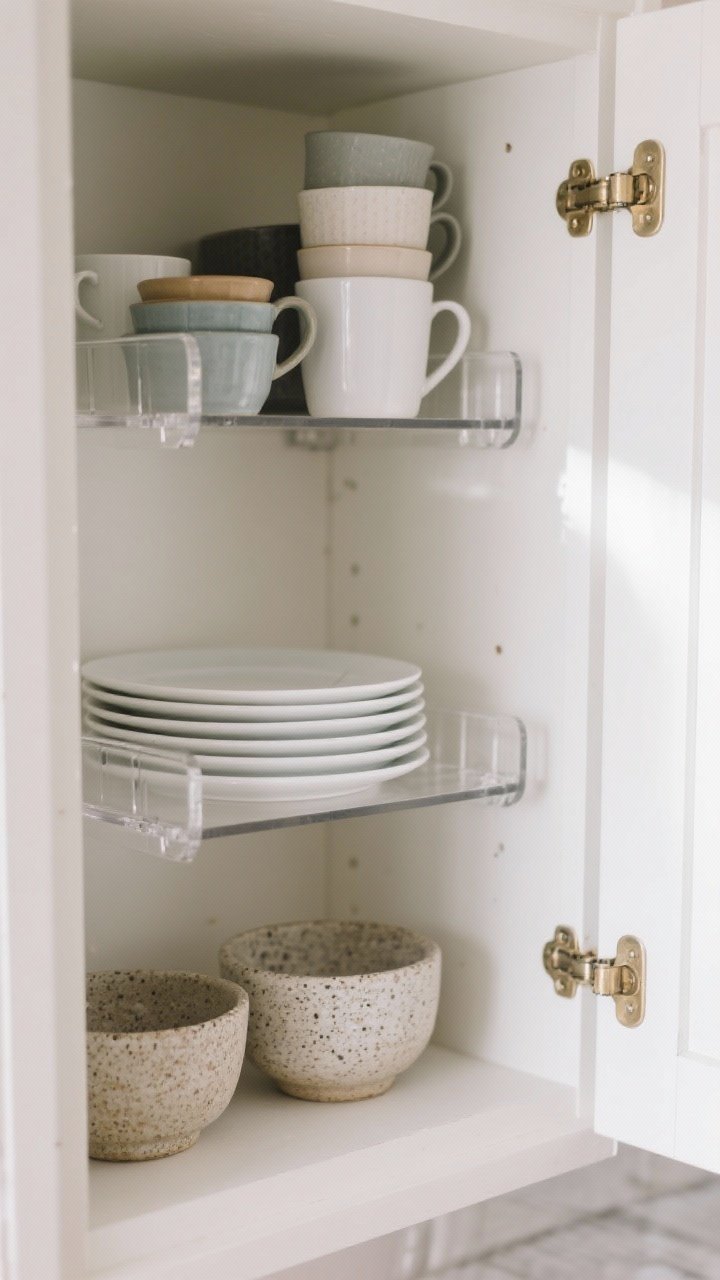
Empty space is a luxury your cabinets are wasting. Enter shelf risers—simple platforms that create a second level inside each shelf. Suddenly, that big open void becomes a neat two-story setup.
Why It Works
- Instant extra shelf for plates, bowls, or mugs—no tools needed.
- Keeps stacks shorter so you don’t have to lift a tower to get one dish.
- Great for mixing tall and short items without dead space.
Quick Tips
- Choose expandable or stackable risers to customize height.
- Use clear acrylic for a lighter, open look in glass-front cabinets.
- Dedicate one riser to everyday dishes so you can grab-and-go.
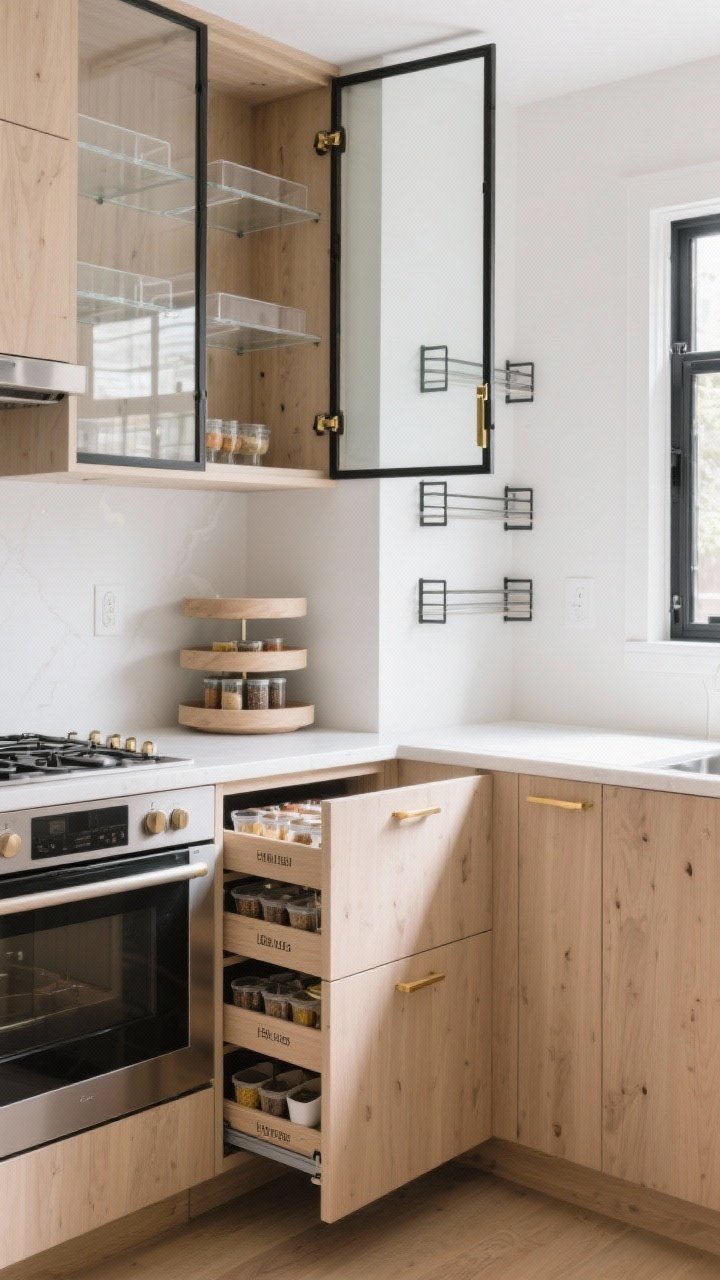
2. Use Pull-Out Bins So Nothing Gets Lost in the Back

If you’ve ever discovered a spice from 2012 behind your pasta, this one’s for you. Pull-out bins turn deep cabinets into smooth, slide-out storage you can actually see and reach.
Why It Works
- Eliminates dead zones in the back—everything glides forward.
- Perfect for snacks, pantry staples, or cleaning supplies.
- Helps you shop smarter because you can see what you already own (FYI: three jars of cumin might be excessive).
Quick Tips
- Measure depth precisely and choose full-extension rails if installing drawers.
- Go for clear bins with front handles for speedy access.
- Label the fronts: “Grains,” “Baking,” “Snacks”—no rummaging.
3. File, Don’t Stack: Vertical Dividers for Lids, Trays, and Cutting Boards
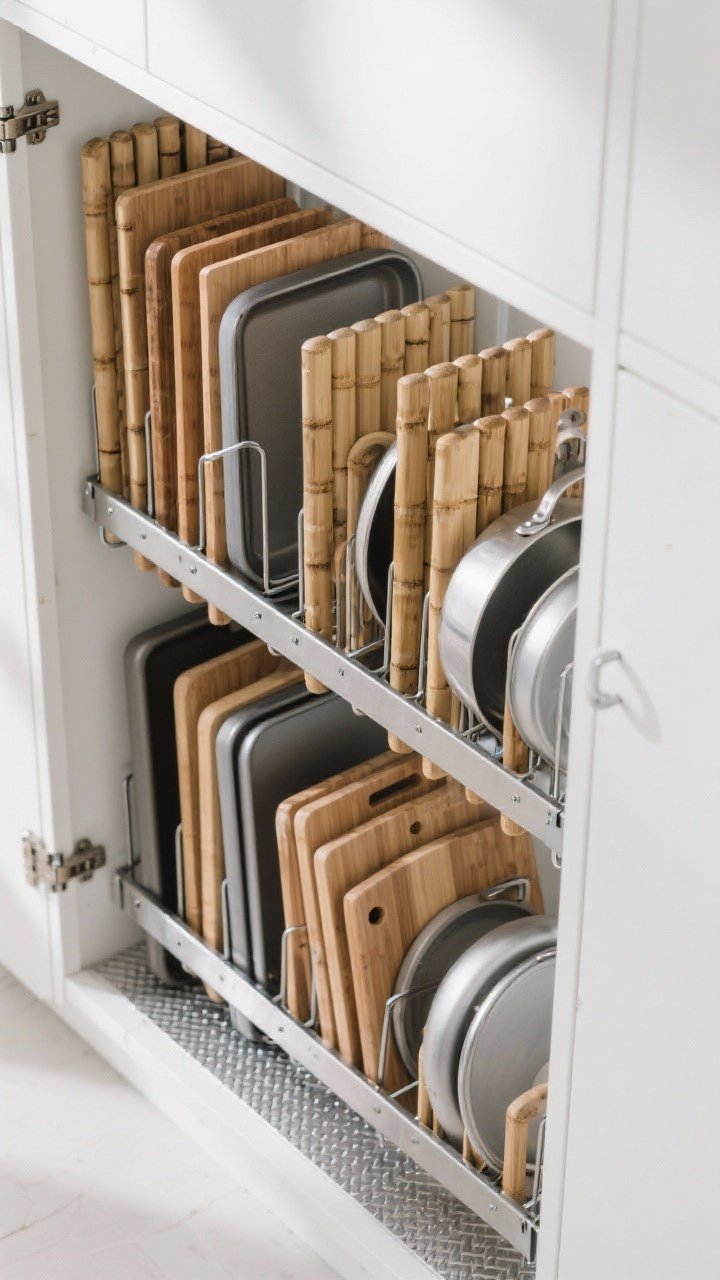
Stacking baking sheets and cutting boards is how you guarantee a clanging mess. Try vertical dividers so items stand like files—no more pulling out a whole pile to get one.
Why It Works
- Maximizes narrow cabinet space with upright storage.
- Prevents scratches and dings on pans and trays.
- Turns chaos into neat, grab-ready rows.
Quick Tips
- Use adjustable metal or bamboo dividers so you can switch up spacing.
- Separate categories: cutting boards together, lids together, baking sheets together.
- Add a non-slip liner to keep dividers from shifting when you grab stuff.
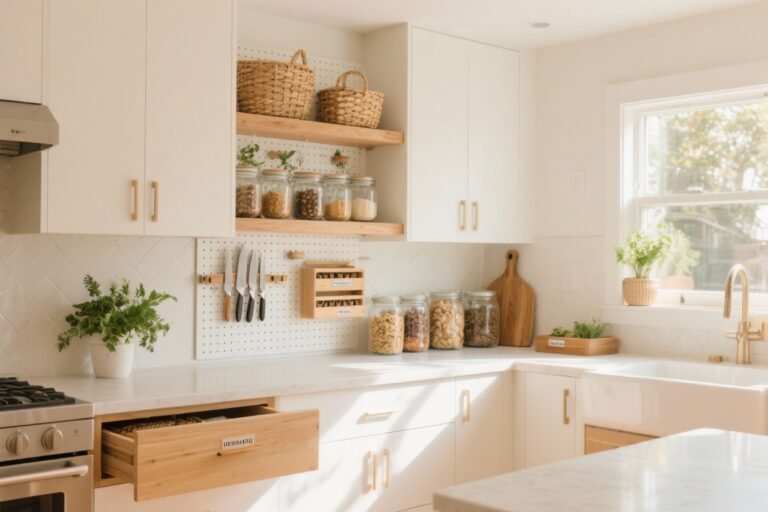
4. Hang Doors Like They’re Bonus Walls
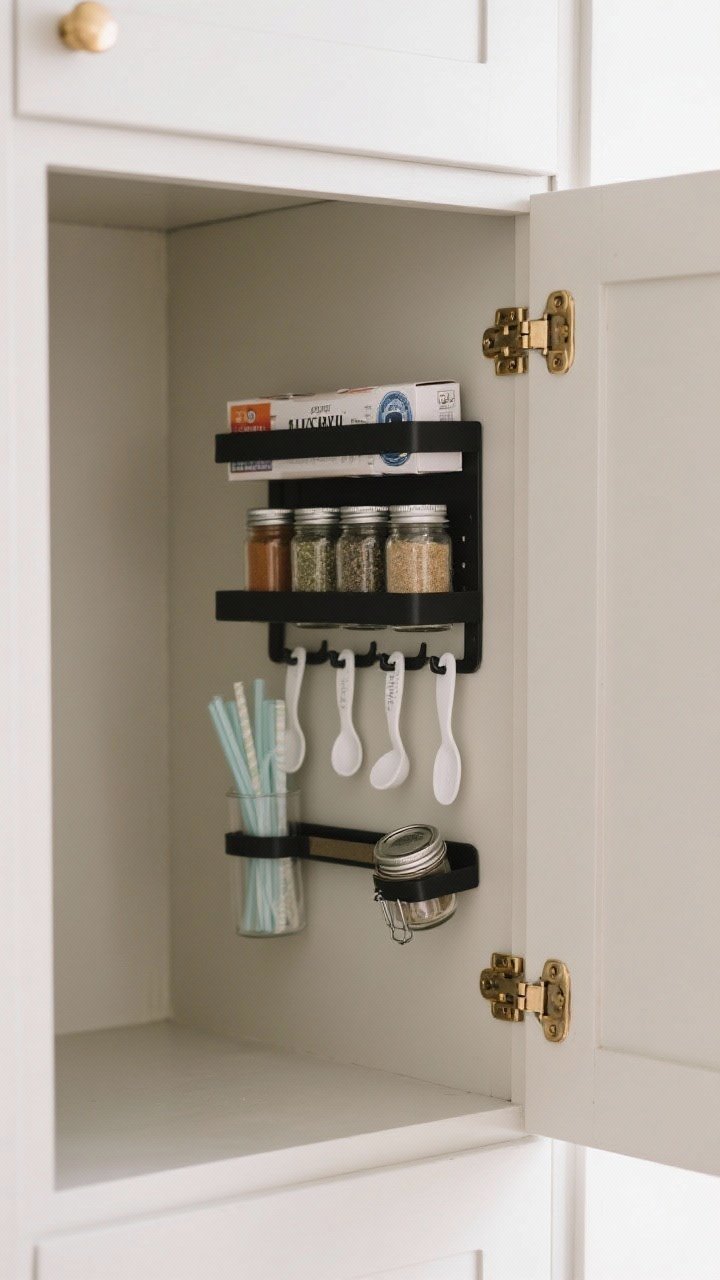
Cabinet doors are prime real estate. Use them to store the little things that currently eat up your shelves.
Transform Your Home With 7,250+ Stunning Landscaping Designs—No Expensive Designers Needed!
- 🌿 Access 7,250+ stunning landscaping designs.
- 💰 Save thousands—no pro designer needed.
- 🏡 Plans for gardens, patios, walkways, and more.
- ✨ Simple, beginner-friendly DIY layouts.
- 🛠️ Customize any design to fit your yard.
What to Add
- Shallow racks for spices, oils, or foil and plastic wrap.
- Command hooks for measuring spoons, oven mitts, or silicone straws.
- Magnetic strips for metal lids or small knives (inside upper cabinets only).
Pro Tip
- Check clearance: close the door gently to ensure nothing hits interior shelves.
- Match hardware finishes to keep things cohesive—polished brass or matte black never hurt anyone.
5. Go Tiered: Lazy Susans and Turntables for Corners
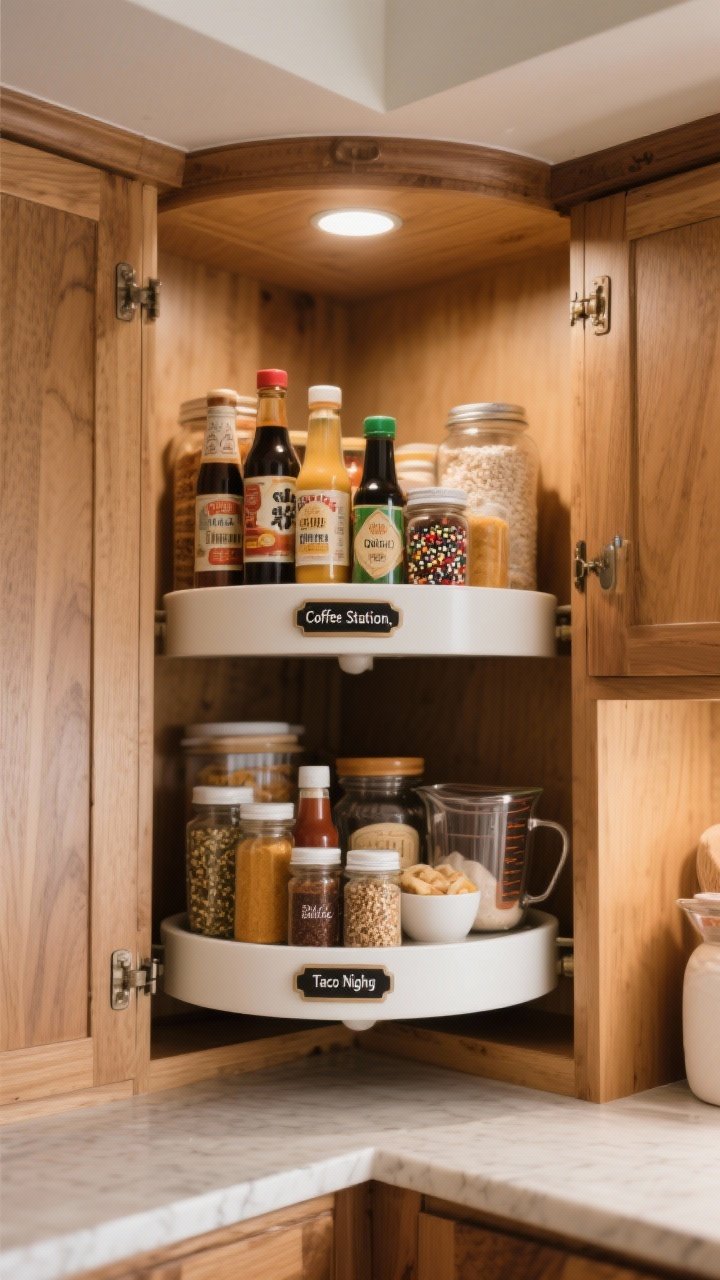
Corner cabinets are where good ingredients go to disappear. Add turntables (AKA lazy Susans) to spin everything into view. Bonus points for tiered turntables to double capacity.
Best Uses
- Spices and condiments—no more five bottles of soy sauce.
- Vitamins and supplements—keep them handy, not dusty.
- Baking essentials—vanilla, extracts, sprinkles, cocoa.
Quick Tips
- Measure the interior width and door opening to pick the right diameter.
- Use a rimmed turntable so nothing flies off when you spin.
- Group by task: “Coffee Station,” “Taco Night,” “Baking.”

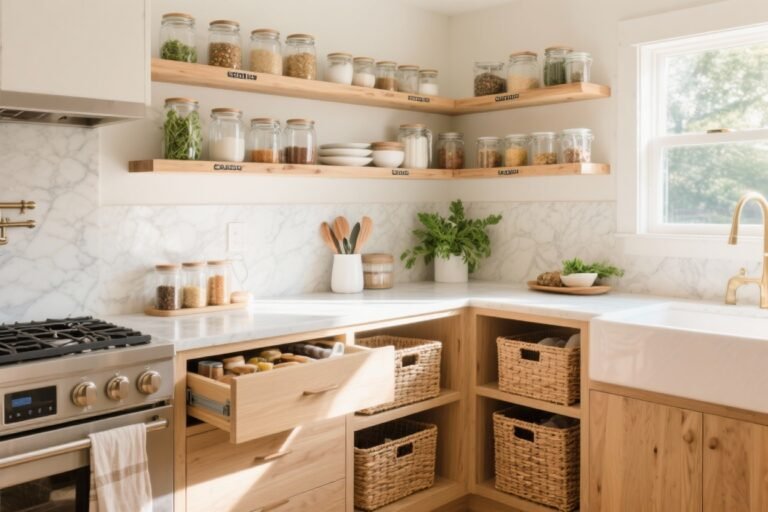
6. Stash Under-Shelf Baskets for Sneaky Extra Space
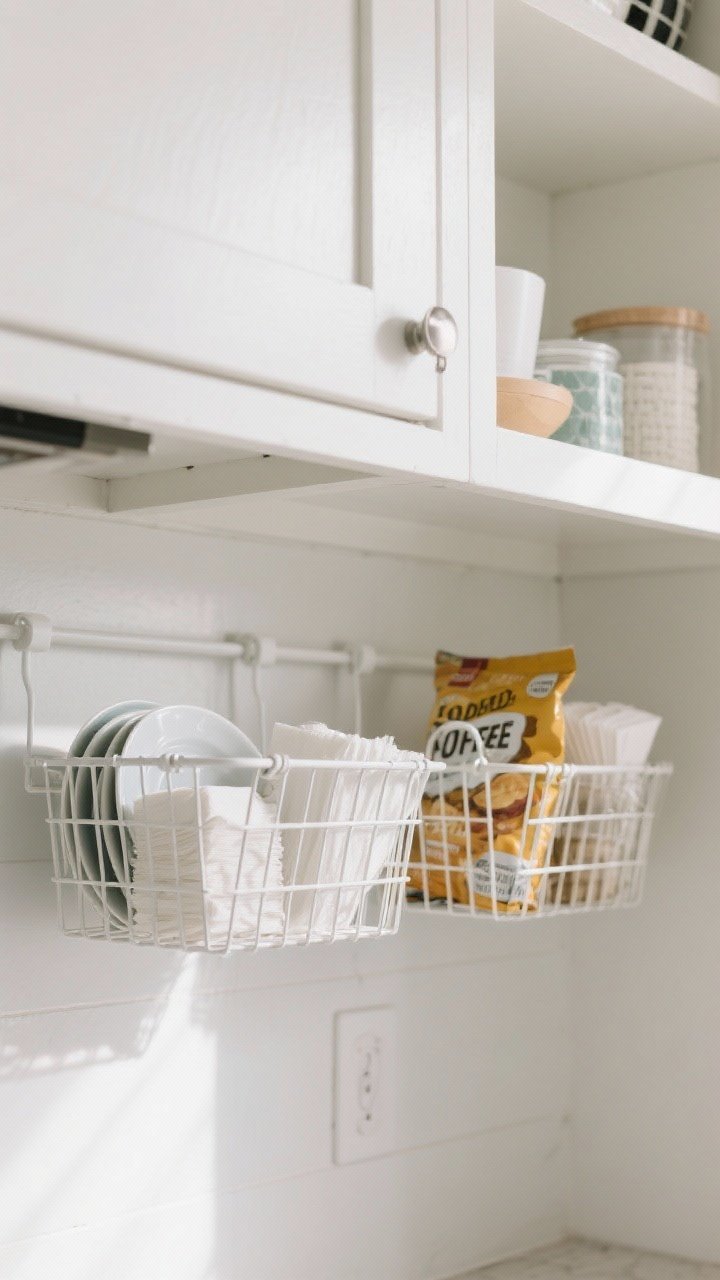
See that little gap under your shelf? That’s potential. Under-shelf baskets slide on and create a pocket for flat or frequently used items.
Great For
- Small plates, napkins, cutting mats, or tea towels.
- Snack bags or wraps that don’t stand well on their own.
- Light items you reach for daily—coffee filters, anyone?
Pro Tip
- Pick sturdy, well-fitting baskets so they don’t droop.
- Avoid overloading—keep heavy items on the main shelf.
- Match your shelf color for a built-in look.
7. Nest and Stack Like a Minimalist Chef

Pots, pans, and containers are bulky—but they’re more cooperative than they look. The trick? Nesting and smart stacking with the right accessories.
How to Do It
- Nest pots and bowls by size; store lids separately with a lid rack.
- Use pan protectors (felt or silicone) to prevent scratches.
- Switch to a modular food storage set so bases and lids stack cleanly.
Bonus Upgrade
- Consider detachable-handle cookware—genius for tiny cabinets.
- Choose rectangular or square containers to save space (IMO, round containers are storage divas).
8. Corral the Minis: Bins Inside Bins
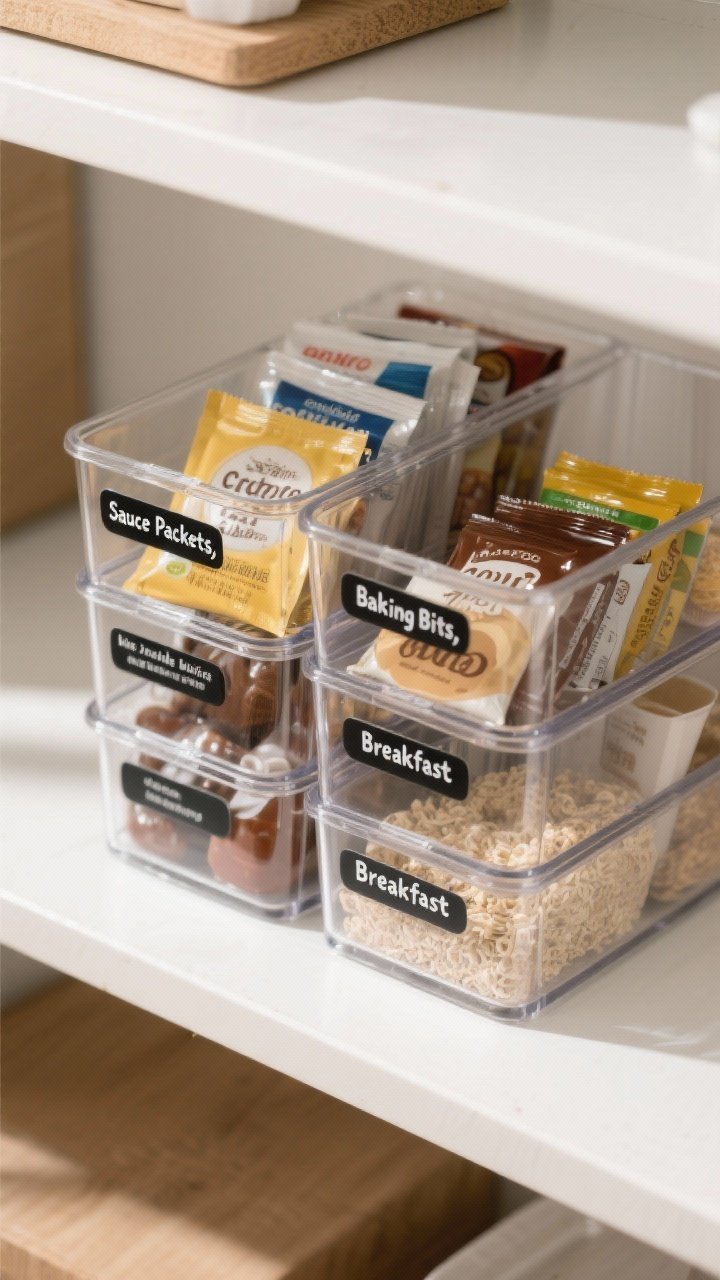
Packets, pouches, and oddly-shaped bits will eat your soul and your shelf space. Use small interior bins to group and contain them inside larger bins or shelves.
Category Ideas
- “Sauce Packets” for takeout extras and marinades.
- “Baking Bits” for yeast, cocoa packets, chocolate chips.
- “Breakfast” for oatmeal packets, bars, instant coffee.
Quick Tips
- Choose stackable, label-friendly containers with flat sides.
- Use clear dividers in deeper bins so things don’t mix.
- Put the smallest items at eye level so they’re not ignored.
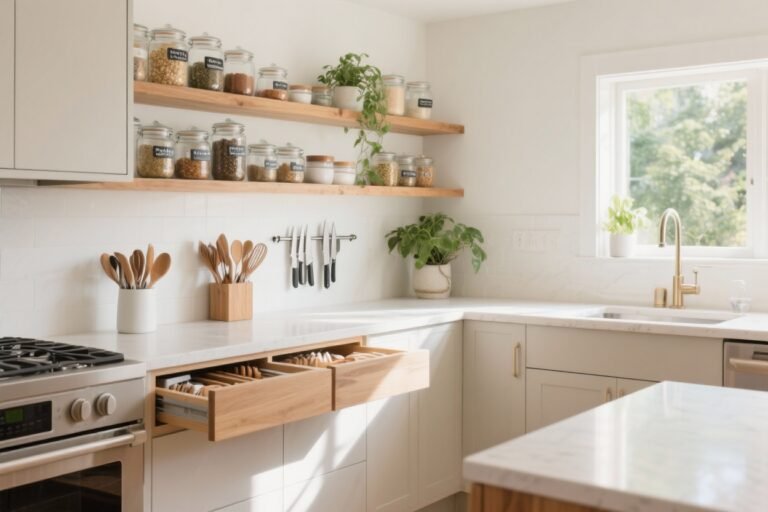
9. Add Slim Pull-Outs for Spices and Oils
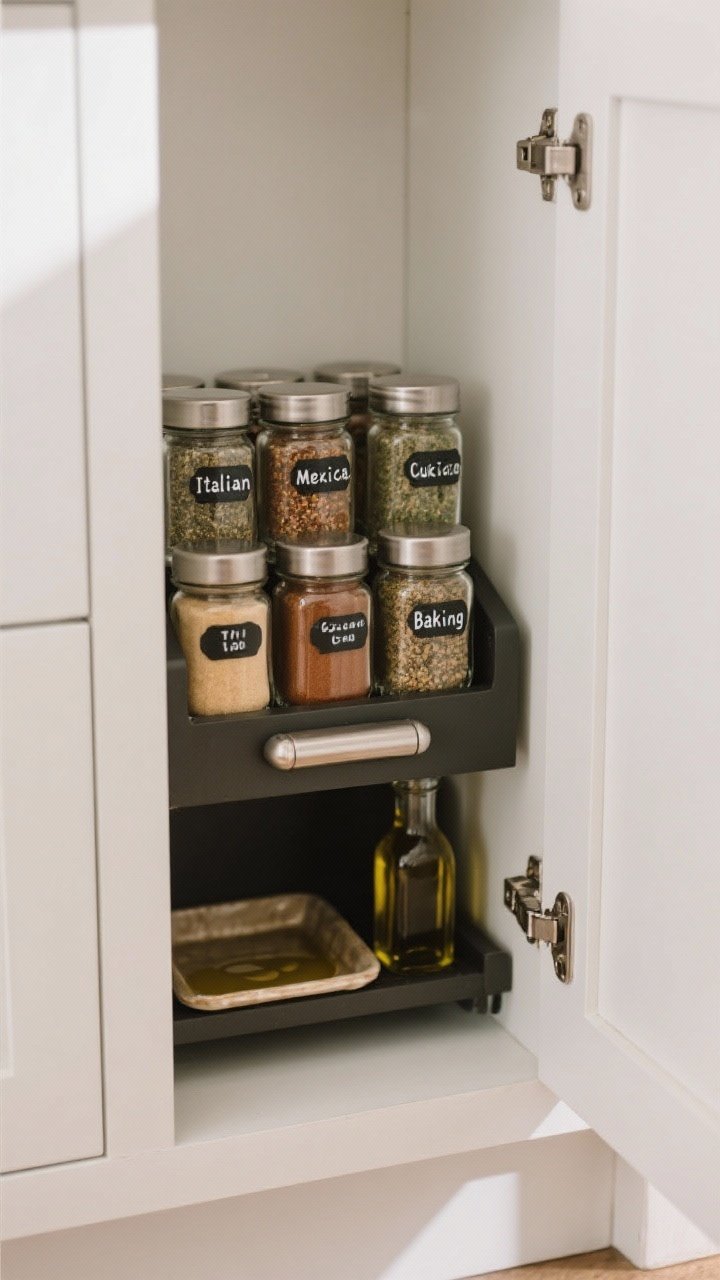
Even if you don’t have a built-in spice drawer, you can fake it. Slim pull-out spice racks or mini caddies fit inside small cabinets and create chef-level access to your flavor stash.
Why It Works
- Maximizes narrow gaps that aren’t useful for much else.
- Keeps spices upright and visible—less duplication, more cooking joy.
- Can be installed or just placed inside the cabinet as a freestanding unit.
Setup Tips
- Transfer spices into uniform jars with labels on tops or fronts.
- Group by cuisine: Italian, Mexican, Baking—so you can grab a whole set fast.
- Store oils low and dark to protect flavor; add a mini tray to catch drips.
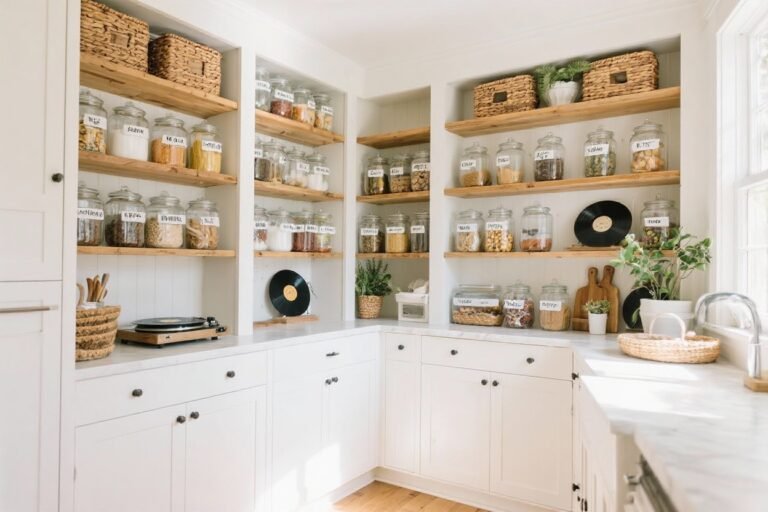
10. Label Like a Librarian, Style Like a Designer
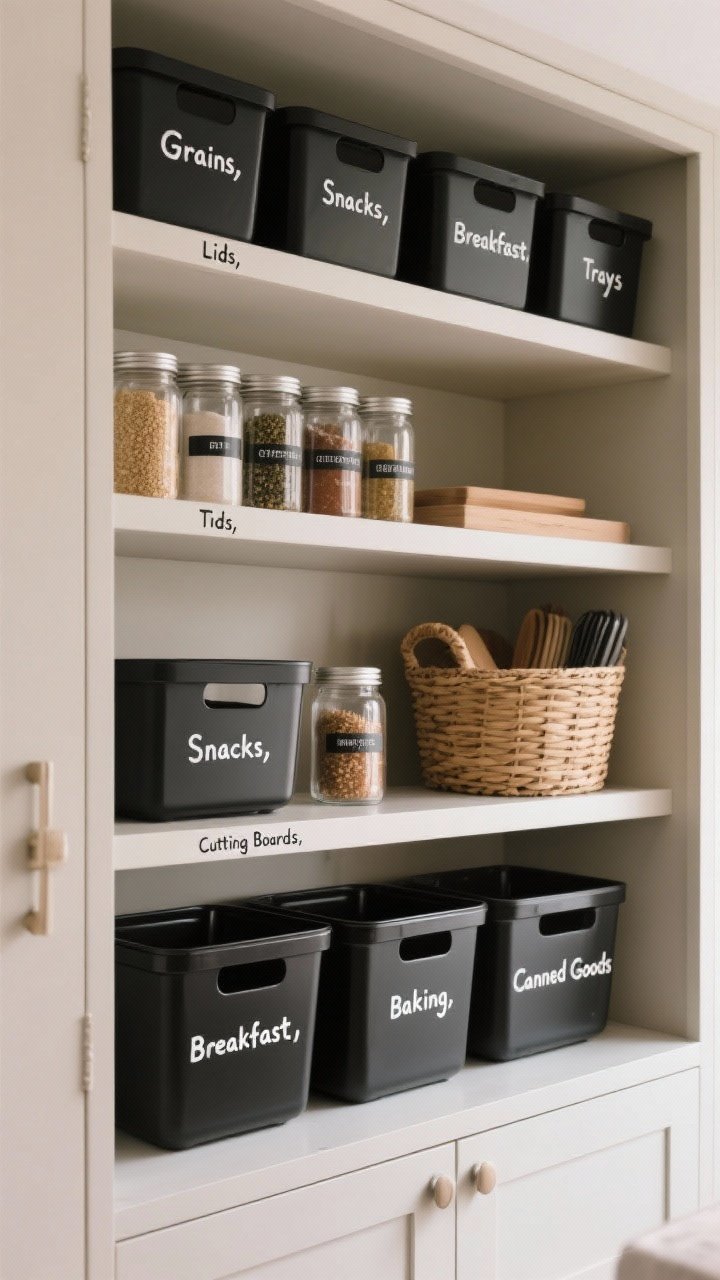
Yes, labels. They’re not just cute—they’re the secret to actually keeping your system intact. A labeled cabinet is a cabinet that stays organized because everyone knows where things go.
What to Label
- Bins and baskets: grains, snacks, breakfast, baking, canned goods.
- Spice jars: tops and fronts for easy viewing from any angle.
- Shelves or dividers: lids, cutting boards, trays (so they don’t migrate).
Style Moves
- Pick a consistent font or label style—minimalist, farmhouse, whatever fits your vibe.
- Use black or clear bins for a sleek look; woven baskets for warmth.
- Keep a label maker handy for updates—new system, who dis?
Conclusion
Small cabinets aren’t a storage death sentence. With a few well-placed risers, pull-outs, dividers, and bins, you can squeeze every inch of space without the clutter creep. Start with one cabinet, dial in what works, and keep iterating.
Remember: the goal is easy access, not just pretty bins. Make your kitchen work like it’s bigger—because with the right setup, it basically is.