10 Lazy but Brilliant Kitchen Organization Ideas That Save Time—and Your Sanity
Let’s be honest: you don’t want a “project.” You want a kitchen that basically organizes itself while you live your best life (or at least get dinner on the table by 7). These lazy-but-genius ideas do the heavy lifting so you don’t have to. Low effort, high payoff, zero judgment.
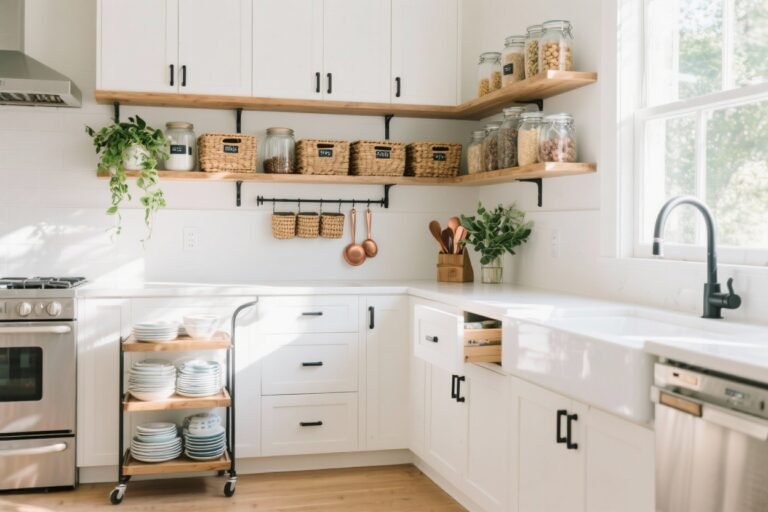
1. Zone Your Kitchen Like a Grocery Store

Store things where you use them, not where they “traditionally” go. Think of your kitchen as a mini market with **zones**: Prep, Cook, Bake, Coffee/Tea, Snacks, and Cleaning. When your tools live in the right zone, you move less and cook faster.
Tired of snacking when you’re not even hungry? This reset helps you stop the loop and feel back in control.
A simple reset for moments when cravings take over. Easy to use, easy to repeat, and designed to help you feel satisfied instead of stuck.
How To Set It Up
- Prep Zone: Cutting boards, knives, mixing bowls near the largest counter.
- Cook Zone: Oils, spatulas, salt, pepper, and pots near the stove.
- Bake Zone: Measuring cups, baking sheets, parchment near the oven.
- Coffee/Tea Zone: Mugs, filters, beans, teaspoons near the machine.
- Snack Zone: Grab-and-go baskets for kids (or you) at eye level.
Lazy perk: instead of putting everything “away,” you’re just dropping items back into their home base. Less thinking, more living.
2. Go Vertical With Tiered Shelves And Risers
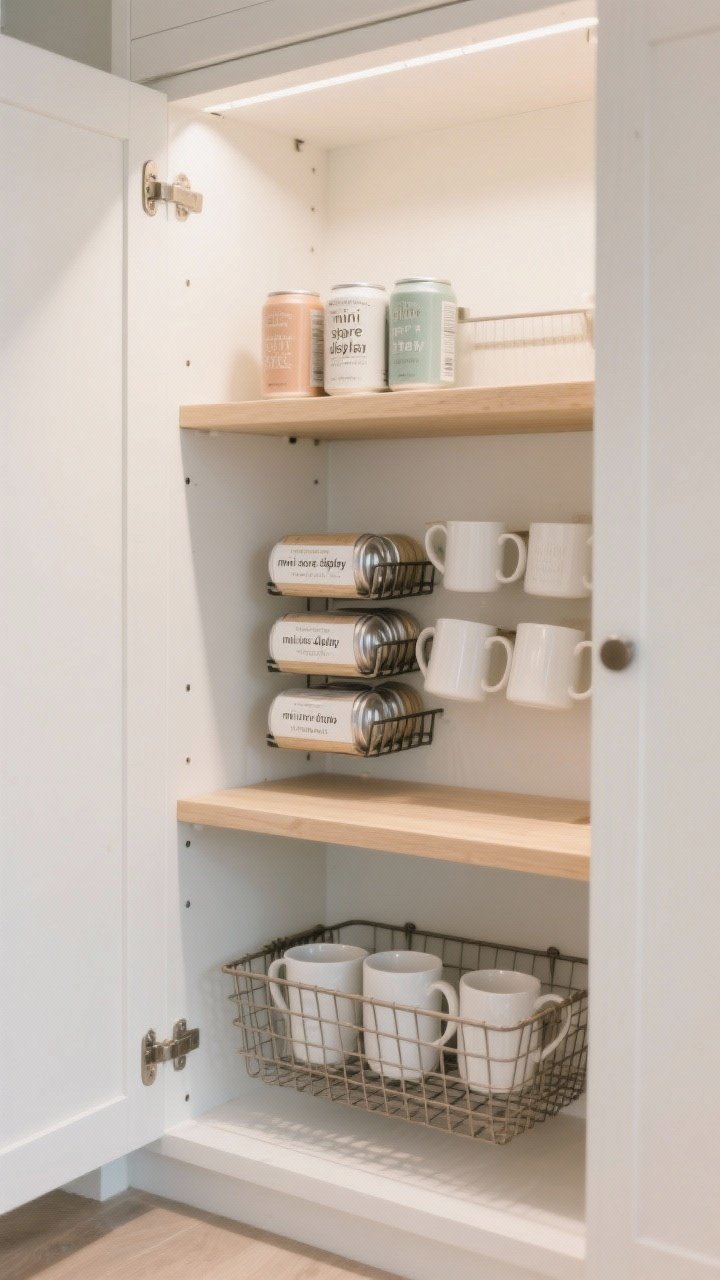
Newsflash: your cabinets are two-story houses and you’ve been living on the ground floor. Add **shelf risers** and tiered organizers to double your space without installing anything.
Quick Wins
- Tiered can risers: See labels at a glance, no more mystery soup roulette.
- Mug shelves: Stack mugs without playing ceramic Jenga.
- Under-shelf baskets: Slide onto existing shelves for bonus storage.
FYI, this is the easiest way to make your cabinet interiors look like a tiny, organized store display. Surprisingly satisfying.
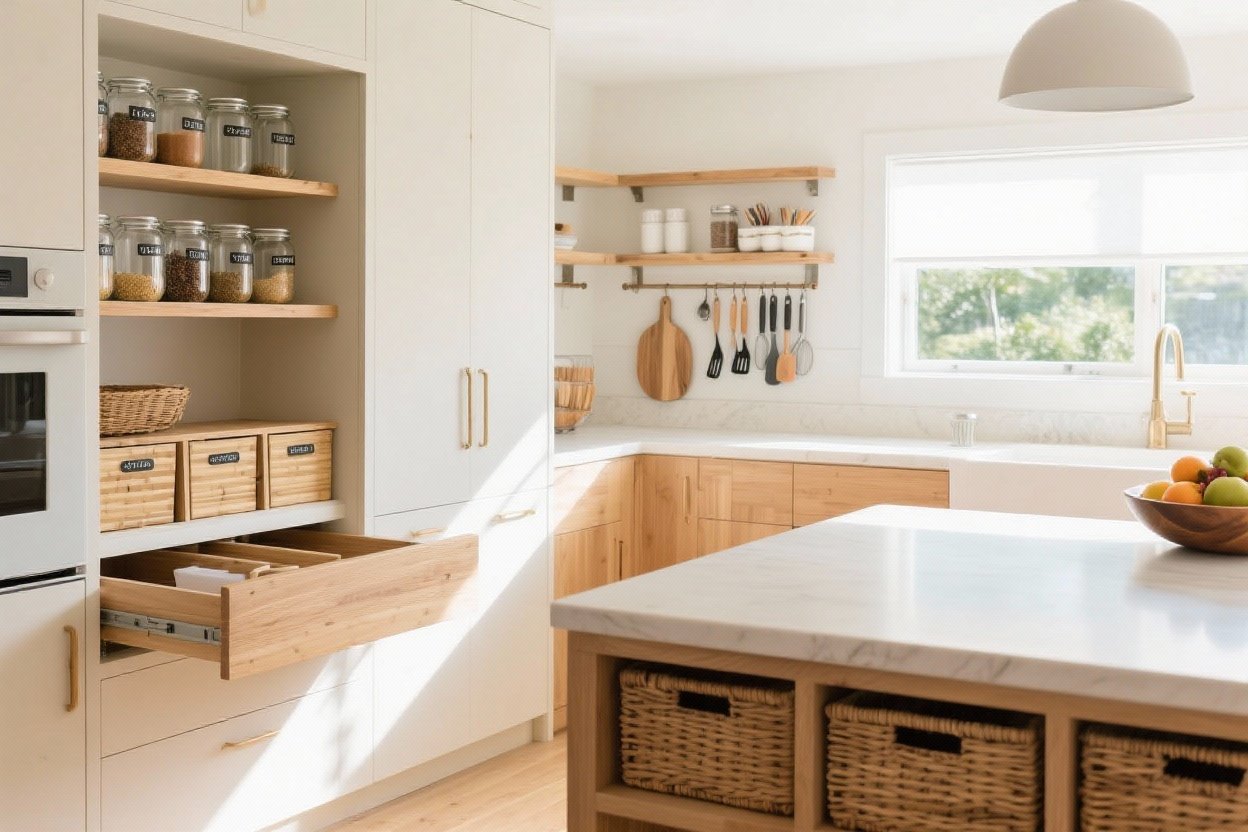
3. Decant Only What You Actually Use
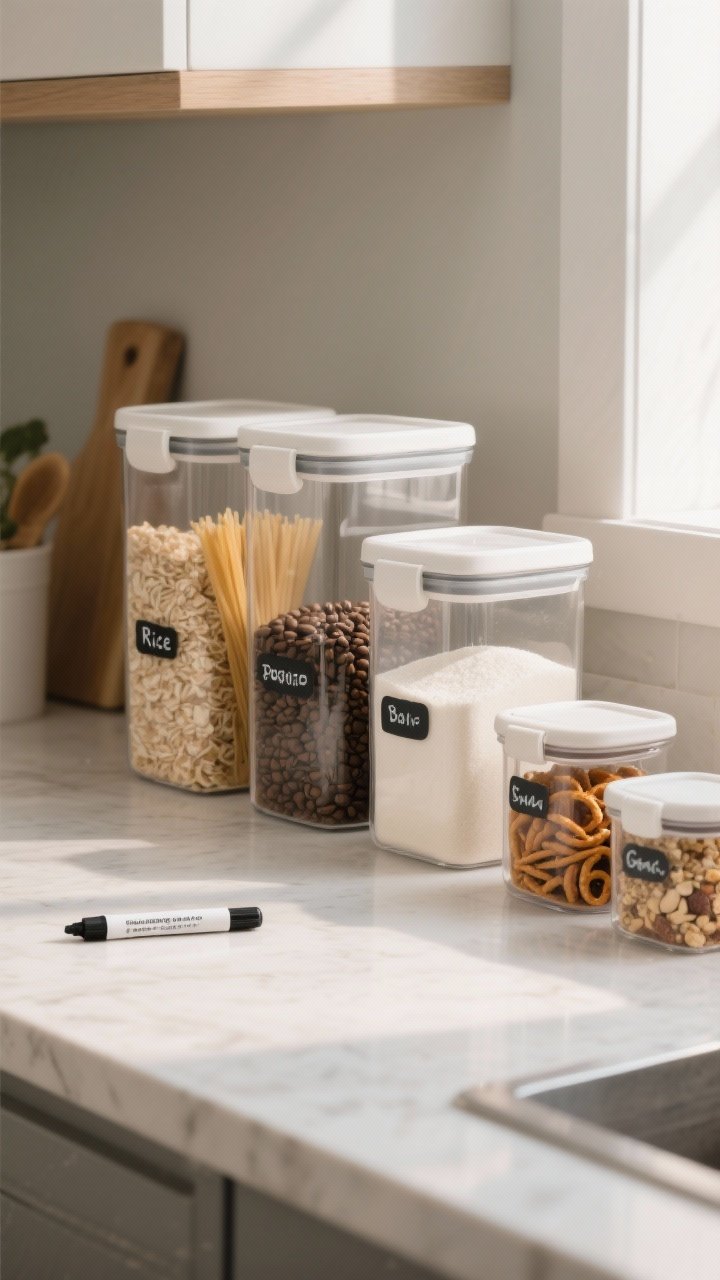
Decanting is cute—until you’re refilling five jars of quinoa you eat twice a year. Be lazy-smart: decant just the **high-traffic items** that benefit from quick visibility and easy scooping.
Transform Your Home With 7,250+ Stunning Landscaping Designs—No Expensive Designers Needed!
- 🌿 Access 7,250+ stunning landscaping designs.
- 💰 Save thousands—no pro designer needed.
- 🏡 Plans for gardens, patios, walkways, and more.
- ✨ Simple, beginner-friendly DIY layouts.
- 🛠️ Customize any design to fit your yard.
What’s Worth Decanting
- Daily staples: Rice, pasta, oats, cereal, coffee beans.
- Baking MVPs: Flour, sugar, brown sugar with airtight seals.
- Snacks: Nuts, pretzels, granola in grab-friendly containers.
Label once and never guess again. If you want to be extra lazy (no judgment), use a chalk marker so you can rewrite labels when you swap contents.
4. Install a “Landing Drawer” for Everyday Chaos
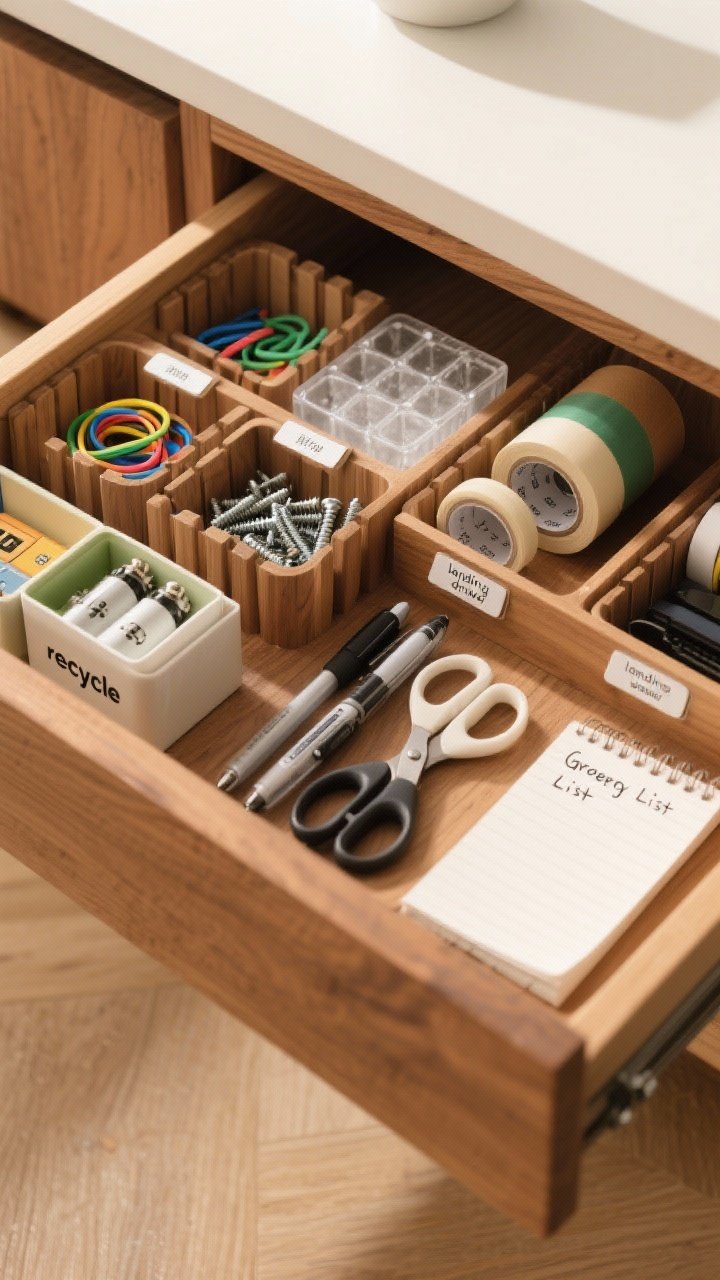
Junk drawers happen. Make them intentional. Create one **landing drawer** for the stuff that always floats: rubber bands, batteries, tape, pens, and scissors. Use small dividers so it doesn’t become a black hole.
What To Include
- Mini bins or ice cube trays: Cheap and perfect for tiny bits.
- Battery box: Separate new vs. used (mark a section “recycle”).
- A small notepad: Grocery list central—snap a pic before you shop.
This is where chaos goes to chill. One drawer to rule them all, one drawer to find them.
5. Use Lazy Susans Everywhere (Not Just for Condiments)
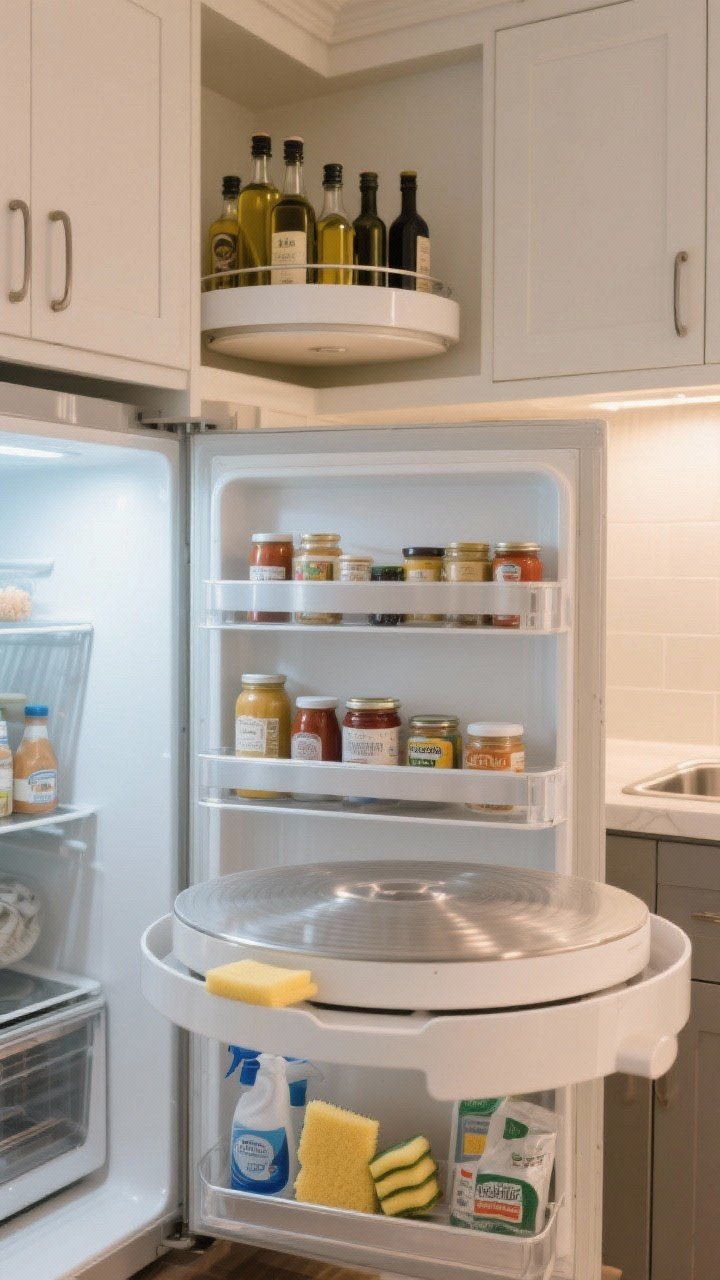
Lazy Susans are the unsung heroes of **corner cabinets, fridges, and under-sink** zones. Spin to win, baby. They turn awkward spaces into grab-friendly stations.
Spin-Worthy Spots
- Fridge doorless zones: Sauces, spreads, and jars you forget about.
- Upper corners: Oils and vinegars—no more reaching through a maze.
- Under sink: Cleaners, sponges, dishwasher tabs—spin and grab.
Pro tip: choose ones with a **lip** so bottles don’t yeet themselves off when you spin.

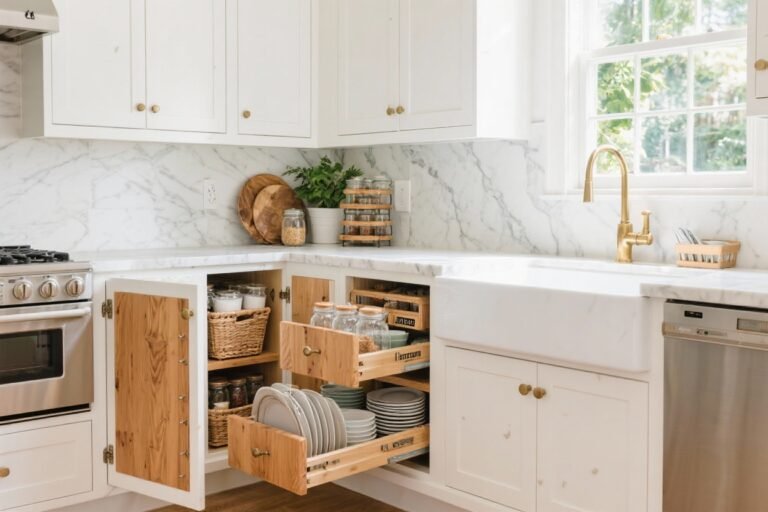
6. File, Don’t Stack: The Baking Sheet Revolution
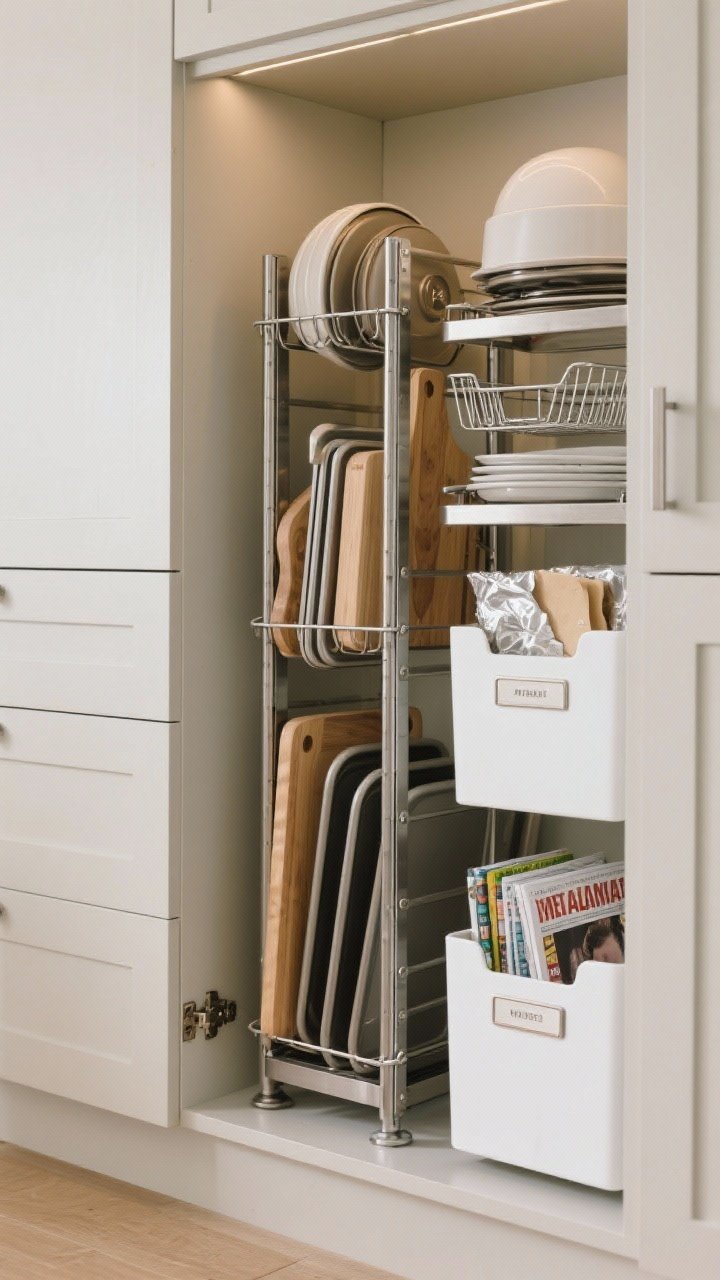
If your baking sheets are stacked like a lasagna, you know the struggle. Switch to **vertical dividers** so you can slide out just the one you need without a metallic avalanche.
Easy Options
- Tension dividers: No tools needed, renters rejoice.
- Rack organizers: Perfect for cutting boards, lids, and cooling racks.
- Magazine holders: Cheap hack for foil, parchment, and plastic wrap.
This tiny tweak saves minutes and your patience. Also, it looks like you’ve got your life together. IMO, worth it.
7. Label Your Fridge Like a Pro (But Keep It Chill)
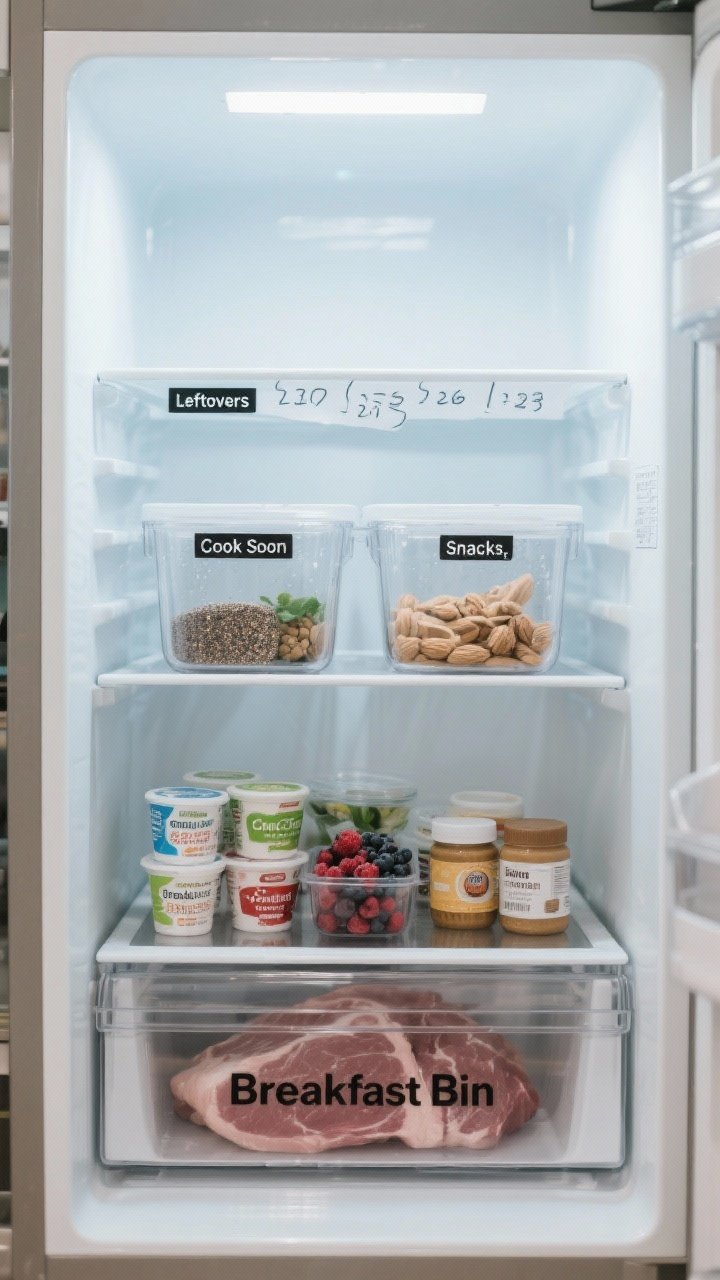
Stop playing cold-case detective with your leftovers. Give your fridge **zones and labels** so everyone knows where things go—roommates, kids, partners, even your 2 a.m. self.
Fridge Zones That Work
- Leftovers: Label with dry-erase tape and date—no scary surprises.
- Meal Prep Bins: One for “Cook Soon” items and one for “Snacks.”
- Meat Drawer: Always lowest shelf/drawer to avoid drips.
- Breakfast Bin: Yogurts, berries, chia, and nut butter in one spot.
Bonus lazy move: use **clear bins** so you can see everything without rummaging. If you only do one thing, create a “Use First” bin. It saves food and your money.
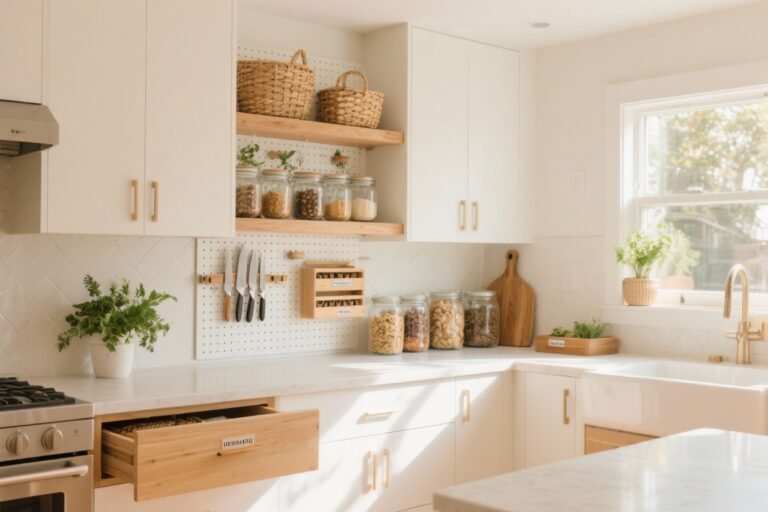
8. Back-of-Door Storage Is Your Secret Weapon
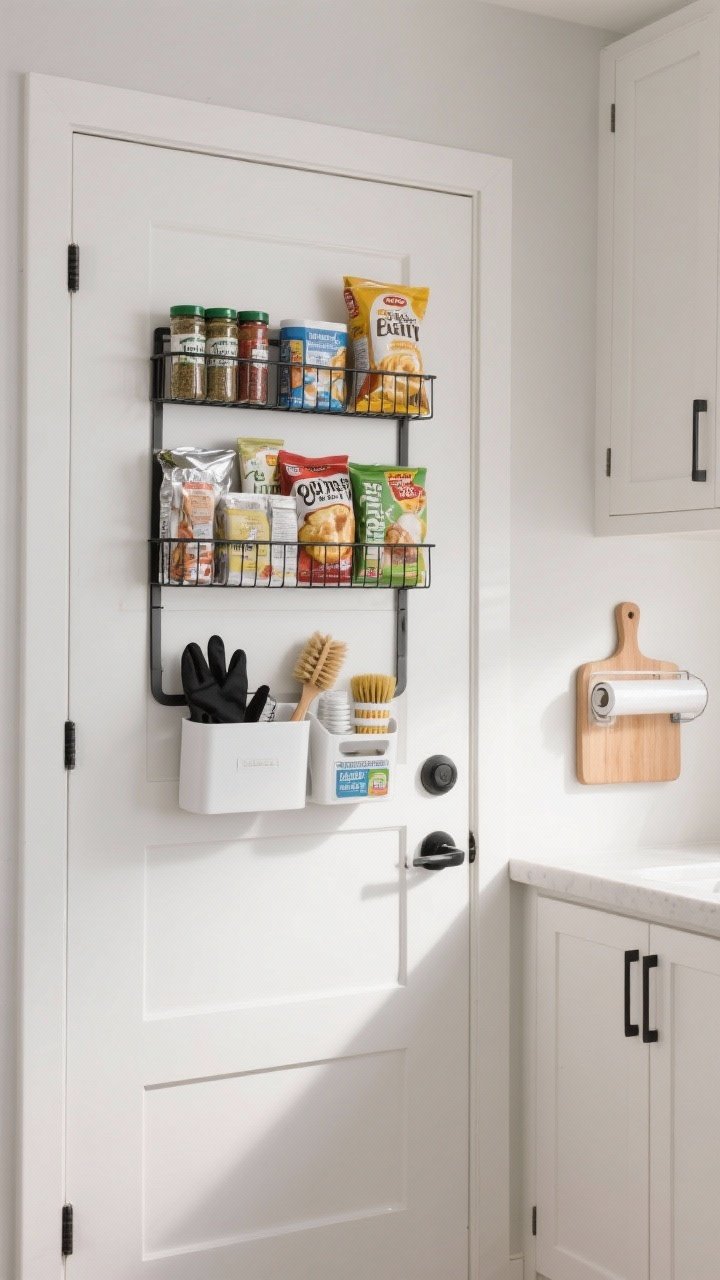
Doors are just walls that swing. Put them to work. Add **over-the-door racks** or slim shelves to pantry and cabinet doors for the small stuff that clutters shelves.
What Fits Perfectly
- Pantry door: Spices, foil, wraps, snacks, individual packets.
- Under-sink door: Gloves, scrub brushes, dish tabs in a caddy.
- Cabinet door: Cutting board holder or a plastic wrap dispenser.
Keep it shallow so doors close easily. Suddenly, you’ve got extra storage without sacrificing a single shelf. Magic.
9. Create a One-Trip Coffee Station
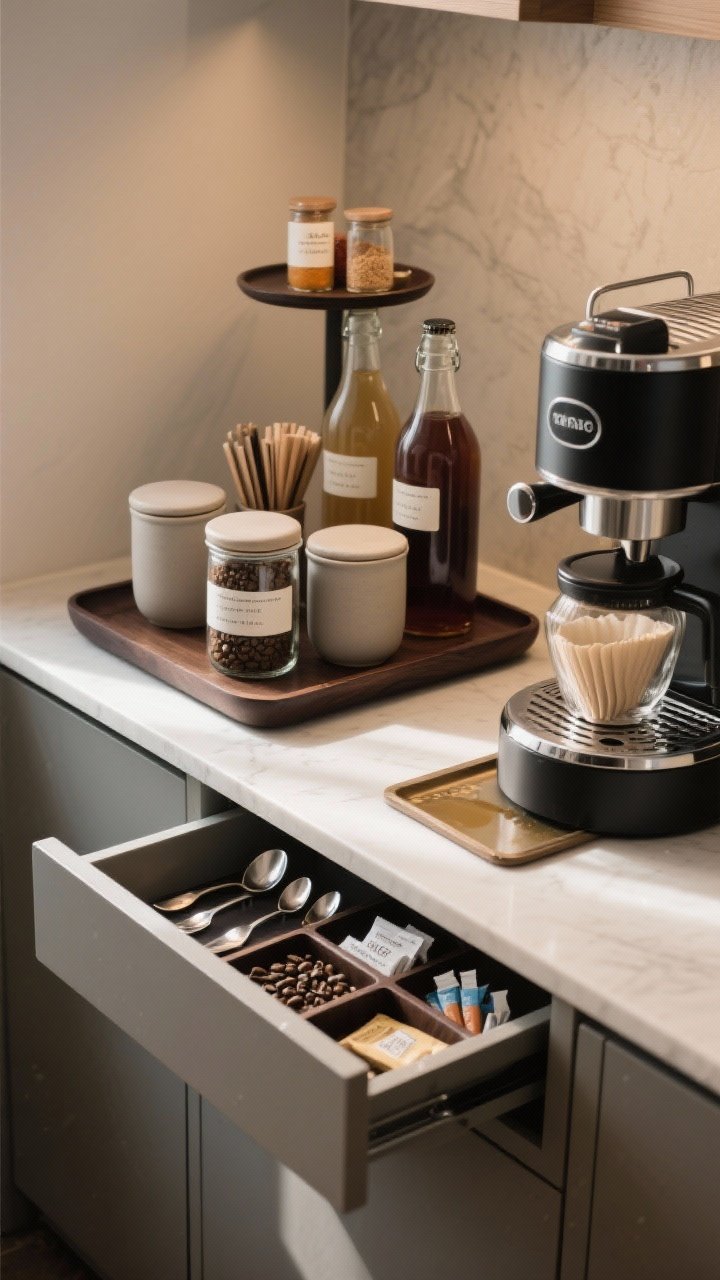
If your morning routine looks like a scavenger hunt, build a **complete coffee/tea station**. Everything in one place: mugs, pods/beans, filters, spoons, syrups, and a little trash bin for pods or tea bags.
Make It Effortless
- Drawer inserts: Corral spoons, stirrers, and sugar packets.
- Small lazy Susan: Syrups and flavored powders neatly on standby.
- Canisters: Beans and filters right next to the machine.
If you really want to flex, add a tiny tray to catch drips and keep it all looking chic. Barista vibes, zero effort.
10. Practice the 60-Second Reset Rule
Not a product. Not a gadget. Just a tiny habit that keeps your kitchen **permanently tidy**. Set a 60-second timer after meals or before bed and reset the hotspots: counters, sink, and island.
What To Do In One Minute
- Wipe and swipe: Clear counters, wipe once, done.
- Sink check: Load the dishwasher or soak anything crusty.
- Put-back blitz: Return items to their zones—no overthinking.
It’s like brushing your kitchen’s teeth. Do it daily and mess never snowballs. FYI, this is the real secret of “always tidy” people.
Bonus Micro-Tips (Because You’re On a Roll)
- Multiples where it matters: Keep two cutting boards and two trash bowls in the prep zone to avoid mid-cook washing.
- Container shapes matter: Rectangles Tetris better than circles in fridges and drawers.
- Label shelves, not just bins: A tiny label on the shelf edge guides everyone to put things back correctly.
You don’t need a full overhaul or 27 matching jars to have an organized kitchen. Pick two or three of these **lazy but brilliant** ideas, set them up in an hour, and enjoy the calm that follows. Your future self (and your takeout budget) will thank you.