10 Aesthetic Kitchen Organization Ideas That Look Amazing on Pinterest
Let’s be honest: we don’t just want a tidy kitchen—we want a kitchen that looks like it belongs on Pinterest, with the vibe of “I woke up like this.” The secret sauce? Smart organization that doubles as decor. These ideas will make your space run smoother, look prettier, and make you want to cook (or at least make a very photogenic snack).
1. Curate Open Shelves Like a Stylist
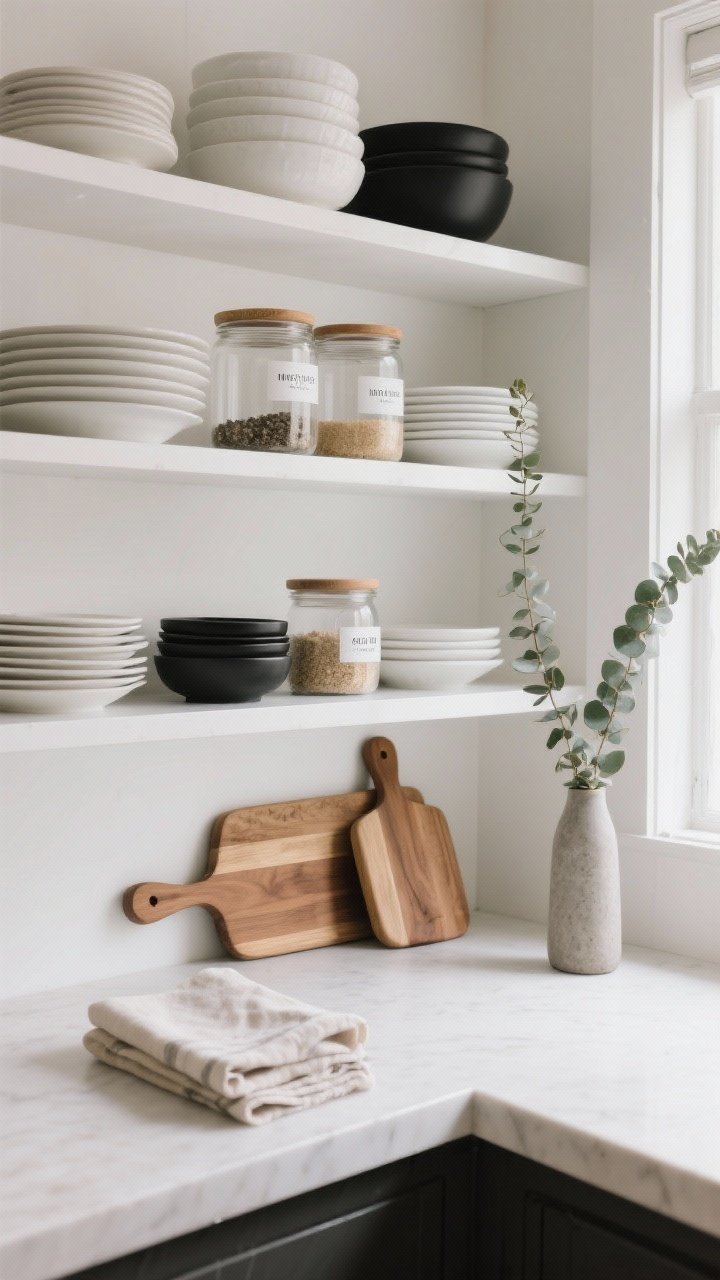
Open shelves are basically the kitchen’s Instagram wall. Done well, they’re practical and gorgeous. Done wrong, they look like chaos on display—so let’s curate.
Tired of snacking when you’re not even hungry? This reset helps you stop the loop and feel back in control.
A simple reset for moments when cravings take over. Easy to use, easy to repeat, and designed to help you feel satisfied instead of stuck.
What To Display
- Neutral dinnerware in stacked sets (white, stone, or matte black = timeless).
- Glass storage jars with dry goods—bonus points for labels.
- Textural pieces like wood cutting boards and linen napkins for warmth.
- A touch of green—think a small trailing pothos or a vase with eucalyptus.
Pro Styling Tips
- Keep a consistent color palette (2-3 colors only).
- Use the rule of thirds: tall, medium, small objects grouped together.
- Leave white space so it doesn’t feel crammed.
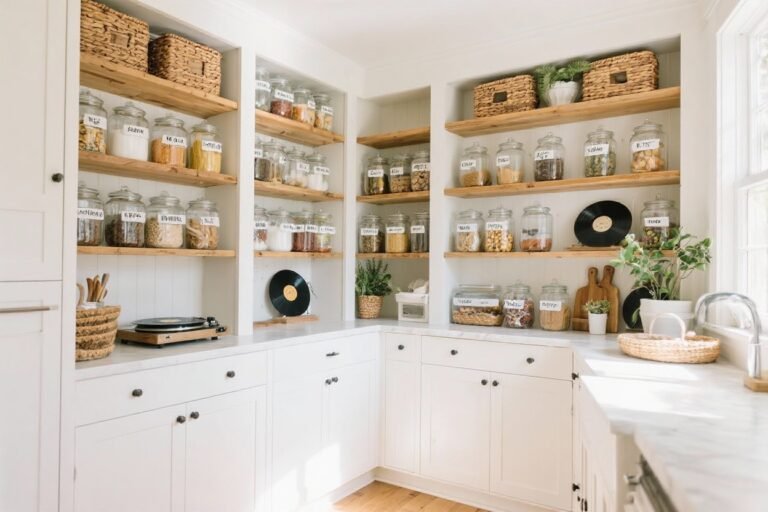
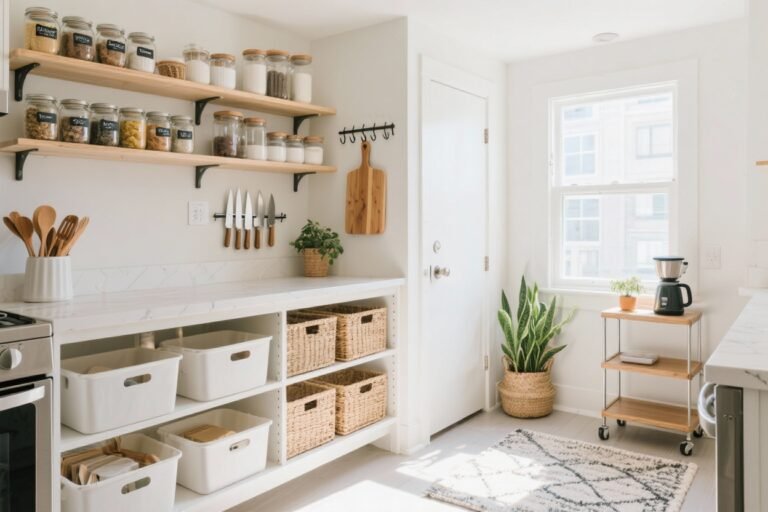
2. Decant Like You Mean It

There’s something deeply satisfying about pouring pasta into a sleek jar. It looks chic and makes your pantry feel like a boutique grocery store. Also, you can actually see what you have—so fewer mystery bags of flour.
Essentials You’ll Love
- Glass canisters with airtight bamboo or black lids for visual consistency.
- Stackable bins for snacks or tea bags to maximize height.
- Chic labels—clear, minimal fonts keep it Pinterest-cute and functional.
Smart Decanting Notes
- Keep original packaging tucked behind in baskets for instructions and expiration dates.
- Group by use and frequency: breakfast items together, baking together, etc.
- Decant only what you actually buy often. FYI: random specialty items don’t need jars.
3. Style A Coffee Station You’ll Brag About
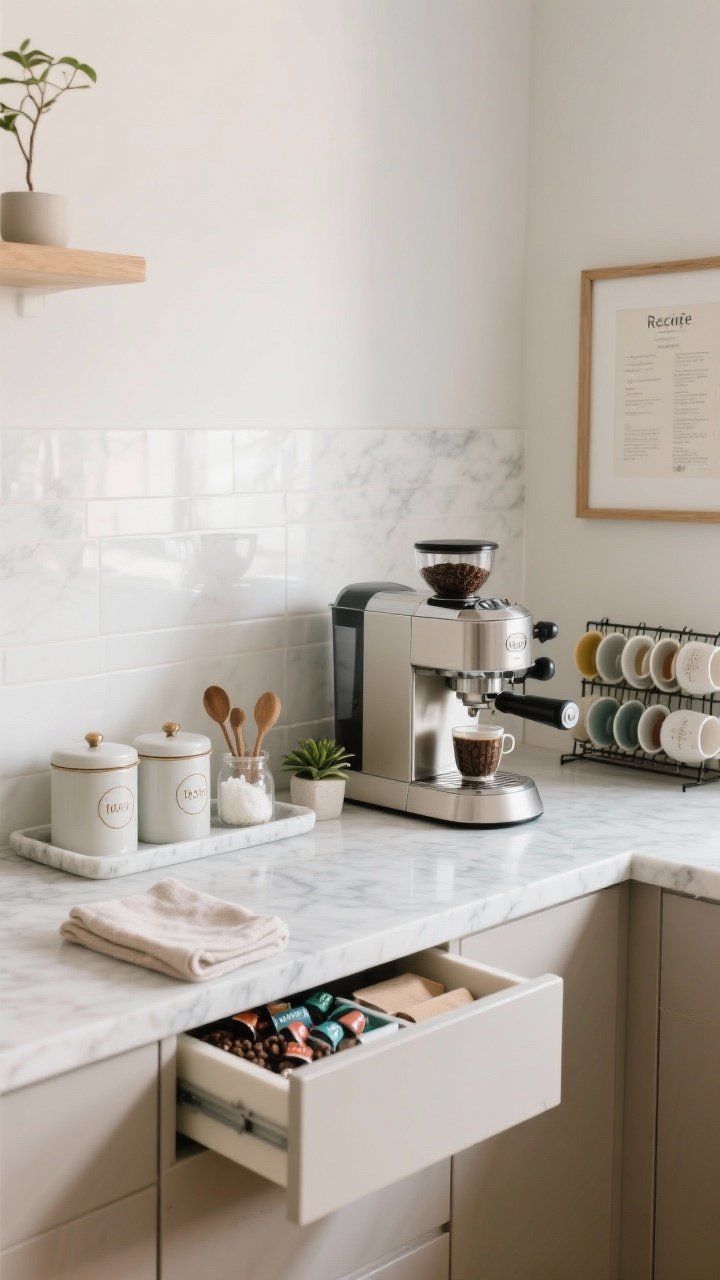
If you’re a coffee person, make it a moment. A designated station streamlines your routine and looks ridiculously cute. Think minimal cafe vibes at home.
Build The Zone
- Tray or marble slab to visually contain everything.
- Canisters for beans, pods, sugar, and spoons.
- Mugs on a small rack or a neat stack of your prettiest ones.
- Mini drawer unit for pods or filters. Hidden but handy.
Make It Pretty
- Add a small plant or framed recipe card.
- Use matching containers so it feels cohesive, not cluttered.
- Keep a lint-free cloth nearby for espresso splashes (aesthetic survival kit).
4. Turn Your Counter Into A Curated Work Zone
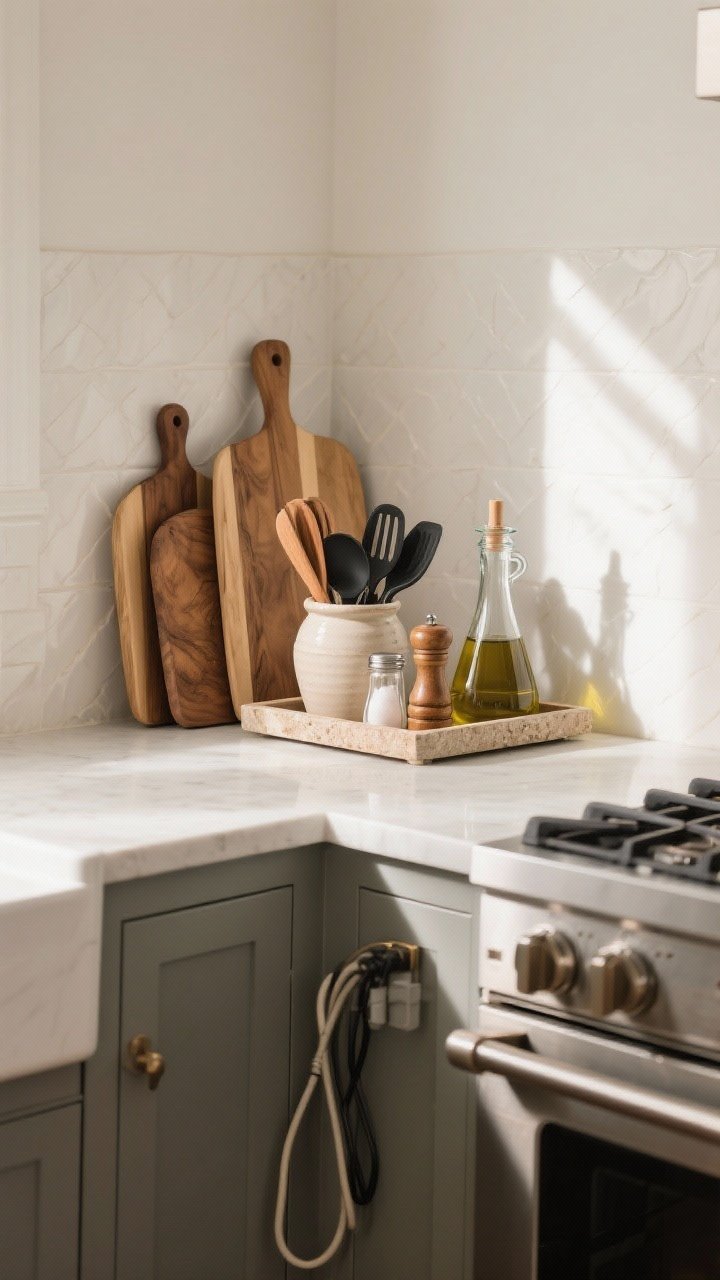
Clear counters aren’t the goal—smart counters are. Keep only what you use daily, but make it beautiful. Functional can be photogenic, IMO.
Minimal, Not Empty
- Utensils in a ceramic crock—wood and matte black look luxe.
- Salt cellar + pepper mill by the stove for easy cooking.
- Cutting board trio leaning against the backsplash for texture.
- Olive oil decanter—no branded bottle chaos in sight.
Countertop Rules
- Pick a single material story (wood + white + glass is a classic).
- Group items on a tray to avoid sprawling.
- Hide wires with cord clips or tuck appliances under cabinets.
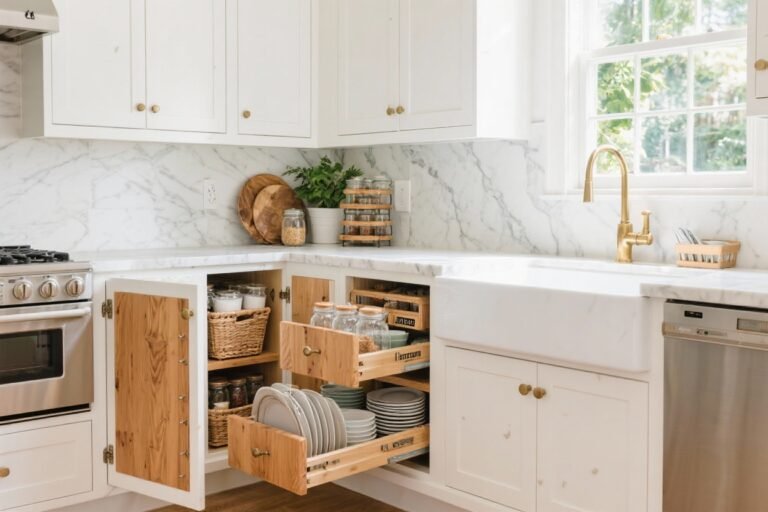
5. Drawer Dividers That Spark Joy (And Actually Fit)
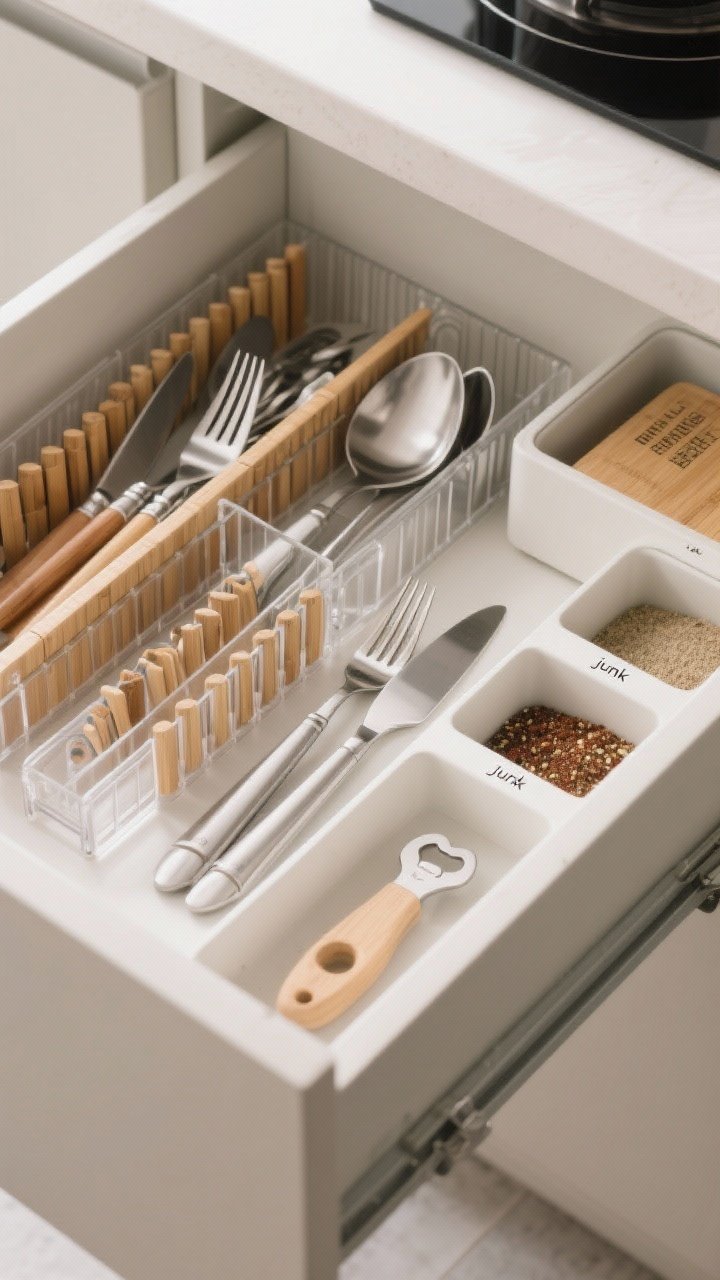
Messy drawers = daily frustration. Dividers turn rummaging into a smooth glide-and-grab. Plus, it’s one of those “looks minimal but changes everything” upgrades.
Transform Your Home With 7,250+ Stunning Landscaping Designs—No Expensive Designers Needed!
- 🌿 Access 7,250+ stunning landscaping designs.
- 💰 Save thousands—no pro designer needed.
- 🏡 Plans for gardens, patios, walkways, and more.
- ✨ Simple, beginner-friendly DIY layouts.
- 🛠️ Customize any design to fit your yard.
Where To Use Dividers
- Cutlery: separate everyday, hosting, and specialty tools.
- Cooking tools: spatulas, tongs, peelers—no more tangles.
- Spices: lay them flat on angled insert trays (labels up!).
- Junk drawer: it’s allowed to exist—just give it zones.
Tips To Nail It
- Measure depth and width (twice) and choose adjustable bamboo or acrylic dividers.
- Keep duplicates minimal—you don’t need five bottle openers.
- Label the inside lip of drawers for family-proofing.

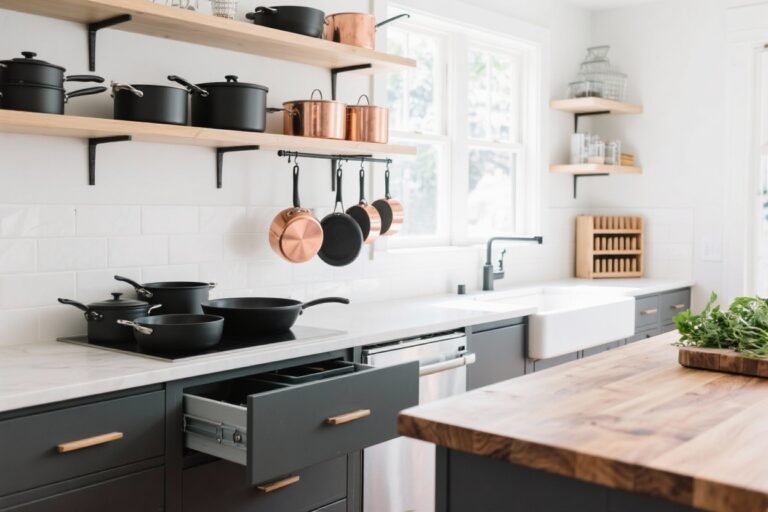
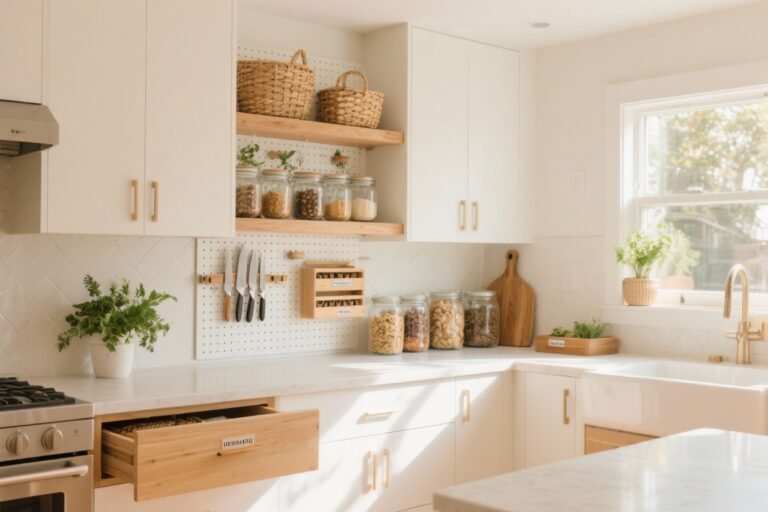
6. Use Vertical Space Like A Designer
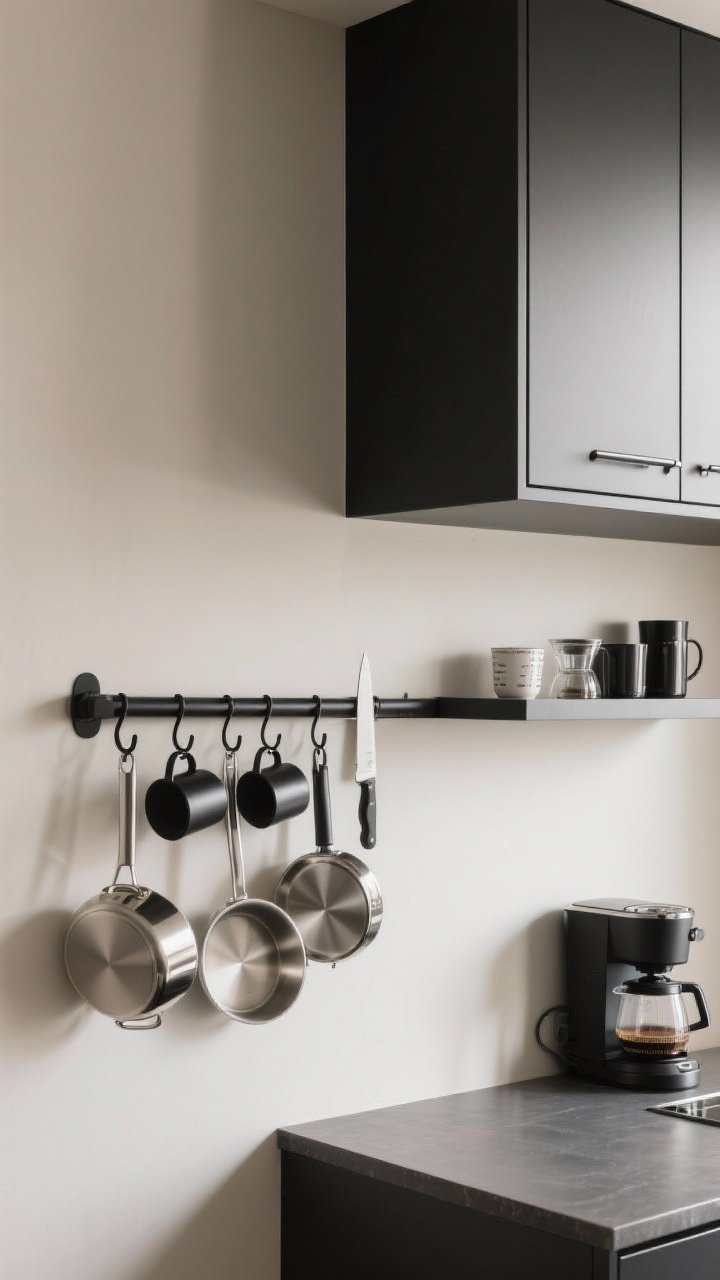
Walls are storage gold. Hooks, rails, and magnetic strips make everything easy to grab and display-worthy. Think bistro kitchen, but cleaner.
Ideas That Look Chic
- Brass or matte black rails with S-hooks for mugs, pans, or measuring cups.
- Magnetic knife strip—sleek and safer than digging through drawers.
- Floating shelf above a coffee or prep station for pretty essentials.
- Mounted pot rack if you’ve got gorgeous cookware that deserves the spotlight.
Keep It Cohesive
- Match metal finishes to your hardware for a pulled-together look.
- Limit what’s hung to well-designed, used-daily items—no visual clutter.
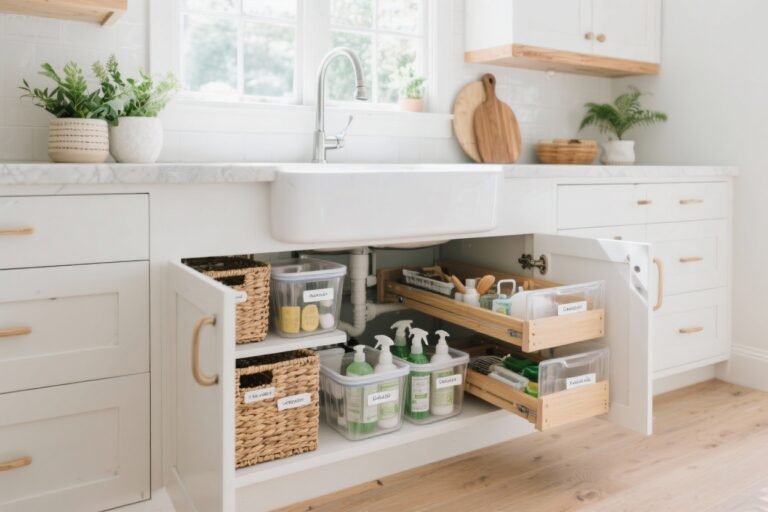
7. Beautify The Under-Sink Situation
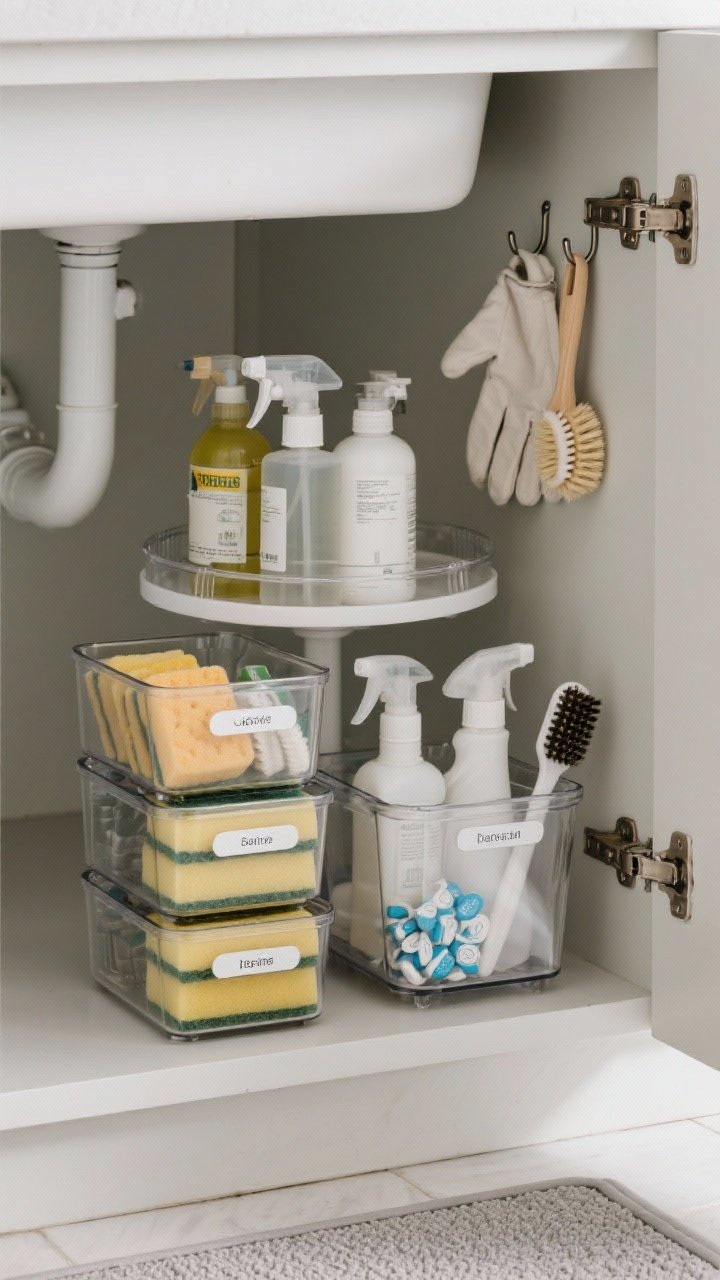
No one sees it—until they do. Under-sink is the classic chaos zone, but with a little styling, it’s shockingly satisfying.
Set Up The System
- Stacking bins for sponges, dishwasher tabs, and brushes.
- Turntables for sprays—easy spin, easy grab.
- Clear caddy for daily cleaning supplies you can pull out in one go.
- Mat or liner to protect from drips (and make it look finished).
Make It Pretty (Yes, Really)
- Choose neutral bottles and refill with bulk cleaner—bye, loud labels.
- Attach adhesive hooks inside doors for gloves or brushes.
- Label the front of bins—clean, simple fonts only.
8. Create A Baking or Meal-Prep Zone
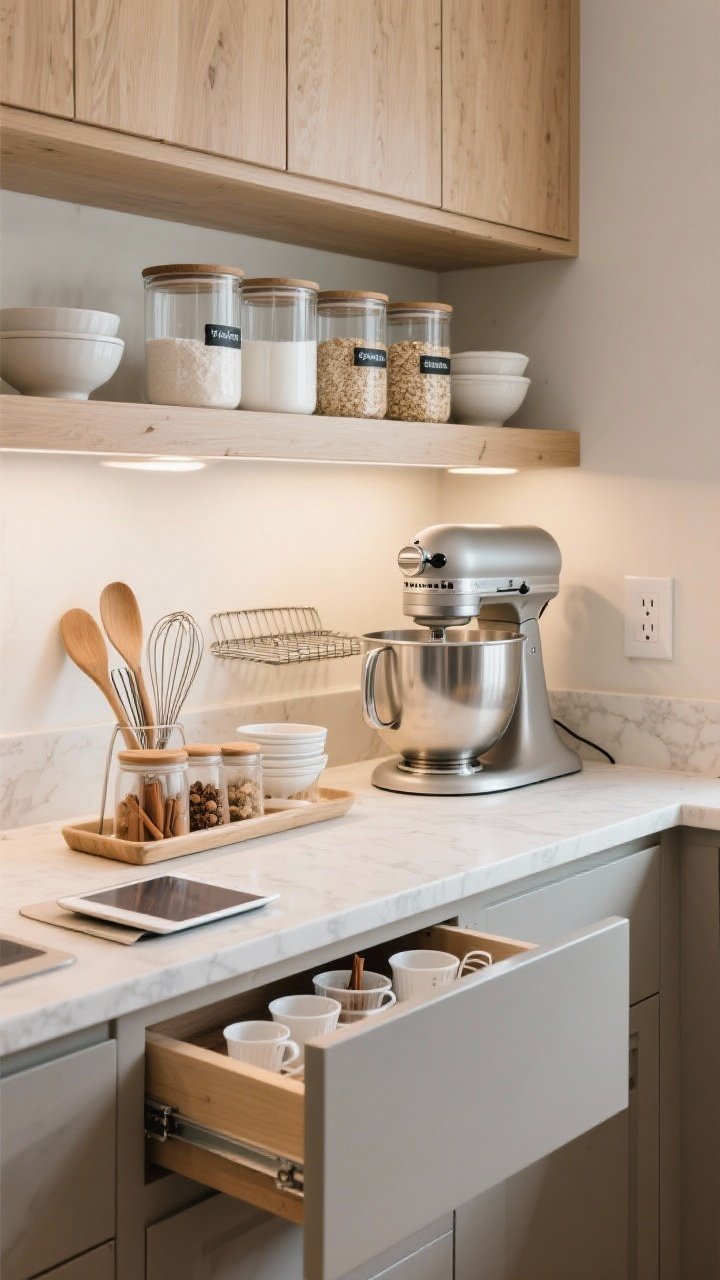
If you bake or meal prep, give it a home. A dedicated zone saves time and looks chef-level organized. Bonus: no more hunting for the whisk mid-recipe.
What Goes In The Zone
- Dry goods (flour, sugar, oats) decanted in matching containers.
- Tools like measuring cups, whisks, spatulas in one nearby drawer.
- Spices for baking (cinnamon, vanilla, nutmeg) grouped together.
- Cooling rack + mixing bowls stacked by size and frequency.
Placement Tips
- Choose a counter stretch near outlets for stand mixers.
- Use a riser in cabinets to double space for bowls and pans.
- Keep a recipe stand or tablet mount—spills are inevitable.
9. Make The Fridge Aesthetic (And Functional)

Open your fridge and feel proud. That’s the goal. Clear bins, zones, and labels create a grocery-store-but-home vibe that’s easy to maintain.
Organize By Zone
- Produce in vented bins—greens separate from berries.
- Dairy and eggs grouped together (top or middle shelf).
- Condiments in door bins by type: sauces, dressings, breakfast.
- Meal prep in glass containers so you actually see and eat it.
Pretty + Practical
- Use clear bins with handles—easy pull-out, easy wipe-down.
- Add fridge mats to shelves to catch spills (decor for your lettuce).
- Label shelves or bins so anyone can put groceries away correctly. FYI: it’s life-changing.
10. Style A Pantry That Photographs Like A Dream
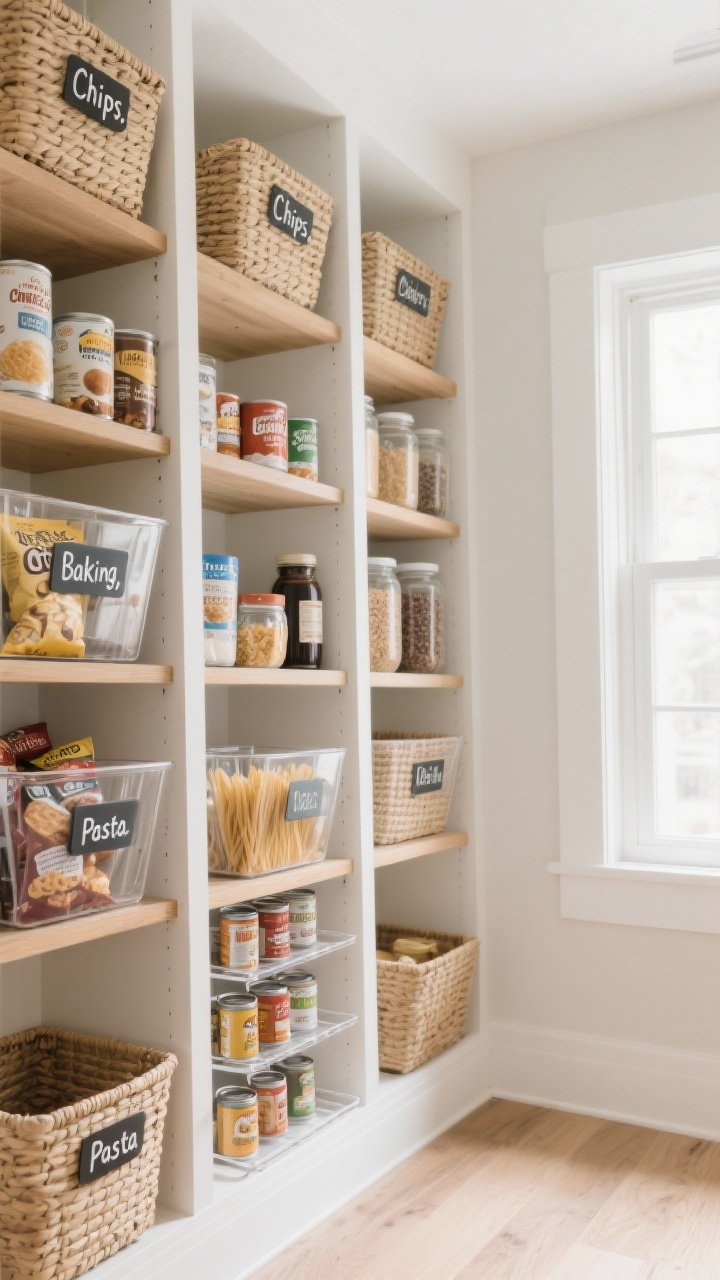
Whether you have a walk-in pantry or a single cabinet, styling it well makes everyday cooking feel luxe. Pantry envy is real, and yes, you can have it.
Design The Flow
- Everyday items at eye level: snacks, breakfast, coffee.
- Heavy items low: canned goods, appliances, bulk jars.
- Backup stock high: extras you don’t reach for daily.
The Aesthetic Layer
- Choose matching baskets for categories like “Chips,” “Baking,” “Pasta.”
- Opt for woven, wire, or acrylic based on your style (and what you need to see).
- Use tiered can risers so labels face forward and nothing hides in the back.
Label Like A Pro
- Keep labels short and simple—Baking, Snacks, Grains.
- Use clear, consistent fonts or minimal script for that Pinterest look.
- Place labels on the top third of bins—easier to scan and prettier in photos.
Quick Styling Recap
- Pick a color palette and stick to it: neutrals + one accent.
- Embrace materials that age well: glass, wood, ceramic, linen.
- Hide the ugly, display the pretty, and group by how you actually live.
You don’t need a full renovation to make your kitchen feel editorial. Start with one zone—shelves, drawers, or the coffee corner—and build from there. Little upgrades, consistent textures, and a few labels? Boom. Your kitchen’s Pinterest-famous energy is officially live.