5 Budget-friendly Farmhouse Kitchen Decor Ideas You Can Diy (and Actually Love)

Want that cozy farmhouse vibe without selling a kidney? You’re in the right place. These DIYs are quick, affordable, and totally doable—even if your toolkit is basically scissors and vibes. Grab your coffee (or paintbrush), and let’s turn your kitchen into the warm, charming space Pinterest promised you.
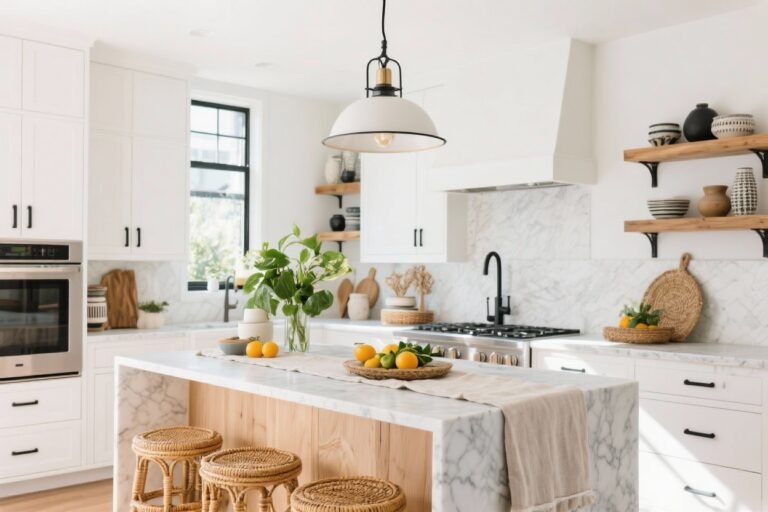
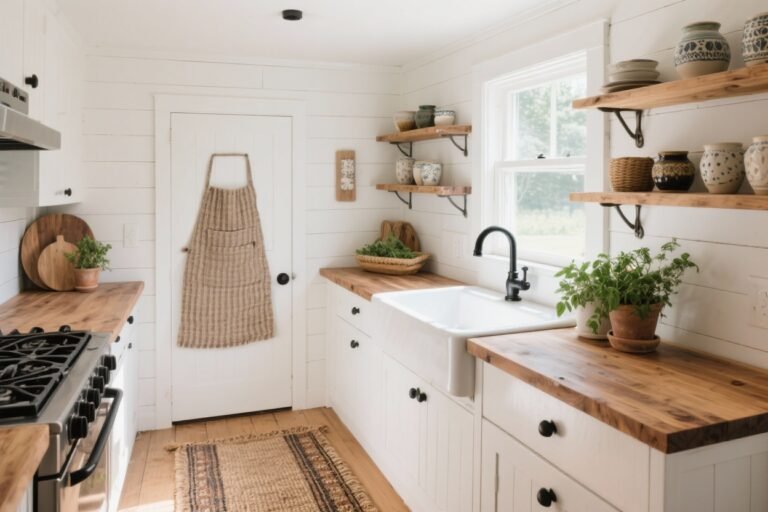
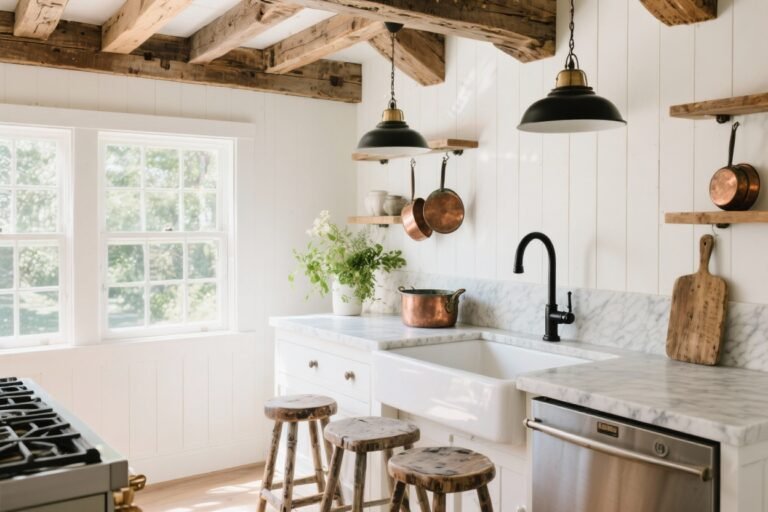
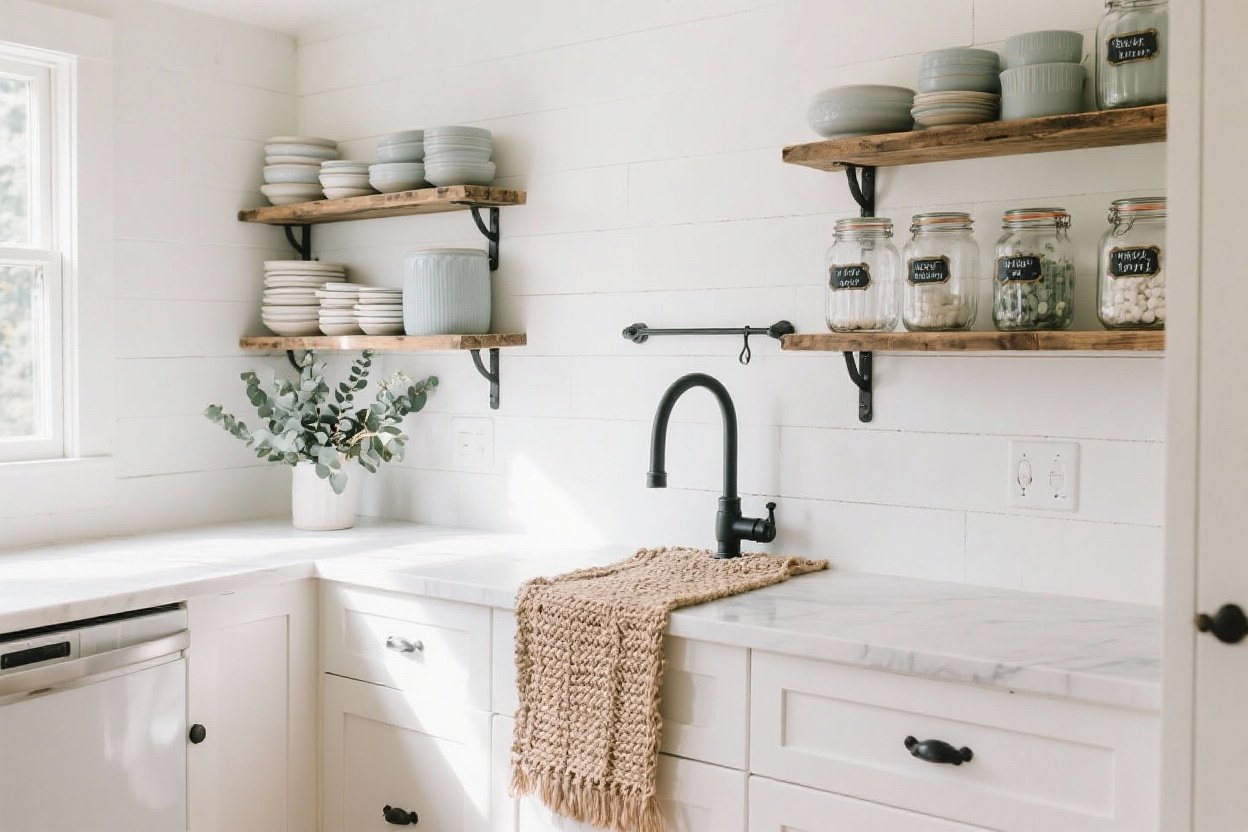
1. Build A Rustic Open Shelf That Looks Custom
Open shelving is the farmhouse kitchen MVP. It makes small kitchens feel airy and shows off your cutest mugs. Surprise: it’s also crazy affordable.
Tired of snacking when you’re not even hungry? This reset helps you stop the loop and feel back in control.
A simple reset for moments when cravings take over. Easy to use, easy to repeat, and designed to help you feel satisfied instead of stuck.
What You’ll Need
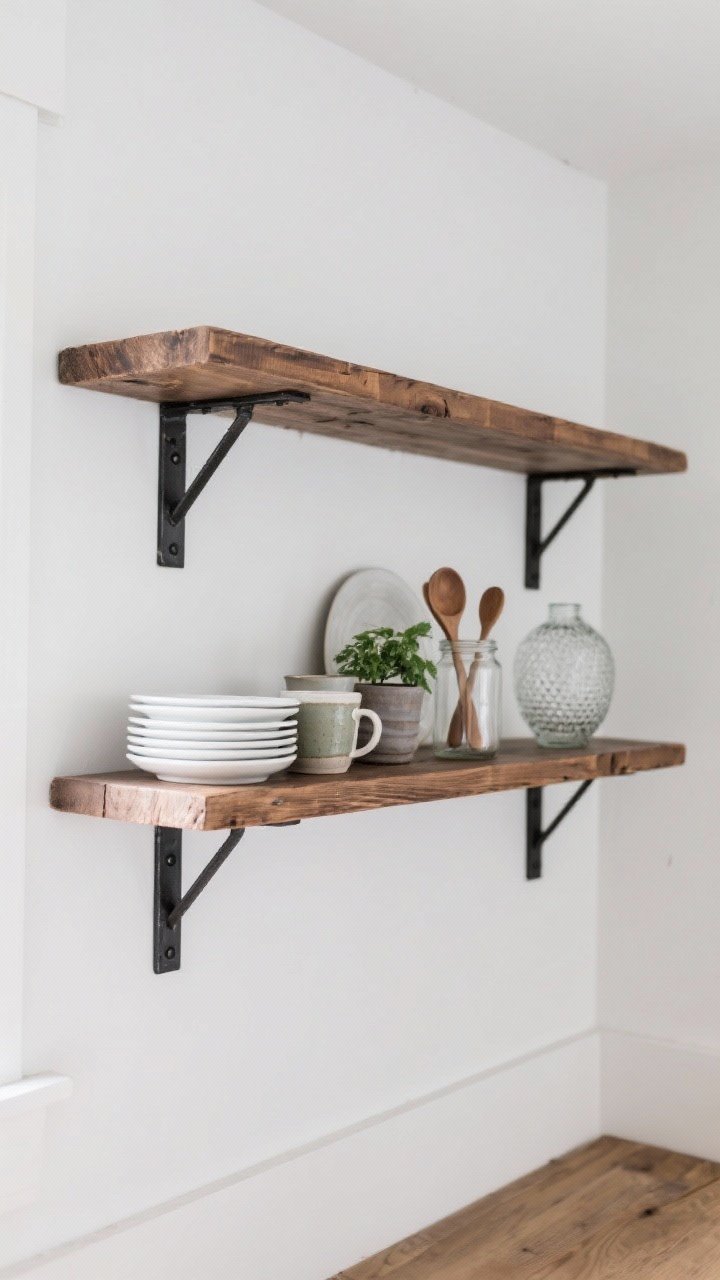
- Two thick wood boards (pine or cedar), cut to size
- Matte black or oil-rubbed bronze brackets
- Sandpaper, stain, and clear matte sealer
- Anchors and screws
How To Do It
- Sand + Stain: Give the boards a quick sand, then stain in a warm tone (like walnut or weathered gray). Seal with a matte topcoat so it’s wipeable.
- Measure + Mount: Use a level and mount brackets into studs (or heavy-duty anchors). Place boards on top and secure.
- Style Like a Pro: Stack plates, display a few mugs, add a small plant, and a jar of wooden spoons. Less is more.
Pro Tip: Mix heights and materials—ceramic, glass, wood—for that lived-in farmhouse feel. FYI, one plant goes a long way.
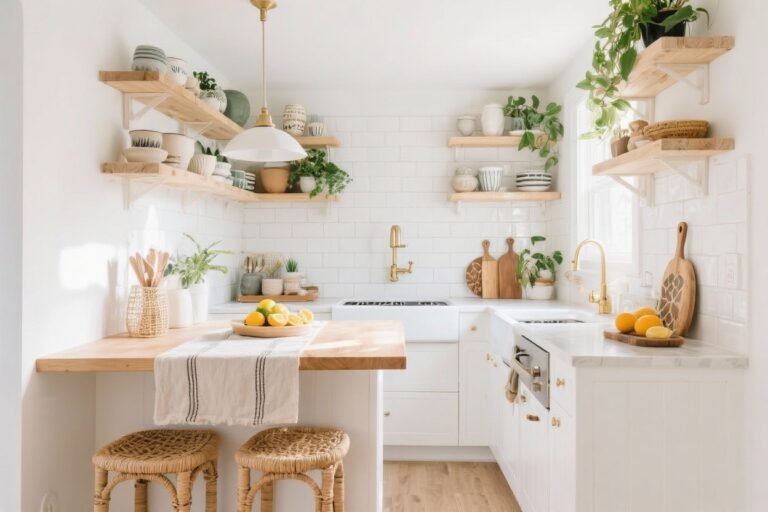
2. Fake A Vintage Backsplash With Peel-And-Stick Tile
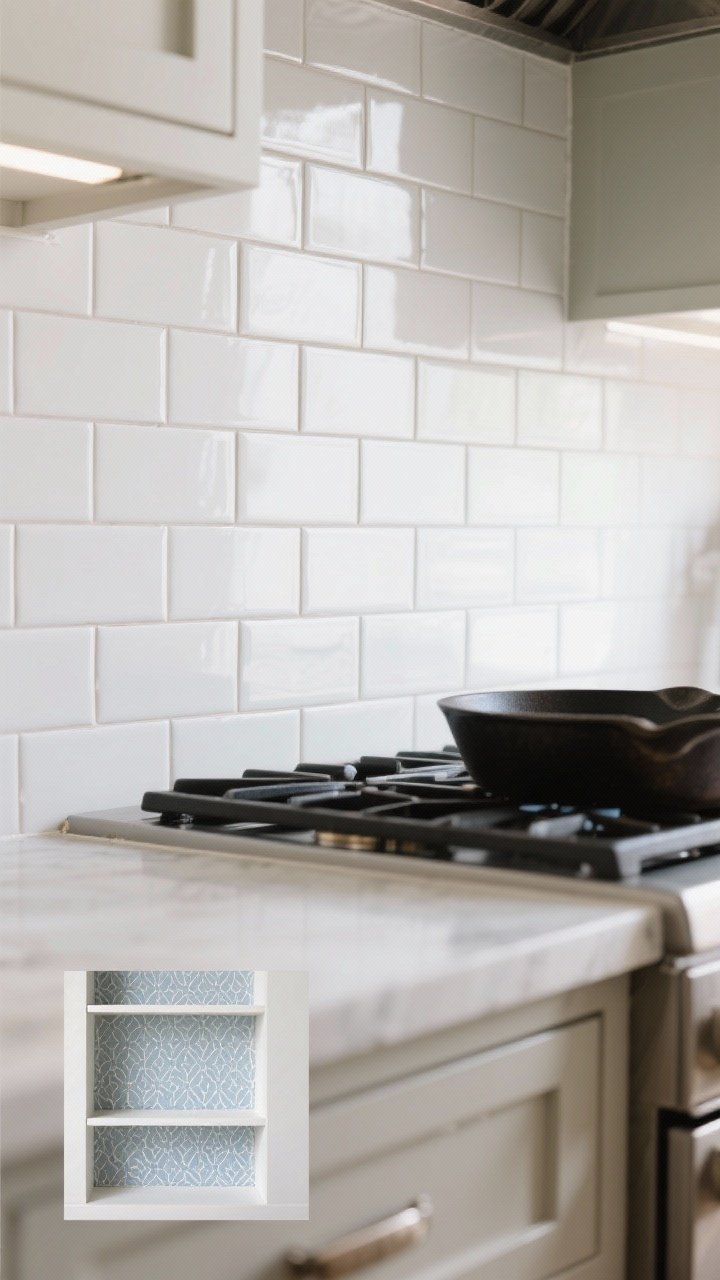
Who says you need a contractor for a tile moment? Peel-and-stick subway or patterned tiles give instant farmhouse charm without the mess or price tag.
Best Spots To Use It
- Behind the stove: A small panel makes a huge impact.
- Under cabinets: Brightens the prep area and looks finished.
- Inside open shelves: Adds subtle texture behind your display.
How To Nail The Look
- Clean First: Degrease those walls so the adhesive actually sticks.
- Start Straight: Use a level for your first row. Everything builds off that line—crooked equals chaos.
- Finish Edges: Add a thin trim strip or caulk for a “real tile” finish.
Style Cue: Go with matte white subway or soft patterned tile in gray/blue. Both scream farmhouse without yelling.
3. Give Old Cabinets A Two-Tone Paint Glow-Up
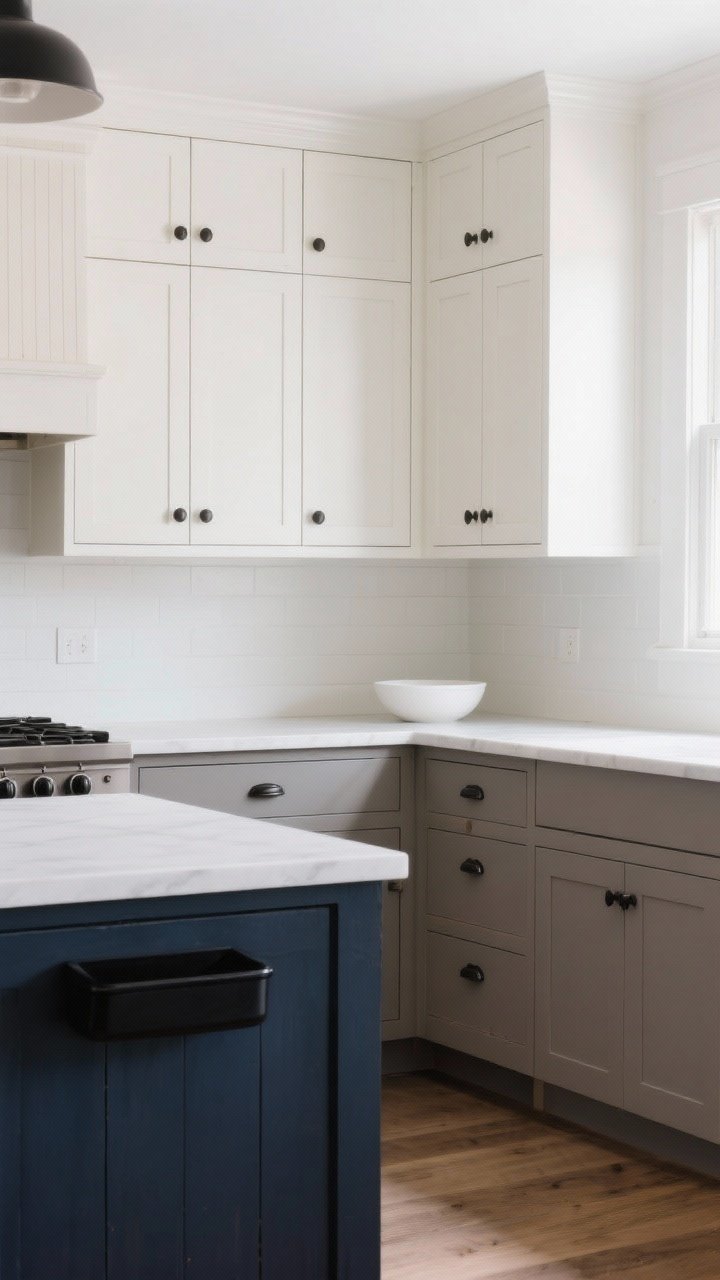
New cabinets? Overrated. Paint? Magic. A two-tone scheme looks custom and modern farmhouse at the same time.
Transform Your Home With 7,250+ Stunning Landscaping Designs—No Expensive Designers Needed!
- 🌿 Access 7,250+ stunning landscaping designs.
- 💰 Save thousands—no pro designer needed.
- 🏡 Plans for gardens, patios, walkways, and more.
- ✨ Simple, beginner-friendly DIY layouts.
- 🛠️ Customize any design to fit your yard.
Color Combos That Always Work
- Uppers: Soft white (Alabaster) | Lowers: Warm gray (Agreeable Gray)
- Uppers: Creamy off-white | Lowers: Muted sage green
- Uppers: White | Island: Navy or charcoal for contrast
Paint Process (No Tears Version)
- Degrease + Light Sand: Even the best paint hates grease. Scuff sand for grip.
- Prime Smart: Use a bonding primer to avoid chipping.
- Roll + Detail: Foam roller for doors, angled brush for edges. Two thin coats.
- Swap Hardware: Matte black bin pulls and classic knobs = instant farmhouse.
Budget Hack: Can’t paint everything? Just paint the island or lower cabinets for a fast (and less exhausting) update.
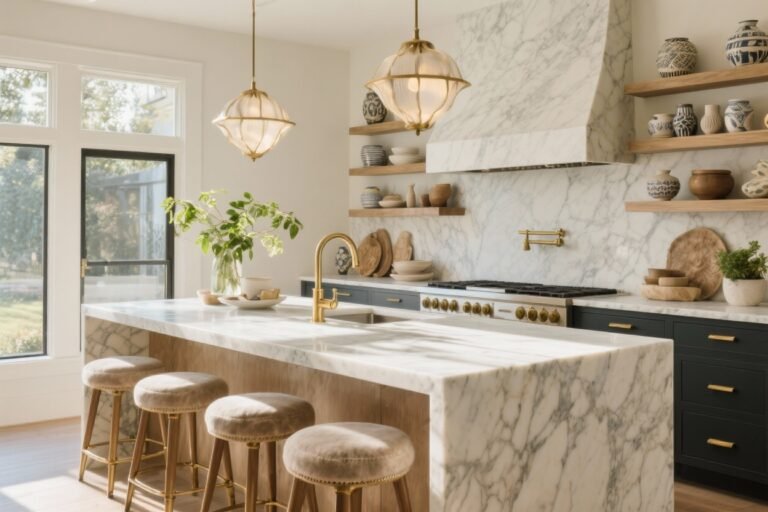
4. Make A Farmhouse-Style Range Hood Cover
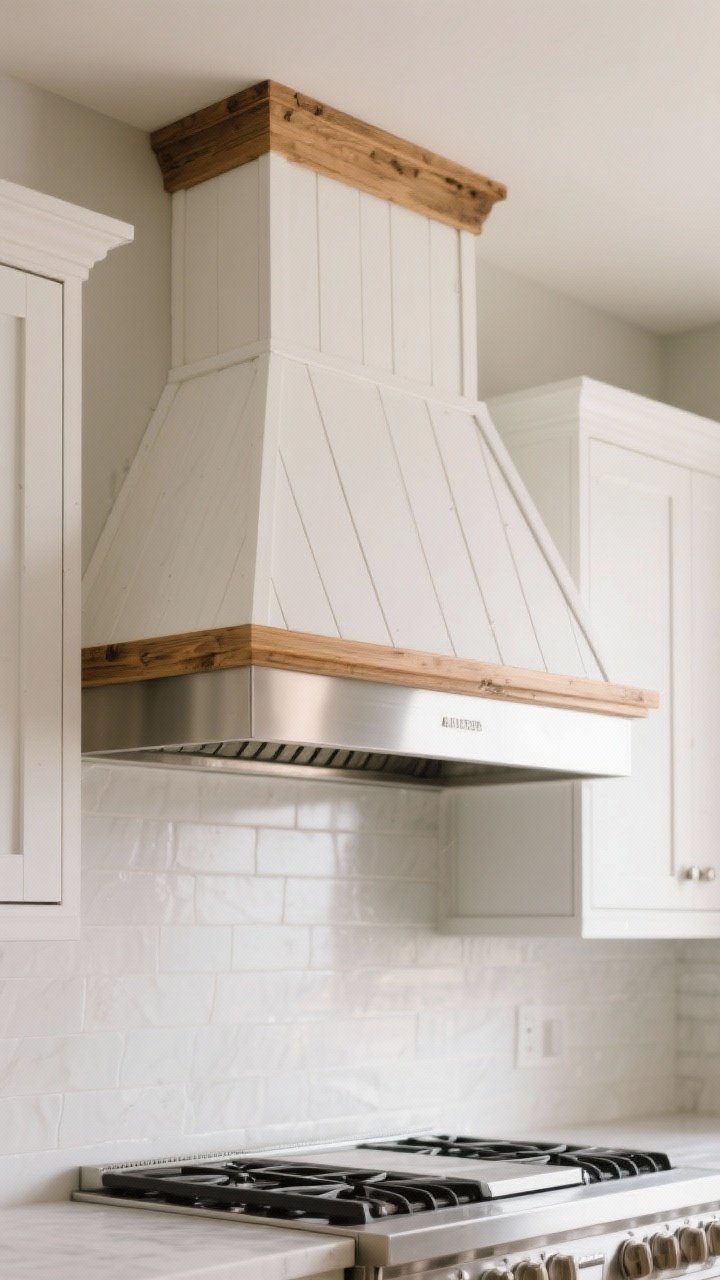
Nothing says “custom kitchen” like a gorgeous hood. The secret? You can build a simple cover with basic lumber and make your old metal hood look handcrafted.
Simple Build Plan
- Frame: Create a shallow box with 1x2s that fits over your existing hood (leave ventilation clear!).
- Skin: Attach thin plywood or shiplap boards to the frame.
- Finish: Paint it the same color as your cabinets, or stain and add a small oak trim band near the bottom for warmth.
Why It Works
- Draws the eye up—rooms look taller.
- Adds instant farmhouse character for under $80 (materials dependent).
- Hides a not-so-cute stainless hood. Your secret’s safe with us.
Safety Note: Keep clearances from heat per manufacturer rules. Function first, cute second—barely.
5. Style A Coffee Nook With Thrifted Finds
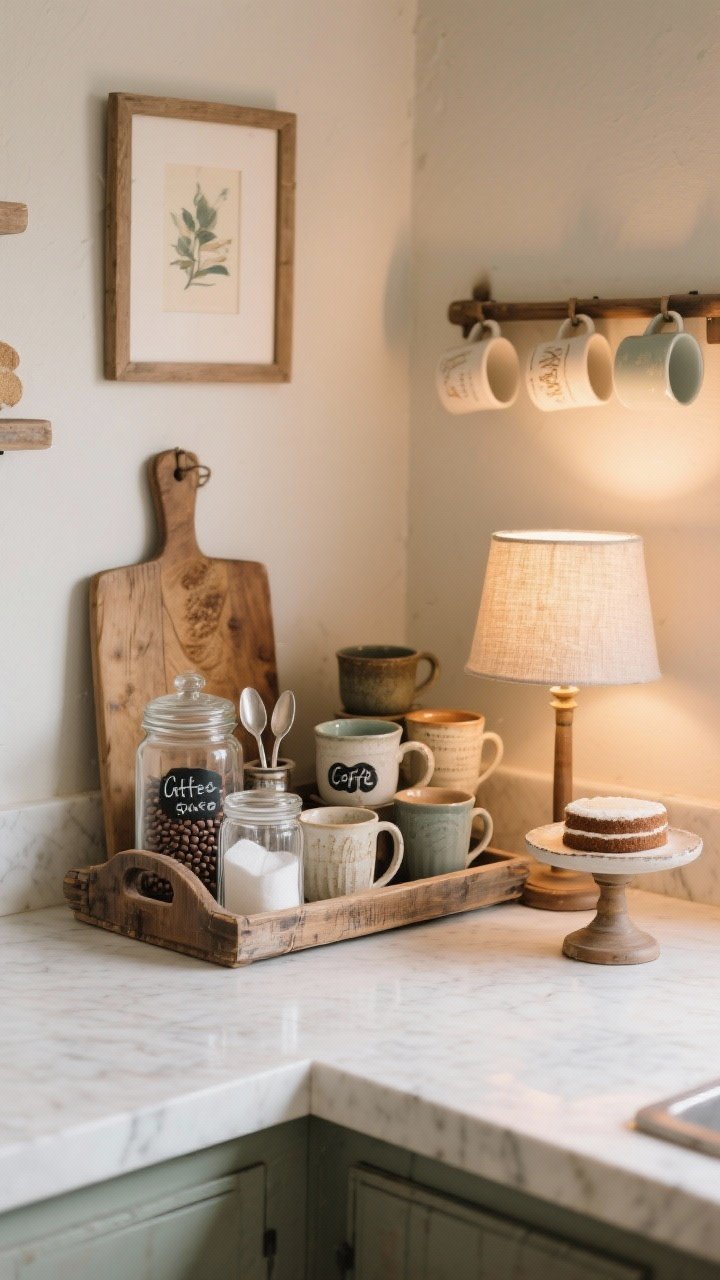
Farmhouse kitchens are all about hospitality. A mini coffee station feels luxe and costs less than a fancy latte habit.
What To Gather
- Vintage tray or breadboard: Corral the clutter.
- Clear jars: Store beans, sugar, and spoons. Label with chalk stickers.
- Thrifted mugs: Mismatched? Even better. Adds charm.
- Small lamp or sconce: Warm light = instant cozy.
Set It Up
- Pick a Corner: End of the counter or a small cart works great.
- Add Height: Use a cake stand or stacked books under the jar of beans.
- Hang Something: A mini art print, wood sign, or mug rail gives it a “finished” feel.
IMO: A tiny lamp on the counter is a game-changer. It’s like your kitchen put on a sweater.
Bonus Mini DIYs To Layer In
- Mason Jar Pendant: Convert a mason jar into a pendant light with a simple kit.
- Tea Towel Ladder: Lean a small wood ladder against the wall for towels. Functional art!
- Chalkboard Menu: Paint a cabinet side with chalkboard paint for weekly menus or doodles.
Quick Styling Rules (so your farmhouse stays chic, not chaotic):
- Edit surfaces—leave breathing room around decor.
- Stick to a simple palette: whites, woods, blacks, and one accent color.
- Mix textures: metal, wood, ceramic, linen. Texture = warmth.
There you go—five DIYs that make your kitchen feel cozy, collected, and a little bit fancy without the scary price tag. Start with one project this weekend, snap a before-and-after (for science), and watch the compliments roll in. FYI: Once you do the shelves, you’ll want to redo everything. You’ve been warned.