10 Backyard Outdoor Kitchen Layouts That Work in Any Space You’ll Actually Use
Outdoor kitchens are the new backyard flex. The best part? You don’t need acres of lawn or a contractor on speed dial to make one work. These 10 layouts scale up, down, and sideways to fit patios, balconies, and everything in between—without sacrificing style (or your sanity).
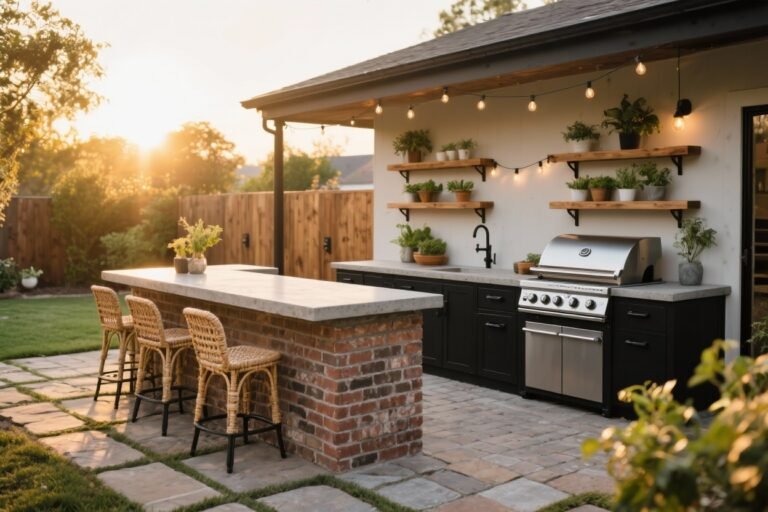
1. The Slimline Galley: Wall-Hugging Wonder
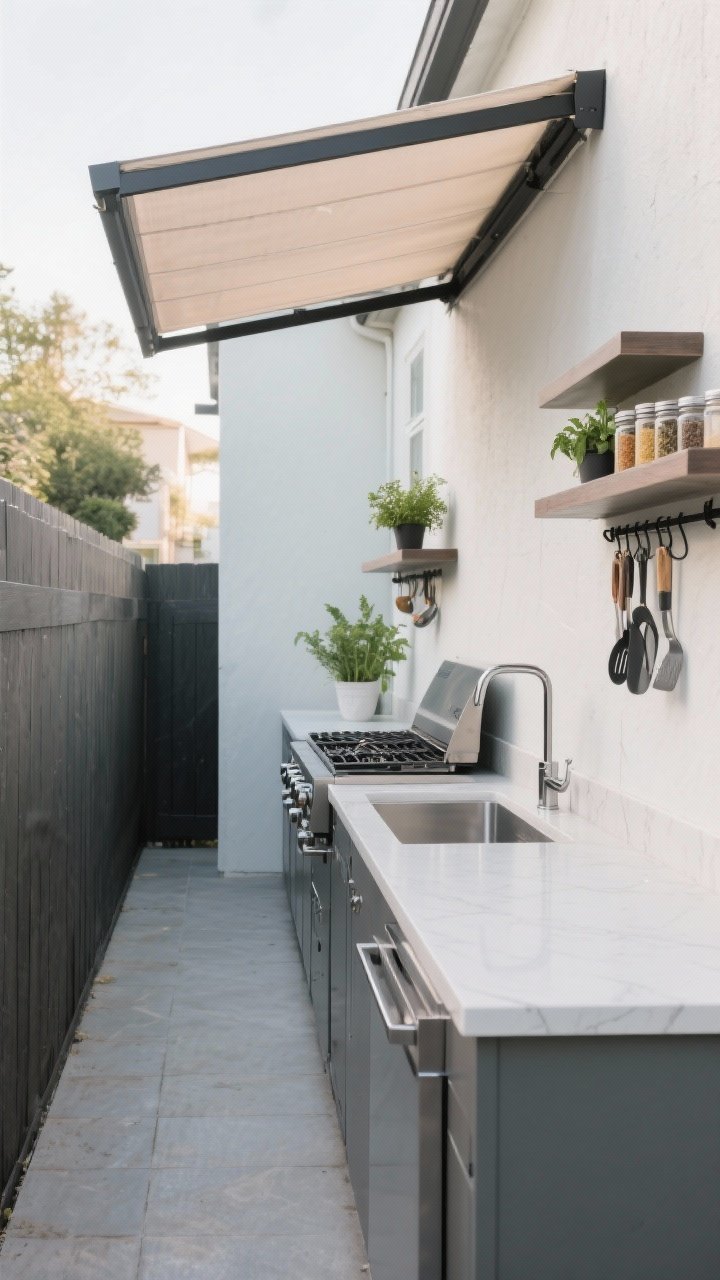
Working with a narrow patio or side yard? A single-wall kitchen keeps everything streamlined and efficient. Think grill, prep counter, and compact sink all lined up in a tidy row.
Tired of snacking when you’re not even hungry? This reset helps you stop the loop and feel back in control.
A simple reset for moments when cravings take over. Easy to use, easy to repeat, and designed to help you feel satisfied instead of stuck.
Why it works
- Maxes out small spaces while leaving room to move.
- Easy to protect with an awning or pergola.
- Plumbing and gas can run along one wall—less money, fewer headaches.
Pro tips
- Use 24-inch-deep counters minimum so trays actually fit.
- Add upper shelves or a rail system for tools and spices.
- Upgrade to a combo grill (gas + charcoal) if you’re picky about flavor.
2. The Classic L-Shape: Corner Efficiency

The L-shaped layout is a total crowd-pleaser. It tucks into a corner, creates a natural work triangle, and carves out zones for prep, cook, and serve—minus any awkward traffic.
Why it works
- Efficient workflow: Grill on one leg, prep/sink on the other.
- Makes a small patio feel organized, not cluttered.
- Plenty of counter landing zones where you actually need them.
Pro tips
- Keep at least 18 inches of landing space on each side of the grill.
- Use the inside corner for a built-in ice bin or lazy susan storage.
- Balance the height with a low backsplash for wind protection.
3. The U-Shape Micro Chef’s Hub
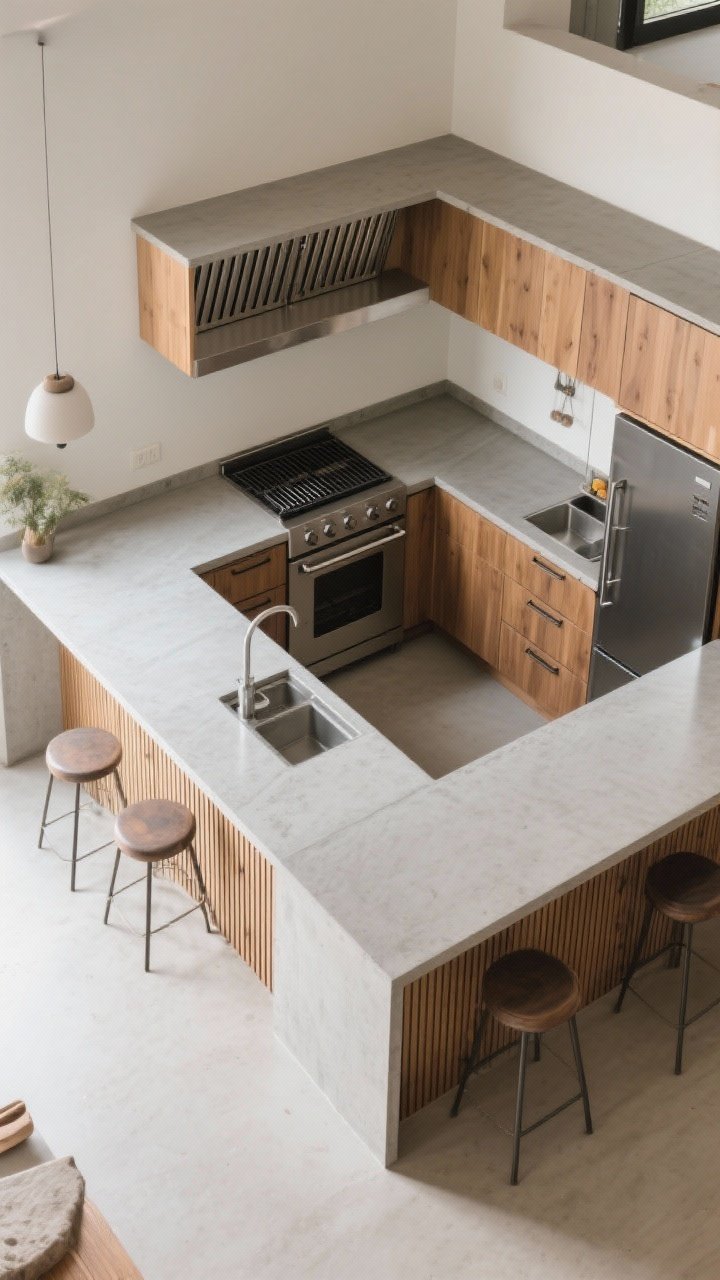
If you’re a “never enough counter space” person, the U-shaped setup is your soulmate. It wraps around you so everything is within arm’s reach, bar-style seating optional.
Why it works
- Three sides of counter = prep, cook, and plate without juggling.
- Perfect for a small footprint if you keep the aisle 42–48 inches wide.
- Creates a cozy cook’s zone so guests stay out of your way (lovingly, of course).
Pro tips
- Put the grill on the open end for clear ventilation.
- Use curved corners or clipped angles to soften the U and save space.
- Install drawer fridges on the short side for drinks and marinades.
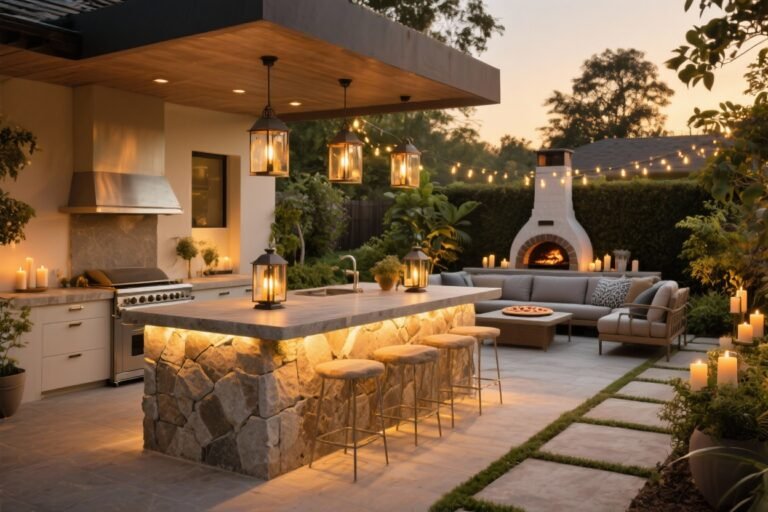
4. The Island + Back Bar Combo

Want to cook and chat without yelling? Pair a grill island with a back bar a few steps away. The island handles hot stuff; the back bar stores drinks and snacks for self-serve magic.
Why it works
- Separates cooking and hanging, so your guests don’t crowd the flames.
- Back bar doubles as a buffet or cocktail station.
- Easy to scale for any yard by adjusting the gap between pieces.
Pro tips
- Keep a 5–6 foot walkway between island and bar.
- Use a raised counter at the bar to hide the “chef chaos.”
- Add LED strip lighting under both for night vibes.
5. The Peninsula With Built-In Seating

No space for a freestanding island? Create a peninsula that juts from a wall run. It’s a natural divider and hosting spot—like the kitchen peninsula you already love, but outdoors.
Transform Your Home With 7,250+ Stunning Landscaping Designs—No Expensive Designers Needed!
- 🌿 Access 7,250+ stunning landscaping designs.
- 💰 Save thousands—no pro designer needed.
- 🏡 Plans for gardens, patios, walkways, and more.
- ✨ Simple, beginner-friendly DIY layouts.
- 🛠️ Customize any design to fit your yard.
Why it works
- One footprint with two functions: cook station + seating.
- Great for townhome patios where traffic needs to flow around one side.
- Gives you a serving edge while keeping guests safely distant from the grill.
Pro tips
- Plan a 12-inch overhang for stools (15 inches if you can swing it).
- Put the grill on the wall run and keep the peninsula cool-zone for prep and plating.
- Clad the base in vertical slats or stone for texture and durability.

6. The Mobile Modular Setup

Renting or commitment-phobic? Build a kitchen from modular carts and rolling units that lock together when you’re hosting and tuck away when you aren’t.
Why it works
- Totally flexible: rearrange for parties, movie nights, or solo grilling.
- Budget-friendly and easier to store in bad weather.
- Lets you test your layout before going built-in—smart, IMO.
Pro tips
- Choose powder-coated steel or marine-grade aluminum frames.
- Mix a gas grill cart with a flat-top griddle and a drop-in cooler.
- Use outdoor rubber mats under wheels to protect deck boards.
7. The Courtyard Circle: Social From Every Angle
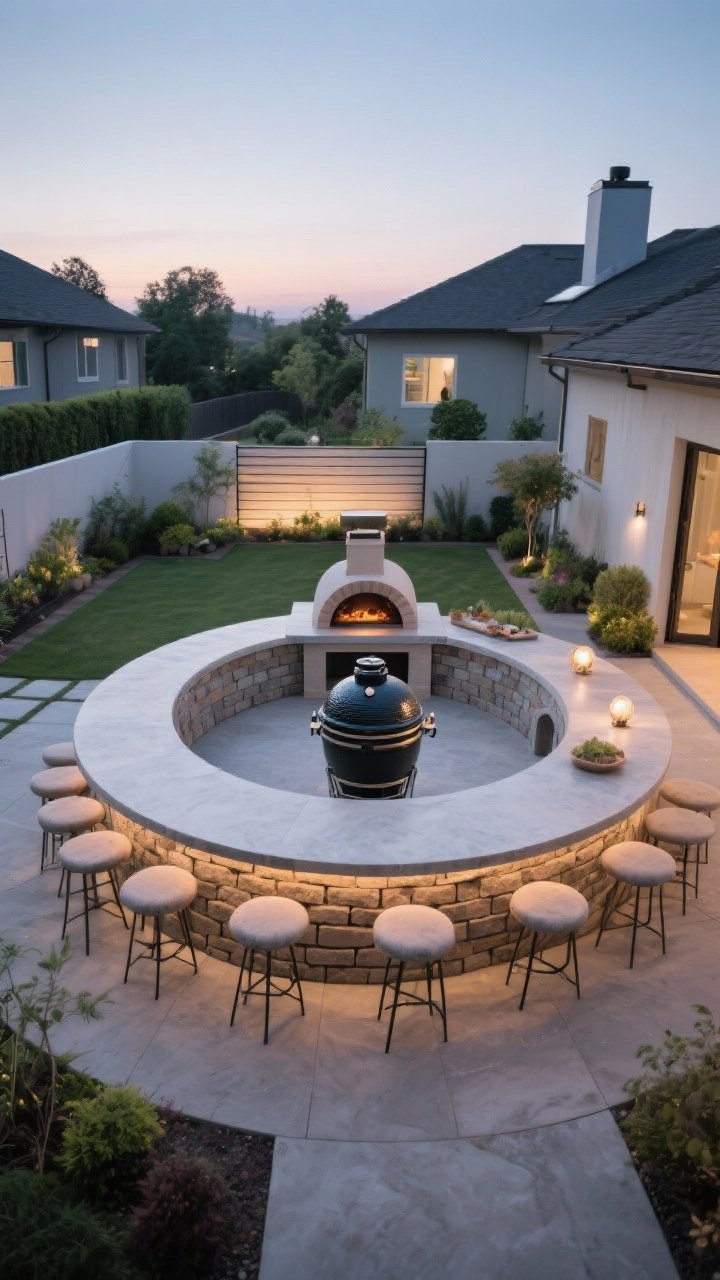
Round patios or fire pit areas pair beautifully with a curved kitchen. A semi-circle counter frames the view and puts the chef at the center of the action—very hibachi-core.
Why it works
- Curves soften boxy yards and guide foot traffic.
- Everyone gets a front-row seat without elbowing for space.
- Great for pizza ovens or a kamado grill as the focal point.
Pro tips
- Use segmental blocks or flexible forms for the base.
- Specify rounded stone edges so no one snags a sleeve.
- Add a low wind screen behind the grill if you’re in a breezy zone.
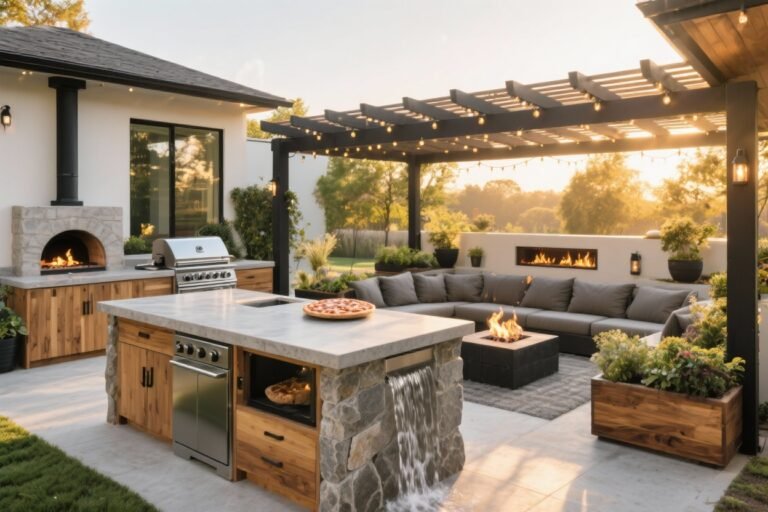
8. The Split-Zone Entertainer: Cook Here, Lounge There
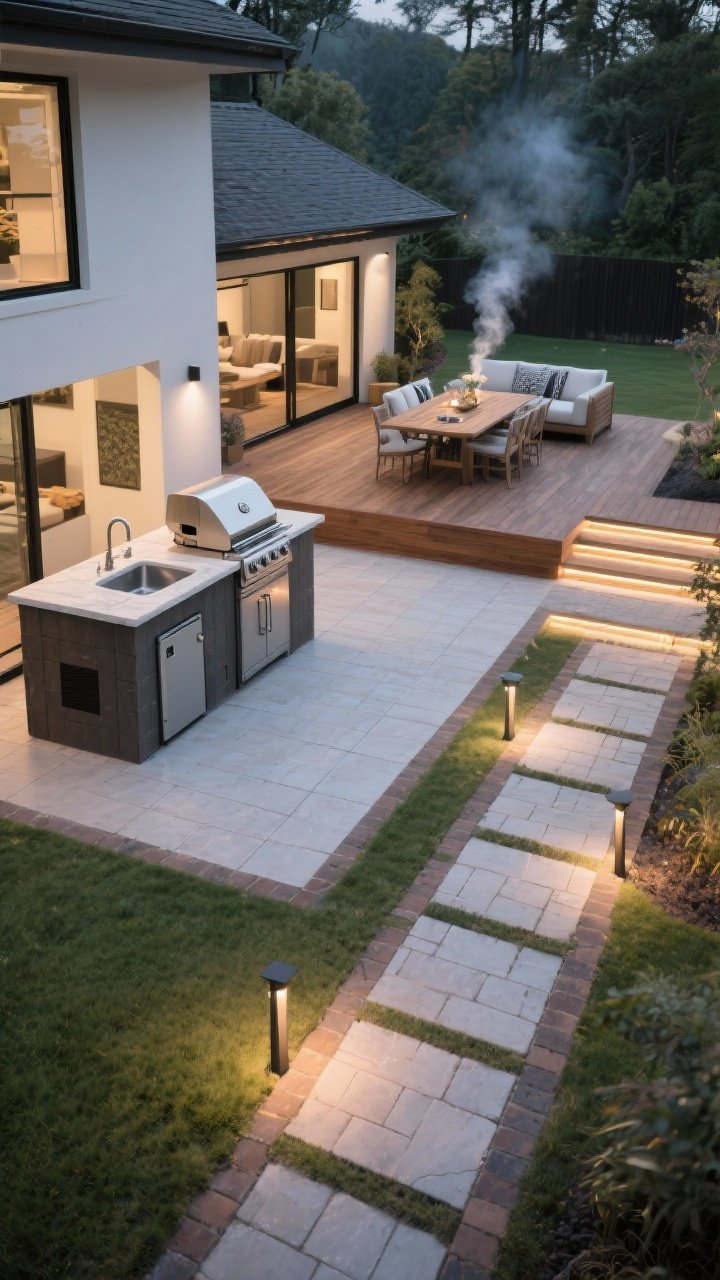
If your yard sprawls a bit, split it into distinct zones. Put the cooking core near the house for utilities, then create a separate dining/lounge zone a few steps away.
Why it works
- Controls smoke and noise by spacing activities out.
- Keeps refrigeration and plumbing close to indoor access (FYI: cheaper).
- Feels like an outdoor “open concept” with clearly defined rooms.
Pro tips
- Connect zones with a paver path or decking boarder—your shoes will thank you.
- Repeat materials (same tile or wood tone) to make it feel cohesive.
- Light the path with low bollards or in-step LEDs for safe midnight snack runs.
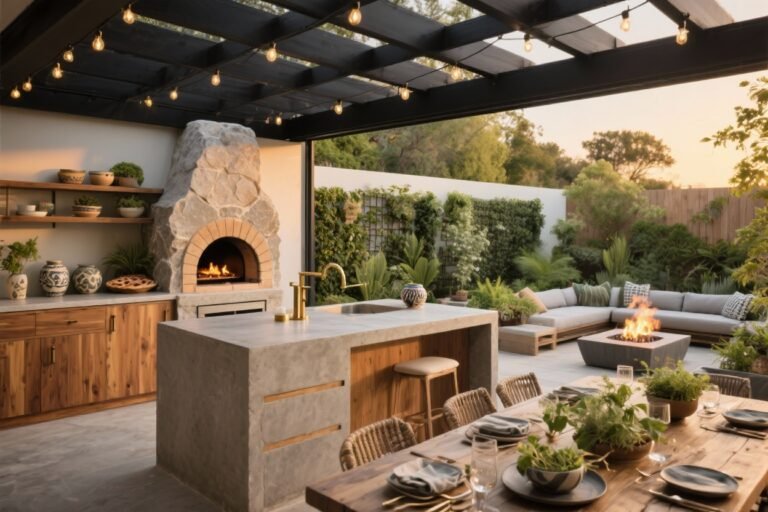
9. The All-Weather Niche: Covered and Cozy

No one likes soggy burgers. If you can, nestle your kitchen under a pergola, pavilion, or deep eave so you can cook when the forecast acts up. Shade plus shelter = more use, more often.
Why it works
- Extends the season and protects your gear.
- Integrates with fans, heaters, and task lighting for all-day comfort.
- Creates a polished, built-in look even in small spaces.
Pro tips
- Install a vent hood if the grill sits under a solid roof—safety first.
- Choose non-combustible surfaces near heat zones (stone, porcelain, steel).
- Layer ambient, task, and accent lighting so your steak isn’t guesswork.
10. The Minimalist Prep-Only Station

Maybe you already own the perfect freestanding grill. Build a prep-and-serve station around it: counters, storage, a slim fridge, and a pull-out trash. Simple, elegant, and wildly useful.
Why it works
- Boosts function without replacing what you love.
- Great for tiny terraces or balconies where gas lines aren’t an option.
- Lets you scale up later—sink and side burner can always be added.
Pro tips
- Keep the prep station within 3–4 feet of the grill for easy shuttling.
- Opt for drawer storage over doors—way better for tongs and towels.
- Choose porcelain or sintered stone tops for stain and heat resistance.
Smart Planning Basics (For Any Layout)
- Clearances: 12–18 inches landing space beside heat; 36 inches for walkways; 42–48 inches in main work aisles.
- Utilities: Keep gas/electric runs short; add a GFCI outlet near the bar and one by the grill.
- Ventilation: Built-ins need vent panels in the base; roofed setups require a hood sized to the grill.
- Durable materials: Powder-coated aluminum, stainless, concrete, porcelain pavers, composite decking. Soft woods look cute, age fast.
- Zoning: Hot zone (grill, side burner), Wet zone (sink, ice), Cold zone (fridge), and Prep zone (counter). Keep at least one 24–36 inch span for prep.
- Shade: Umbrella sleeves, retractable awnings, or pergolas with polycarbonate panels or canopy fabric.
- Storage: Weatherproof drawers, sealed boxes for cushions, magnetic tool bars inside doors.
- Lighting: Task over grill, ambient over dining, and toe-kick or under-cap LEDs for drama.
Style Moves That Make It Look Custom
- Match your house: Repeat siding color, roof tone, or trim for instant cohesion.
- Contrast your counters: Dark bases + light stone look luxe; try textured porcelain that mimics basalt.
- Texture stack: Slatted wood, stacked stone, smooth concrete—layer two or three for depth.
- Hardware matters: Blackened steel pulls or marine-grade stainless keep it feeling intentional.
- Soft stuff: Outdoor rugs, washable cushions, and potted herbs make it feel like a room (because it is).
Budget-Savvy Swaps
- Skip the built-in sink if plumbing is pricey; use a drop-in ice bin and a large beverage tub.
- Choose a cart-mounted grill and flank it with built counters for a custom look without the custom price.
- Opt for porcelain slab over natural stone—same vibe, less maintenance and cost.
- Use concrete block + veneer for bases; it’s modular, sturdy, and easy to tweak later.
Safety Quickies (Because Fire)
- Keep at least 10 feet between grills and combustible fences or overhangs unless rated otherwise.
- Install a non-slip, spark-resistant surface in the cook zone—porcelain > wood near high heat.
- Have a fire extinguisher within reach and clean grease trays regularly. Not fun, very necessary.
Bottom line: there’s a layout here that will work beautifully in your space, whether you’re on a postage-stamp patio or hosting the entire neighborhood. Pick the shape that fits, layer in smart zones, and add your style vibe. Then fire it up and make the backyard the place everyone wants to be—aprons optional, compliments guaranteed.