10 Bbq Area Ideas for the Perfect Outdoor Cooking Setup That Steal the Show
You don’t need a celebrity chef budget to build a backyard BBQ area that makes your neighbors “accidentally” wander over with a six-pack. With a few smart upgrades, your outdoor cooking setup can look killer, work flawlessly, and host everything from weeknight burgers to full-on summer feasts. Let’s build a BBQ zone that’s as stylish as it is smoky.
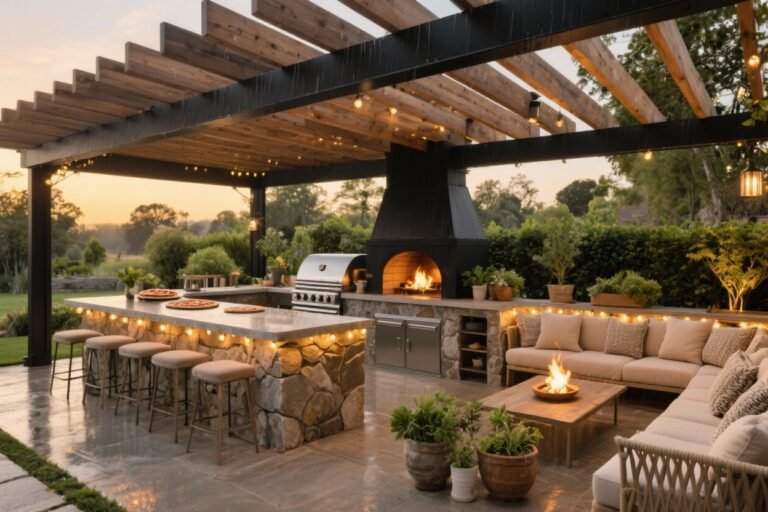
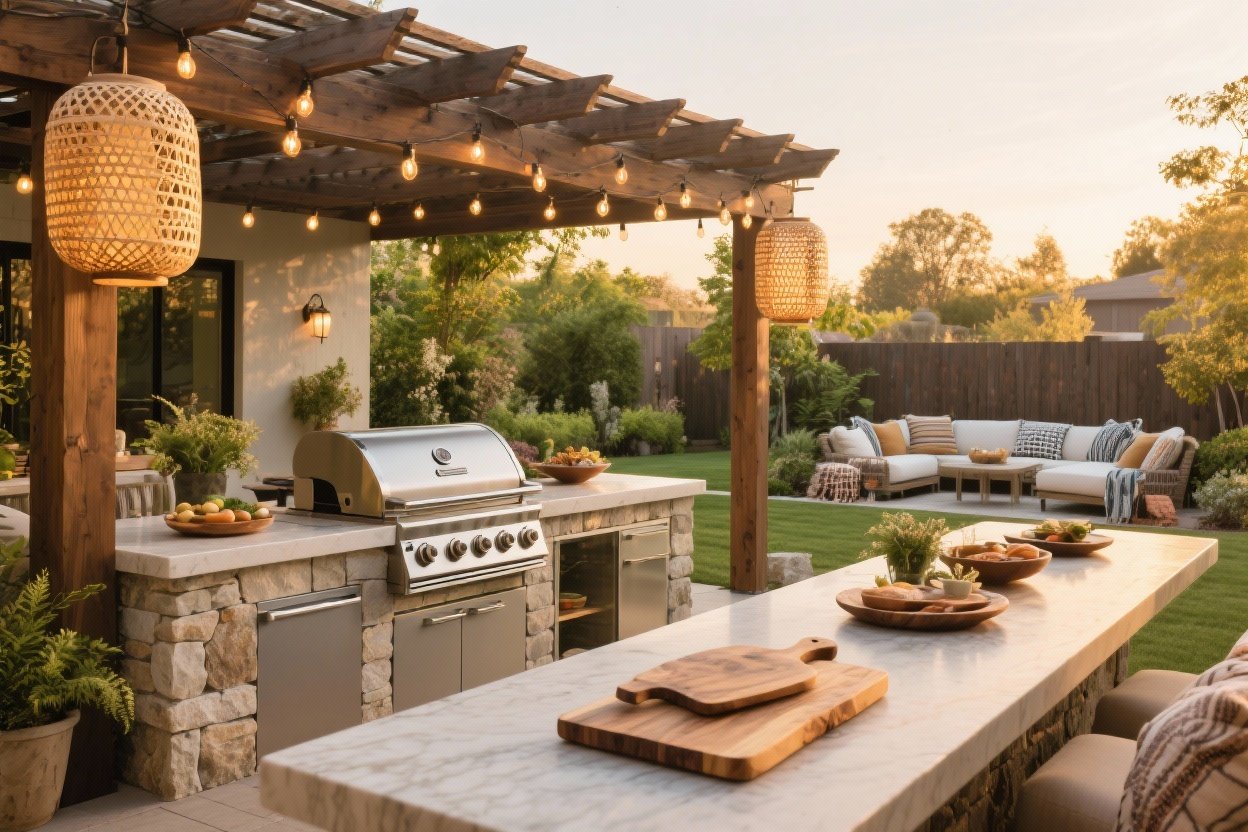
1. The Layout That Works: Zones, Baby
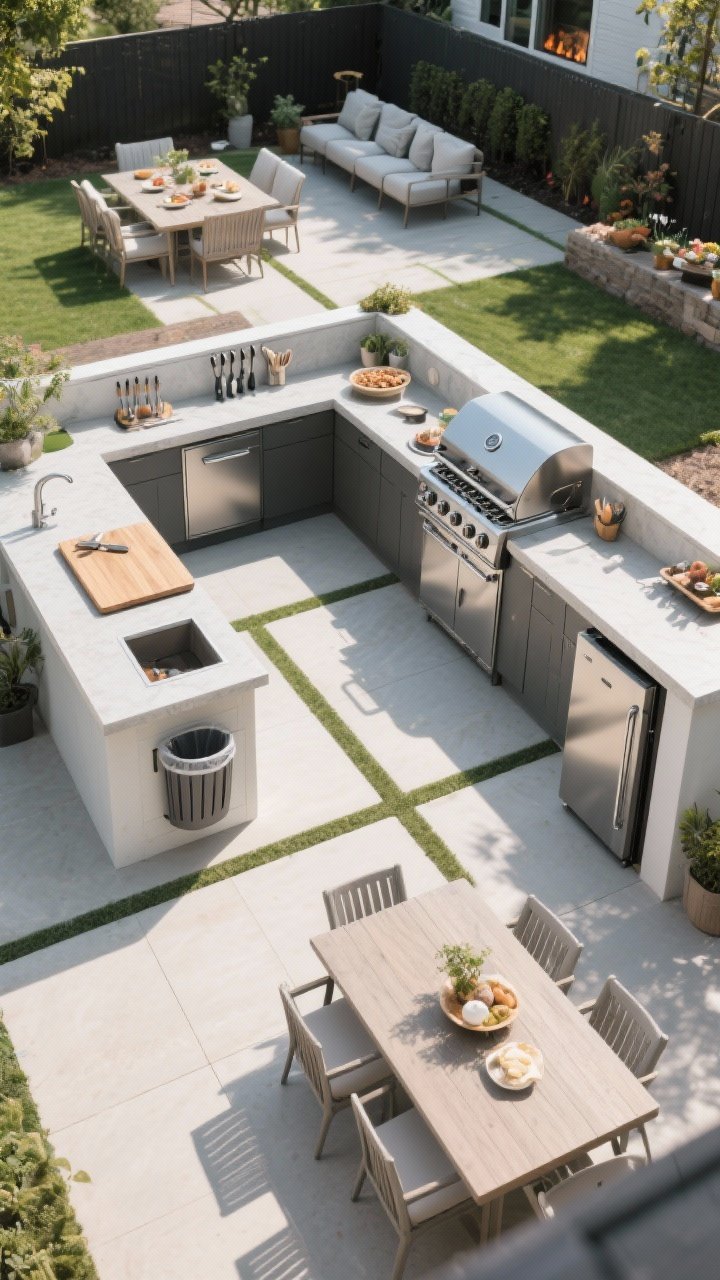
Your future self will thank you for a smart layout. Think of your BBQ area like a tiny kitchen: prep zone, cook zone, serve zone, and chill zone. When each area has a job, you’re not sprinting around with raw chicken in one hand and tongs in the other.
Tired of snacking when you’re not even hungry? This reset helps you stop the loop and feel back in control.
A simple reset for moments when cravings take over. Easy to use, easy to repeat, and designed to help you feel satisfied instead of stuck.
How To Map It
- Prep: Counter space near the grill, with a trash pull-out and utensil hooks.
- Cook: Grill, side burner, and heat-proof landing space (12–18 inches minimum on each side of the grill).
- Serve: A bar ledge or buffet counter so guests don’t crowd the cook.
- Chill: Seating away from the heat but close enough to chat.
Keep a logical flow from fridge to prep to grill to table. It’s the secret sauce of stress-free hosting.
2. Grill Goals: Choose Your Fire Like a Pro

The right grill makes everything else click. Start with how you like to cook: do you want quick weeknight meals or slow-smoked masterpieces? Be honest—no shade if you’re a “set it and forget it” type.
Top Picks
- Gas: Fast, convenient, and great for multi-zone cooking. Add an infrared burner for steakhouse sears.
- Charcoal: Deep flavor and high heat. A kettle or ceramic kamado gives amazing versatility.
- Pellet: Wood-fired taste with push-button control. Perfect for low-and-slow cooks.
- Hybrid: Combo units or dual grills if you’re extra (honestly, worth it if you love tinkering).
Pro tip: Go wider, not deeper. A 4–5 burner gas or a 22–26″ charcoal gives you zones for sear, medium, and resting—game-changer.
3. Counters That Can Take the Heat (And The Wine Spills)

Outdoor counters need to be tough and cute—like a labrador in stone form. Not all materials love sun, grease, and the occasional spilled margarita, FYI.
Transform Your Home With 7,250+ Stunning Landscaping Designs—No Expensive Designers Needed!
- 🌿 Access 7,250+ stunning landscaping designs.
- 💰 Save thousands—no pro designer needed.
- 🏡 Plans for gardens, patios, walkways, and more.
- ✨ Simple, beginner-friendly DIY layouts.
- 🛠️ Customize any design to fit your yard.
Best Materials
- Granite (leathered/honed): Heat-resistant and less glare/smudge than polished.
- Concrete: Customizable and modern. Seal it well to avoid staining.
- Porcelain slabs: Super durable and low-maintenance; stands up to UV like a champ.
Give your grill 12–18 inches of counter on both sides. And add a drop-in cutting board or butcher block insert for prep that’s easy to clean.
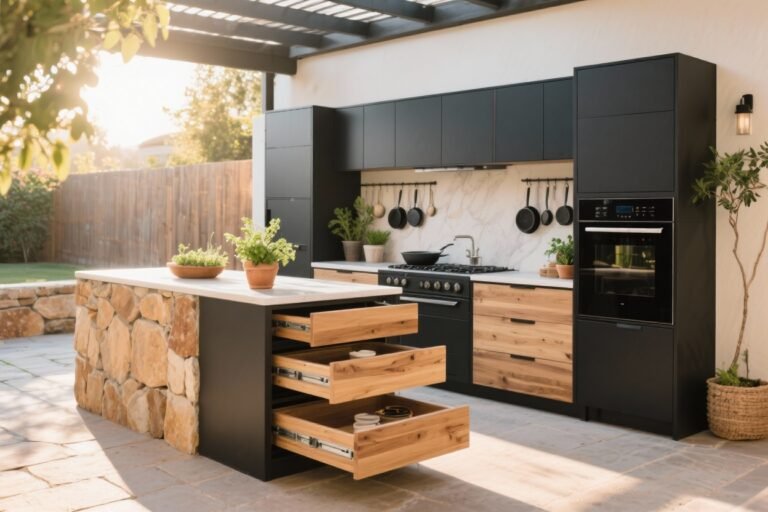
4. Storage That Actually Stores Stuff (No More “Where Are The Skewers?!”)

If your BBQ setup doesn’t have storage, your kitchen will become a shuttle. Build in smart spots and you’ll keep the chaos contained.
Must-Have Add-Ons
- Drawer stack: Tongs, thermometers, and skewers live here now.
- Paper towel holder: Hidden but reachable—trust me.
- Trash & recycling pull-outs: Keeps critters away and surfaces clean.
- Spice and rub caddy: Magnetic strip or shallow drawer near the grill.
- Weatherproof cabinets: Marine-grade polymer or powder-coated aluminum > wood.
Go for soft-close drawers and gasketed doors if you can. Little luxuries, huge comfort.
5. Shade + Shelter: Cook Without Melting
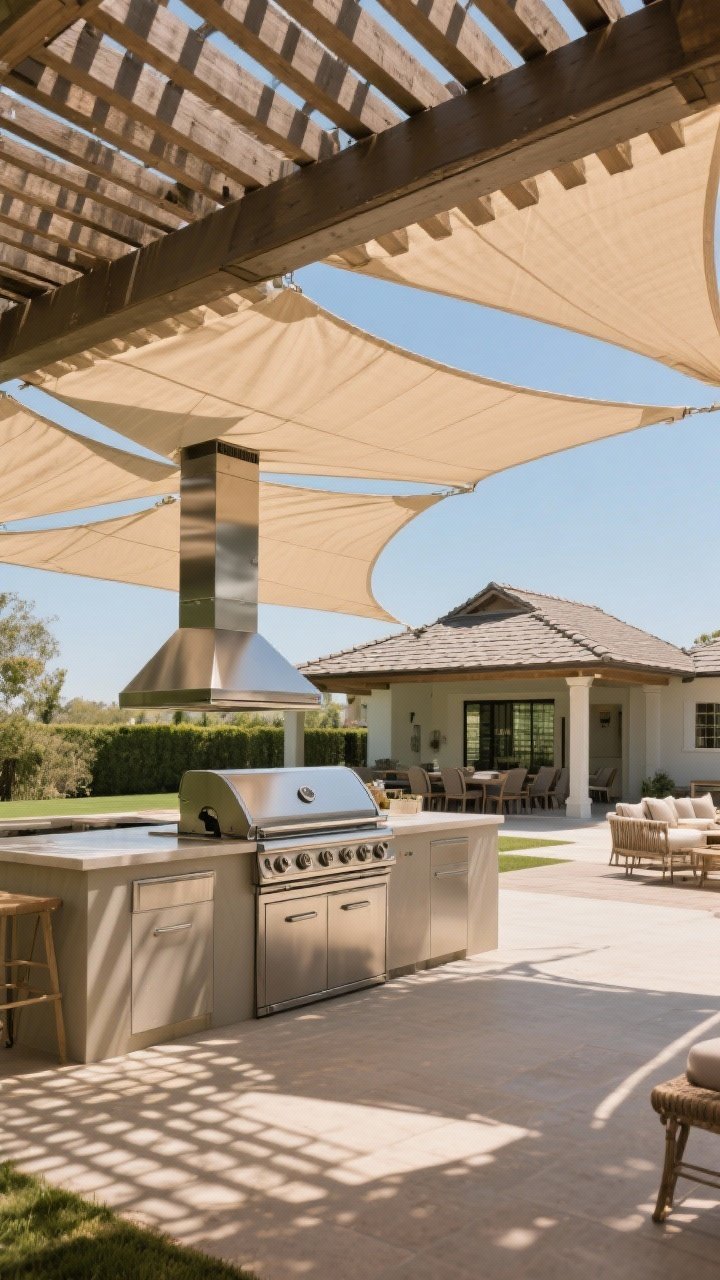
If you’re grilling under the noon sun, you’ll tap out before the burgers are medium-rare. Add shade that feels intentional and looks great.
Best Shade Moves
- Pergola with a canopy: Light, airy, and stylish. Retractable if you’re fancy.
- Sail shades: Budget-friendly, modern lines, and easy to layer.
- Roofed pavilion: For all-weather BBQ life. Just add proper ventilation (very important).
Use UV-rated fabrics and keep open airflow around the grill. If you’re under a roof, install a vent hood rated for outdoor use—grease + smoke indoors is not the vibe.

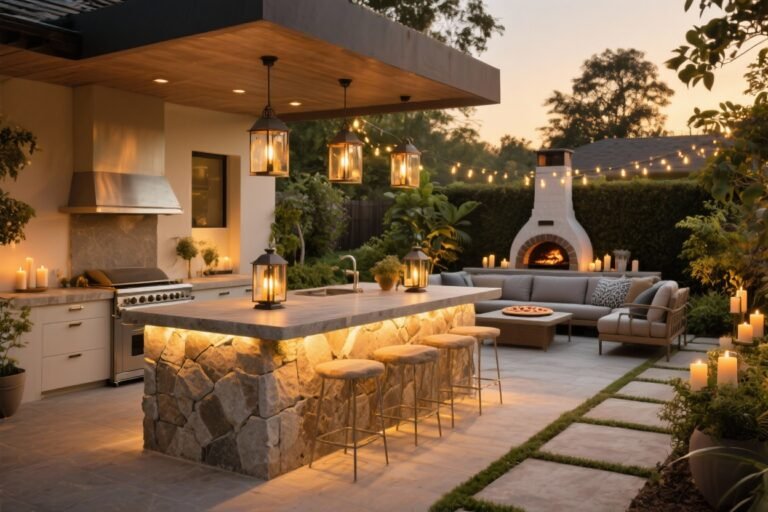
6. Lighting That Makes Food (And You) Look Good
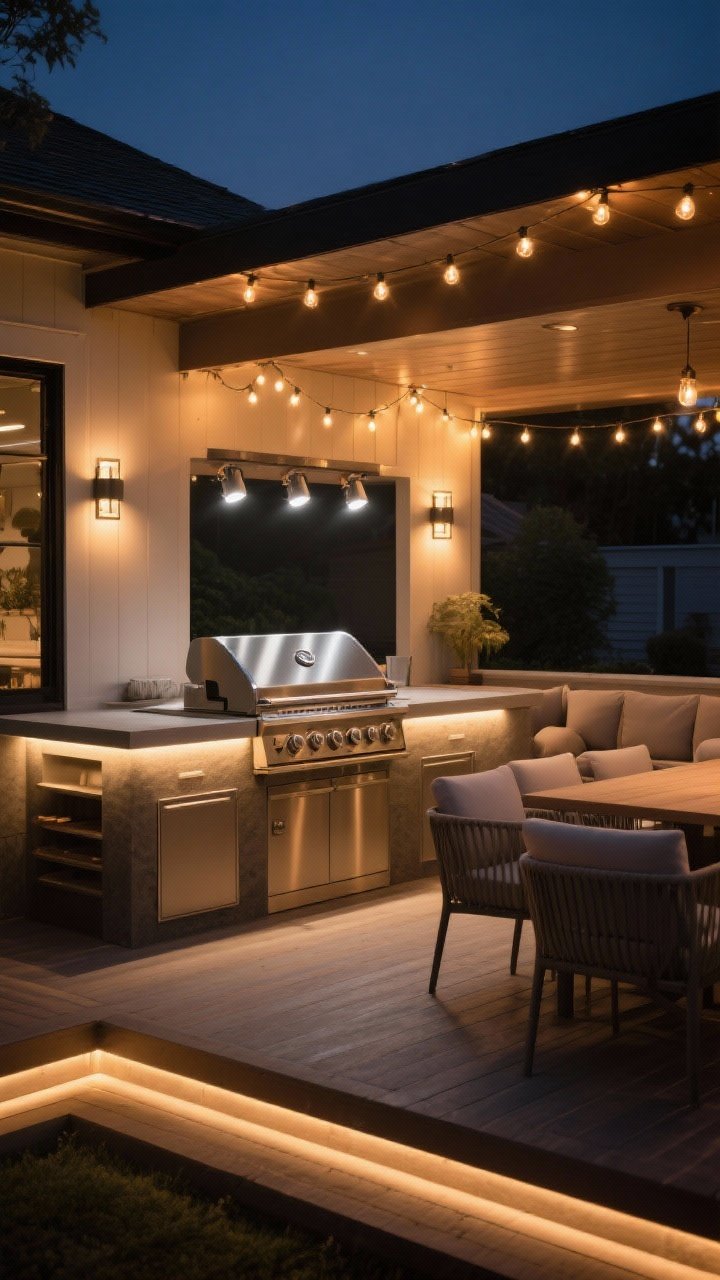
Bad lighting turns BBQ into chaos. You need bright task lights for cooking and warm ambient glow for vibes. Both. Always both.
Layer The Lights
- Task: Adjustable LED spots or under-shelf lights aimed at the grill grates.
- Ambient: String lights, lanterns, or sconces around the seating area.
- Accent: Deck step lights, under-counter LEDs, or lanterns for depth.
Keep color temperature consistent. Aim for 2700–3000K for ambient lights and 3000–3500K for task lights. No interrogation-room vibes, please.
7. Surfaces Underfoot: Safe, Stylish, Spill-Proof

Grease happens. Drinks spill. You want a floor that handles it and won’t send guests sliding like a cartoon banana peel.
Top Flooring Picks
- Textured porcelain pavers: Low-slip, low-maintenance, and lots of looks.
- Concrete with broom finish: Modern, grippy, and customizable with stain.
- Composite decking (capped): Cooler tones + easy care; add a grill mat under the cook zone.
Keep the area level with good drainage. A subtle slope (about 1/8 inch per foot) away from the house keeps messes out of your living room.
8. The Beverage & Bite Station: Keep Guests Out Of Your Way

Give your people their own place to hover. A compact bar or buffet counter stops congestion around the grill and makes your party flow.
Build The Station
- Counter-height ledge: Just behind or beside the cook zone for plating and serving.
- Undercounter fridge or cooler drawer: Drinks, marinades, and extra buns on standby.
- Ice bin or rolling bar cart: Easy to refill and mobile for big crowds.
- Open shelves: Stack melamine plates, baskets, and napkins for grab-and-go.
Bonus points for a built-in bottle opener and a charging outlet for speakers or blenders. Frozen margs, anyone?
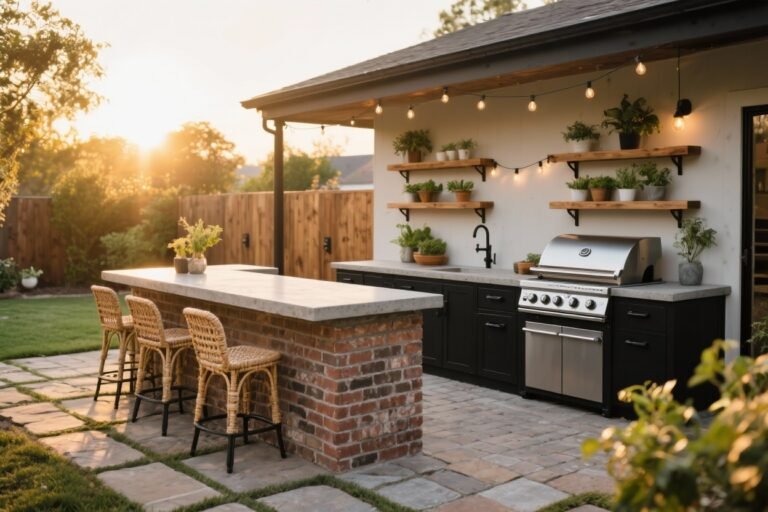
9. Style It Like A Pro: Materials, Color, And Cozy Layers

Here’s where the magic happens. Mix textures and materials to make your BBQ area look curated—not like a store display.
Design Recipes That Work
- Modern Rustic: Black metal, warm cedar, concrete counters, and matte black fixtures.
- Coastal Chill: White or pale gray cabinets, teak accents, and blue-striped textiles.
- Mediterranean: Plaster or stucco base, terracotta planters, and patterned tile backsplash.
Add outdoor-rated textiles in two or three colors max. Layer planters, lanterns, and a few herbs (rosemary, thyme, basil) for scent and snipping. Keep it cohesive: repeat metals and wood tones so it feels intentional.
Little Details, Big Impact
- Backsplash: Tile behind the grill or sink = easy cleanup and a focal point.
- Hooks + rails: Hang tongs, towels, and grill brushes right where you need them.
- Thermometer and timer: Magnetic versions stick to the side of the grill. Efficiency unlocked.
10. Safety, Utilities, And Smart Upgrades (AKA Don’t Burn Down Your Pergola)

Not to be dramatic, but safety makes or breaks an outdoor kitchen. Do it right once and you’ll cook with confidence for years. Also, smart add-ons? Chef’s kiss.
Safety Basics
- Clearances: Keep 24 inches from combustibles on sides and 36 inches above the grill—or follow manufacturer specs if greater.
- Ventilation: If you enclose the grill, add vent panels in the island and a proper outdoor-rated vent hood overhead.
- Fire gear: Keep a Class B fire extinguisher and baking soda nearby. No water on grease fires, ever.
- Heat shielding: Use noncombustible surrounds and heat shields near wood or composite surfaces.
Utilities That Make Life Easier
- Gas line: Hard-piped natural gas = no tank runs. If using propane, store tanks in ventilated compartments.
- GFCI outlets: For blenders, rotisserie motors, and lighting. Weather covers always.
- Water + sink: Rinse hands and veggies without trooping indoors. Add a small instant hot if you’re extra.
Smart Extras
- Wi-Fi thermometers: Track temps from your phone so you can actually mingle.
- Rotisserie kit: Crispy, juicy perfection with almost zero effort.
- Pizza oven attachment or standalone: Because pizza night in the backyard is elite.
- Warming drawer: Keeps sides hot while you finish the mains—underrated hero, IMO.
Finish with a weather cover and a quick-clean routine. Future you will be very smug about this.
Quick Planning Checklist
- Map your zones and flow.
- Pick your grill and fuel type.
- Choose durable counters and flooring.
- Add storage that fits how you cook.
- Layer shade, lighting, and style.
- Plan utilities and safety from the start.
You’re now fully armed to build a BBQ area that looks amazing and works even better. Keep it simple, choose quality where it counts, and add personality with textures and lighting. Fire it up—your best backyard hangs are about to start.