10 Budget-friendly Gardening Ideas That Look Expensive (without Trying)
You don’t need a landscaper—or a lottery win—to make your garden look luxe. With a few clever swaps and some smart styling, you can turn a humble plot into a polished outdoor retreat. Ready to fake a designer garden on a thrift-store budget? Let’s go play in the dirt.
1. Frame Your Space With Bold Edging
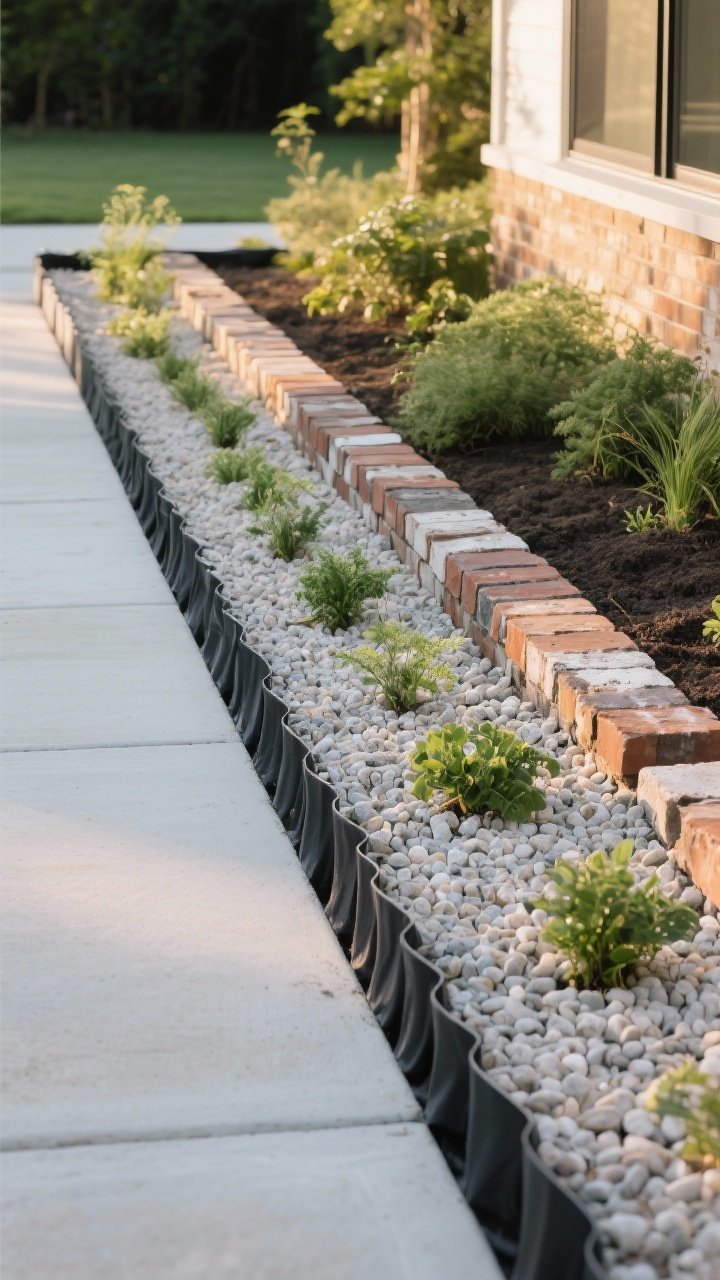
Clean edges are to gardens what a good haircut is to your face. They instantly make everything look intentional and upscale. The best part? You can DIY edging without pricey stonework.
Tired of snacking when you’re not even hungry? This reset helps you stop the loop and feel back in control.
A simple reset for moments when cravings take over. Easy to use, easy to repeat, and designed to help you feel satisfied instead of stuck.
Budget-Friendly Edging Ideas
- Gravel trench: Dig a shallow 4–6″ trench, line with landscape fabric, and fill with pea gravel. It creates a crisp border that looks boutique-hotel chic.
- Hidden steel look (without steel): Use black plastic bender board and keep it flush with the soil. That slim, shadowy line reads modern.
- Brick on edge: Salvaged bricks set vertically look classic. Mix-and-match tones for character.
Pro tip: Keep edges weed-free and straight. A clean line around a bed makes even basic plants look curated and expensive.
2. Repeat Plants For Designer Cohesion
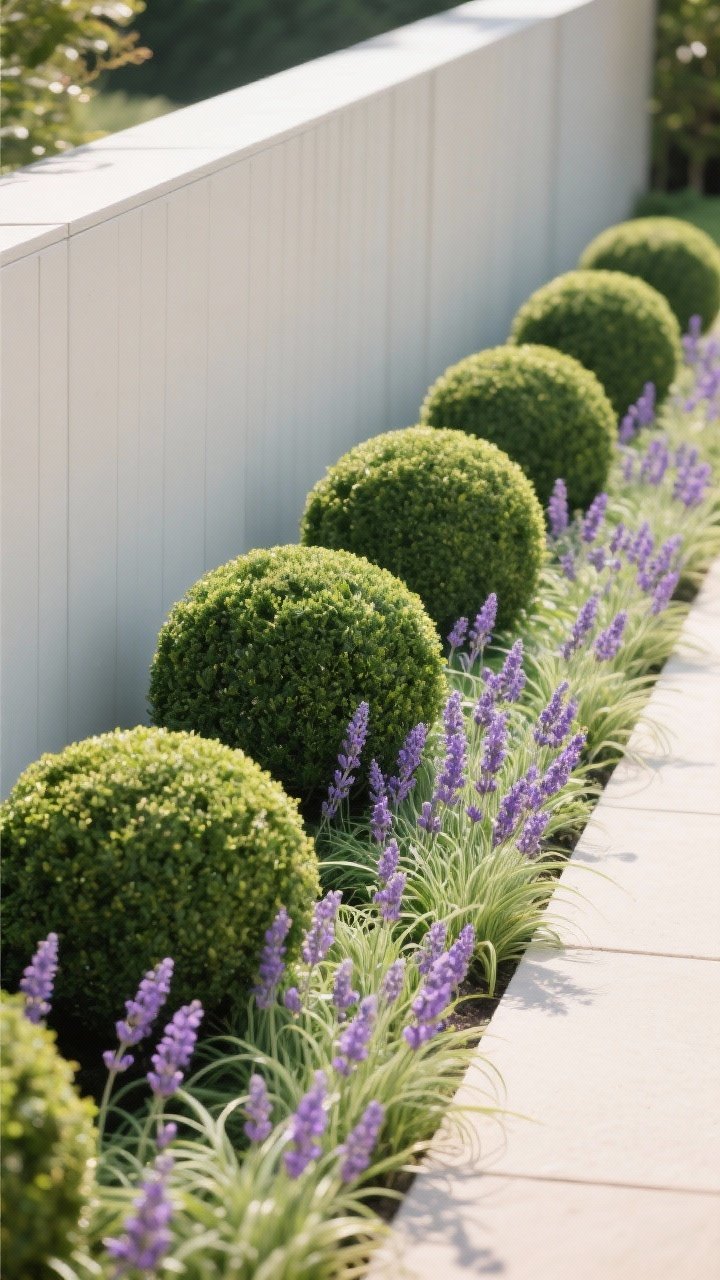
Random plant chaos screams “yard sale.” Repetition, on the other hand, is pure designer magic. When you repeat the same plant in groups of three or five, the whole garden feels elevated.
Plants That Multiply Well
- Boxwood or dwarf evergreen: Formal structure on a budget—trimmed spheres look luxe year-round.
- Liriope or mondo grass: Affordable, low-maintenance, and endlessly repeatable.
- Lavender or salvia: Color, fragrance, and pollinator bonus points.
FYI: Pick 3–5 hero plants and repeat them throughout. It keeps things simple, modern, and shockingly put-together.
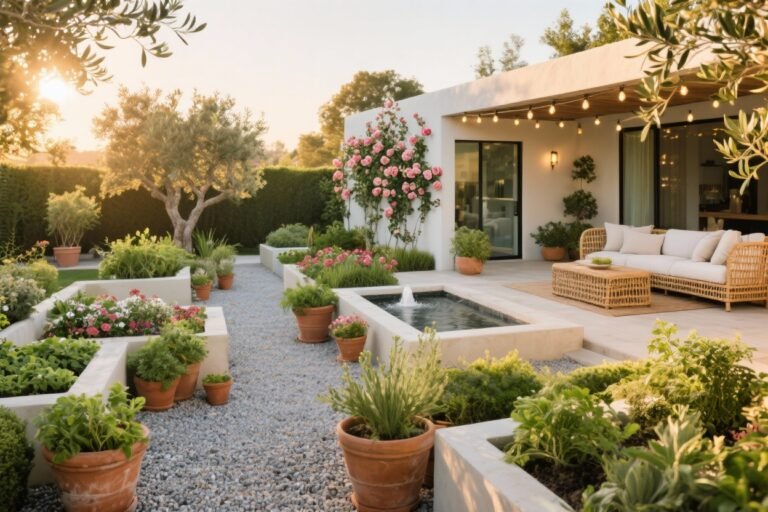
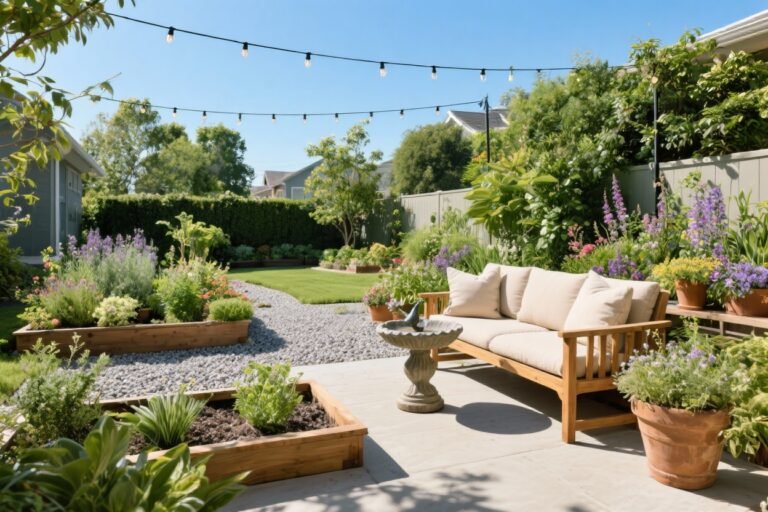
3. Lay Down a Gravel Patio That Looks Custom
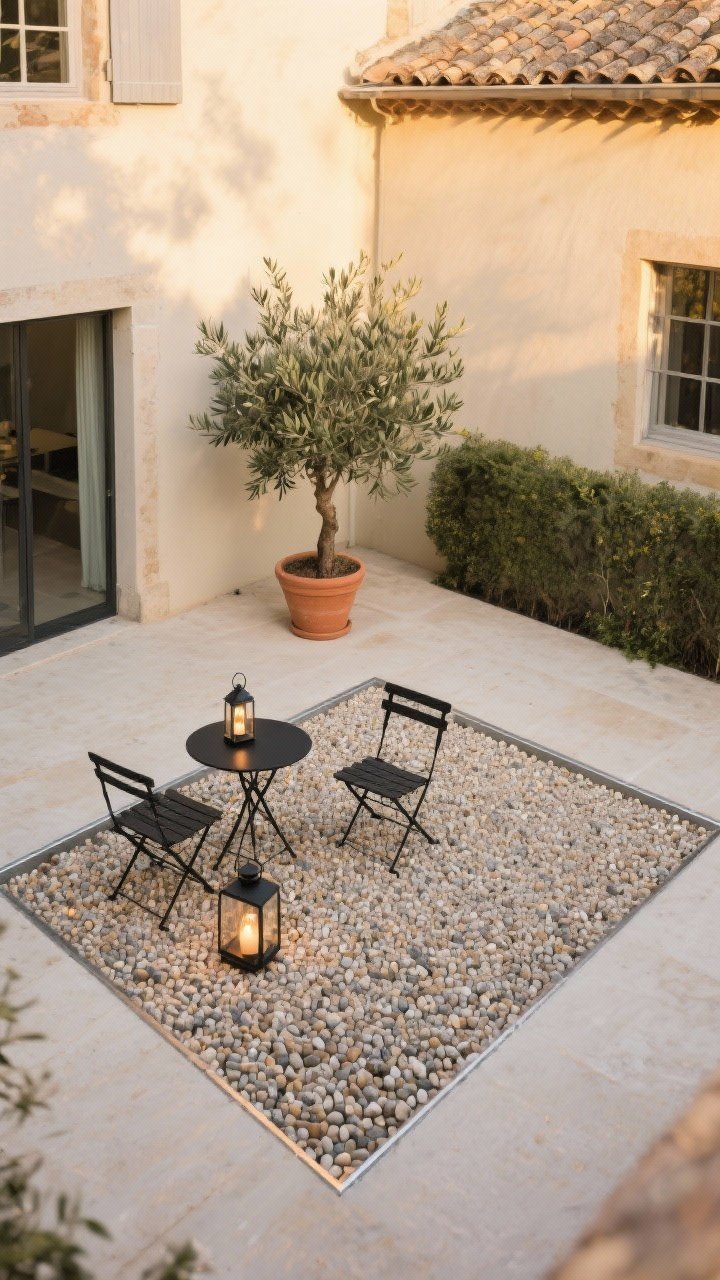
Stone pavers are pricey. Gravel? Not so much. A pea gravel patio feels French courtyard chic and works with classic or modern styles.
Transform Your Home With 7,250+ Stunning Landscaping Designs—No Expensive Designers Needed!
- 🌿 Access 7,250+ stunning landscaping designs.
- 💰 Save thousands—no pro designer needed.
- 🏡 Plans for gardens, patios, walkways, and more.
- ✨ Simple, beginner-friendly DIY layouts.
- 🛠️ Customize any design to fit your yard.
How to Pull It Off
- Outline the area with stakes and string, then remove grass to 3–4″.
- Compact a base of crushed rock, lay landscape fabric, and top with 2–3″ of pea gravel.
- Add edging (metal, brick, or bender board) so the gravel stays put.
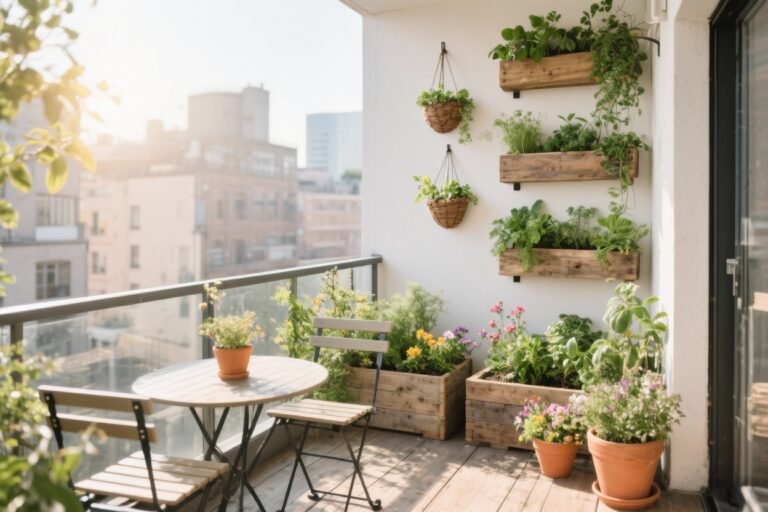
Finish with a small bistro set, lanterns, and a potted olive or bay tree. Boom—instant alfresco vibes that look way pricier than they are.
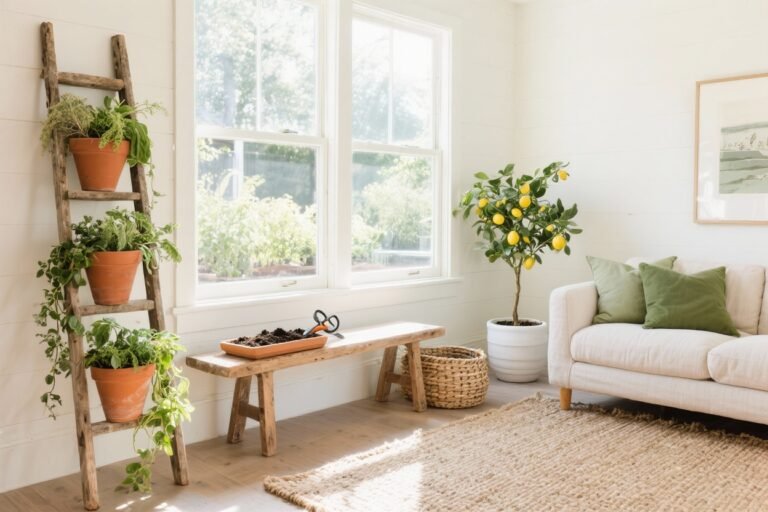
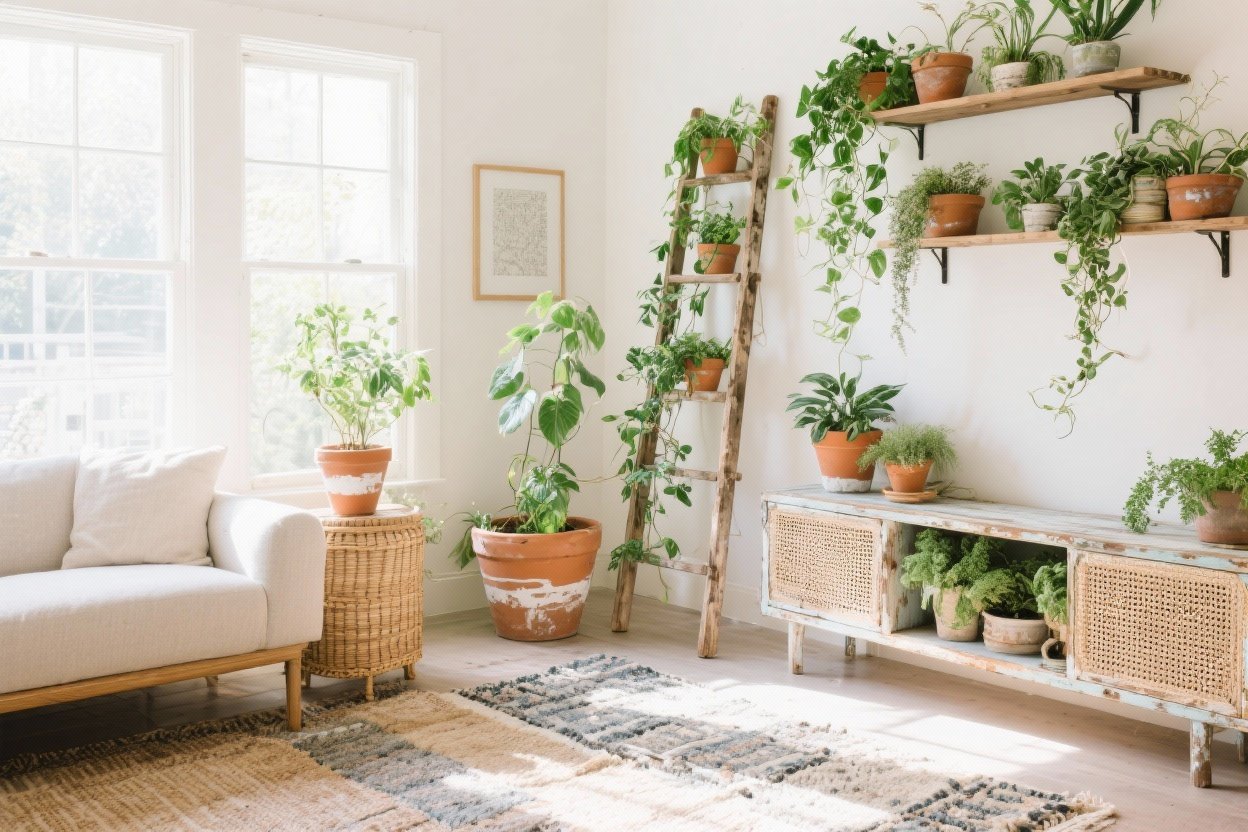
4. Upcycle Containers Like a Garden Stylist
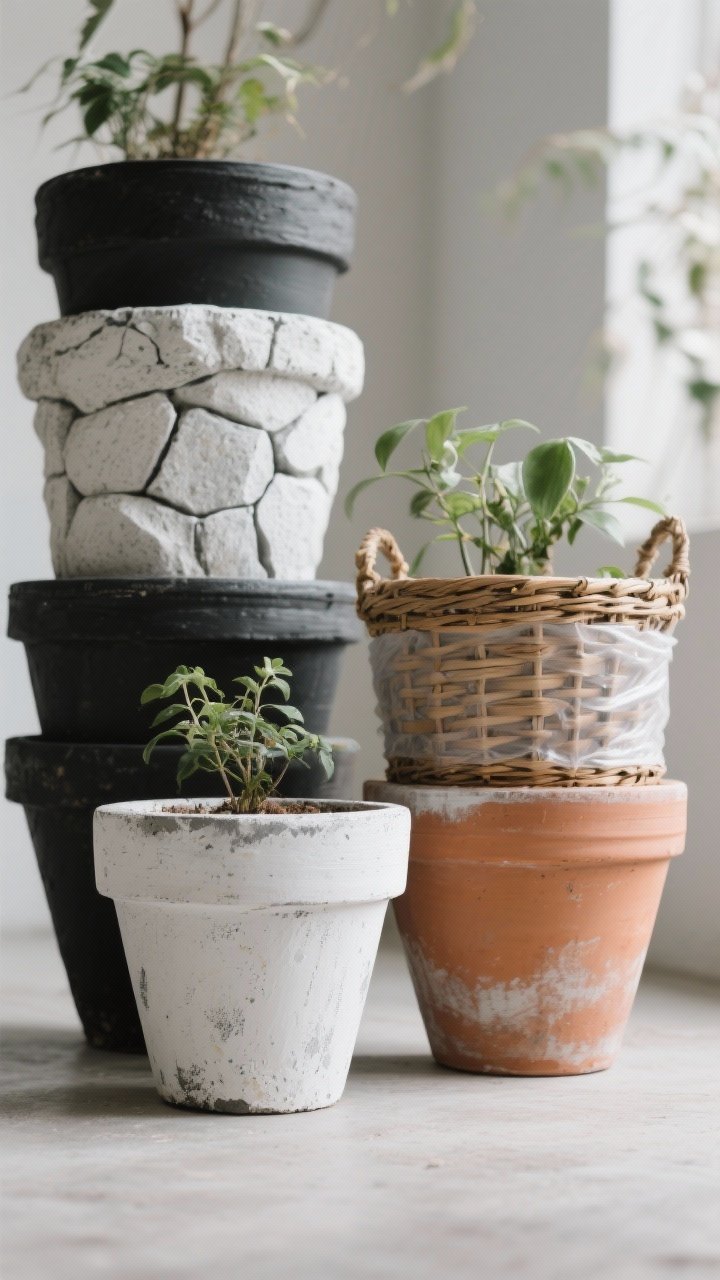
Designer planters can cost more than your dining chairs. Skip the splurge and glow-up what you’ve got. Paint, texture, and grouping are your best friends here.
Cheap Planter Glow-Ups
- Stone-look paint: Spray paint plus stone-texture topcoat = faux cement magic.
- Limewash terracotta: Mix limewash or diluted paint for an aged, European patina.
- Basket sleeves: Slip nursery pots into woven baskets (just line with plastic). So chic, so easy.
Cluster pots in odd numbers (3 or 5) and mix heights for that “styled by a pro” energy. Keep to a tight color palette—think black, white, and terracotta—for a high-end finish.
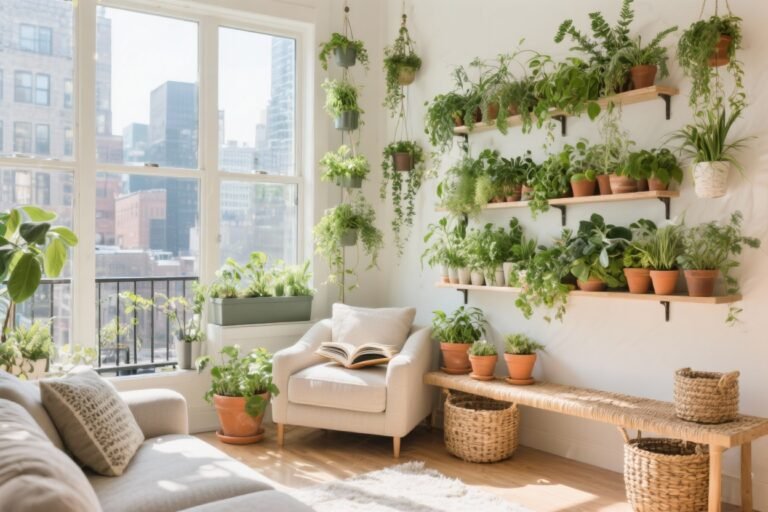
5. Create Height With Budget Trellises
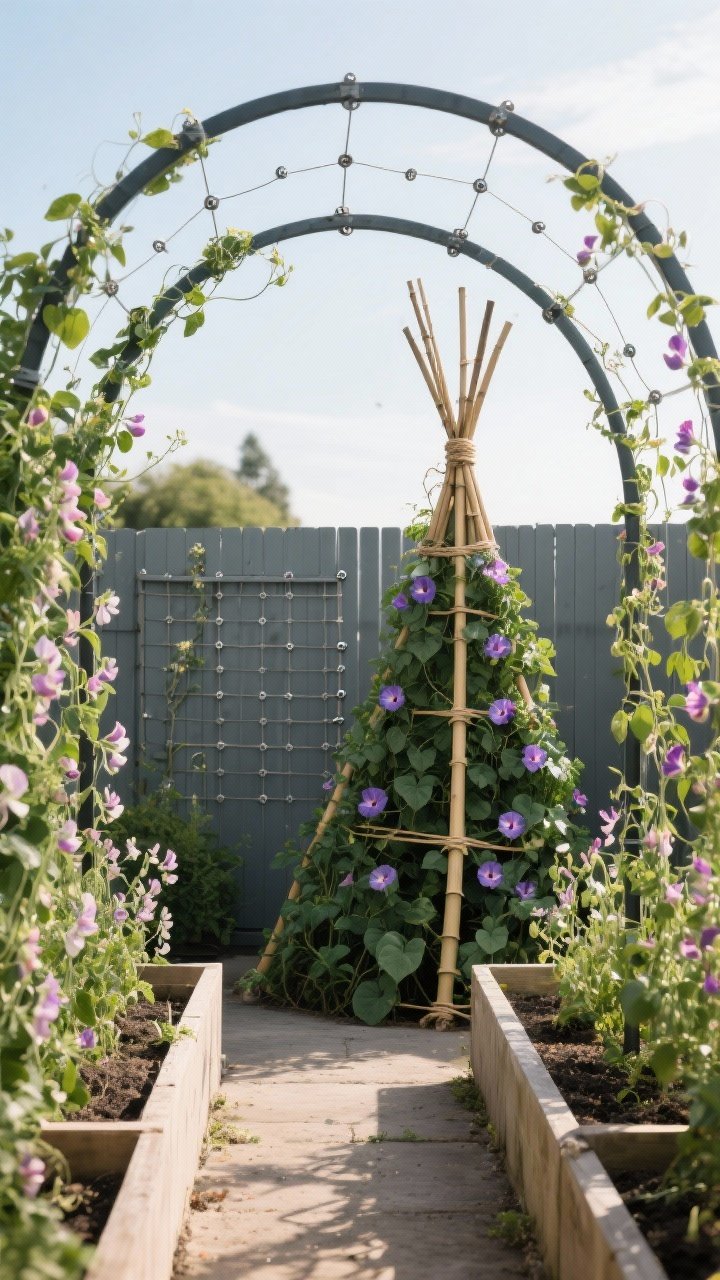
Vertical elements instantly add drama and make small gardens feel bigger. You don’t need an iron pavilion—just a smart trellis and a climber that hustles.
DIY Trellis Ideas
- Cattle panel arch: Bend a cattle panel between two beds. Plant sweet peas or beans and watch the tunnel happen.
- String grid: Eye screws and garden twine on a fence = modern trellis for under $10.
- Bamboo teepees: Cheap, rustic, and perfect for tomatoes or morning glory.
Plant fast-growing climbers like jasmine, clematis, or black-eyed Susan vine. The vertical greenery feels bespoke and distracts from any scruffy corners (we all have them).

6. Mulch Like You Mean It
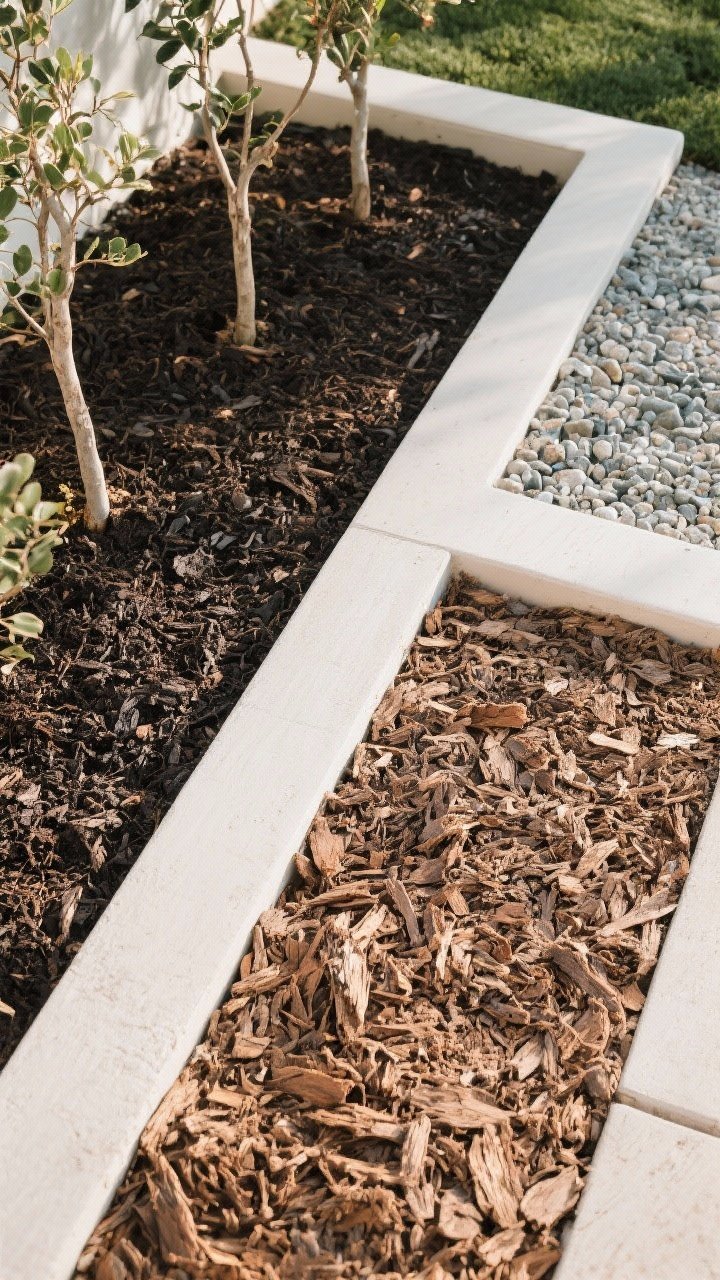
Mulch is the unsung hero of luxurious-looking gardens. It hides sins, locks in moisture, and makes colors pop. Plus, it’s the fastest makeover you can do in an afternoon.
Choosing the Right Mulch
- Fine bark or shredded hardwood: Smooth, uniform, and designer-approved.
- Dark compost: Rich, healthy soil look with bonus nutrients for your plants.
- Gravel mulch: Modern and tidy for arid or Mediterranean-style beds.
Keep mulch 2–3″ deep and off the plant stems. Refresh once or twice a year. Your beds will look like a garden magazine cover, I promise.
7. Use Lighting to Fake a Landscape Budget
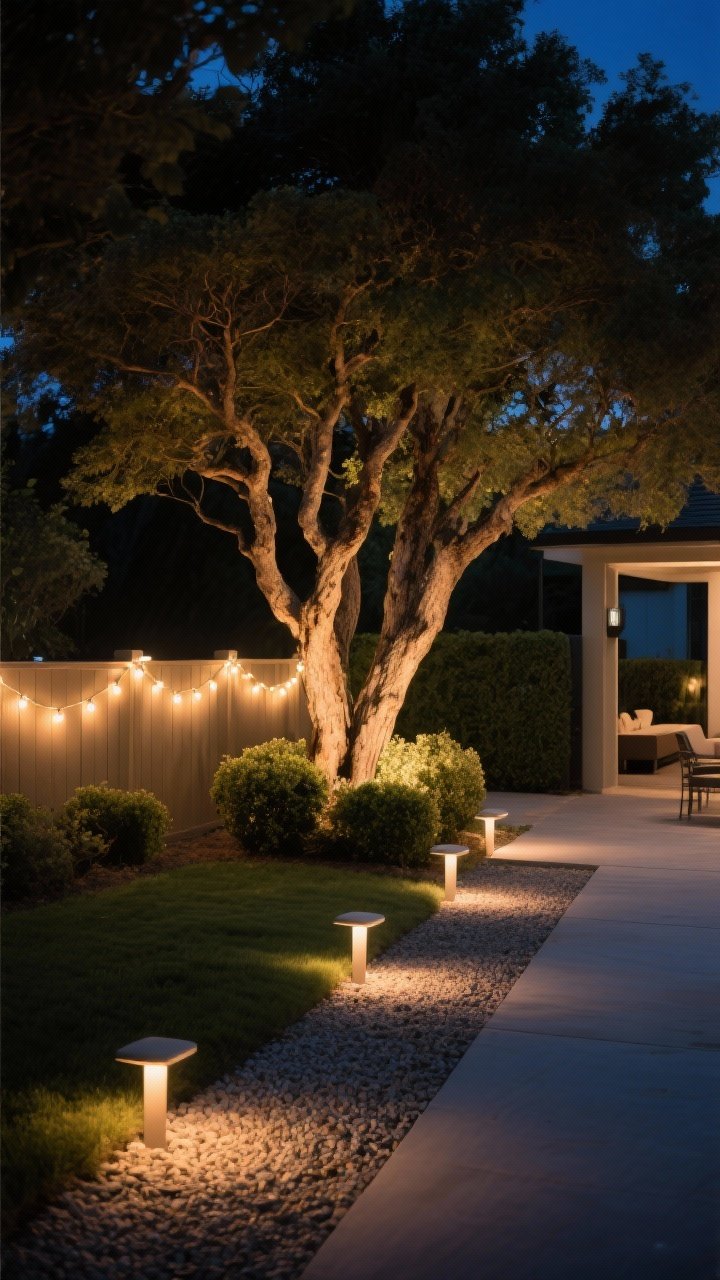
Nighttime is where the magic happens. Good lighting makes a basic garden look cinematic, and solar options mean no wiring drama.
Lighting That Looks Luxe
- Uplights on trees or shrubs: Highlight form and texture for that resort feel.
- Path lights with warm LEDs: Keep them subtle; evenly spaced lights read polished.
- String lights or festoons: Soft glow over a patio or fence = instant ambiance.
Stick to warm white (2700K–3000K) for a relaxed, elegant vibe. Avoid the bright blue-white stuff unless you want “parking lot chic.”
8. Style a Statement Focal Point

Every great garden has a “ta-da”—a moment that draws the eye and makes everything else make sense. It doesn’t have to be huge; it just needs presence.
Affordable Focal Point Ideas
- Painted bench or arbor: Black or deep green looks expensive and frames your view.
- Birdbath or thrifted urn: Pop it on a gravel circle with low plants around it. So fancy.
- Mirror on a fence: Use an outdoor-safe mirror to fake depth in tiny spaces.
Place your focal point where your eyes naturally land—end of a path, center of a bed, or aligned with a window. Instant “designed” energy.
9. Build Cheap, Chic Pathways
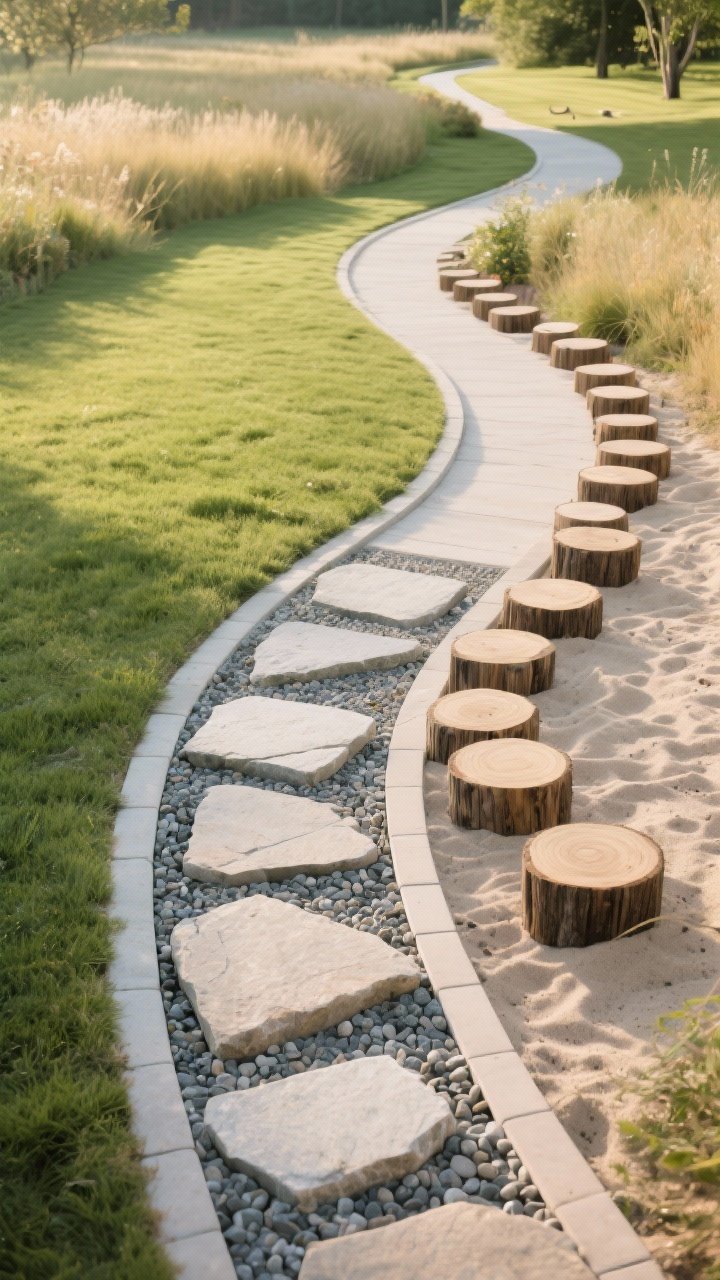
Paths guide the eye and the feet, and they’re ridiculously good at making a garden feel intentional. No need for custom stonework to get the look.
Budget Path Concepts
- Stepping stones in gravel: Lay stepping stones or pavers with 2–3″ gaps and fill with pea gravel. Easy and elegant.
- Mown lawn paths: Mow a curving path through a meadow-y area for romantic vibes with zero materials.
- Wood rounds: Set log slices in sand for a whimsical woodland path—seal them to last longer.
Keep paths 30–36″ wide for comfort. Curves look expensive; tight zigzags, not so much. And yes, edging helps here too.
10. Style With Layers: Groundcovers, Mid-Height, and Anchors
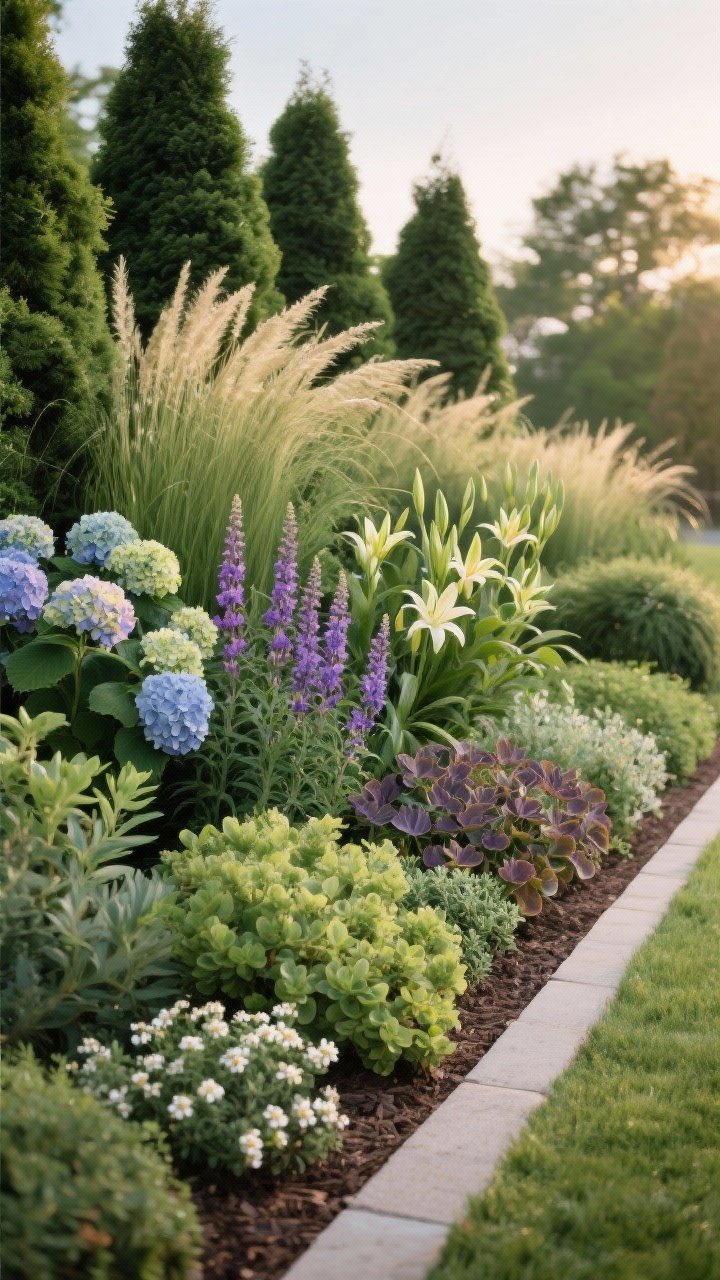
Layering is the secret sauce. When you combine groundcovers, mid-height fillers, and tall anchors, you get depth and polish even with budget plants.
Easy Layering Formula
- Anchors (back): Small trees, tall grasses, or evergreen shrubs—think bay laurel, arborvitae, miscanthus.
- Mid-layer (middle): Hydrangea, salvia, daylilies, heuchera—color and texture central.
- Groundcovers (front): Creeping thyme, sedum, ajuga, or sweet alyssum to soften edges.
Repeat shapes and colors across the bed for a designer rhythm. Keep your palette tight: two main colors, one accent, and lots of lush green. IMO, this is the fastest way to get that “wow, who did your landscaping?” question.
Bonus Quick Wins (Because You’re Extra)
- Match your hardware: Use the same black spray paint for hose holders, trellis brackets, and lanterns. Cohesion looks pricey.
- Hide the ugly: Camouflage AC units or bins with lattice screens and vines.
- Label plants: Slate markers or stamped spoons add charm and look boutique.
Ready to make your garden look like it belongs on a design blog? Start with one or two of these ideas this weekend and build from there. Small, smart changes add up fast—your neighbors are about to get very curious. Happy planting!