10 Budget-friendly Gardening Ideas That Look Incredible—no Green Thumb Required
You don’t need a landscaper, a lottery win, or twelve free weekends to get a garden that turns heads. With a few clever tricks (and a little elbow grease), you can create outdoor spaces that look designer-level without spending designer cash. Ready to make your neighbors low-key jealous? Let’s dig in—pun fully intended.
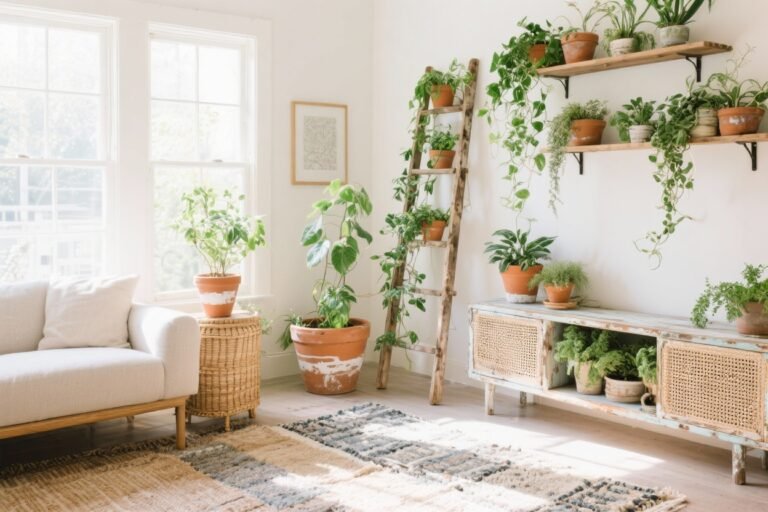
1. Create a “Thriller, Filler, Spiller” Container Moment
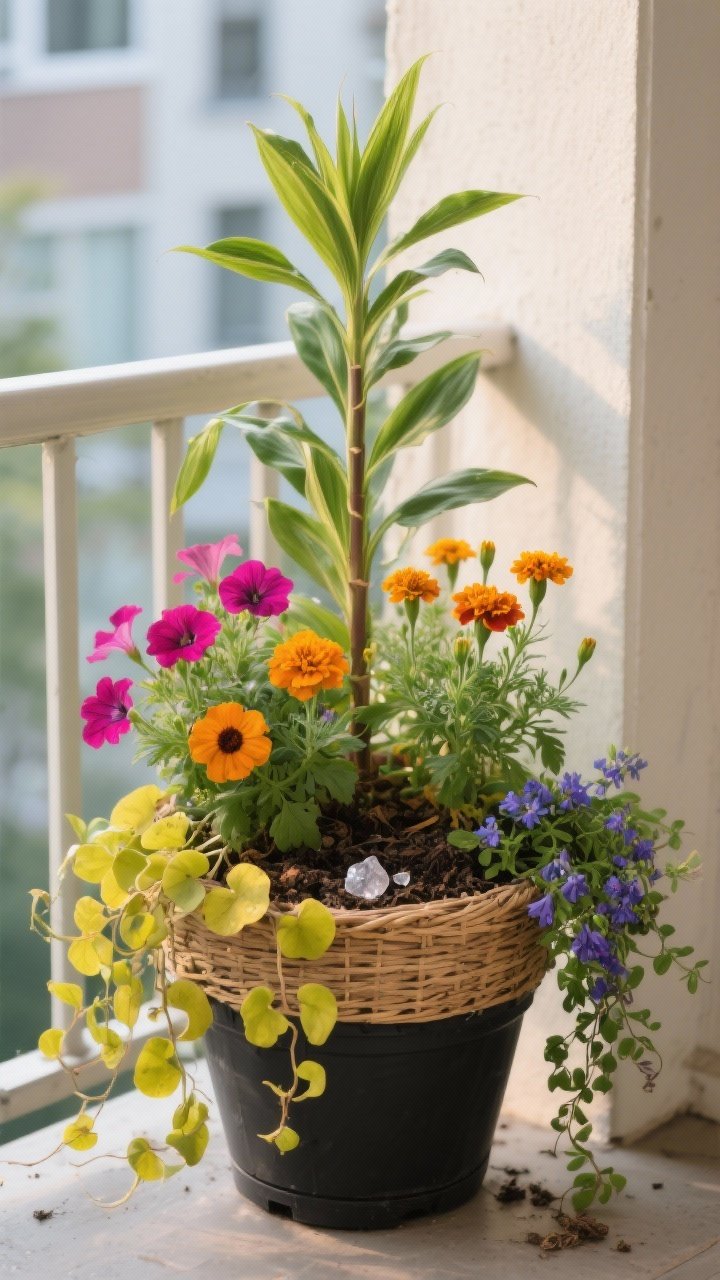
Container gardens are the fastest way to add instant curb appeal—patio, porch, balcony, you name it. The secret recipe pros use? Thriller, Filler, Spiller. One tall showstopper, a mid-height plant to fill the space, and trailing vines to cascade over the edge. It looks lush and layered, even if it’s just one pot.
Tired of snacking when you’re not even hungry? This reset helps you stop the loop and feel back in control.
A simple reset for moments when cravings take over. Easy to use, easy to repeat, and designed to help you feel satisfied instead of stuck.
How to Pull It Off on a Budget
- Thriller: Spike grass, dwarf canna, or a small cordyline.
- Filler: Budget-friendly petunias, marigolds, or coleus.
- Spiller: Sweet potato vine, trailing lobelia, or ivy.
- Pro tip: Use a cheap plastic nursery pot inside a prettier thrifted basket or ceramic cover. No one will know.
- Water hack: Add a layer of water-retaining crystals or mix in compost to keep pots hydrated longer.
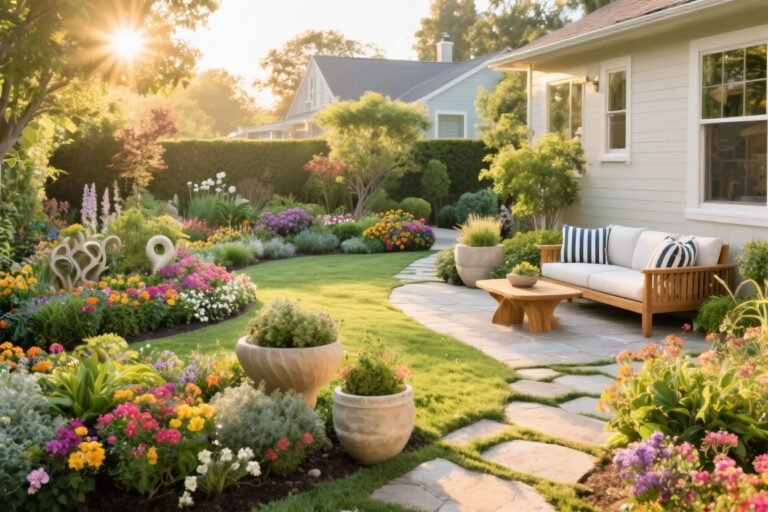
2. Edge Your Beds Like a Million Bucks
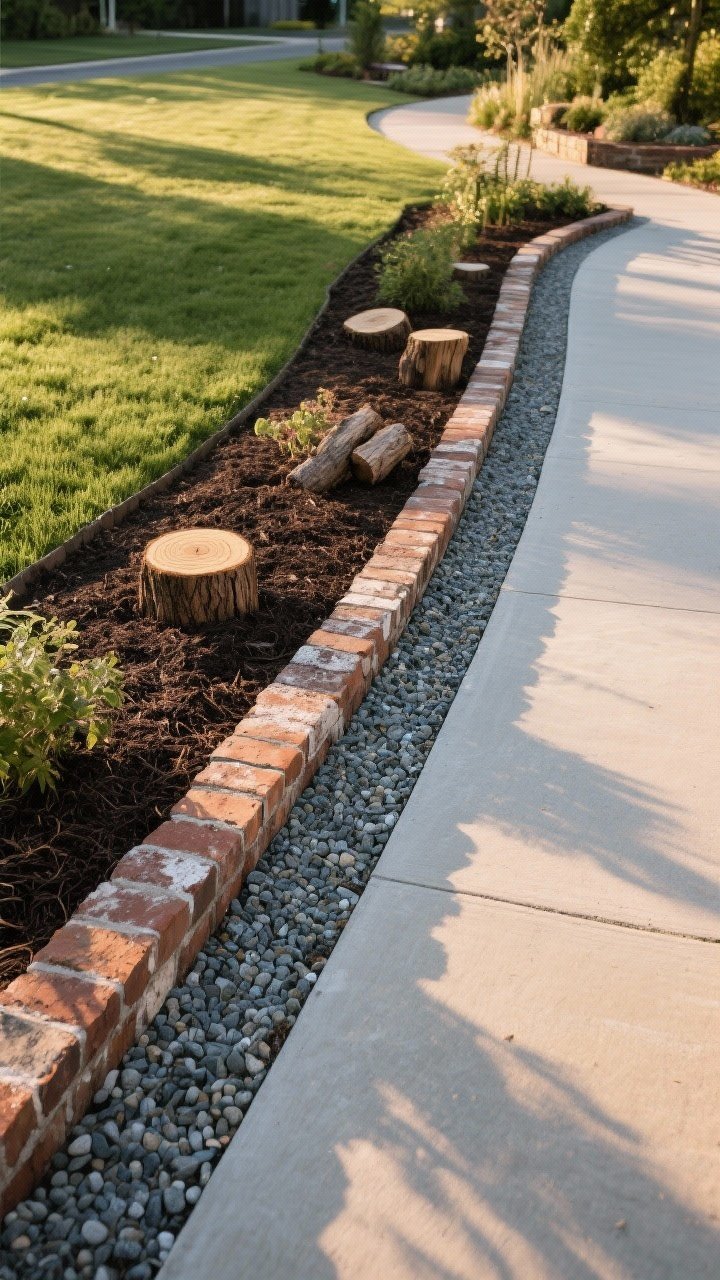
Clean, crisp edges make any garden look polished, even if you only have a few plants. A defined border gives structure and makes everything feel “finished.” It’s the difference between “wild meadow” and “curated chaos.”
Budget Edging Ideas
- Brick on the diagonal: Reclaimed bricks laid at a 45° angle look fancy for pennies.
- Log slices or branches: Use fallen limbs cut into stakes for a rustic border.
- Shovel edge: A simple spade-cut trench (renew twice a season) looks clean and costs $0.
- Gravel ribbon: A 4–6 inch strip of pea gravel keeps mulch tidy and weeds down.
3. Multiply Plants with Division and Cuttings
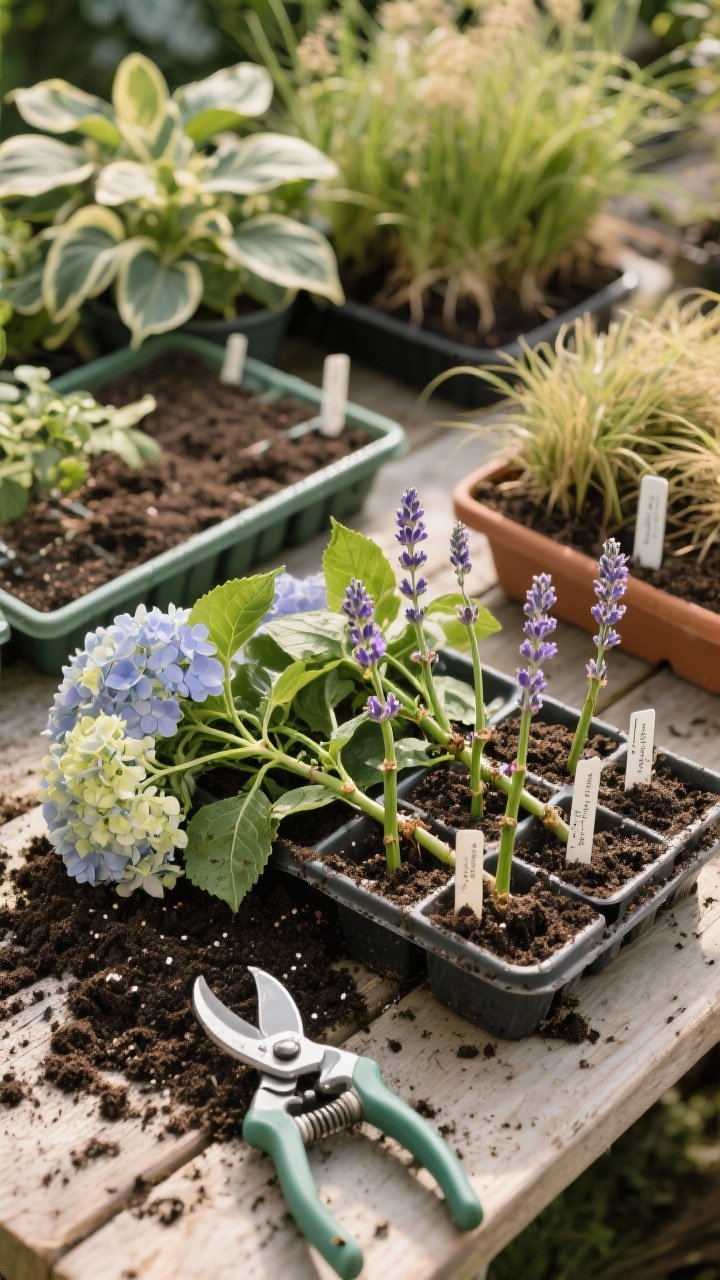
Here’s a secret: the best plant deals are the ones you get for free. Many perennials and shrubs can be divided or propagated with cuttings. Suddenly one plant turns into five, and your budget thanks you.
Easy Plants to Propagate
- Divide in spring/fall: Hostas, daylilies, ornamental grasses, black-eyed susans.
- Softwood cuttings: Hydrangea, coleus, lavender, rosemary, salvia.
- Leaf cuttings (indoors): Pothos, peperomia, and yes—some succulents.
How-to basics: Use clean pruners, snip 4–6 inch tips, strip lower leaves, dip in rooting hormone (optional), and pop into damp potting mix. Keep out of direct sun. Boom—new plants.
4. Mix Mulch Like a Stylist
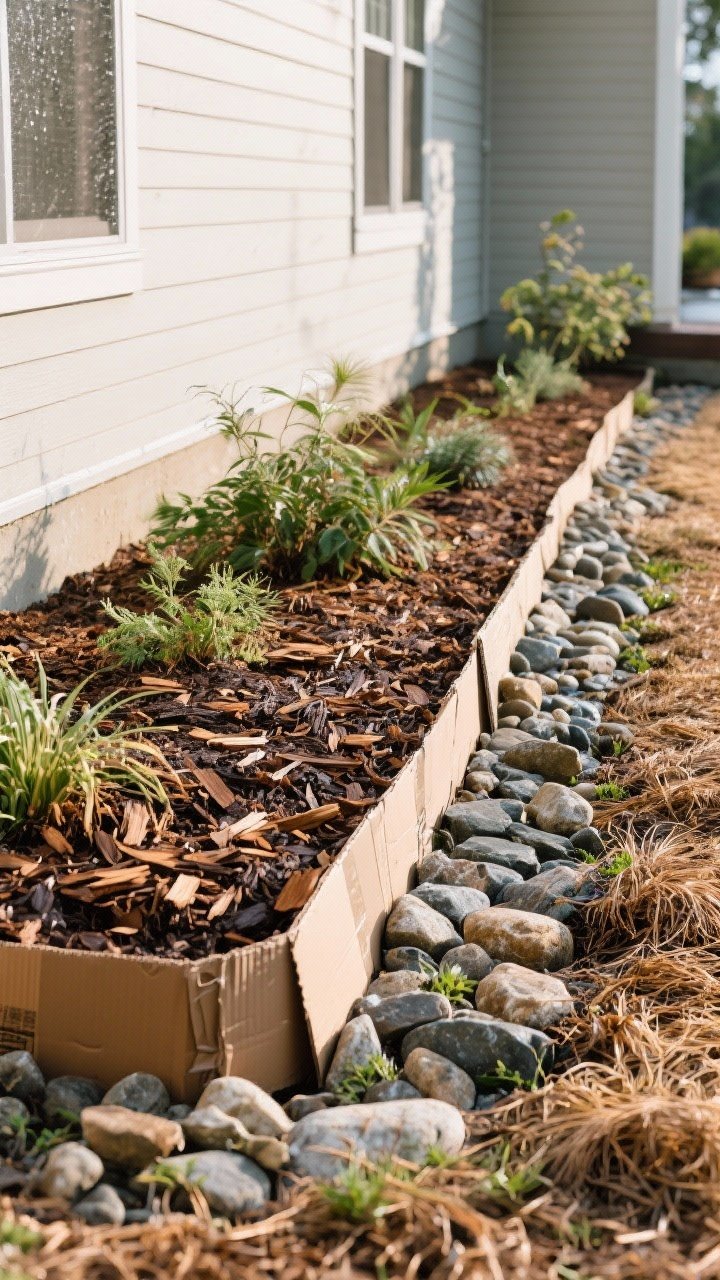
Mulch is basically makeup for your garden—it hides tired soil, makes colors pop, and keeps everything looking neat. It also saves water and fights weeds. Triple win.
Transform Your Home With 7,250+ Stunning Landscaping Designs—No Expensive Designers Needed!
- 🌿 Access 7,250+ stunning landscaping designs.
- 💰 Save thousands—no pro designer needed.
- 🏡 Plans for gardens, patios, walkways, and more.
- ✨ Simple, beginner-friendly DIY layouts.
- 🛠️ Customize any design to fit your yard.
Cheap Mulch Moves
- Free municipal mulch: Many towns offer free tree-chipper mulch. Call your city (FYI, bring a tarp).
- Cardboard base layer: Lay cardboard under mulch to smother weeds—remove tape first.
- Mix textures: Use pine straw in informal beds and shredded hardwood for clean lines.
- Stone accents: Add a narrow pea gravel or river rock band against the house for drainage and contrast.
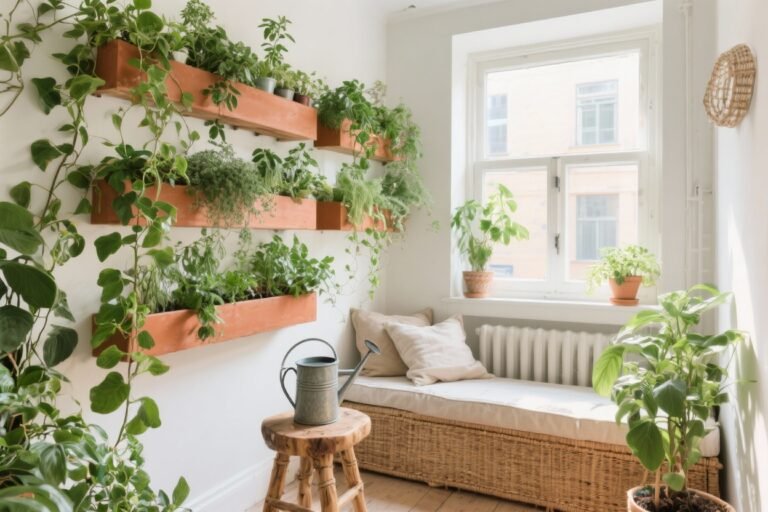
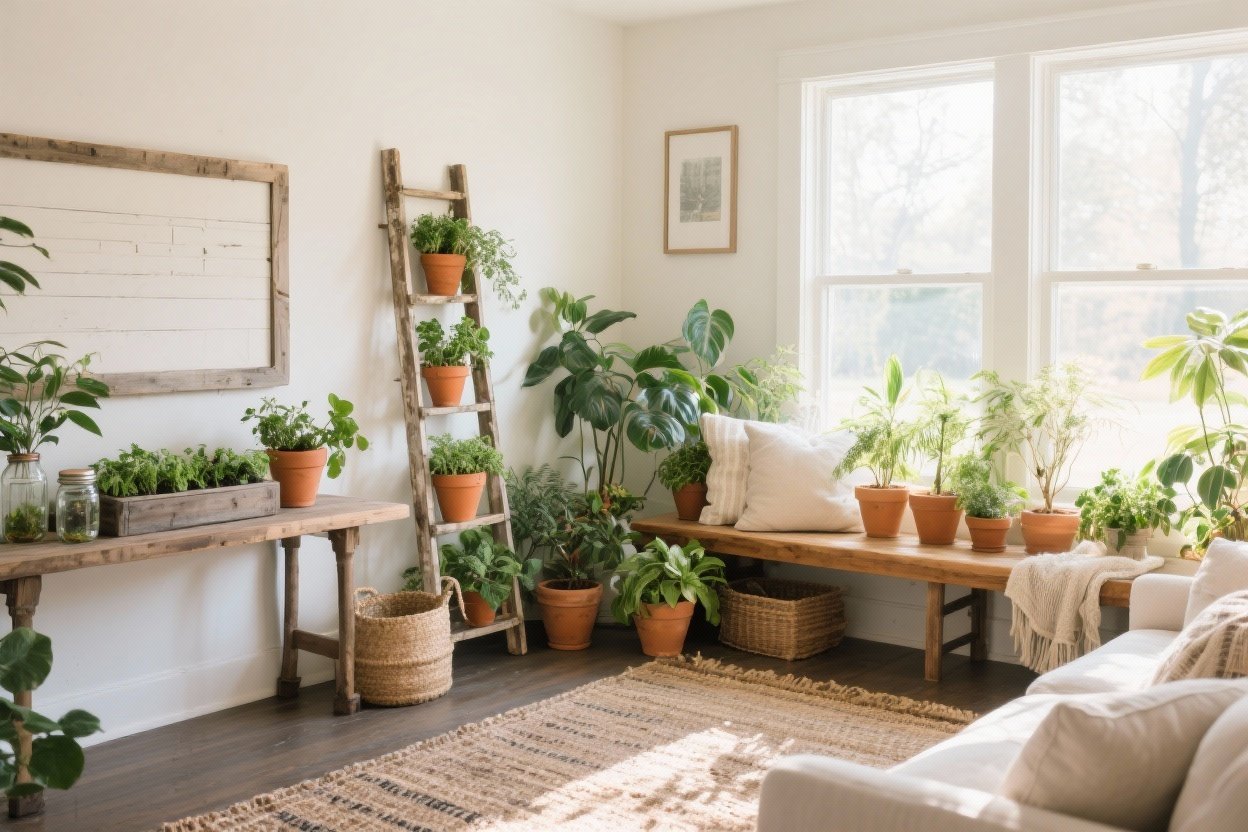
5. Go Vertical With Trellises and Climbers
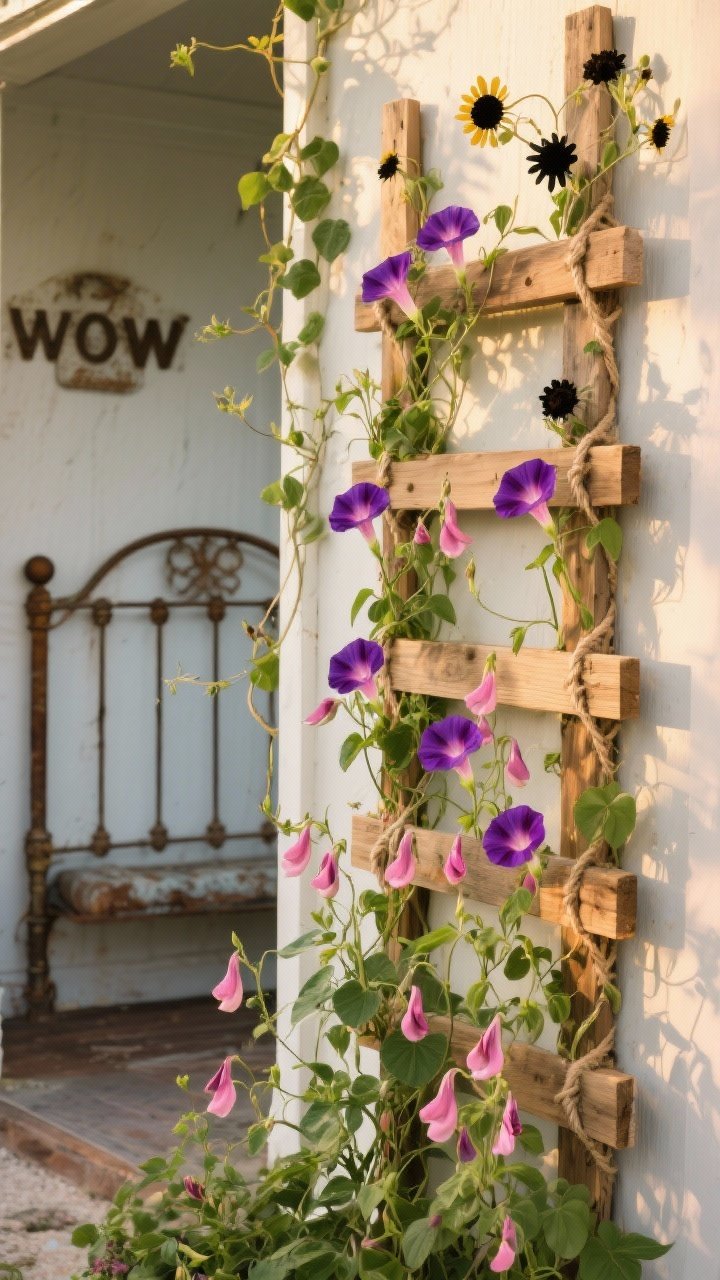
Small yard? No problem. Vertical gardening makes your space look lush without stealing square footage. Think trellises, obelisks, archways, or even a repurposed ladder.
Budget-Friendly Structures
- DIY trellis: Build with 1×2 lumber or bamboo stakes + garden twine.
- Upcycle: Old metal headboard, vintage crib springs, or wire panels become instant trellises.
- Affordable climbers: Morning glory, sweet peas, clematis, black-eyed Susan vine, or pole beans (edible + pretty).
Design tip: Frame a view or doorway with an arch to create a “wow” moment. It’s basically garden contouring.

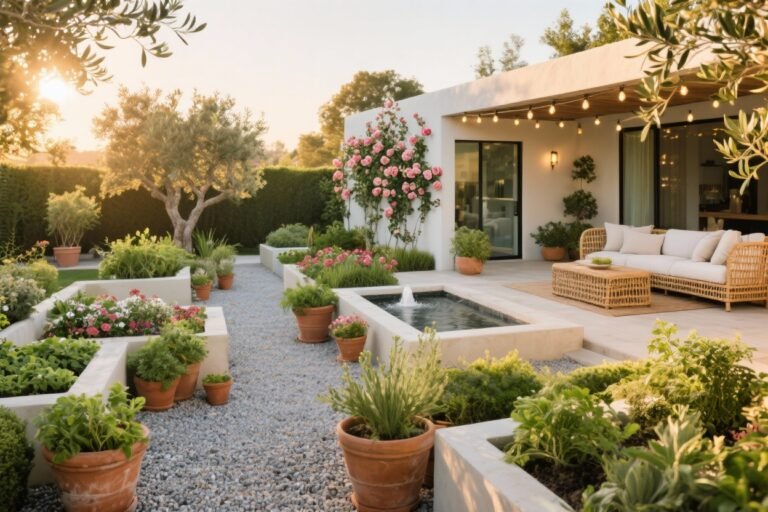
6. Style a High-Low Pathway
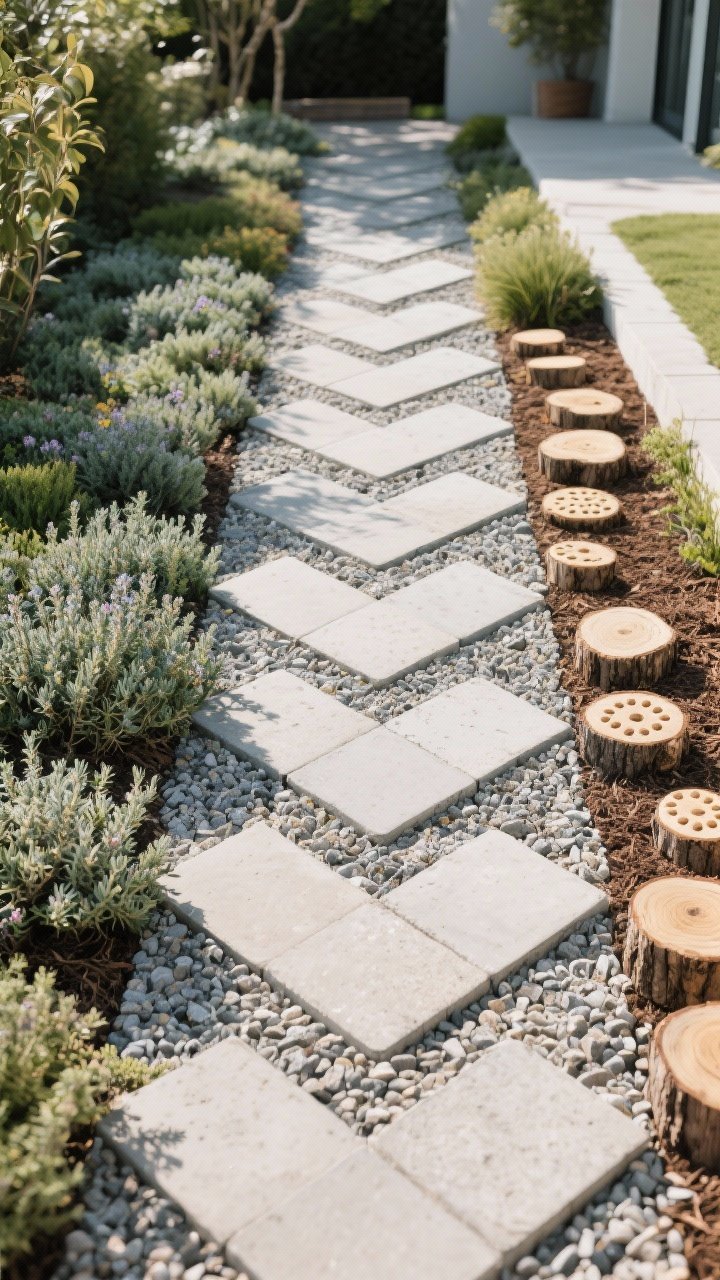
A pathway can transform a plain lawn into a destination. You don’t need fancy stone—just a clever combo of materials and spacing. Paths guide the eye and make your garden feel intentional.
Path Ideas That Don’t Cost a Fortune
- Stepping stones + mulch: Set concrete pavers in mulch for instant charm.
- Gravel + pavers: Use gravel as the base, then add spaced pavers for a designer look.
- Log rounds: Cut tree trunks into slices and set them like cookies. Seal to extend life.
- Pattern play: Stagger pavers in a herringbone or diamond layout for a custom vibe.
Pro move: Edge the path with hardy plants like thyme or sedum to soften the lines and add fragrance.
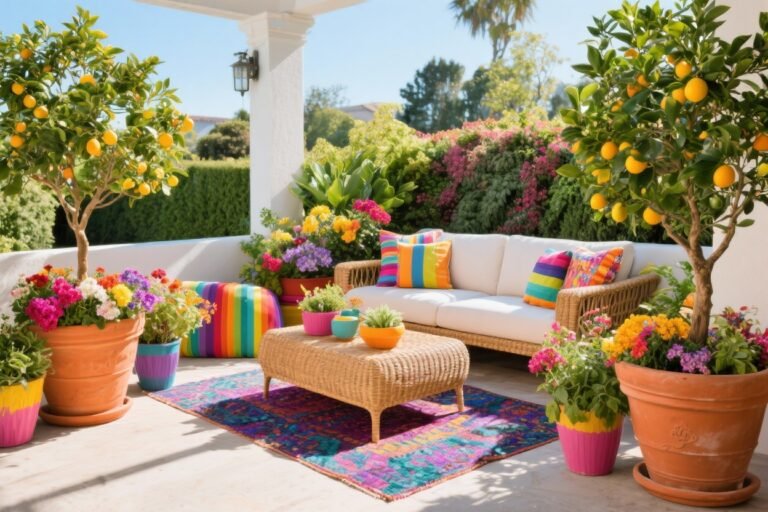
7. Paint Your Pots (and Maybe Your Fence)
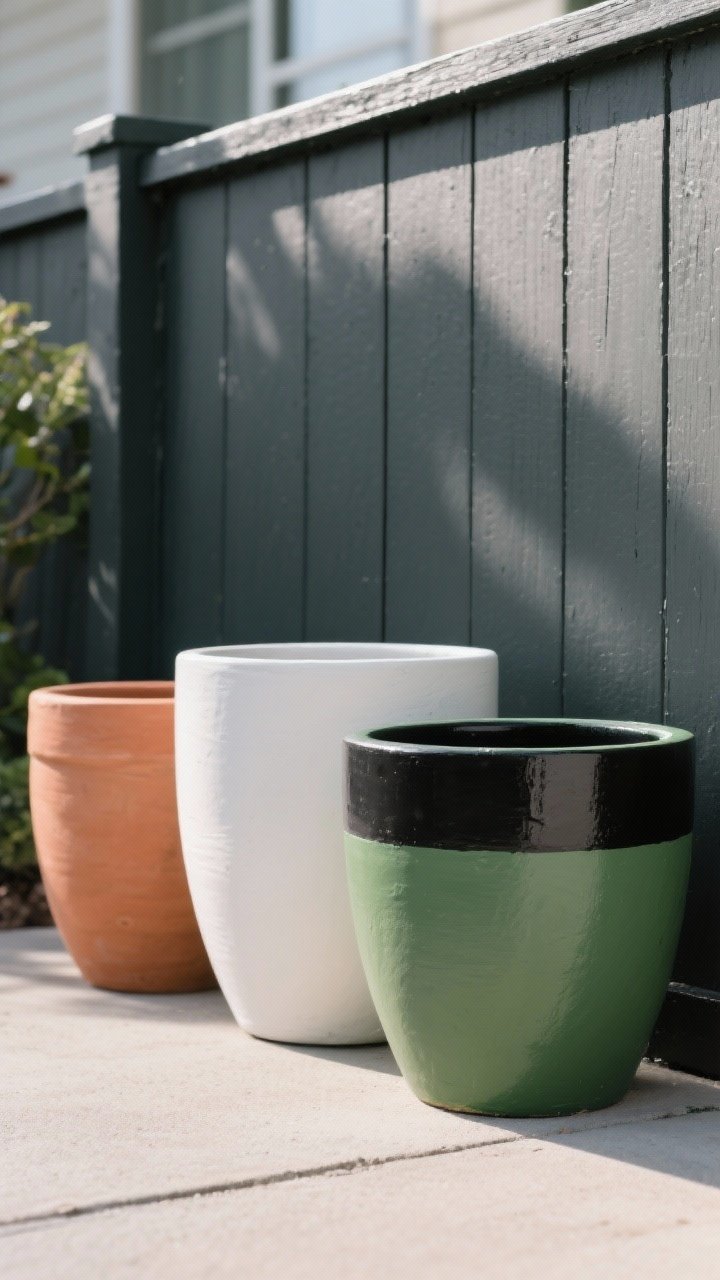
Color is the budget decorator’s best friend. A few painted accents can make mismatched pots look curated and elevate even the simplest plants. And if your fence is grumpy and gray? A fresh coat is a glow-up.
Simple Color Tricks
- Monochrome pots: Paint all containers one color for a sleek, gallery look.
- Color-block: Two-tone pots with a gold or black stripe = instant chic.
- Fence backdrop: Go charcoal to make greens pop or soft sage for a serene feel.
- Theme it: Terra-cotta + white + olive green always looks elevated (IMO, foolproof).
Finish: Use exterior-grade paint or sealers to survive the elements. Your stylish pots deserve longevity.
8. Plant in Drifts for Designer Impact
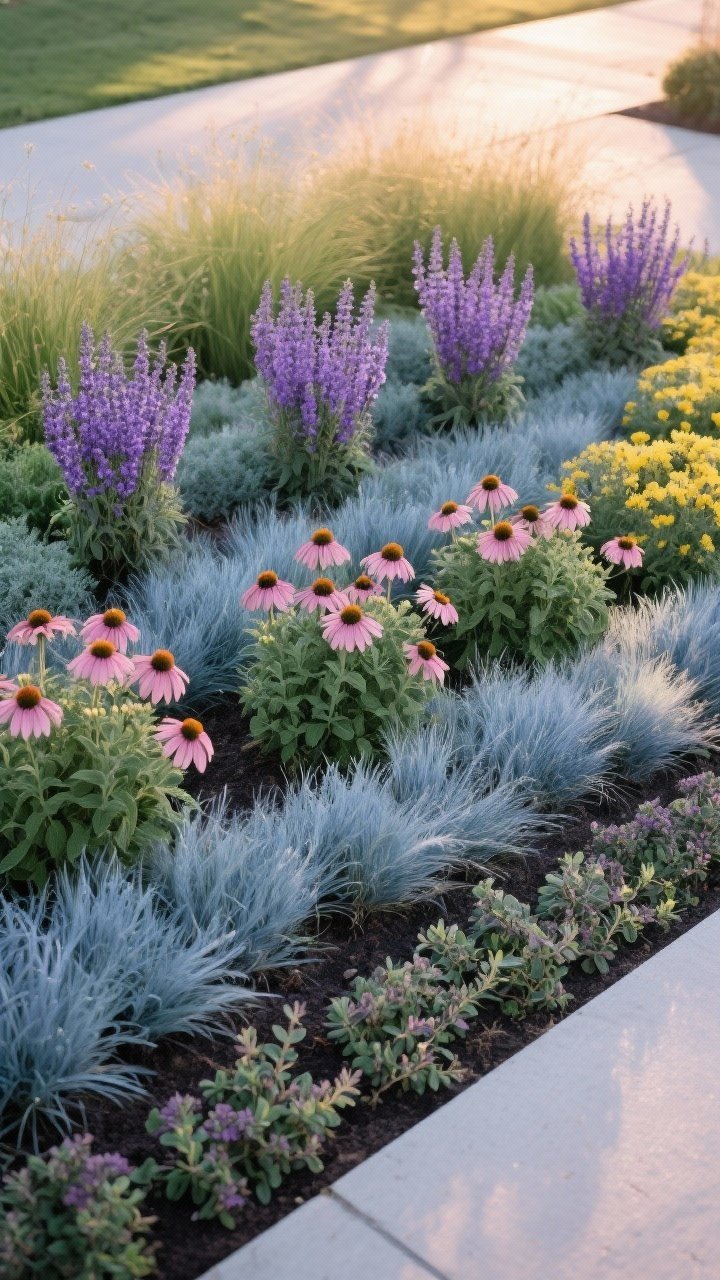
Random single plants can look messy. Instead, plant in drifts (groups of 3, 5, or 7) for a lush, cohesive look. Repeating these groups across your beds feels calm and intentional—like you hired a fancy landscape architect.
What to Group
- Perennials: Lavender, coneflower, yarrow, catmint, heuchera.
- Ornamental grasses: Fountain grass, blue fescue, switchgrass for movement and texture.
- Low groundcovers: Creeping thyme, ajuga, creeping jenny to fill gaps fast.
Design tip: Stick to a restrained palette—3 main colors plus green—so the garden reads as one story, not 27 subplots.
9. Add Nighttime Magic With Solar Lighting
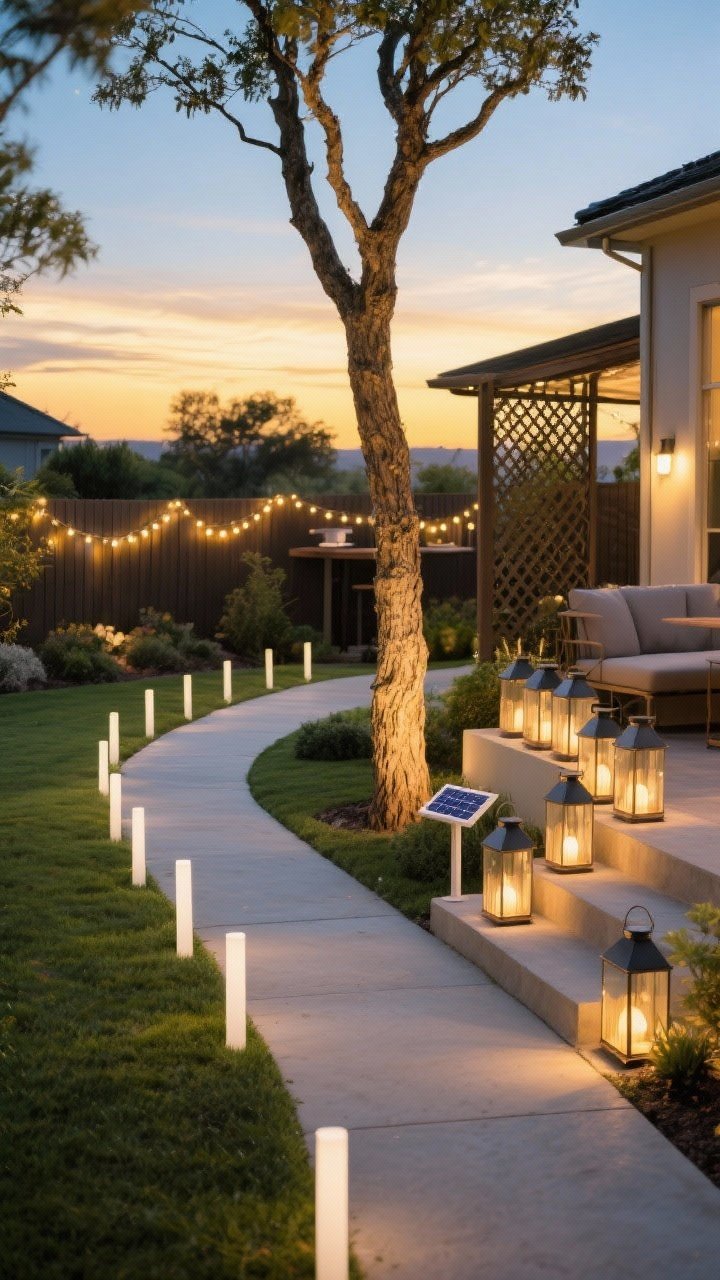
Why let your garden clock out at sunset? Solar lights are inexpensive and make everything feel intentional and cozy. A little glow goes a long way, especially on paths and around seating areas.
Where to Place Lights
- Path stakes: Space along walkways for safety + ambience.
- Uplight heroes: Aim spotlights at a tree trunk, architectural plant, or trellis.
- String lights: Over a patio or along a fence for instant bistro vibes.
- Lantern clusters: Group solar lanterns on steps or near the front door—welcoming and chic.
Pro tip: Stick to warm white bulbs. Cool white can make things look clinical. This isn’t a dentist’s office.
10. Turn “Trash” Into Treasure With Creative Upcycling
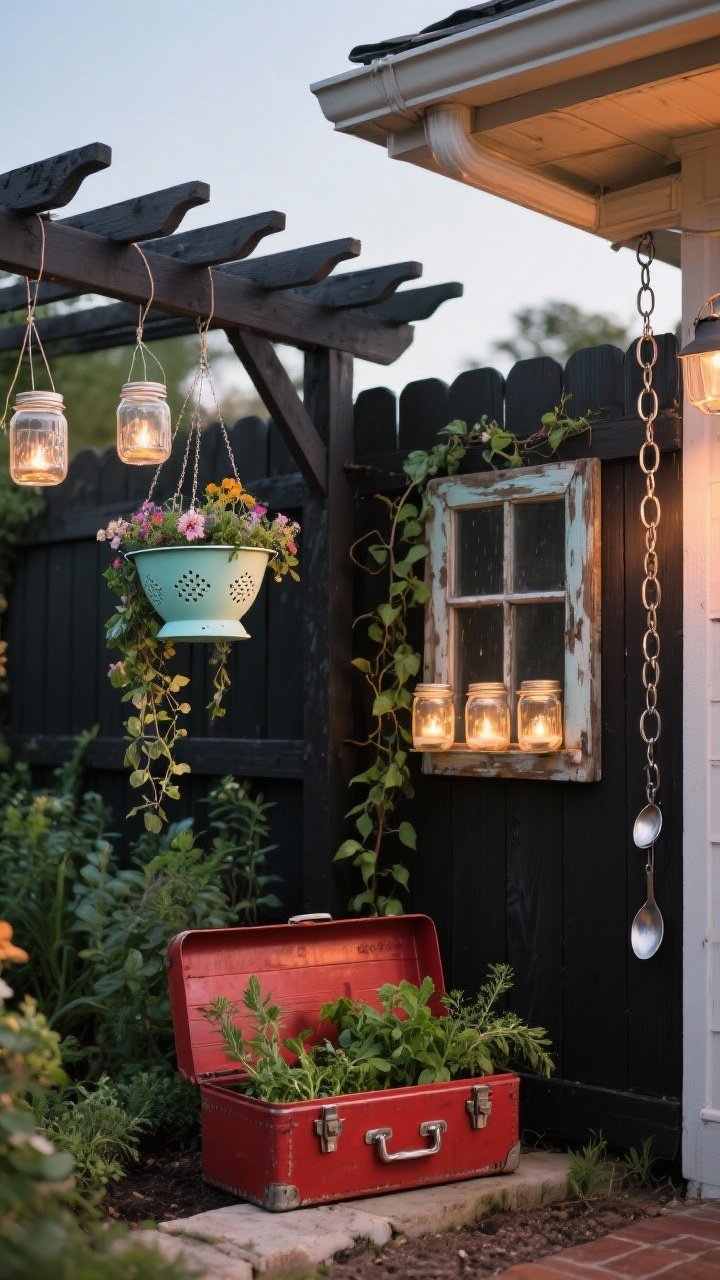
Garden decor doesn’t have to come from a catalog. Some of the most charming pieces are upcycled—bonus points if they tell a story. Think rustic, quirky, and undeniably stylish.
Upcycle Ideas That Actually Look Good
- Tool caddy planters: Old toolboxes or wooden crates lined with plastic become chic herb planters.
- Colander hanging baskets: Great drainage and adorable. Spray-paint for color.
- Window frame trellis: Mount an old window frame on a fence for vines to climb.
- Mason jar votives: Hang with wire along a pergola for twinkly evenings (use LED tea lights).
- Rain chain: Link old spoons or small metal cups for a decorative downspout alternative.
Ground rules: Keep upcycles cohesive with a consistent color or material theme—think black metal + wood or white enamel + galvanized steel. That’s how you avoid the “yard sale exploded” vibe.
Quick Budget Boosters (Because You’ll Ask)
- Start with soil: Healthy soil = thriving plants. Add compost before anything else.
- Prioritize perennials: Buy smaller, cheaper sizes—they’ll catch up quickly.
- Shop end-of-season: Clearance plants bounce back with a little love. Water, prune, and mulch.
- Swap with neighbors: Host a plant swap. It’s free and fun—bring cuttings, leave with treasures.
You don’t need a massive budget to create a garden that feels like a retreat. With a few smart tricks—layered containers, clean edges, repeating plant groups, and a little DIY magic—you’ll have a space that looks curated, cozy, and totally you. Now grab your trowel, your coffee, and maybe a podcast, and go make something beautiful. Your future self (and your Instagram feed) will be very pleased.