10 Kitchen Backsplash Ideas That Make Small Kitchens Look Bigger (and Brighter)
Small kitchen? Same. But here’s the good news: your backsplash can do some heavy lifting to make your space feel bigger, brighter, and more custom. We’re talking optical illusions, light-bouncing finishes, and clever grout tricks that stretch your walls—no renovation dust required.
Grab a coffee (or a paint sample) and let’s get into 10 ideas that make a tiny kitchen look luxe and spacious.
Tired of snacking when you’re not even hungry? This reset helps you stop the loop and feel back in control.
A simple reset for moments when cravings take over. Easy to use, easy to repeat, and designed to help you feel satisfied instead of stuck.
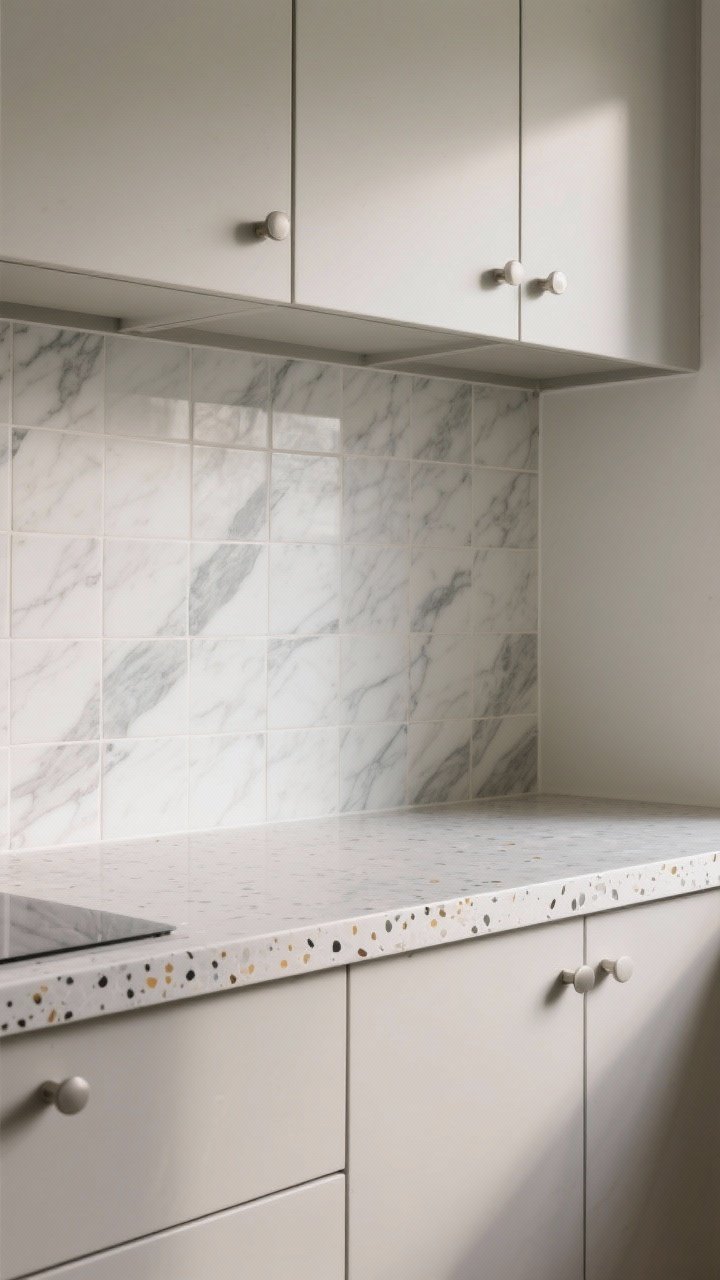
1. Go Glossy To Bounce The Light

High-gloss tiles are basically ring lights for your walls. They reflect every bit of natural and artificial light, making tight spaces feel airier. If you’ve got a window or under-cabinet LEDs, a glossy backsplash will multiply that glow.
Why It Works
- Light reflection = visual depth. The sheen tricks the eye into seeing more space.
- Easy to clean. Splatters wipe off fast. Hello, low-maintenance glam.
Pro Tips
- Choose white, cream, or pale gray for max brightness.
- Try a glossy ceramic subway tile or sleek glass tile for a mirror-like vibe.
- Pair with warm bulbs so it doesn’t look clinical. We want cozy, not lab-grade.
2. Use Oversized Tiles To Minimize Visual Clutter
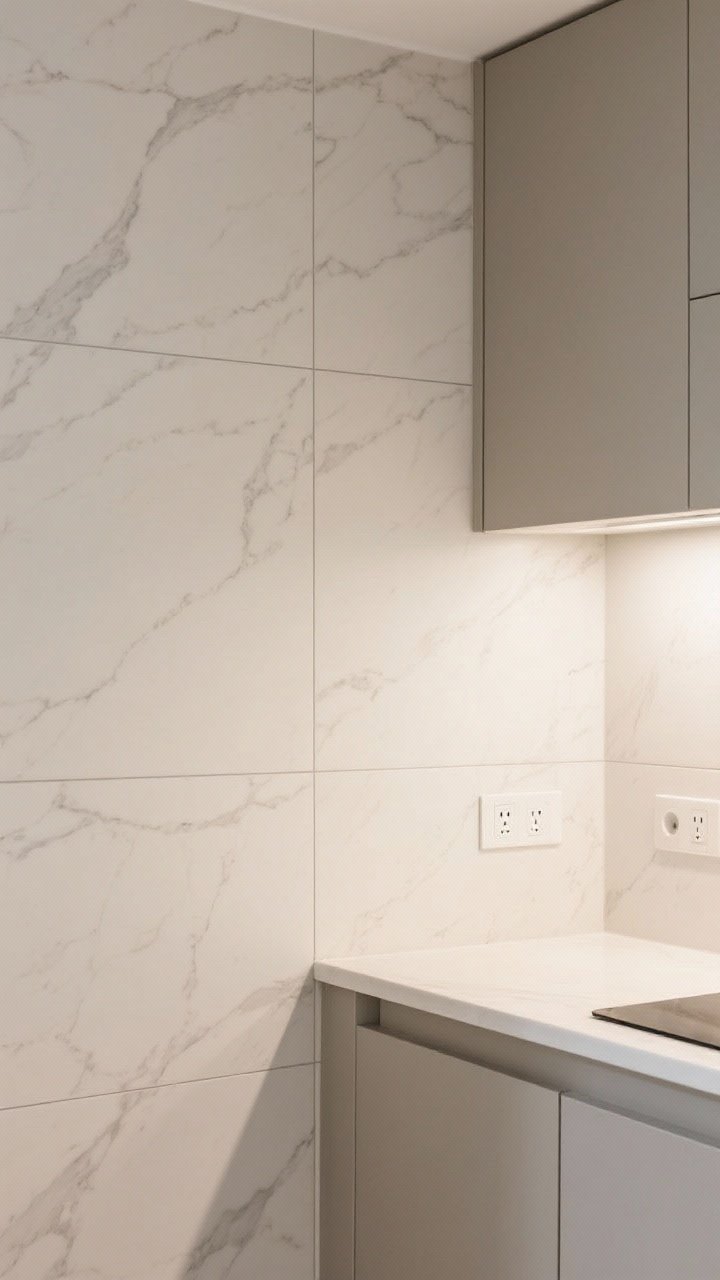
Small tiles can look busy in a small kitchen. Go bigger! Oversized tiles mean fewer grout lines, which makes the wall feel smoother and more expansive.
Why It Works
- Fewer lines = calmer look. Your eye isn’t stopping and starting at every seam.
- Seamless feel. Large-format porcelain, marble-look slabs, or big rectangles elongate the wall.
Pro Tips
- Stick to 24×24 or 12×24 formats if your layout allows.
- Choose color-matched grout for a clean, continuous effect.
- Run the tiles horizontally to visually widen the room.
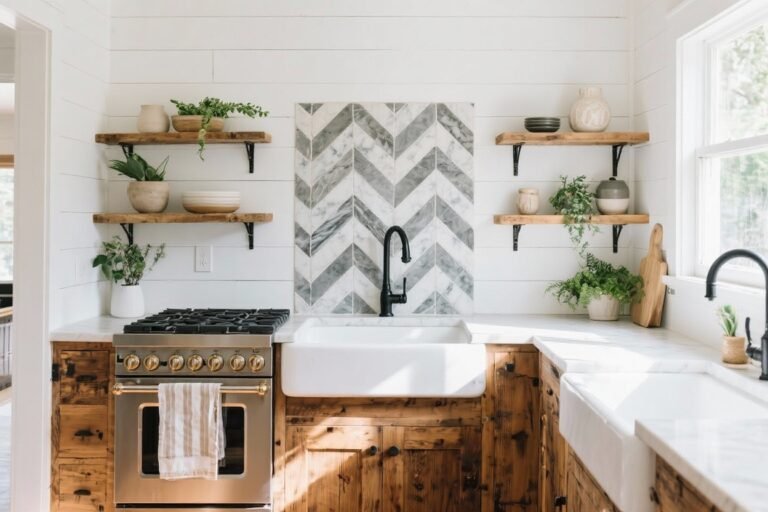
3. Stretch It To The Ceiling
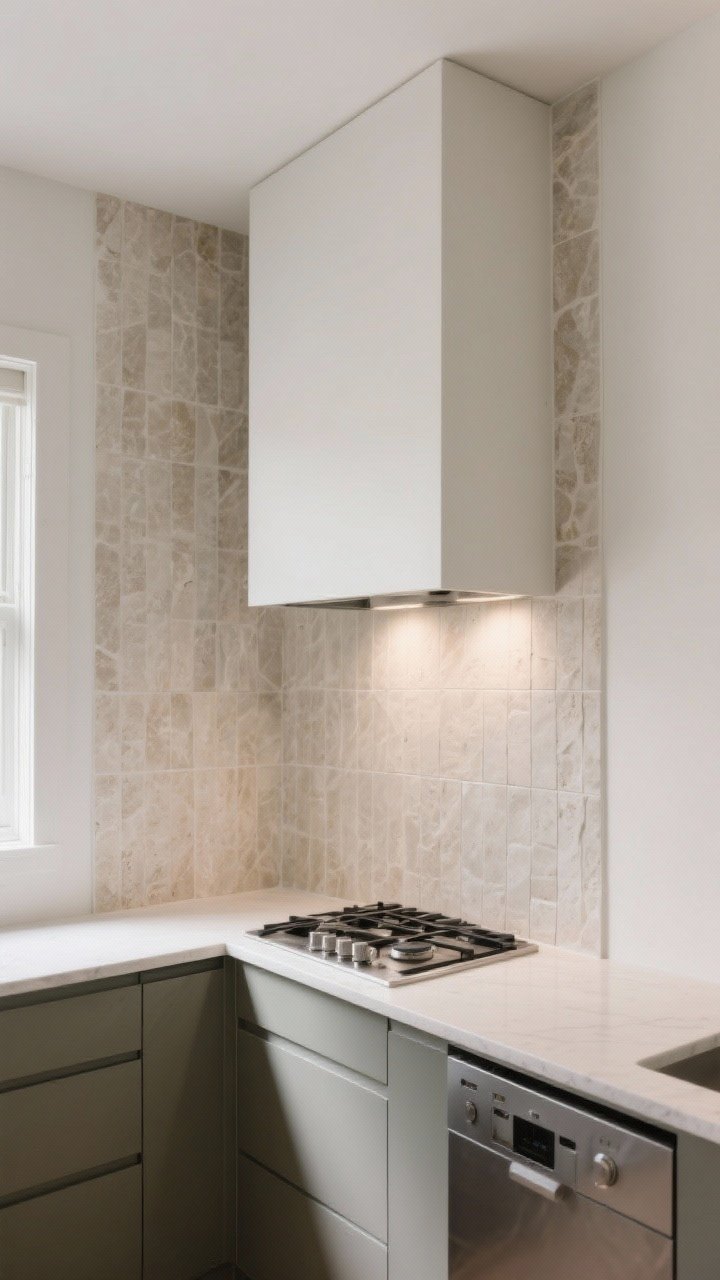
Take your backsplash all the way up. That big, uninterrupted plane draws the eye upward, making ceilings feel taller and the kitchen feel grander—no crown molding required.
Why It Works
- Vertical expansion. It adds height and presence to small rooms.
- Polished finish. Full-height backsplashes look intentional and high-end.
Pro Tips
- Use one tile style from counter to ceiling for a unified look.
- Behind a range hood, go full height with a slab or matching tile for drama.
- Skip busy trim; clean edges keep it modern and airy.
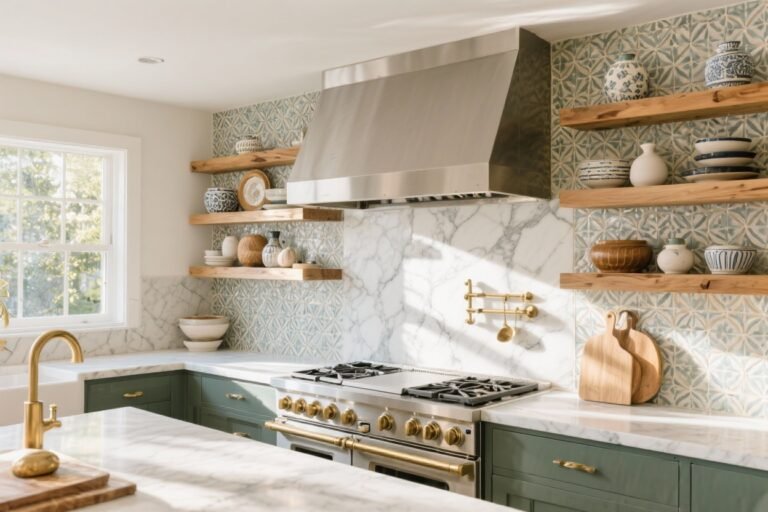
4. Choose Soft, Low-Contrast Patterns
Bold patterns can be stunning, but in a small space they might overwhelm. Instead, try gentle veining or micro-patterns that add interest without shouting.
Transform Your Home With 7,250+ Stunning Landscaping Designs—No Expensive Designers Needed!
- 🌿 Access 7,250+ stunning landscaping designs.
- 💰 Save thousands—no pro designer needed.
- 🏡 Plans for gardens, patios, walkways, and more.
- ✨ Simple, beginner-friendly DIY layouts.
- 🛠️ Customize any design to fit your yard.
Why It Works
- Subtle movement creates depth without chaos.
- Low-contrast palettes feel cohesive and make the wall recede visually.
Pro Tips
- Look for marble-look porcelain with faint veining, zellige with slight variation, or matte terrazzo with small chips.
- Keep cabinets and countertops in the same color family for continuity.
- Balance with simple hardware so nothing competes.
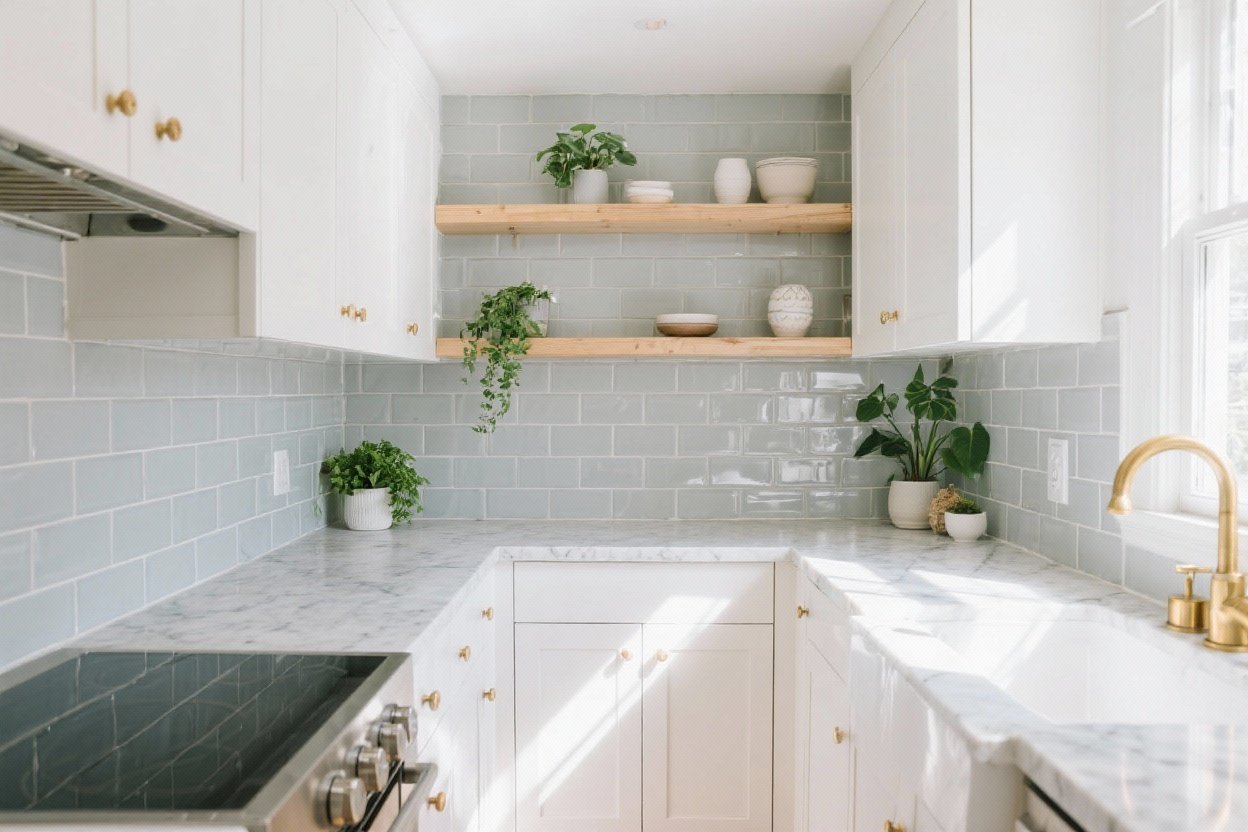
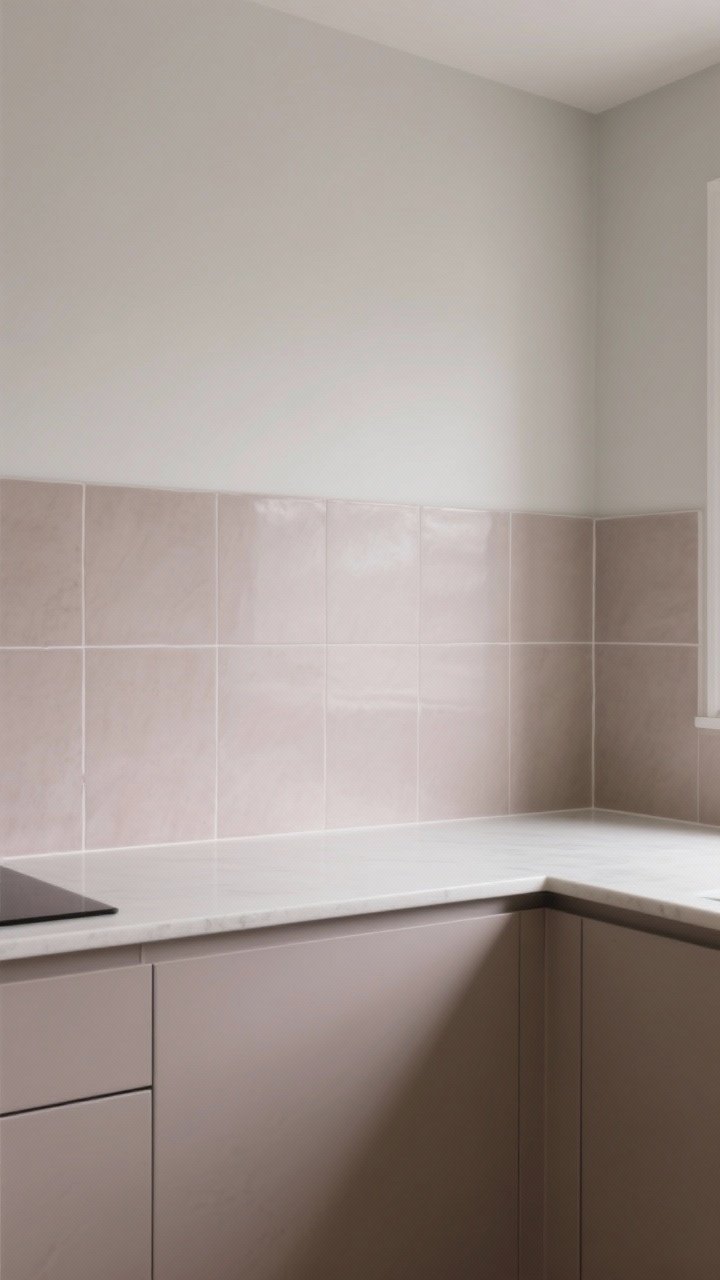
5. Pick a Pale Palette (But Not Boring)
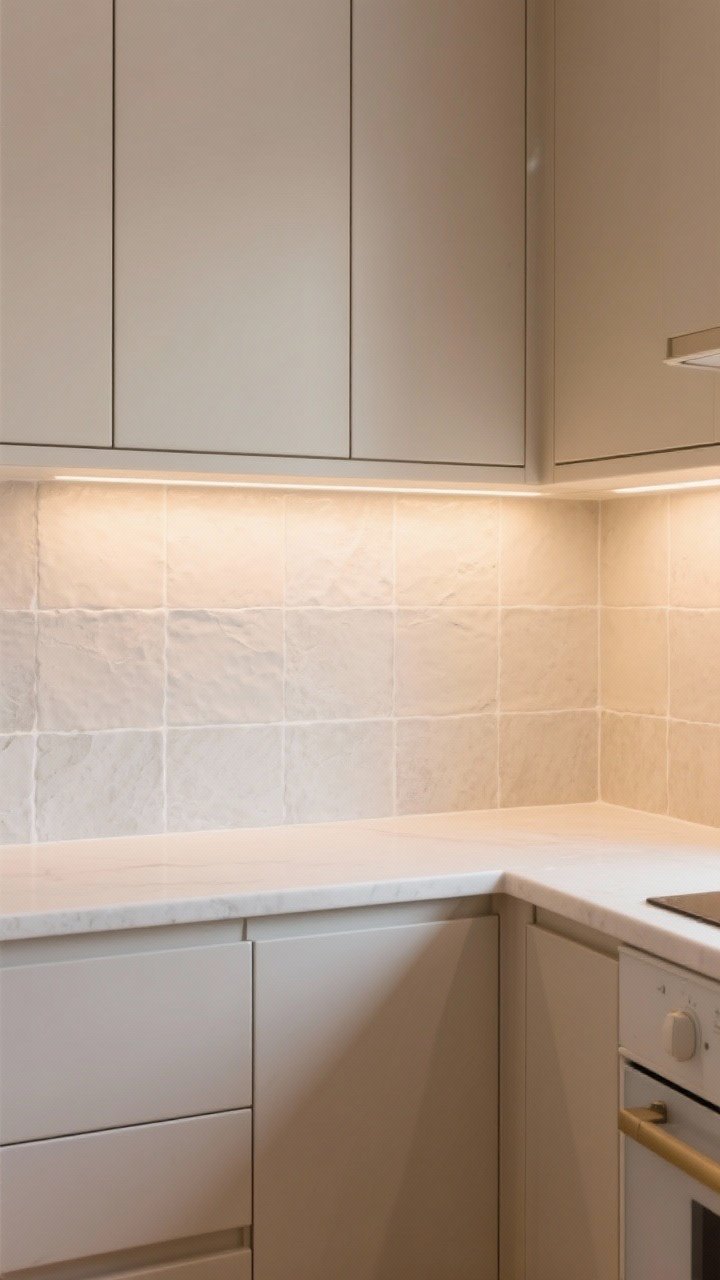
Light colors open up space—and you don’t have to stick to white. Think warm ivory, misty gray, or soft greige for a modern, spacious effect with actual personality.
Why It Works
- Lighter surfaces reflect more light, especially helpful with limited windows.
- Warm undertones keep things cozy, not sterile.
Pro Tips
- Test tiles under your actual lighting. Warm or cool bulbs change everything.
- Use off-white grout to avoid stark, high-contrast lines.
- Add texture (handmade or tumbled finishes) so pale tones don’t feel flat.

6. Lay Subway Tiles In A Space-Stretching Pattern
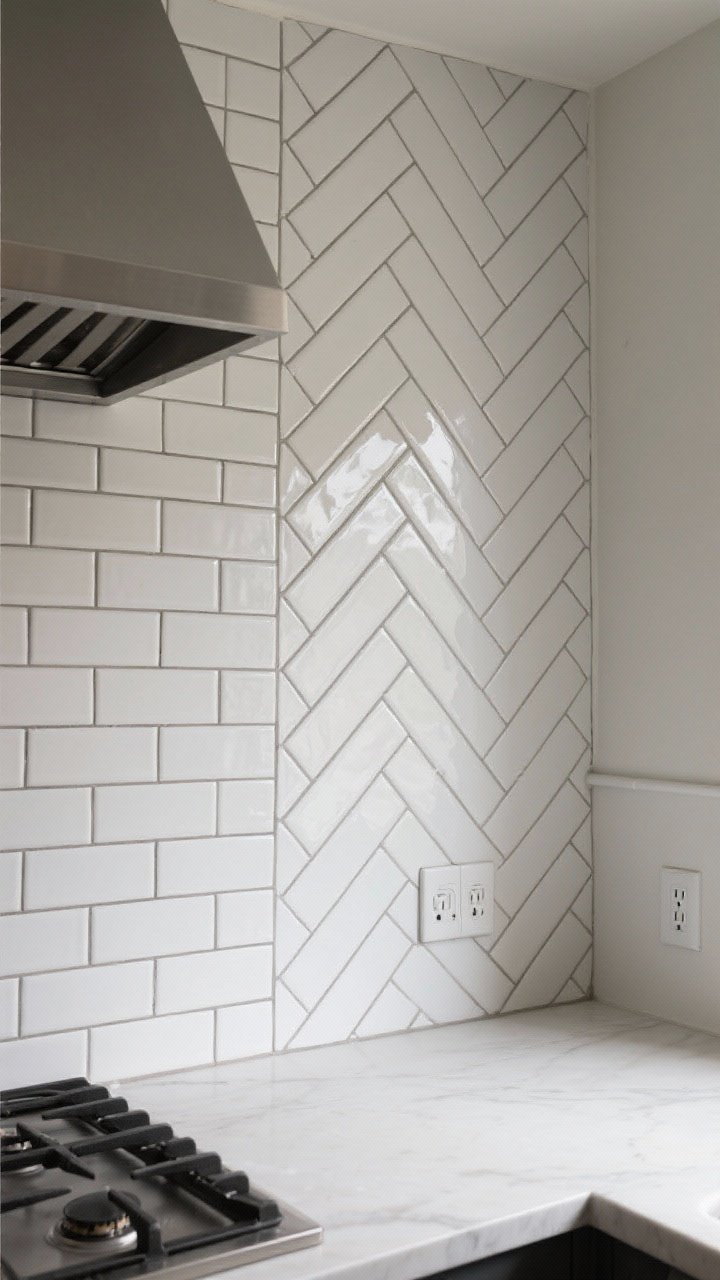
Subway tiles are the little black dress of backsplashes. It’s all about the cut and styling. Switch up the layout to stretch your kitchen in the direction you want.
Smart Layouts
- Horizontal stack to widen the room—clean, modern lines that read “bigger.”
- Vertical stack to make low ceilings feel taller—hello, loft vibes.
- Herringbone at 45° adds dynamic movement without chaos, IMO.
Pro Tips
- Use longer tiles (like 2×10 or 3×12) for extra elongation.
- Keep grout thin and matched to reduce visual noise.
- Pair with sleek outlets or color-matched covers so the pattern shines.
7. Try a Seamless Slab Backsplash

If you want minimal, this is your moment. A stone or quartz slab with barely any seams makes your whole wall feel like one continuous surface—super luxe, super expansive.
Why It Works
- Zero pattern interruption = instant visual calm.
- Veining direction can gently guide the eye horizontally or vertically.
Pro Tips
- Match your countertop and slab backsplash for a chic, built-in look.
- Choose light veining over bold for small spaces.
- Run it up to the cabinets or all the way to the ceiling for maximum impact.
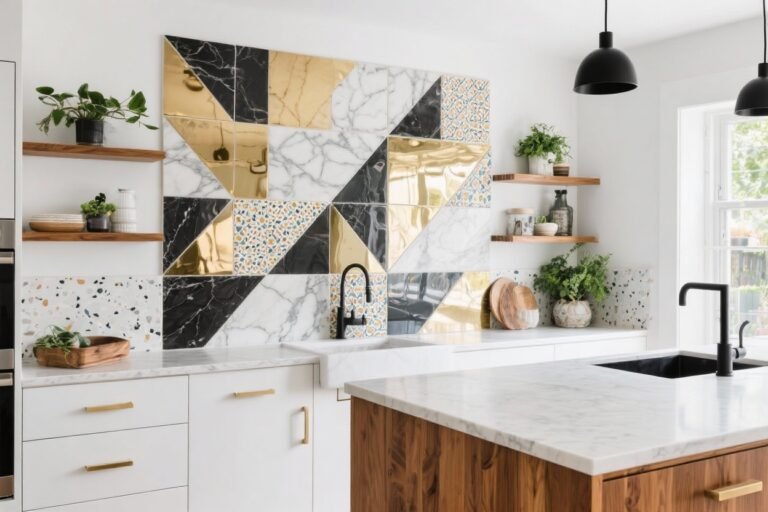
8. Mirror, Metallic, Or Pearlized Accents
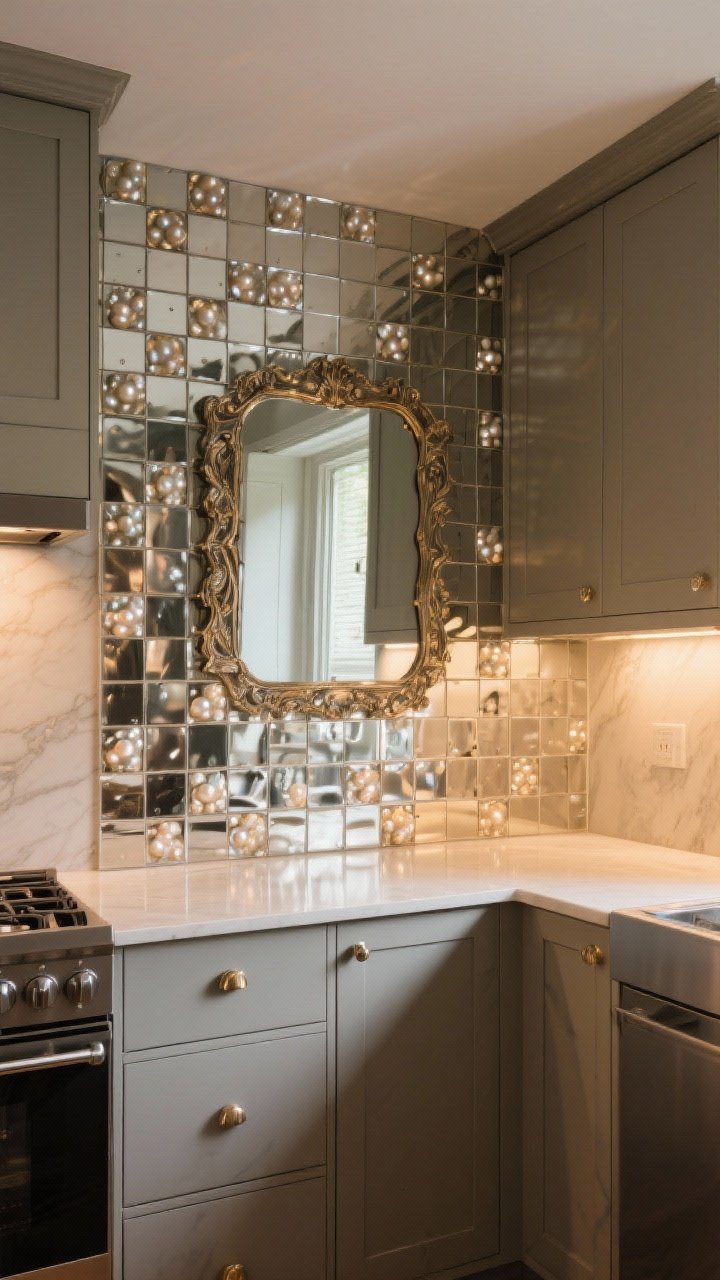
Hear me out: a mirrored or metallic backsplash can be stunning in tiny kitchens. It reflects light and visually doubles the space. If full mirror feels extra, try a pearlized or metallic-glaze tile for a softer take.
Why It Works
- Reflective surfaces trick the eye into seeing more depth.
- Glam factor without crowding the room.
Pro Tips
- Consider antique mirror tiles for a lived-in look that hides splashes.
- Use brushed metallic mosaics sparingly—think accent panel behind the range.
- Pair with matte cabinets so it doesn’t read too shiny-shiny.
9. Match Backsplash To Wall Color For A Blur Effect
Want the easiest optical illusion? Blend your backsplash with your wall paint so it visually “disappears.” The fewer start-and-stop moments, the larger the room feels.
Why It Works
- Tonal consistency reduces visual boundaries.
- Calm and cohesive = bigger-feeling space.
Pro Tips
- Color-match tile to your wall paint (ask the tile shop for a custom glaze or choose near-match shades).
- Use matte finishes for a painted-wall vibe, or satin for a tiny lift.
- Keep the transition lines at corners and edges clean—no busy trims.
10. Play With Tiny Details: Thin Grout Lines, Edge Profiles, And Lighting

The little things matter. Even the most beautiful tile can look busy if the trim and grout fight for attention. Simplify the details and add lighting to make your backsplash really work for you.
What To Tweak
- Grout width: Go as thin as your installer allows. Match grout color to tile for a smooth, unified look.
- Edging: Use tile-in edge profiles or bullnose for a clean finish—no chunky metal borders unless it’s intentional.
- Under-cabinet lighting: LED strips wash the backsplash, adding depth and sparkle. FYI, dimmable is worth it.
- Outlet placement: Consider under-cabinet plugmold or paintable covers that blend in.
Pro Tips
- Choose warm 2700–3000K LEDs to keep pale tiles from looking icy.
- Seal natural stone and choose stain-resistant grout so it stays pristine.
- Keep hardware lines simple so the eye reads fewer elements overall.
Bonus Styling Ideas That Support The Illusion
- Clear counters help your backsplash do its job—clutter shrinks rooms fast.
- Use one or two large decor pieces instead of a dozen little ones.
- Keep upper cabinets light or swap a few for open shelves to reduce heaviness.
Bottom line: You don’t need a gut reno to make your tiny kitchen feel bigger. Choose a backsplash that manipulates light, minimizes visual clutter, and plays nicely with your palette. The right surface can literally change how your kitchen feels—without knocking down a single wall. Now go make that small space look major.