10 Kitchen Cabinet Mistakes That Can Ruin Your Remodel (and How to Dodge Them)
Your kitchen cabinets are the wardrobe of your home. Get them right, and everything feels elevated. Get them wrong, and you’ll be side-eyeing that remodel every morning while making coffee. Let’s keep that from happening. Here are the 10 kitchen cabinet mistakes that can totally derail your dreams—and the simple tweaks to keep your space looking designer-level.
1. Skipping a Real Layout Plan (AKA The “We’ll Wing It” Trap)
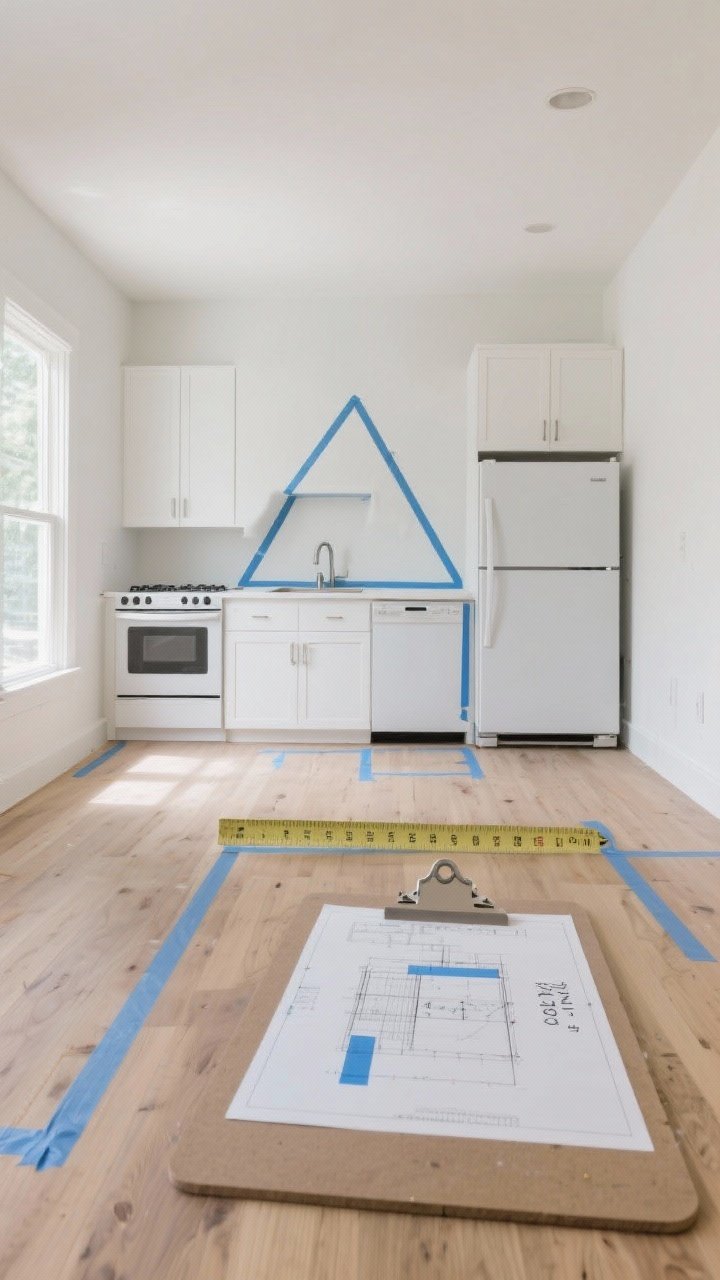
Before you start ordering pretty doors, nail the layout. Cabinets need to work with how you actually cook, store, and move—not just how they look in a Pinterest photo.
Tired of snacking when you’re not even hungry? This reset helps you stop the loop and feel back in control.
A simple reset for moments when cravings take over. Easy to use, easy to repeat, and designed to help you feel satisfied instead of stuck.
How This Goes Wrong
- Cabinets collide with appliances or doors.
- Drawers can’t open fully because of hardware or walls.
- No landing space near the fridge or oven.
Plan Like A Pro
- Measure three times: ceiling height, window heights, outlet locations, appliance dimensions, and swing clearances.
- Honor clearances: 42 inches for aisles in two-cook kitchens; 36 inches minimum otherwise.
- Map the work triangle: Sink, stove, fridge should form a roughly triangular flow (but don’t be rigid—zones work too).
- Dry-fit with tape: Use painter’s tape on floors and walls to visualize cabinet footprints.
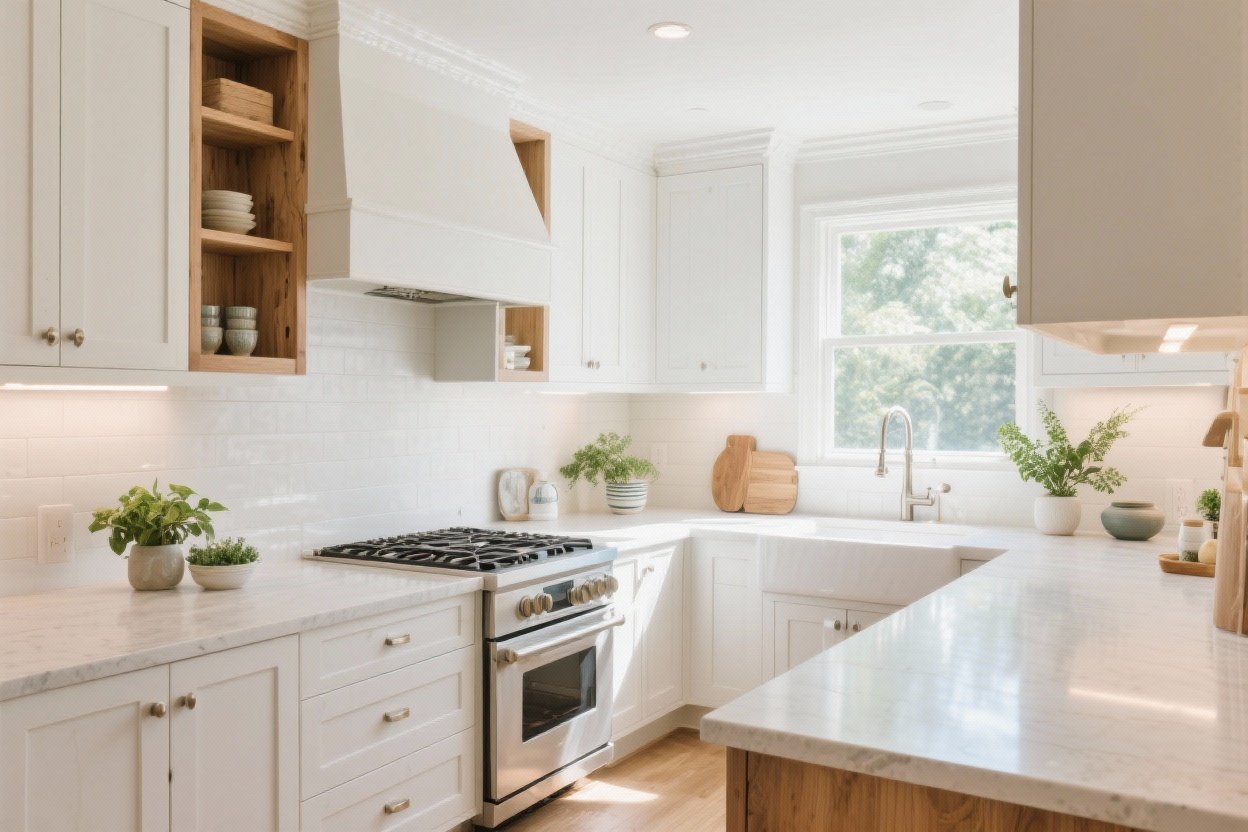
2. Choosing Style Over Function (And Regretting It Daily)
Yes, glass fronts are lovely. But do you want to style every mug? Be honest about your lifestyle or your cabinets will tattle on you 24/7.
Watch-Outs
- All open shelving = dust, grease, and a constant styling job.
- Too many glass doors show clutter unless you’re a minimalist unicorn.
- Only doors, no drawers makes lower storage a back-breaking treasure hunt.
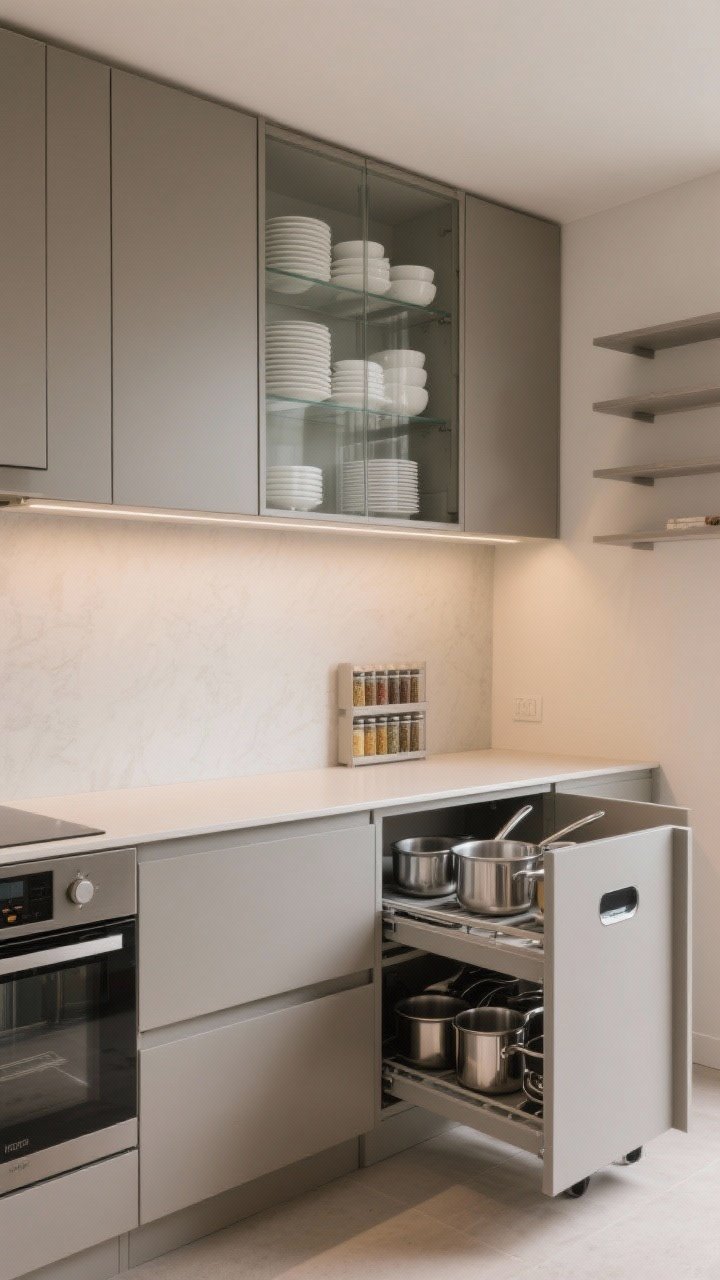
Smart Swap Ideas
- Use deep drawers for pots, pans, and bowls—way more ergonomic.
- Mix in one or two glass fronts for display, keep the rest solid.
- Add pull-outs for spices, oils, and trash/recycling to keep counters clear.
3. Ignoring Ceiling Height (The Dusty Gap Problem)

That 12-inch gap above your cabinets? It’s where dust bunnies retire. If you’ve got the height, go for a finished look that stretches upward and makes the room feel taller.
What To Do Instead
- Go to the ceiling with full-height cabinets or add a finished soffit and trim.
- If your ceilings are super high, add stacked uppers with glass fronts or display space.
- Use crown molding to finish transitions and hide uneven ceilings.
FYI: Even a 3-inch filler + crown can save you from awkward slivers and scribing nightmares.
4. Skimping on Hardware Quality (Tiny Parts, Big Headaches)
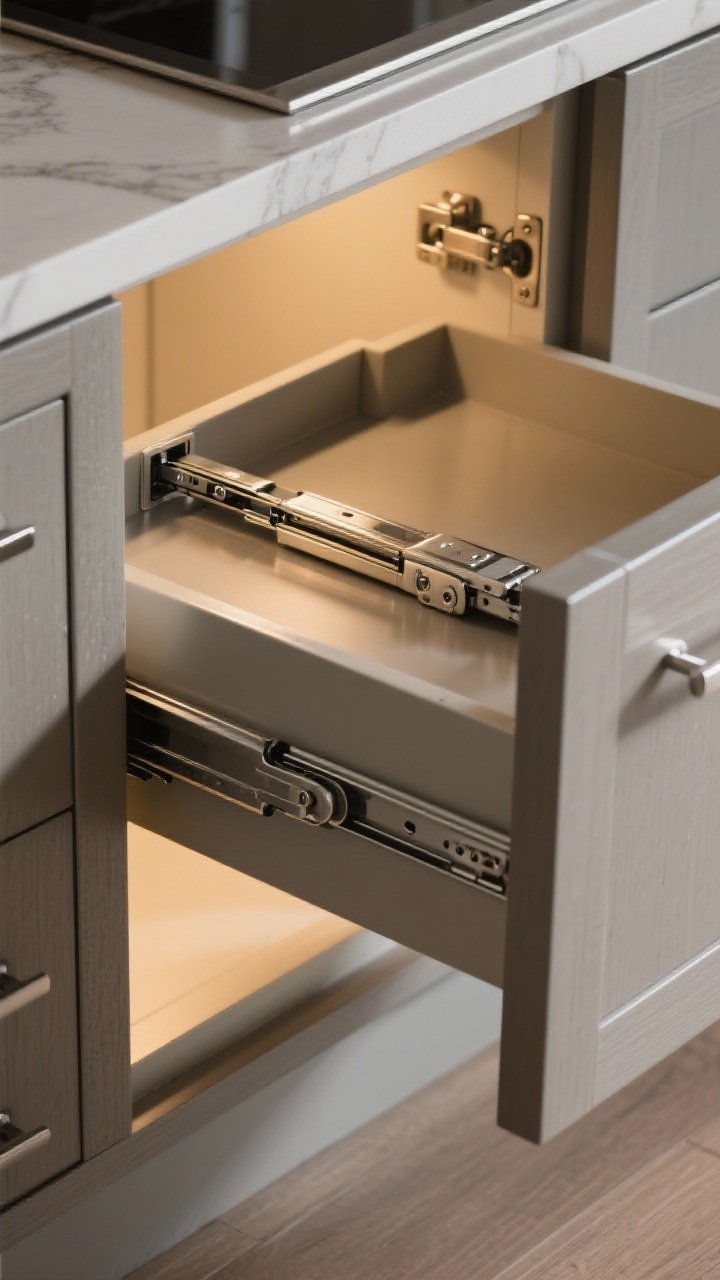
Hinges and slides are the unsung heroes of happy kitchens. Cheap hardware will sag, slam, and fail faster than you can say “return policy.”
Transform Your Home With 7,250+ Stunning Landscaping Designs—No Expensive Designers Needed!
- 🌿 Access 7,250+ stunning landscaping designs.
- 💰 Save thousands—no pro designer needed.
- 🏡 Plans for gardens, patios, walkways, and more.
- ✨ Simple, beginner-friendly DIY layouts.
- 🛠️ Customize any design to fit your yard.
Hardware Must-Haves
- Soft-close, full-extension slides so you can see everything in the back.
- Quality hinges that adjust in three directions to fix crooked doors.
- Undermount slides for a cleaner look and better support on heavy drawers.
Pro tip: If your budget is tight, splurge on the interior hardware first. You can upgrade knobs and pulls later, but bad slides are forever annoying.
5. Picking the Wrong Finish for Your Lifestyle (Stains, Chips, Tears)
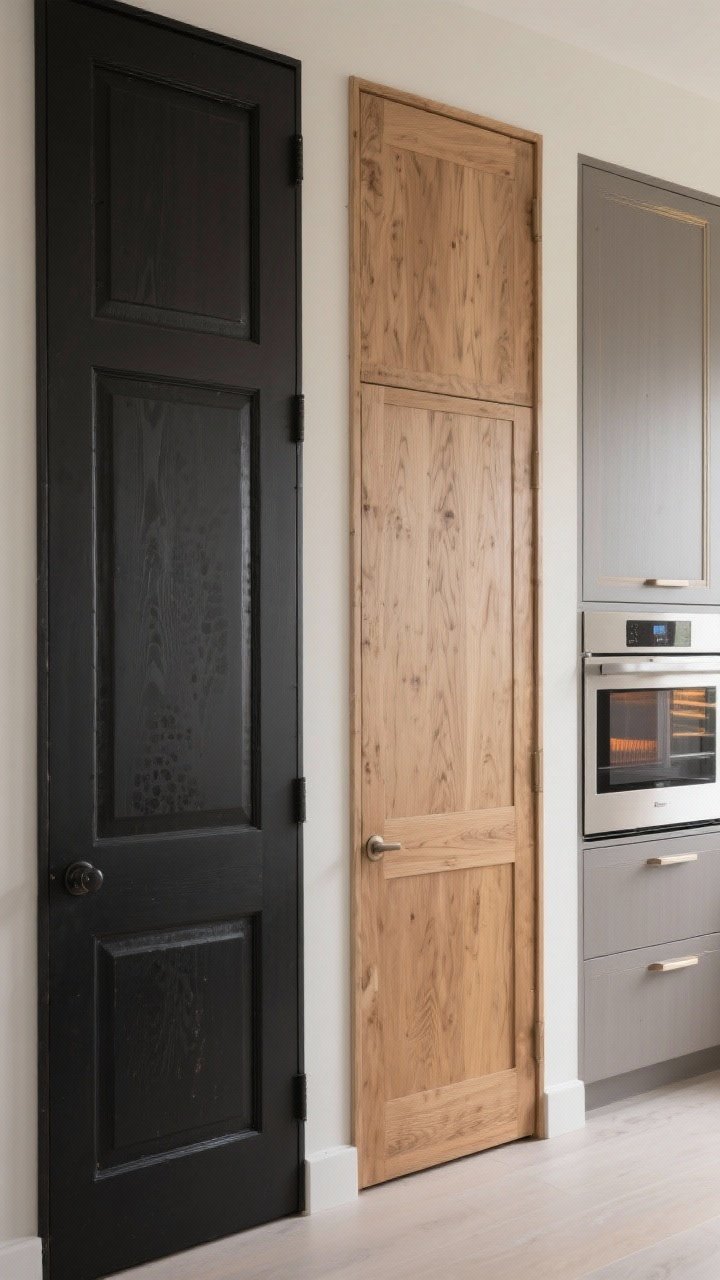
That matte black paint? Gorgeous. Also a fingerprint magnet if you’ve got kiddos. Choose finishes based on reality, not fantasy.
Finish Cheat Sheet
- Painted: Crisp and customizable, but chips show—especially on sharp shaker edges.
- Stained wood: Warm and forgiving; hides wear better.
- Thermofoil: Budget-friendly, but can peel near heat sources.
- Laminate: Easy-care, modern vibe; great in rentals and busy homes.
Durability Boosts
- Choose micro-shaker or slab fronts to reduce dust-catching edges.
- Add edge banding upgrades on budget boxes to prevent peeling.
- Install heat shields around ovens and dishwashers to protect finishes.

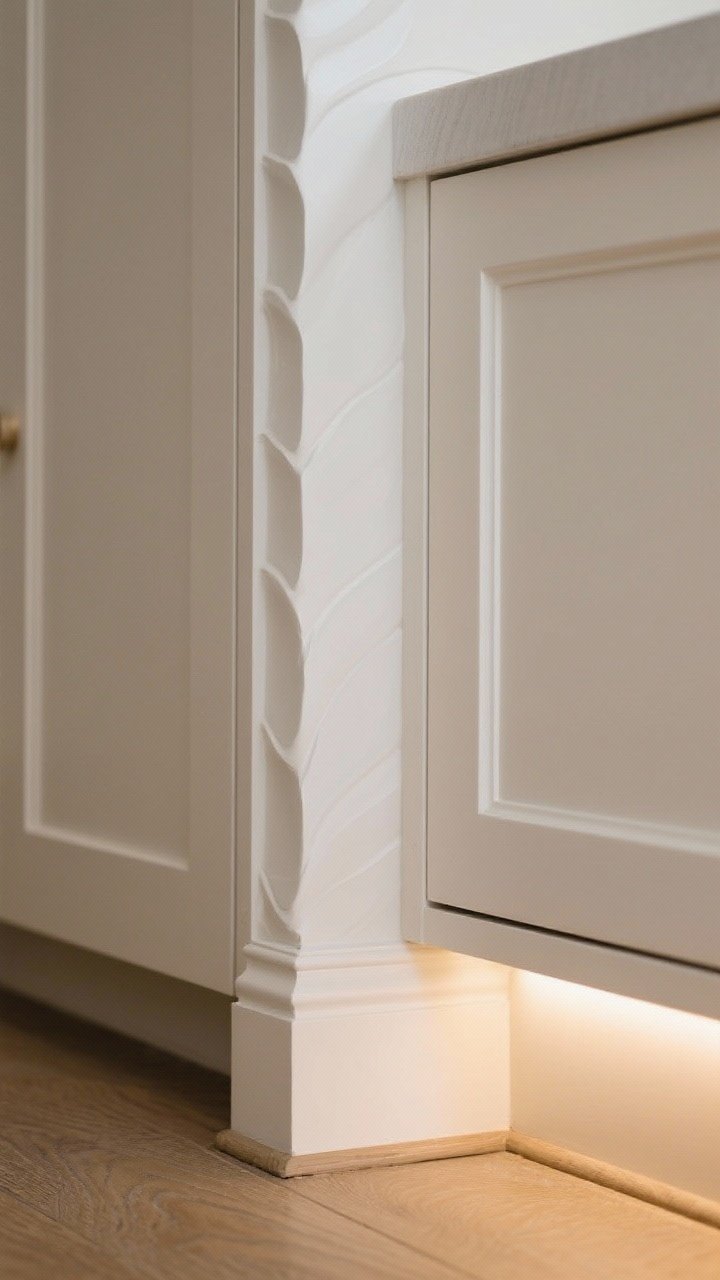
6. Forgetting Task Lighting (Your Chef Skills Deserve Better)
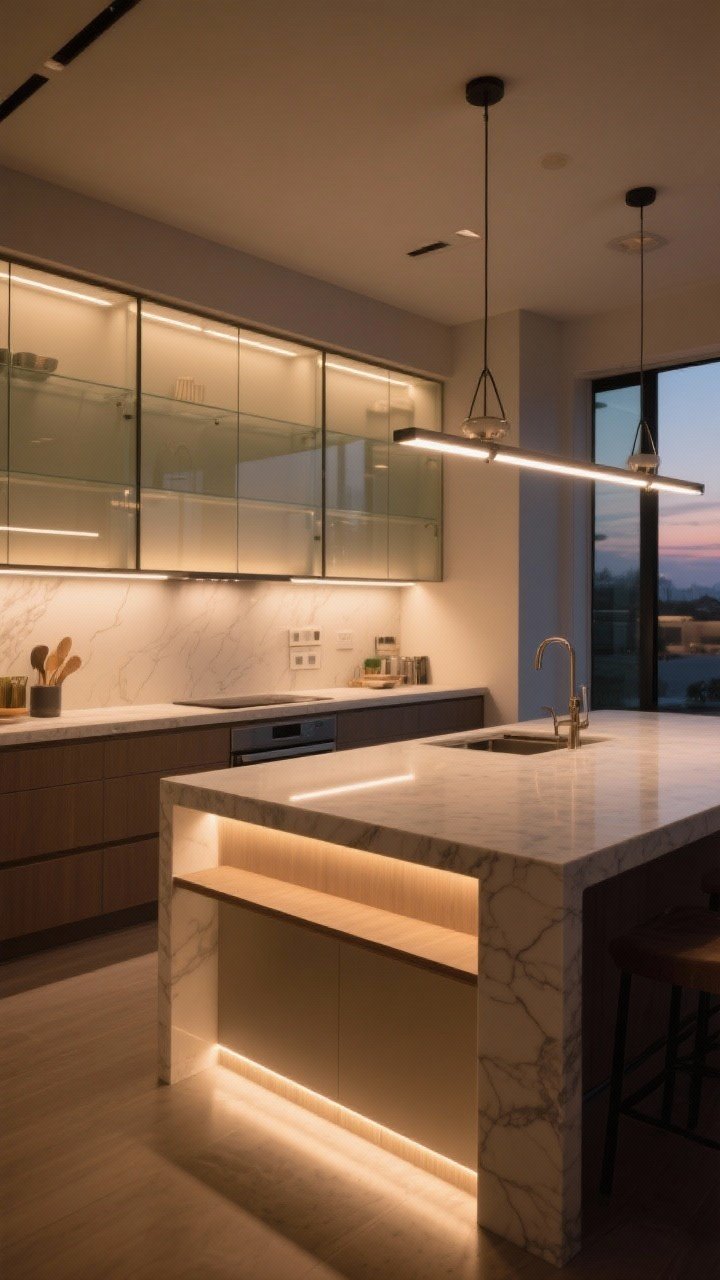
Pretty pendants are not a lighting plan. If your counters are shadowy, you’ll feel it every time you chop an onion.
Layer Your Lights
- Under-cabinet lighting: LEDs with warm temp (2700–3000K) for chopping and reading recipes.
- Inside-cabinet lights: Optional, but dreamy for glass uppers or pantries.
- Toe-kick lights: Night-light vibes and a subtle wow moment.
Run low-voltage wiring before cabinets go in. It’s cheaper than retrofitting later (ask me how I know).
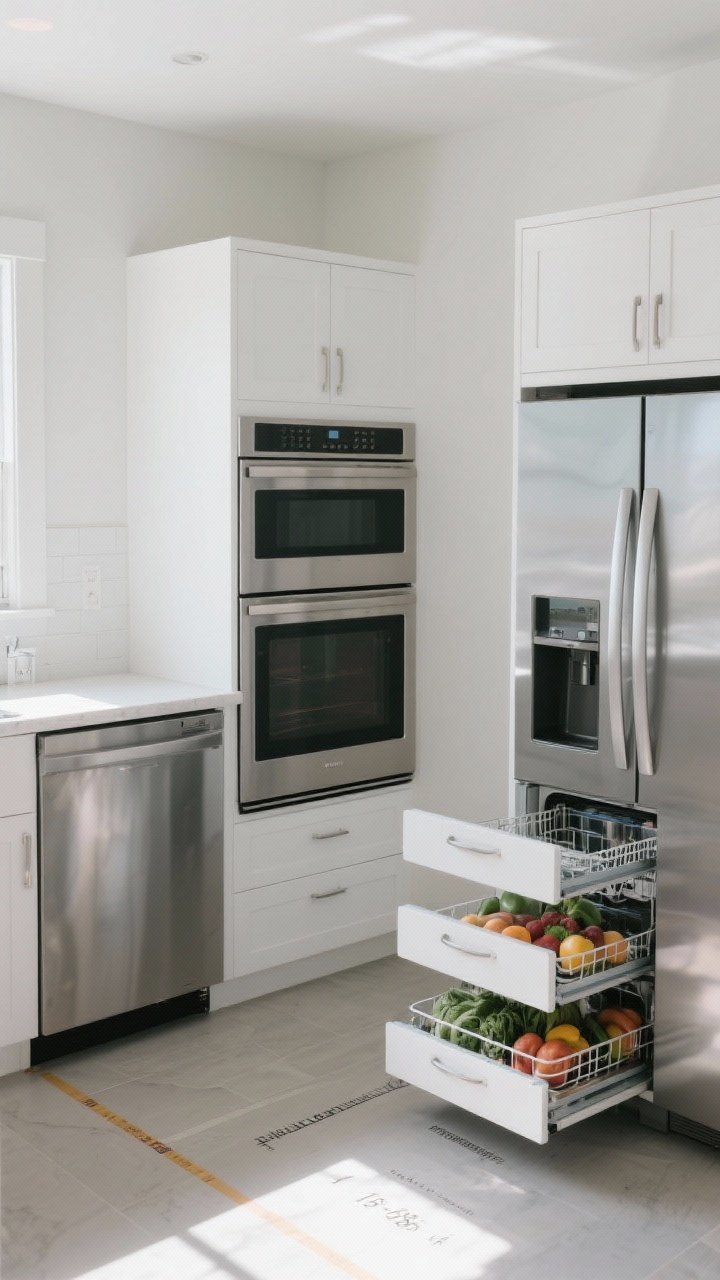
7. Poor Storage Planning (Clutter Creep Is Real)
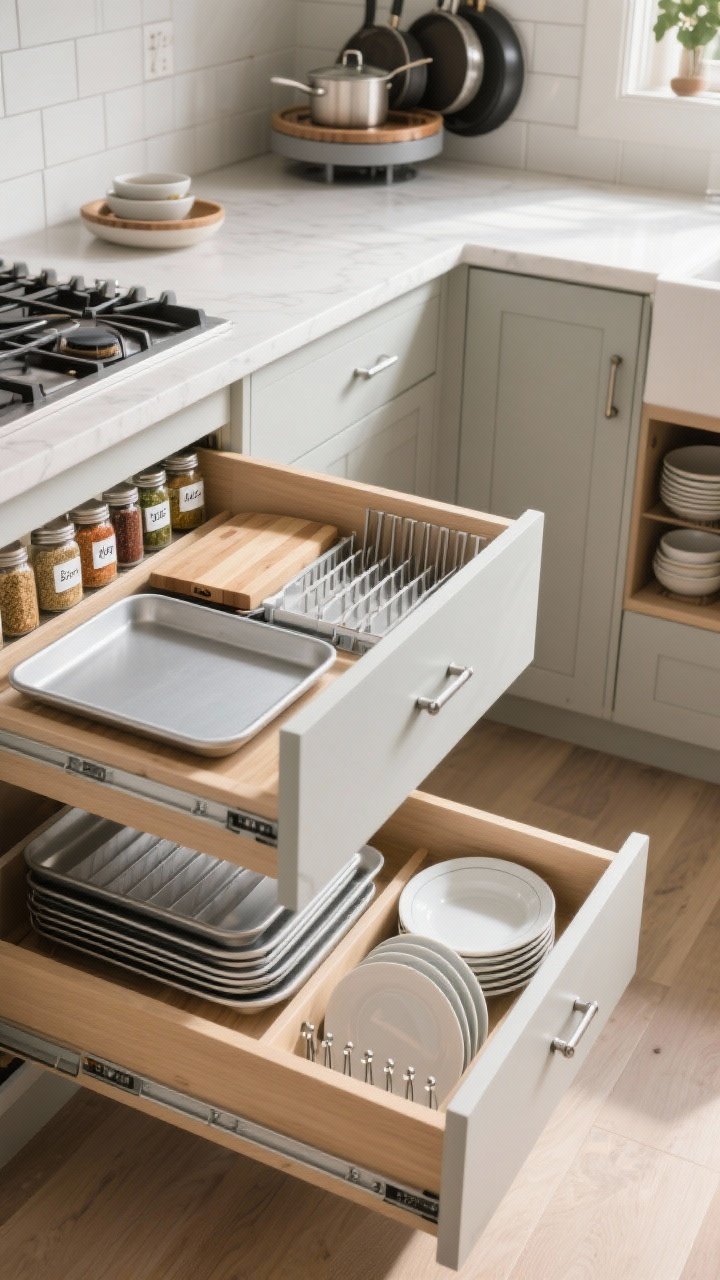
If you don’t assign everything a home, your counters will become a garage sale. Plan storage like a game of Tetris.
Start With An Inventory
- Count your appliances (mixer, air fryer, blender), and assign them a cabinet or lift.
- Measure tall items like oil bottles and cutting boards for pull-outs.
- Plan a trash/recycling/compost zone near the sink—hidden but accessible.
Smart Inserts That Change Everything
- Tray dividers for sheet pans and boards.
- Spice pull-outs near the range (12-inch wide is the sweet spot).
- Corner solutions: Lazy Susans, blind-corner pull-outs, or skip corners with drawers.
- Drawer pegs for plates and bowls—so much easier than upper stacking.
8. Misplacing Appliances (Awkward City)
Appliances and cabinets are a duet. If they’re out of sync, the whole kitchen feels off—and yes, you’ll notice every day.
Common Oops Moments
- Range too close to a wall so handles hit or splatter stains paint.
- Dishwasher blocked by corner cabinets or island overhangs.
- Fridge doors that can’t open fully—bye-bye, produce drawers.
Placement Fixes
- Leave 15–18 inches of counter on at least one side of the range and fridge.
- Ensure dishwasher is next to the sink with clear opening space.
- Check appliance specs for door swing, ventilation, and handle depth (those handles steal inches!).
IMO: Counter-depth fridges are worth it for clean cabinet lines and better circulation.
9. Skipping Filler Strips and End Panels (Tiny Details, Big Polish)
It’s the trims and fillers that make custom kitchens look expensive. Without them, you get awkward gaps and doors that rub.
Don’t Forget These
- Filler strips at walls to prevent binding and to center hardware.
- Finished end panels on exposed cabinet sides for a built-in look.
- Toe-kick returns and light rails to hide under-cab LEDs.
- Valance or panels around hoods for a seamless vibe.
Order a little extra trim. Walls are never perfectly square, and you’ll be glad to have backup.
10. Choosing the Wrong Color in the Wrong Light (Swatch Shock)
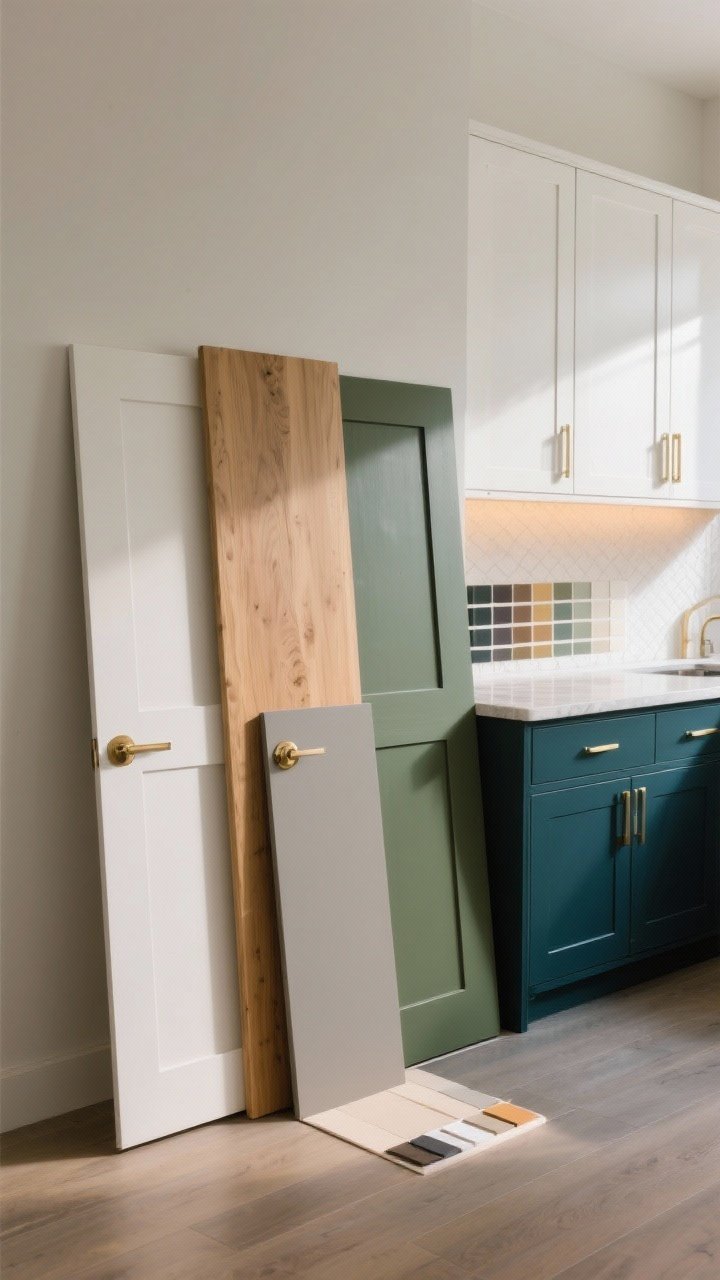
That soft gray can turn purple. That fresh white can go yellow. Paint and stain shift wildly under different lighting and in rooms with lots of wood, tile, or greenery outside.
Test Like You Mean It
- Get large samples or a single door in your shortlisted colors.
- View them in morning, afternoon, and evening with lights on and off.
- Pair them with counter, backsplash, and floor samples to see undertones.
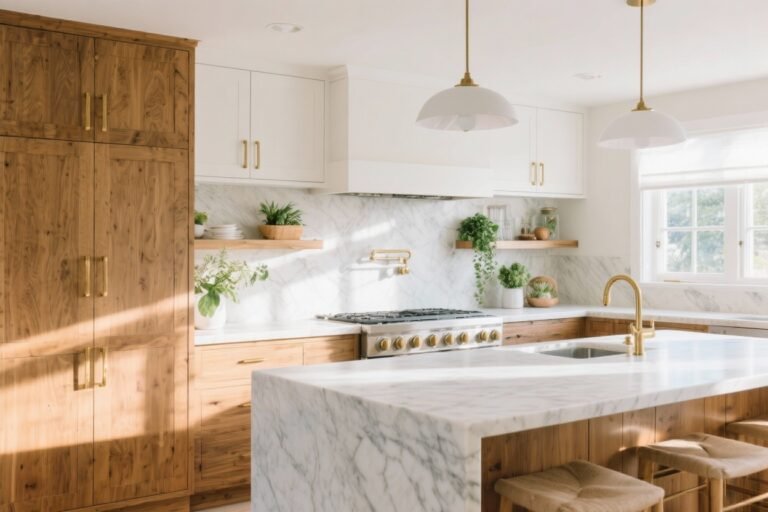
Foolproof Color Combos
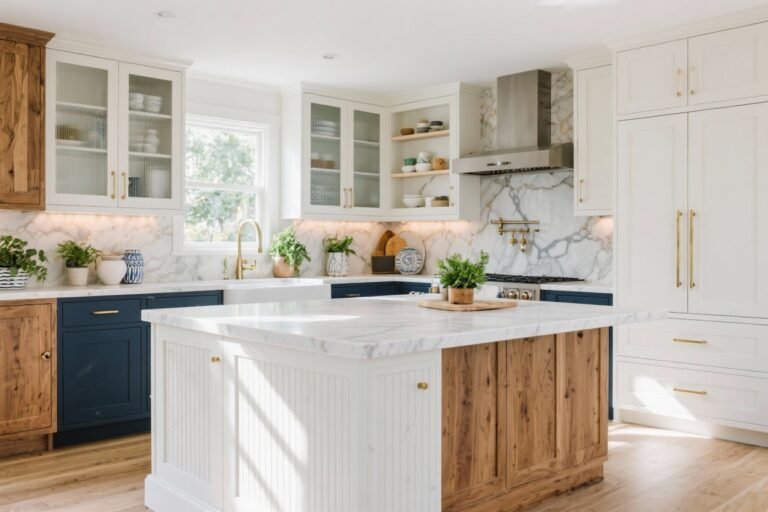
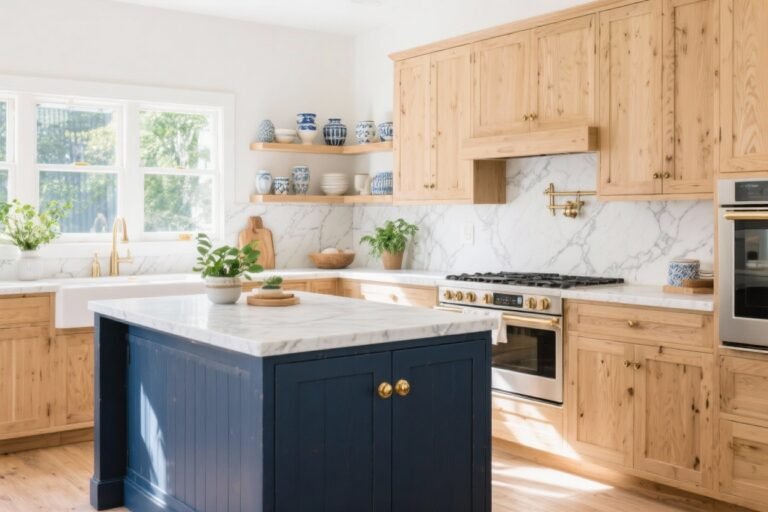
- Warm white + natural oak for cozy, timeless warmth.
- Greige + brass for soft modern luxury.
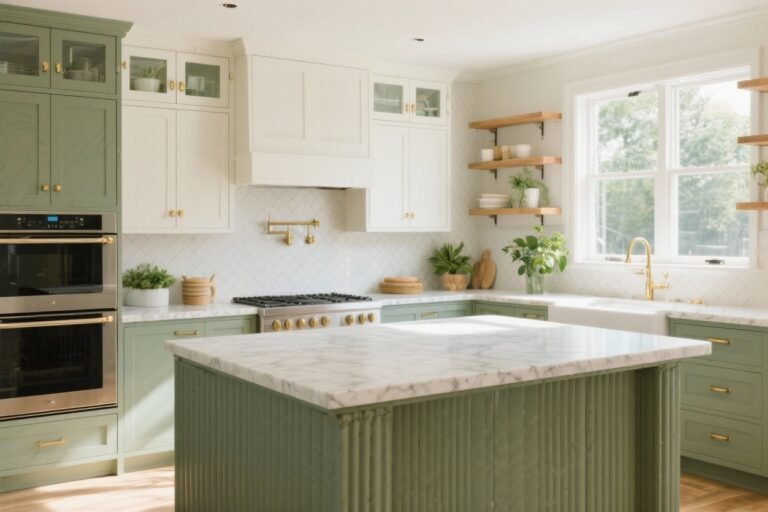
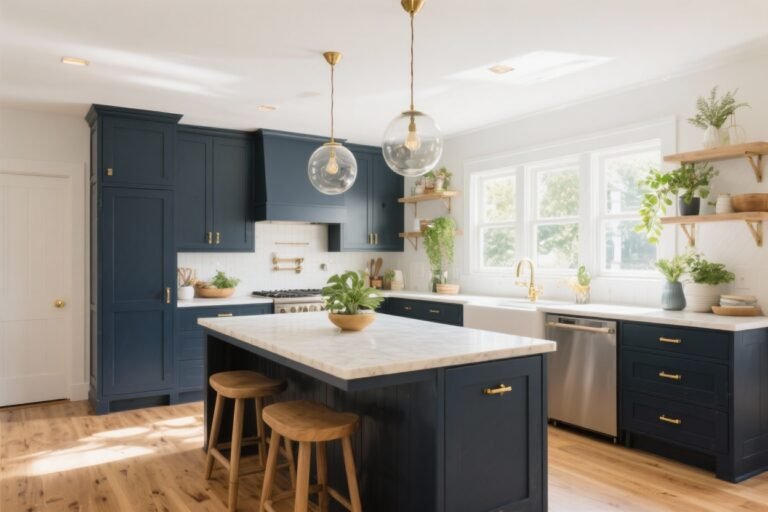
- Deep green/navy lowers + white uppers to ground the room without feeling heavy.
Bonus tip: Keep sheen consistent across doors and drawer fronts—satin or matte hides fingerprints better than semi-gloss.
Installation Pitfalls To Avoid (Quick Hitters)
- Not leveling bases: If the base row isn’t perfectly level, everything above it suffers.
- Skipping scribe: Scribe to wavy walls for tight, pro-level fits.
- Forgetting studs: Mark stud locations before drywall or use a high-quality stud finder.
- No ventilation plan: Duct that range hood out properly or grease will find you. Everywhere.
Budget-Savvy Moves That Look Luxe
- Spend on doors and hardware, save on boxes. Plywood if you can, good particleboard if you can’t.
- Panel your dishwasher and fridge for a built-in look without custom everything.
- Use taller toe-kicks to fake custom height and improve ergonomics.
- Paint existing boxes and replace doors for a major refresh without a total gut.
Final Take: Your kitchen cabinets set the tone—and the workflow—for your entire space. Avoid these ten missteps and you’ll get a kitchen that not only looks like a million bucks but actually works for real life. You’ve got this. And if anyone questions your cabinet confidence? Just smile and point to those soft-close drawers. Mic drop.