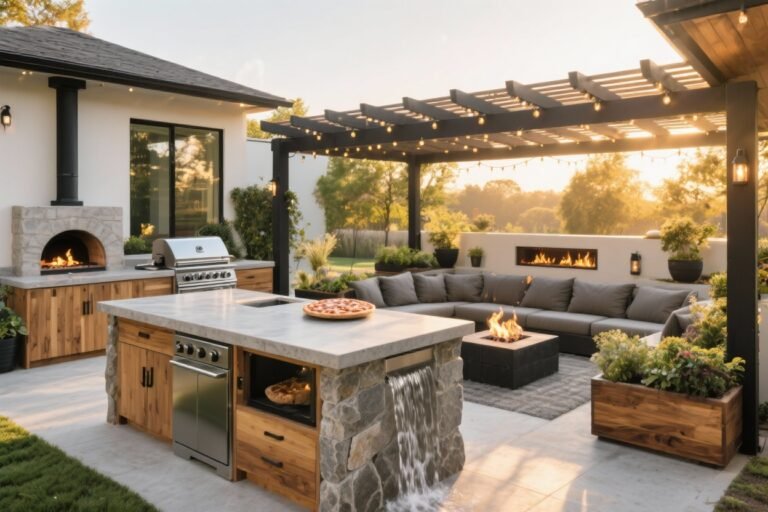
10 Outdoor Kitchen Features Homeowners Regret Not Adding (until It’s Too Late)
You built the outdoor kitchen. It looks amazing on Instagram. But then you start cooking and realize—oh no—you forgot the stuff that actually makes it work. Don’t worry, we’ve all been there. Before you fire up the grill and host the neighborhood, let’s talk about the features people skip and immediately regret. Add these now, thank yourself all summer.
1. The Sink That Saves Your Sanity
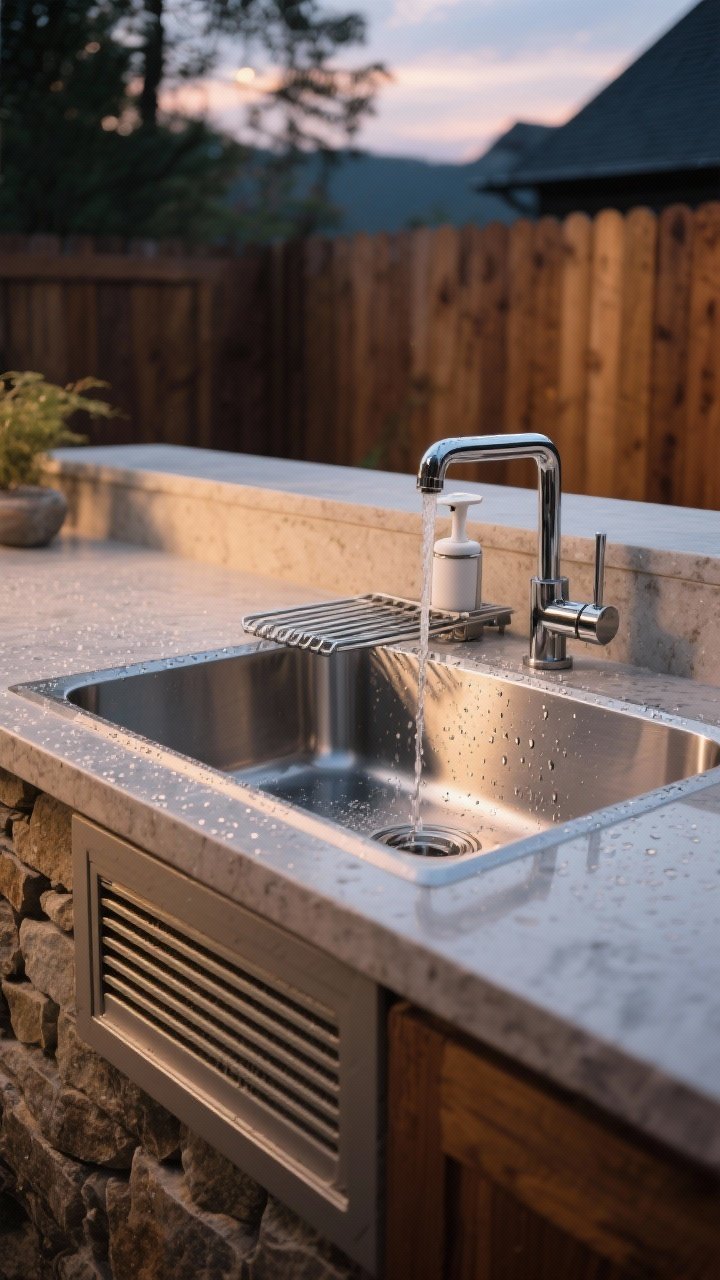
Nothing kills outdoor cooking vibes like sprinting inside with raw-chicken hands. A simple outdoor sink is the difference between effortless and Ugh-why-is-this-so-hard.
Tired of snacking when you’re not even hungry? This reset helps you stop the loop and feel back in control.
A simple reset for moments when cravings take over. Easy to use, easy to repeat, and designed to help you feel satisfied instead of stuck.
Why You’ll Love It
- Handwashing without running inside (a thousand times).
- Rinse veggies and utensils on the spot.
- Keep the indoor kitchen clean and drama-free.
Pro Tips
- Choose a deep stainless basin with a pull-down sprayer.
- Ask your plumber about a frost-proof setup if you’re in a cold climate.
- Include a small soap dispenser and a drying rack built into the counter.
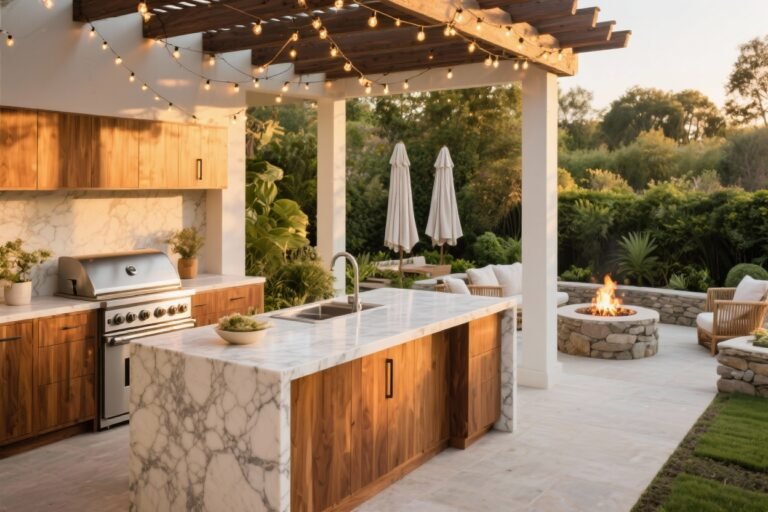
2. Real Counter Space (Because Plates Need Somewhere to Land)
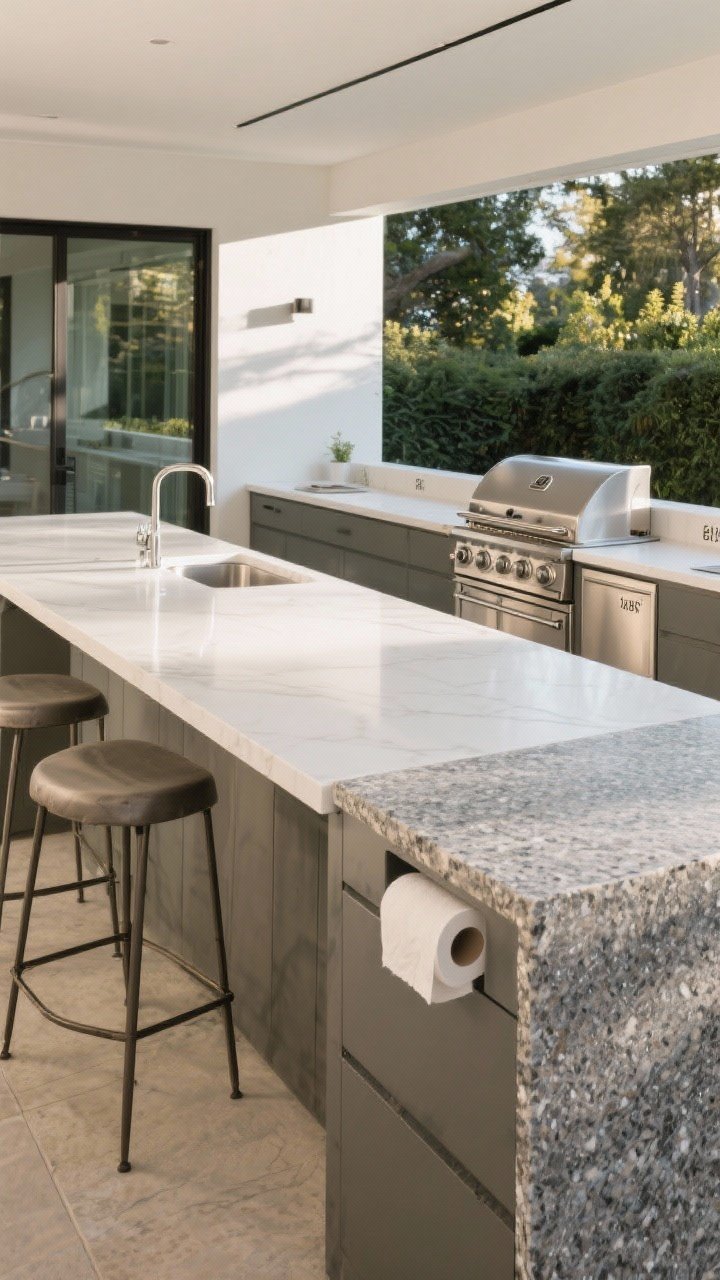
Grills are glam. Counters are practical. Guess which one you’ll miss more mid-meal? You need prep space on one side and landing space on the other. Otherwise, you’re balancing cutting boards on your knees like a camp novice.
How Much Do You Need?
- 36–48 inches of uninterrupted prep space is ideal.
- Add a 12–18 inch landing zone beside the grill and sink.
- Use durable surfaces: porcelain, concrete, or sealed granite for weather resistance.
Bonus Moves
- Install a counter-height bar for guests to hang (and stay out of your way).
- Add a paper towel pull-out under the counter—trust me, clutch.
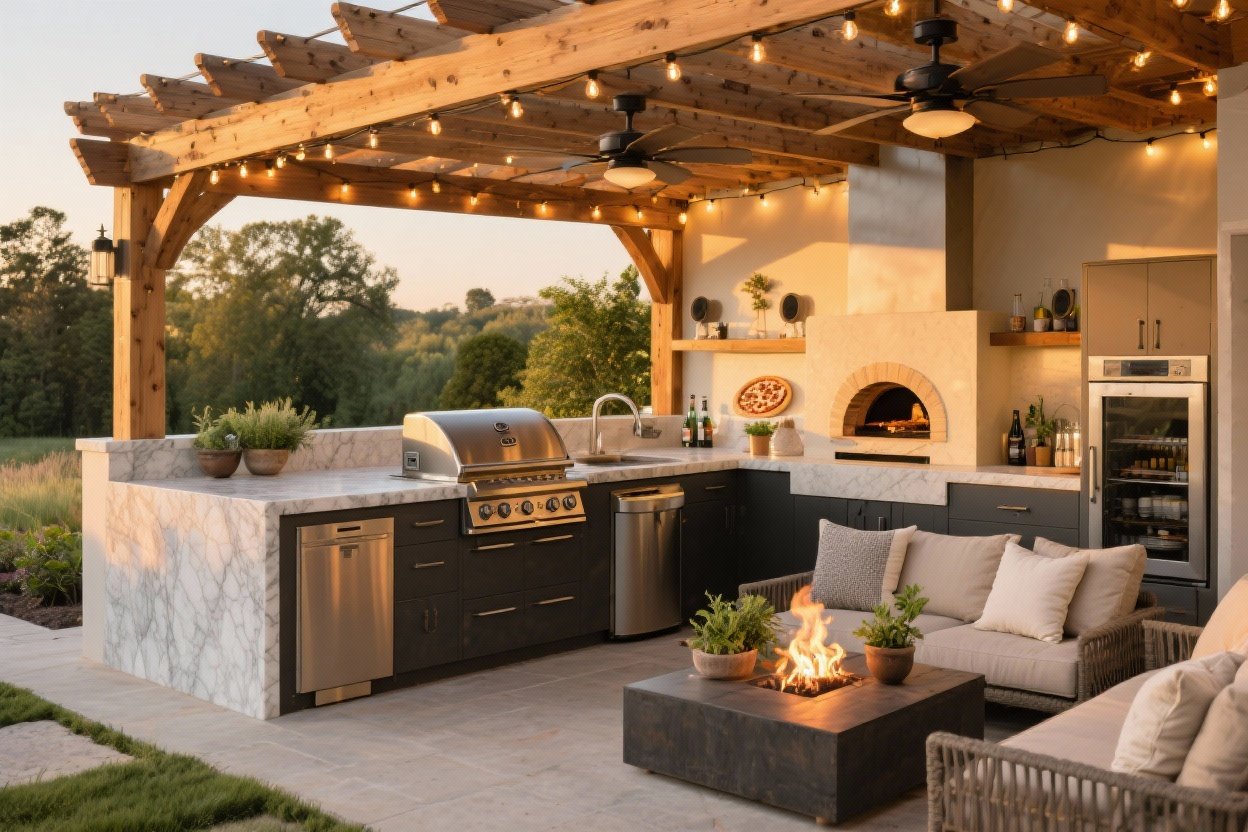
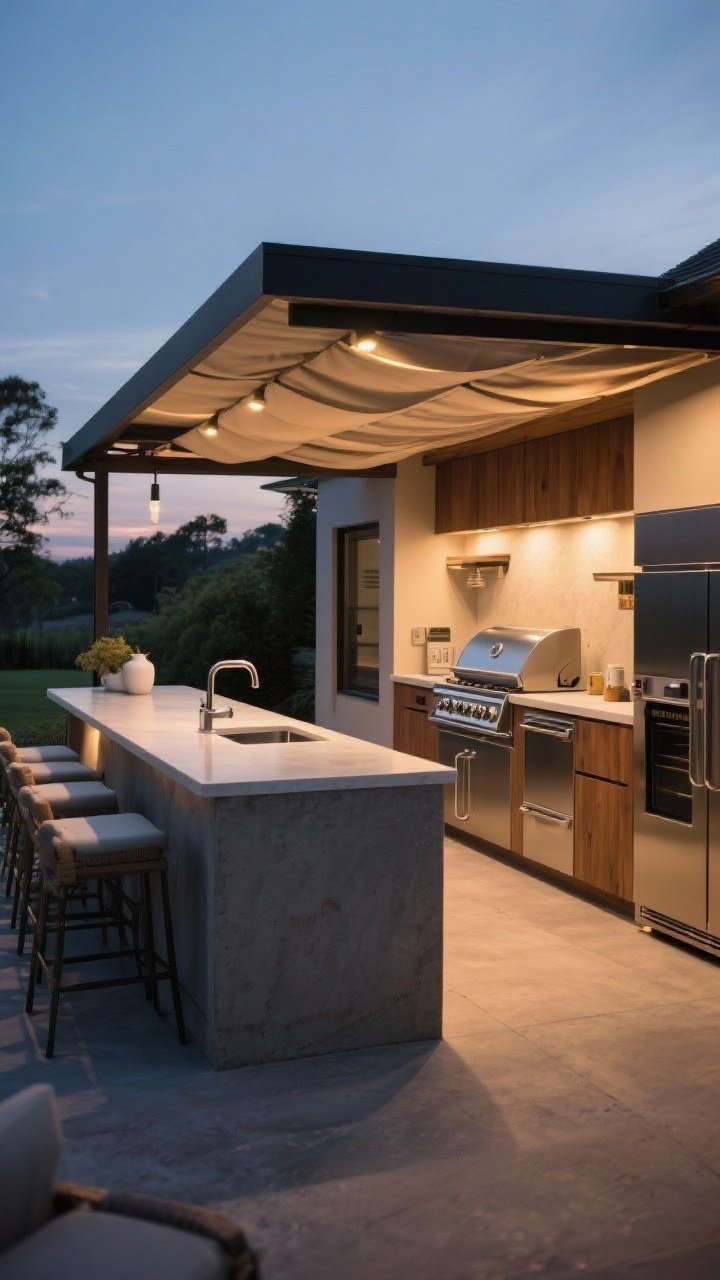
3. Shade and Shelter: Prep, Cook, Eat—Not Bake
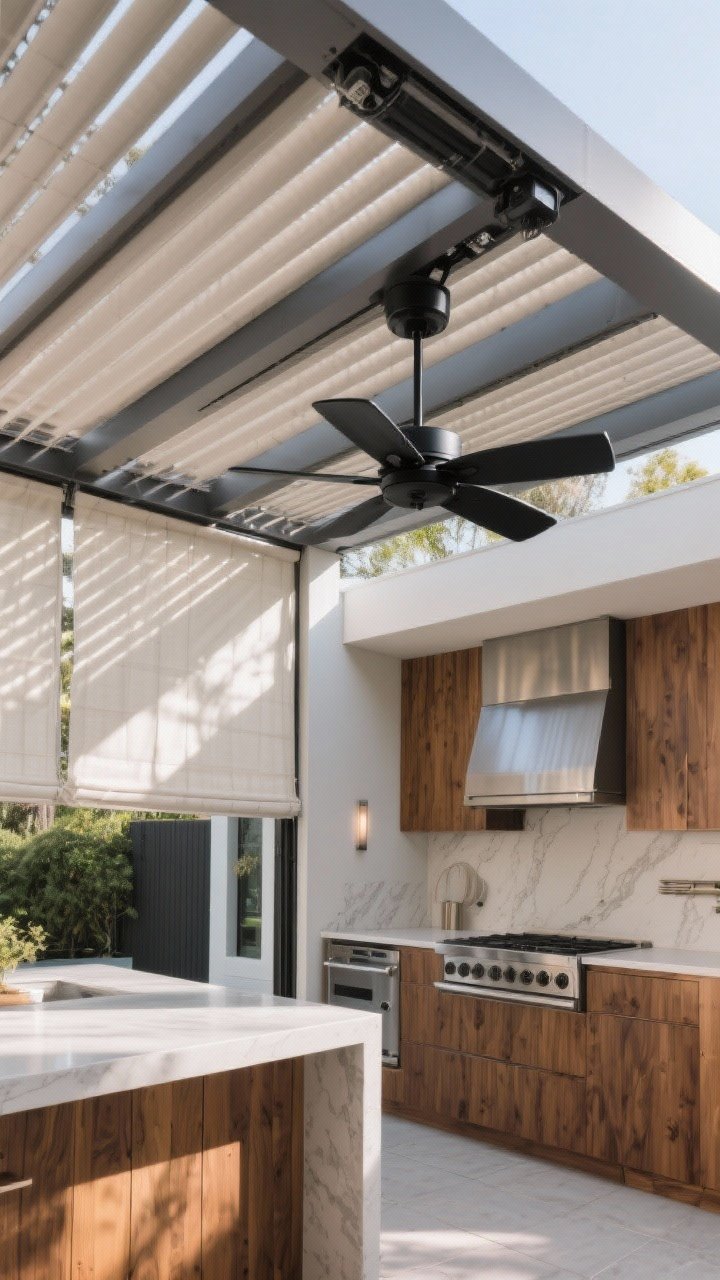
Sun looks cute in photos. In real life, it melts cheese and chefs alike. Without shade, you won’t want to cook there after week two. And a bit of shelter means you can actually grill in a drizzle (or when the forecast lies, which is always).
What Works Best
- Pergola or pavilion with a louvered roof so you can control light and rain.
- UV-rated fabric shades for sides when the sun moves.
- Ceiling fan under cover to keep the smoke and heat moving.
Design Tip
- Match the structure to your home’s architecture, and carry the same wood stain or metal finish for a custom look.
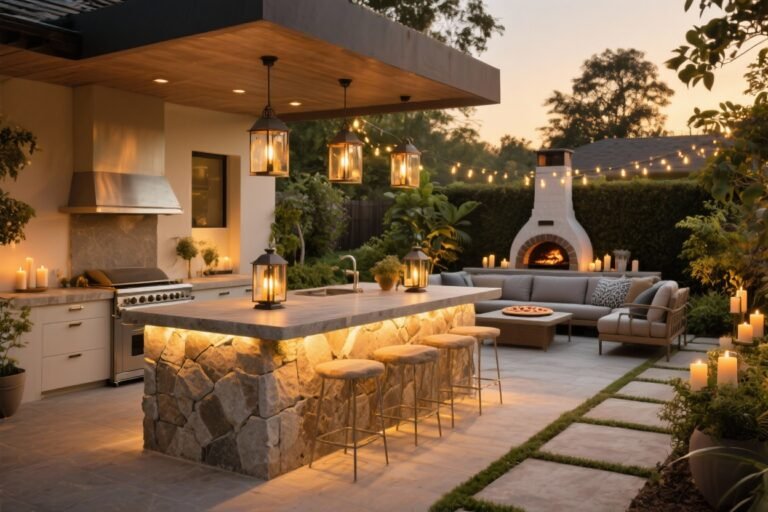
4. Task, Ambient, and Glow: Layered Lighting That Works

One lonely sconce won’t cut it. You need layers of lighting so you can chop, grill, and vibe after sunset.
The Three Layers
- Task lighting: Under-cabinet or hood lights to see the grill and prep zones.
- Ambient lighting: String lights or pendants for overall mood.
- Accent lighting: Toe-kick LEDs or lanterns for that cozy glow.
Smart Upgrades
- Use weather-rated fixtures and warm bulbs (2700–3000K).
- Add motion sensors for pathways and dimmers for everything else.
- Put it all on a single smart switch so you’re not juggling a control panel.
5. A Side Burner (Or Two) So You’re Not Chained to One Heat Source
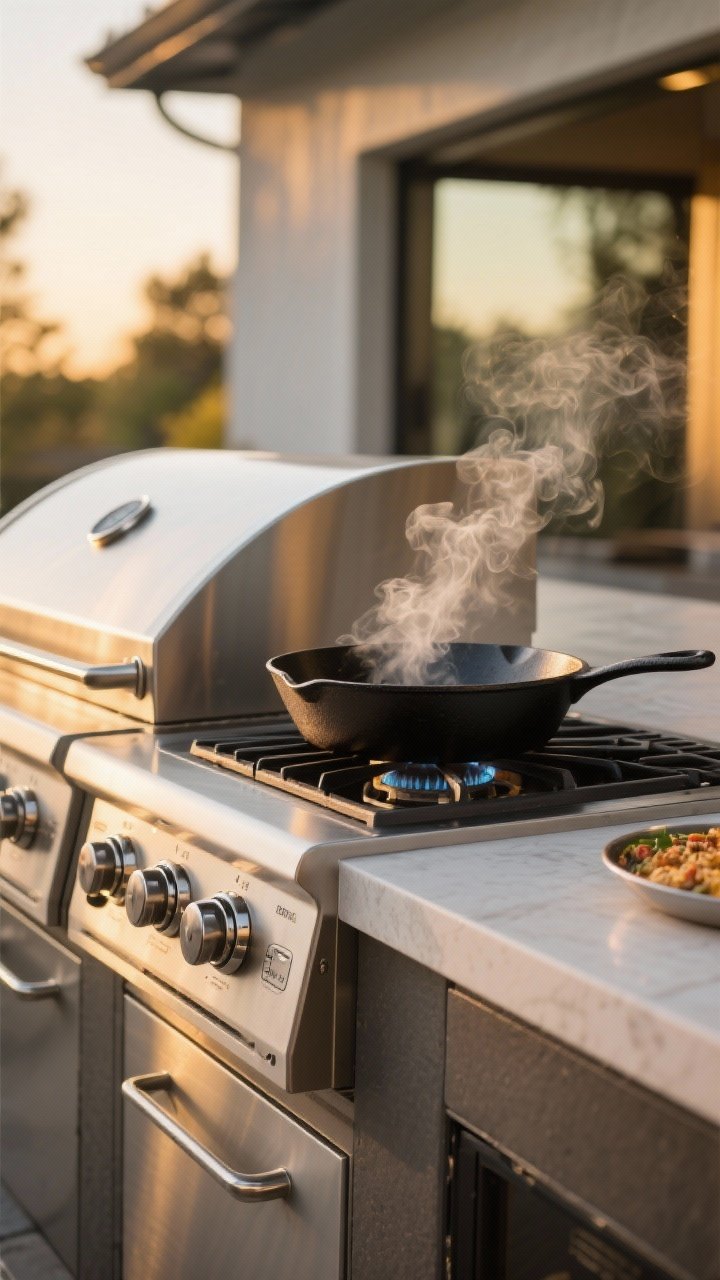
Grill’s great. But where are you boiling corn, simmering sauces, or heating a cast-iron pan? A side burner adds serious flexibility and saves those last-minute dashes inside.
Transform Your Home With 7,250+ Stunning Landscaping Designs—No Expensive Designers Needed!
- 🌿 Access 7,250+ stunning landscaping designs.
- 💰 Save thousands—no pro designer needed.
- 🏡 Plans for gardens, patios, walkways, and more.
- ✨ Simple, beginner-friendly DIY layouts.
- 🛠️ Customize any design to fit your yard.
Best Uses
- Boil pasta or potatoes while the grill’s loaded.
- Simmer marinades and glazes without scorching.
- Stir-fry or sear in a skillet—restaurant vibes, backyard edition.
Setup Tips
- Place it downwind of the grill so smoke doesn’t blow in your face.
- Choose a unit with strong BTUs and a lid to protect from weather.
- If you’re a wok or paella person, consider a power burner.

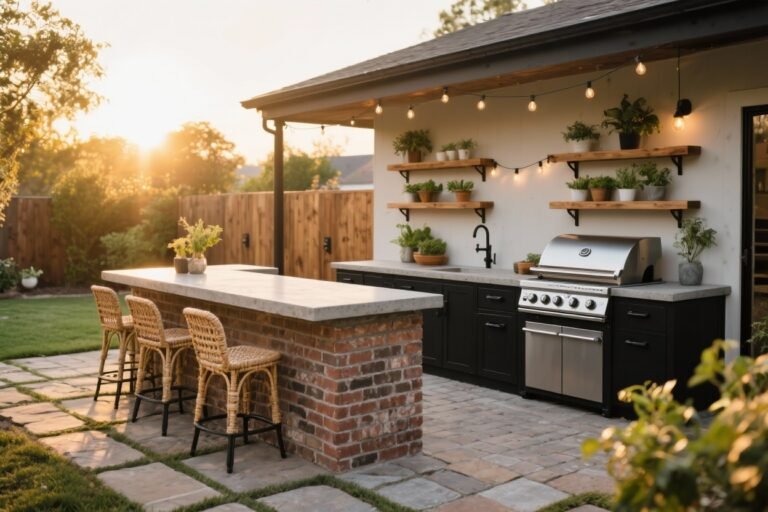
6. Enclosed, Organized Storage (Not Just a Couple of Doors)

Open cabinets outside become bug condos. You want sealed drawers and dry storage so your gear isn’t constantly sticky, dusty, or damp.
What to Include
- Full-extension drawers for tools, towels, and spice caddies.
- A trash and recycling pull-out—no one wants to stare at a bin.
- Weather-sealed dry box for paper plates, napkins, and rubs.
Finishes That Last
- Choose marine-grade stainless or powder-coated aluminum.
- Elevate cabinets slightly with water-shedding toe-kicks.
- Label drawers. FYI: Future you will be obsessed with you.
7. Refrigeration That Actually Fits Your Lifestyle
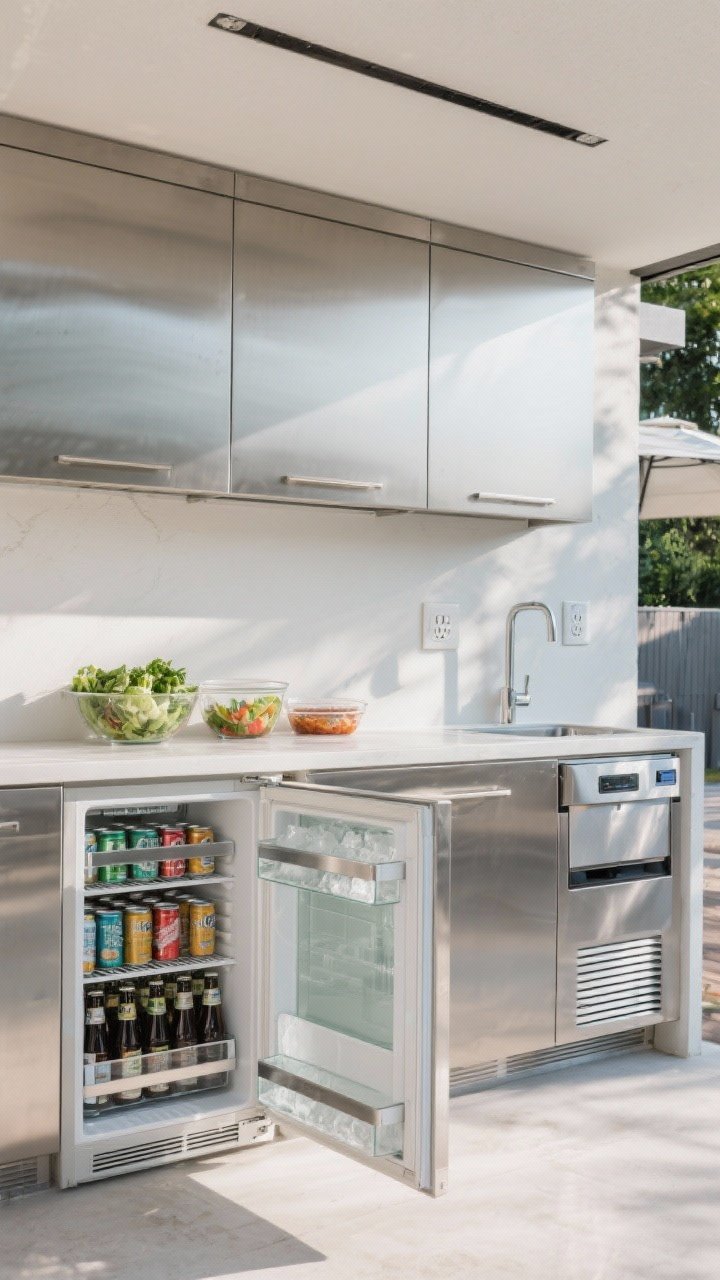
Outdoor living is 90% about having cold drinks within arm’s reach. People regret skimping on this. A single tiny mini-fridge? Cute, but no. Think multi-zone refrigeration if you entertain.
Smart Combinations
- Undercounter fridge for marinades, salads, and condiments.
- Beverage center or drawer fridge for cans and bottles.
- Ice maker if you host often—game changer for cocktails.
Planning Tips
- Pick outdoor-rated appliances with good ventilation clearance.
- Add a GFCI outlet and a dedicated circuit if needed.
- Include a drain plan for the ice maker and defrost cycles.
8. Hidden Power and Smart Tech (So You’re Not Stringing Extension Cords)
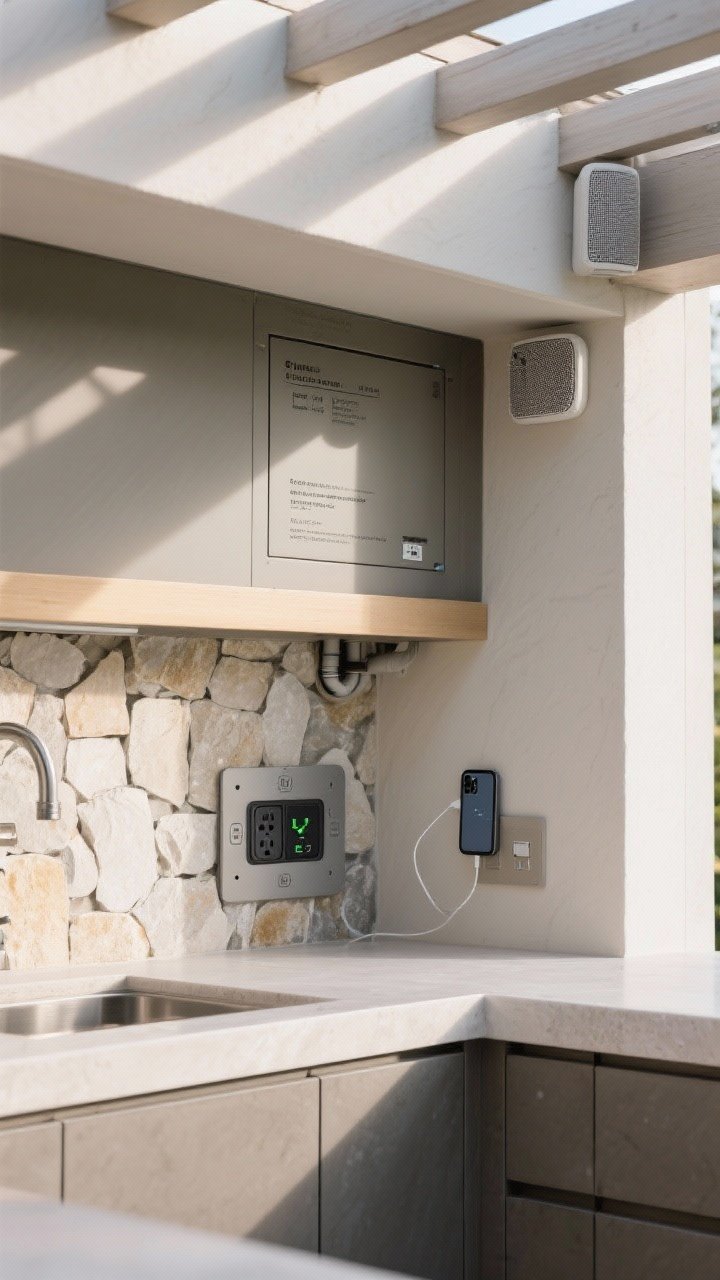
Power is the unsung hero. You’ll need it for blenders, pellet grills, pizza ovens, speakers, and phone charging. Without built-in outlets, your beautiful kitchen becomes a tangle of cords—aka a tripping hazard.
What to Add
- Weatherproof outlets at prep zones and seating areas.
- A couple of USB-C ports in a covered nook for charging.
- Conduit for future upgrades (pizza oven today, heaters tomorrow).
Smart Stuff
- Wifi-enabled switches and timers for lights and heaters.
- Outdoor-rated Bluetooth or wired speakers tucked into the structure.
- Consider a mesh Wi-Fi extender for reliable streaming and smart controls.
9. Ventilation and Heat Management (Yes, Even Outside)
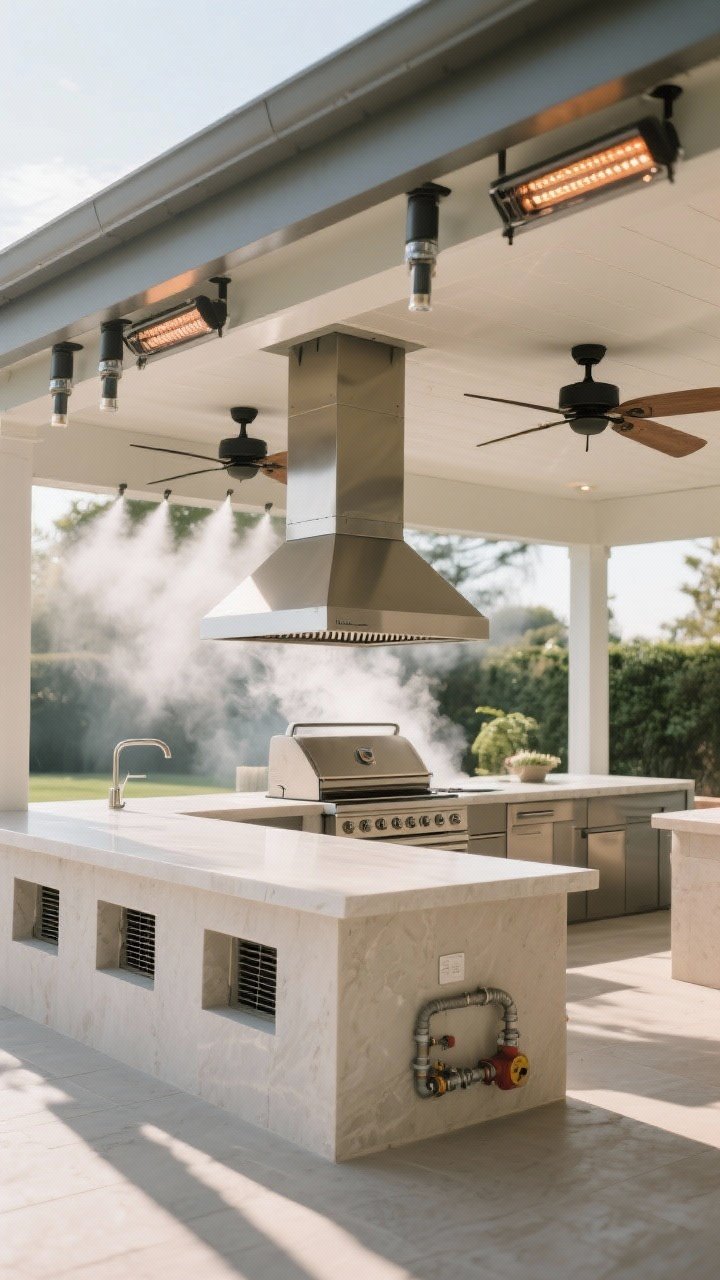
Outside doesn’t mean “smoke disappears magically.” If your grill sits under a roof, you need a proper vent hood or smoke shelf. And in hot climates, plan for cooling—or your chef will mutiny.
Vent + Airflow Essentials
- Use an outdoor-rated hood with the right CFM for your grill size.
- Leave cross-vent openings in island bases for gas safety.
- Add a ceiling fan or two for circulation.
Heat + Cold Comfort
- In hot zones: Misters or evaporative coolers near seating.
- In cool seasons: Mounted infrared heaters keep the party going.
- Store grill tools away from heat—warped tongs are tragic.
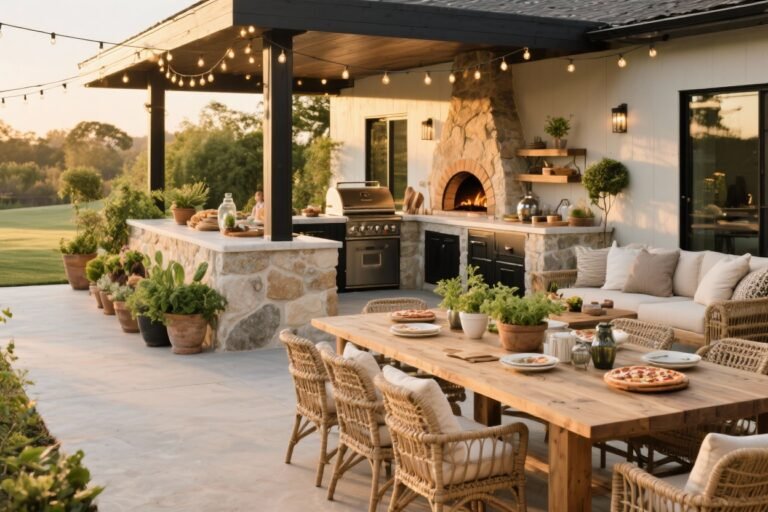
10. A Real Seating + Serving Plan (Not Just Random Chairs)
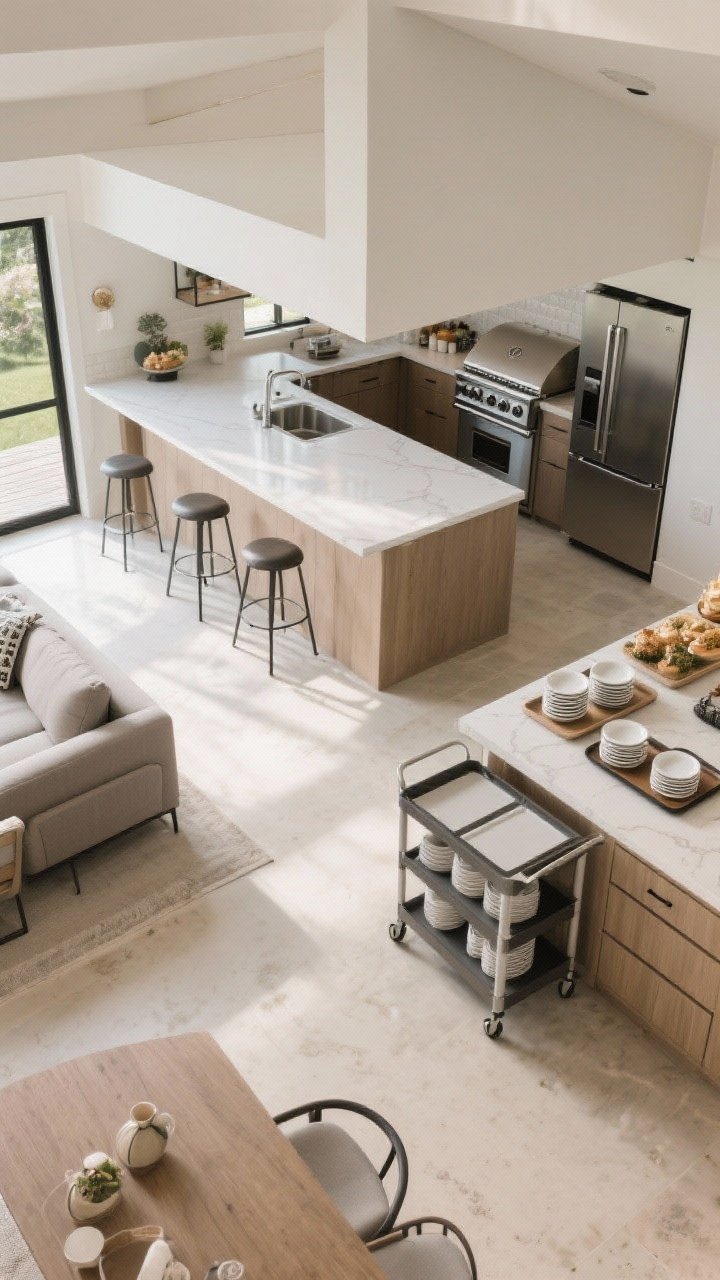
People regret not designing the hangout flow. You want a place for prep, a place for plating, and a place for people to chill without blocking the cook’s path.
Layout That Works
- Clear triangle between grill, sink, and fridge—no traffic jams.
- Bar overhang for 2–4 stools, away from hot zones.
- A nearby lounge or dining zone (8–10 feet away) for conversation without smoke.
Serving Wins
- Add a buffet ledge or pass-through counter for platters.
- Keep a tray station and stackable melamine dinnerware in a dry drawer.
- Consider a rolling cart as a flexible bar or dessert station.
Bonus Comforts You’ll Never Regret
- Rugged outdoor rug zones the space and softens stone.
- Throw pillows in performance fabric = instant cozy.
- Planters with herbs double as garnish and decor (mint near the bar, basil near the prep).
Conclusion: Build For Real Life, Not Just For Photos
Your outdoor kitchen should feel effortless: wash here, chop there, grill, serve, chill. The features above are the ones homeowners skip and miss immediately—sink, counters, shade, lighting, burners, storage, refrigeration, power, ventilation, and seating flow. Add even a few and you’ll transform the space from “pretty patio” to “favorite room in the house,” IMO.
Ready to tweak your setup? Start with the easiest wins (outlets, lighting, a rolling cart), then plan for the bigger upgrades. Next cookout, your only regret will be not doing it sooner.