10 Upper Kitchen Cabinet Alternatives Designers Actually Use (and Love)
Upper cabinets aren’t the only way to store your stuff—or make your kitchen look pulled together. Designers have been ditching bulky uppers for lighter, smarter, and frankly prettier options that open up the room and keep daily essentials within reach.
If you’ve ever felt like your kitchen walls are closing in on you, this is your sign. Here are 10 upper kitchen cabinet alternatives that designers actually use, plus tips to make them work in real life (a.k.a. not just on Pinterest).
Tired of snacking when you’re not even hungry? This reset helps you stop the loop and feel back in control.
A simple reset for moments when cravings take over. Easy to use, easy to repeat, and designed to help you feel satisfied instead of stuck.
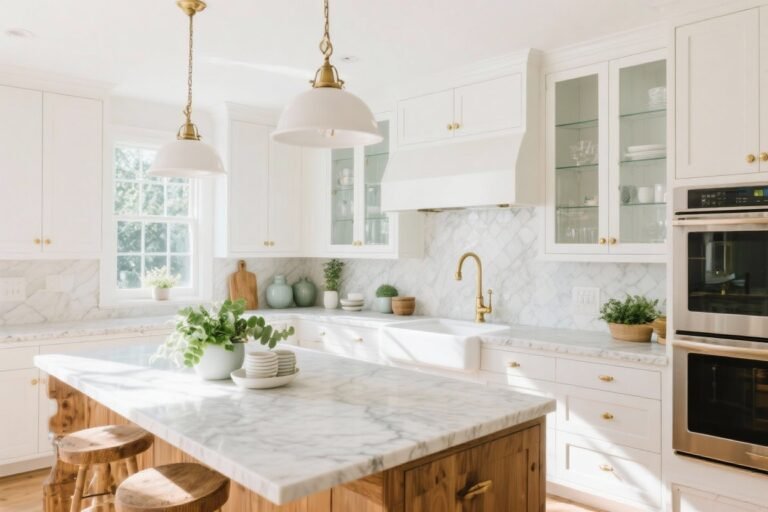
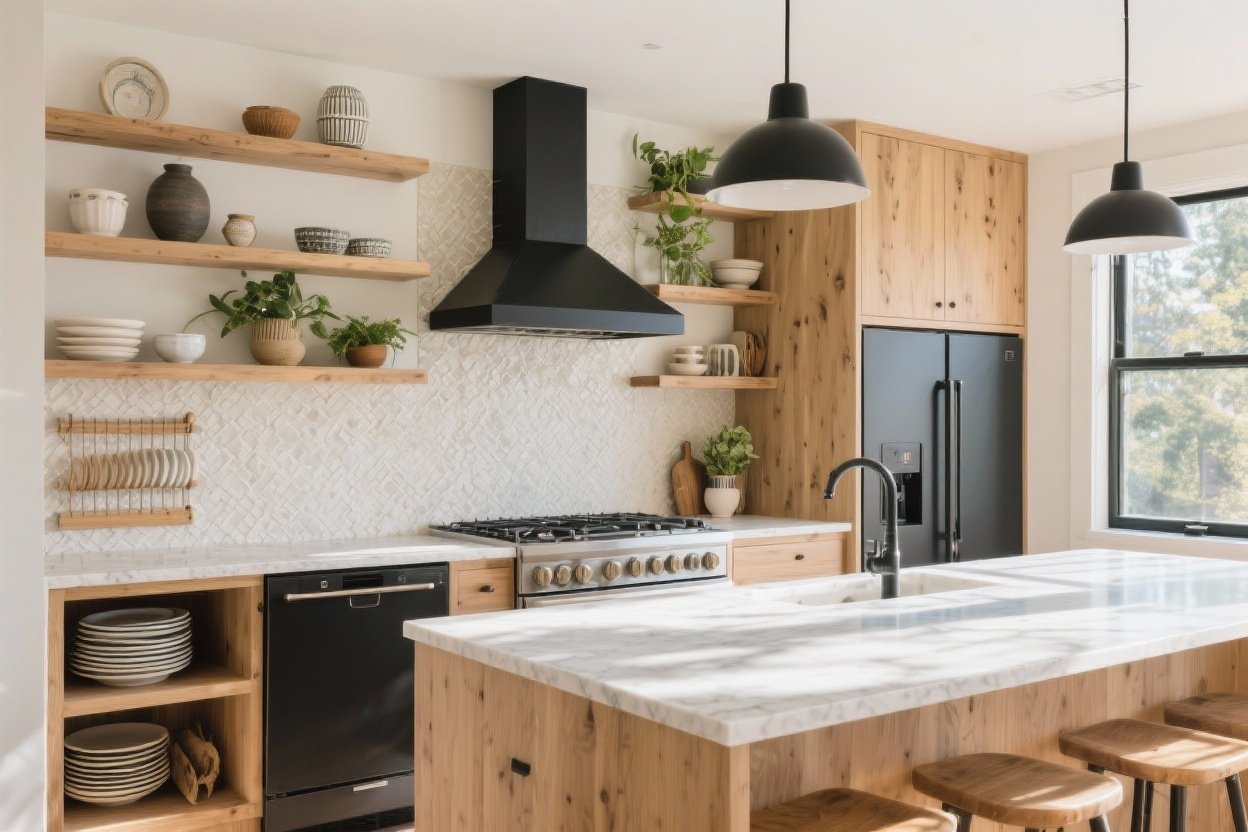
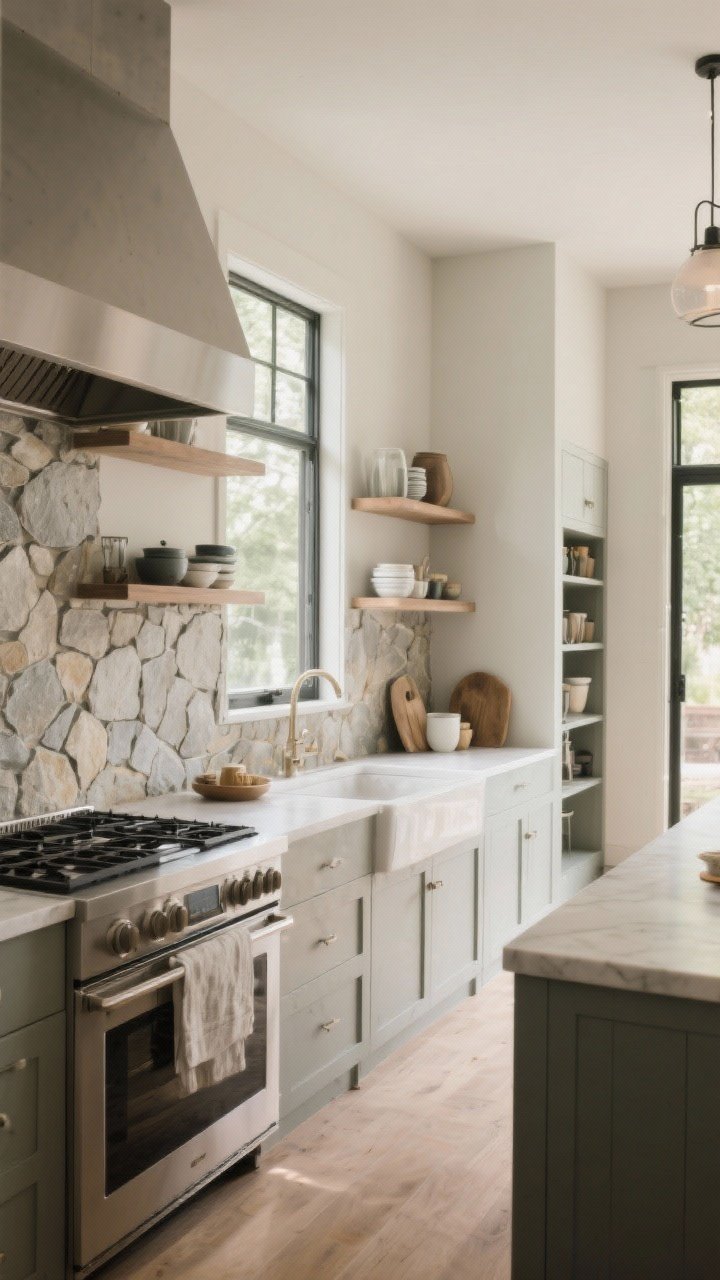
1. Go All-In On Open Shelving
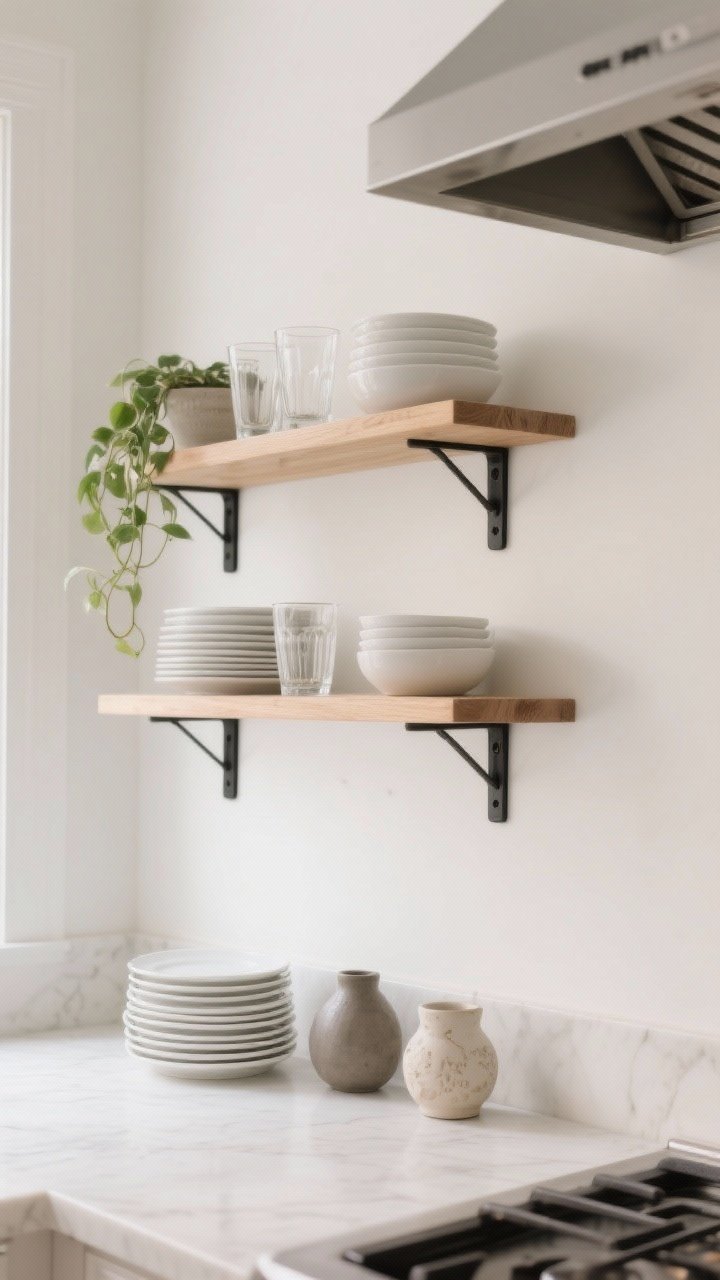
Open shelves are the clean-girl aesthetic of kitchens: light, airy, and very Instagrammable. They visually expand the room and make everyday things feel styled—without actually doing much. The key is editing. Less is more, and matching dishes help.
How to make open shelves work
- Stick to one or two materials: Think wood shelves with matte black brackets, or slim metal rails with glass.
- Curate like a stylist: Stack plates, line up bowls, mix in a plant or two. It’s storage and decor in one.
- Keep it practical: Place daily-use items on the lowest shelf; reserve the top for pretty things.
Pro tip: Use a shallow shelf (8–10 inches) so it doesn’t feel heavy. And yes, install a good range hood—open shelves love grease, unfortunately.
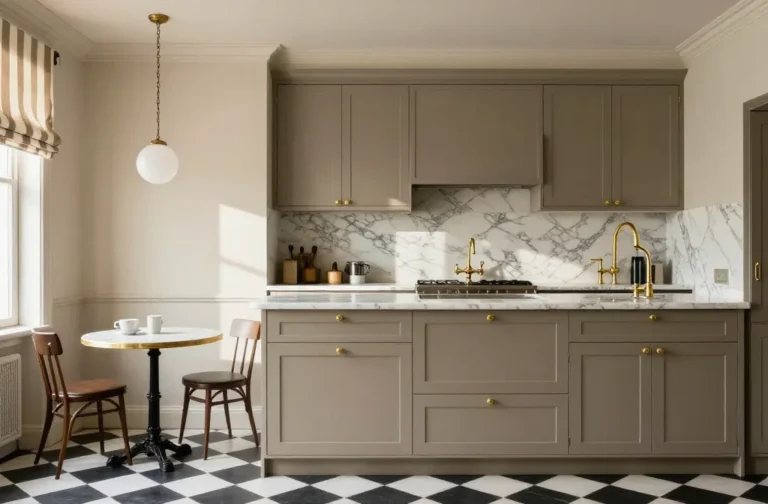
2. Add a Full-Length Backsplash Ledge

Think of this as the minimalist cousin of open shelves. A stone or wood ledge that runs the length of your backsplash gives you a spot to rest oils, salt, and small art without crowding the wall.
Why designers love it
- Seamless look: If your ledge matches your countertop or slab backsplash, it looks custom and intentional.
- Low visual weight: You get function without the “blockiness” of uppers.
- Perfect for small kitchens: Keeps counters clear but still easy to reach.
Pro tip: Aim for a 3–5 inch depth. Add an LED strip underneath for a soft glow that doubles as task lighting.
Transform Your Home With 7,250+ Stunning Landscaping Designs—No Expensive Designers Needed!
- 🌿 Access 7,250+ stunning landscaping designs.
- 💰 Save thousands—no pro designer needed.
- 🏡 Plans for gardens, patios, walkways, and more.
- ✨ Simple, beginner-friendly DIY layouts.
- 🛠️ Customize any design to fit your yard.
3. Install a Peg Rail With Upper Shallow Storage
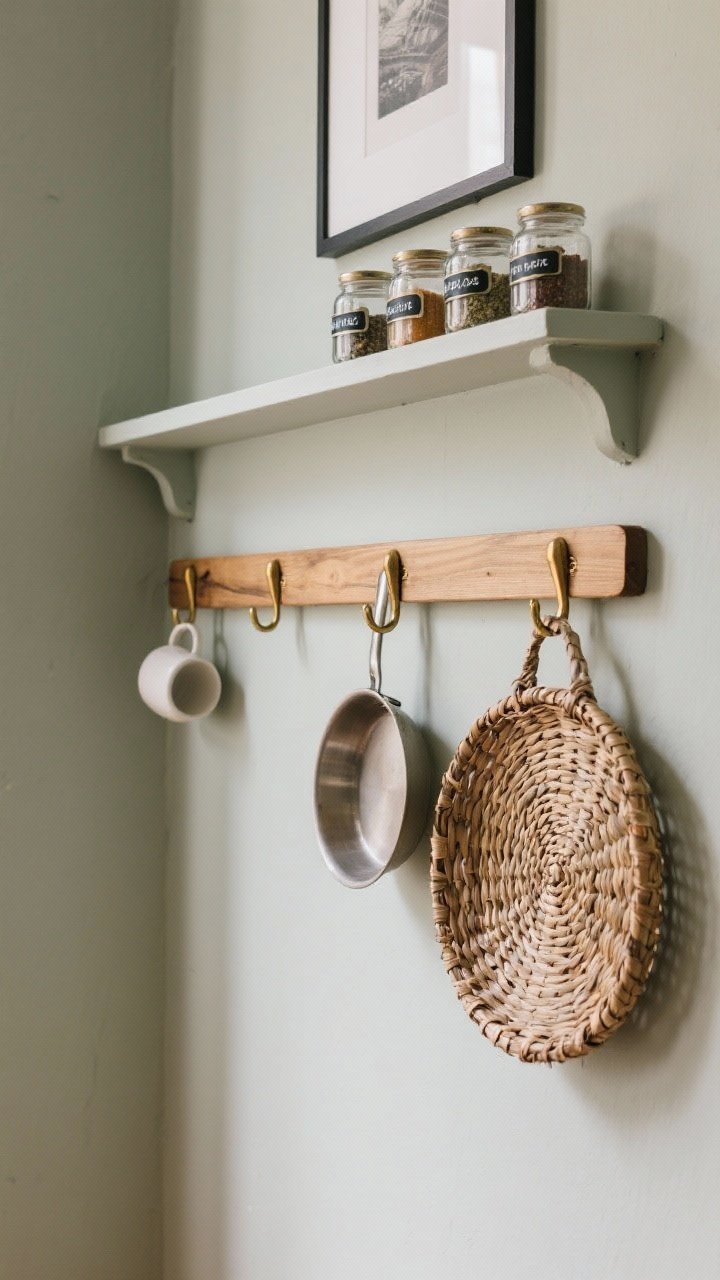
This is the chic, utility-room-meets-European-kitchen move. A wood peg rail runs along the wall with hooks for mugs, pans, or baskets. Above it, add a slim picture ledge or narrow shelf for spices and small jars.
Make it pretty and practical
- Use matching jars: Decant spices into glass and label. Yes, you’ll feel superior every time you cook.
- Mix materials: Natural wood pegs + brushed brass hooks = chef’s kiss.
- Keep it low: Place hooks at a comfortable reach to avoid the dreaded shoulder stretch.
Pro tip: Peg rails look amazing painted to match the wall color for a built-in vibe.
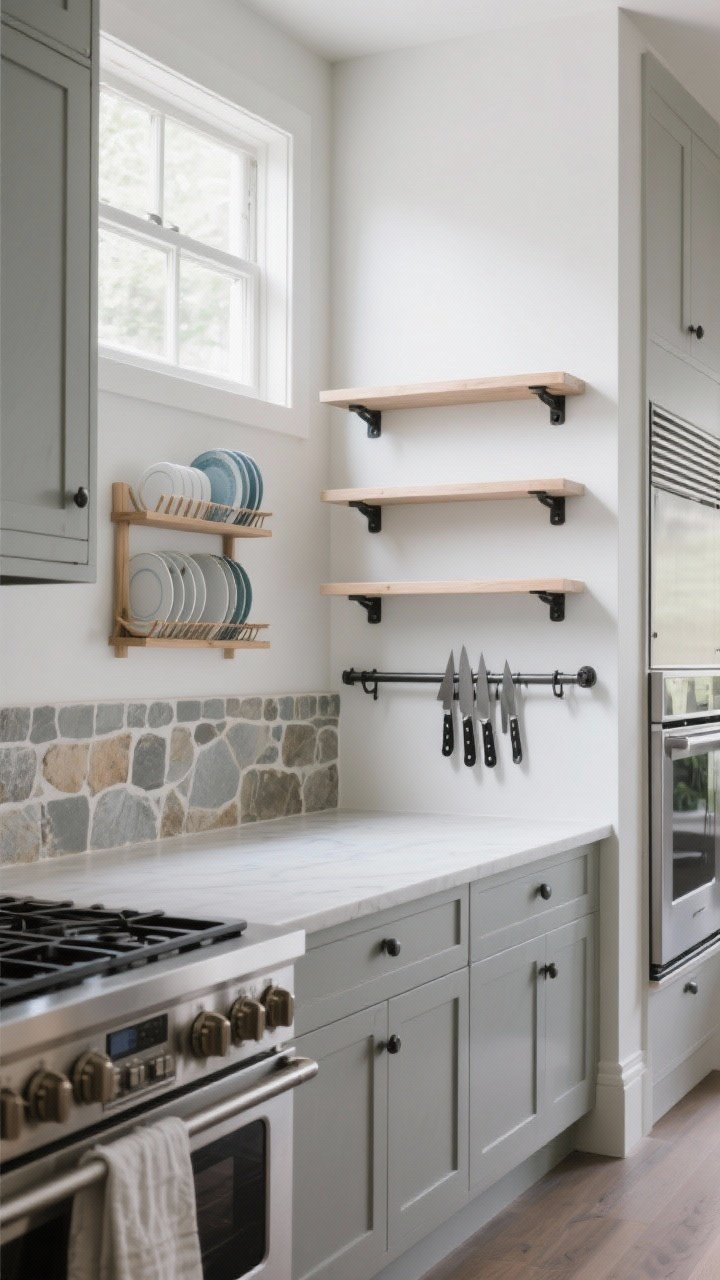
4. Try a Plate Rack or Dish Display
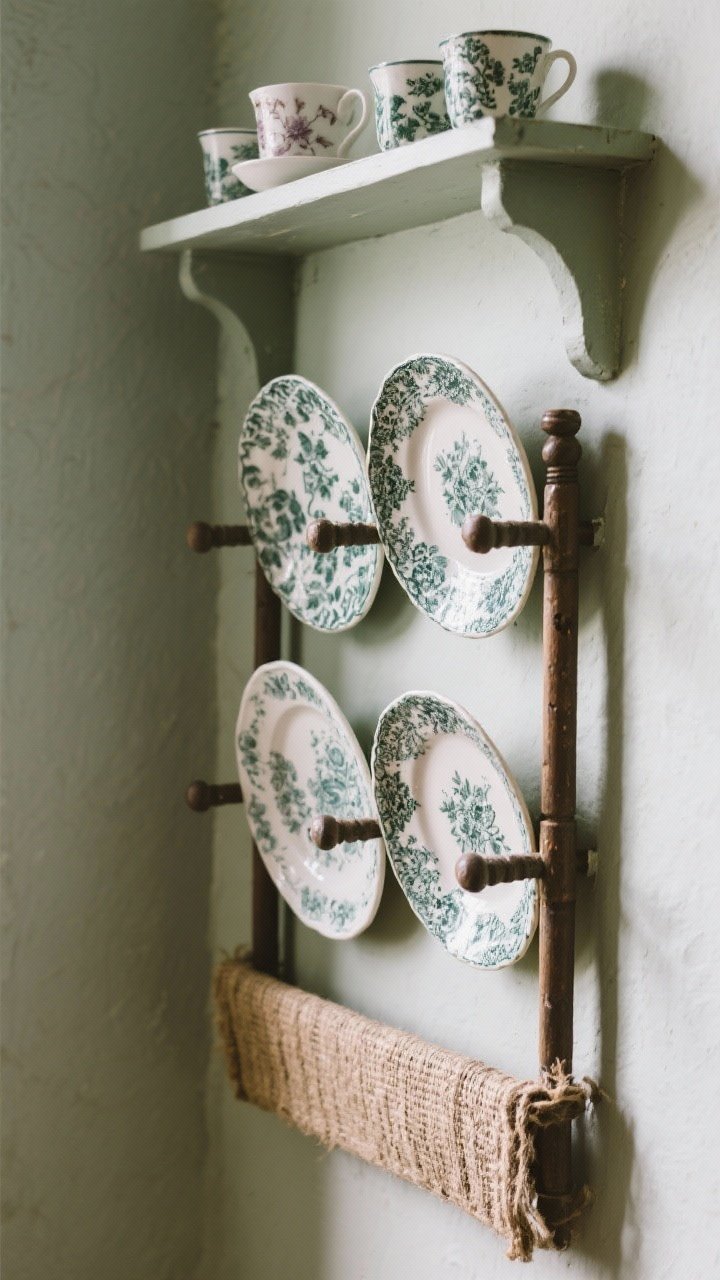
Old-world charm is very now, and plate racks are back. Mount a vertical rack for dinner plates and a shallow shelf for cups, and you’ll feel like you live in a charming English cottage—minus the drafty windows.
Why it works
- Easy access: Grab plates one-handed. It’s weirdly satisfying.
- Texture and pattern: Patterned ceramics double as art.
- Space saver: Especially great for narrow walls that can’t handle full shelves.
Pro tip: If you’re clumsy, use a dowel-front design to prevent slides. And add a liner at the base to soften contact.
5. Build a Full-Height Pantry Wall
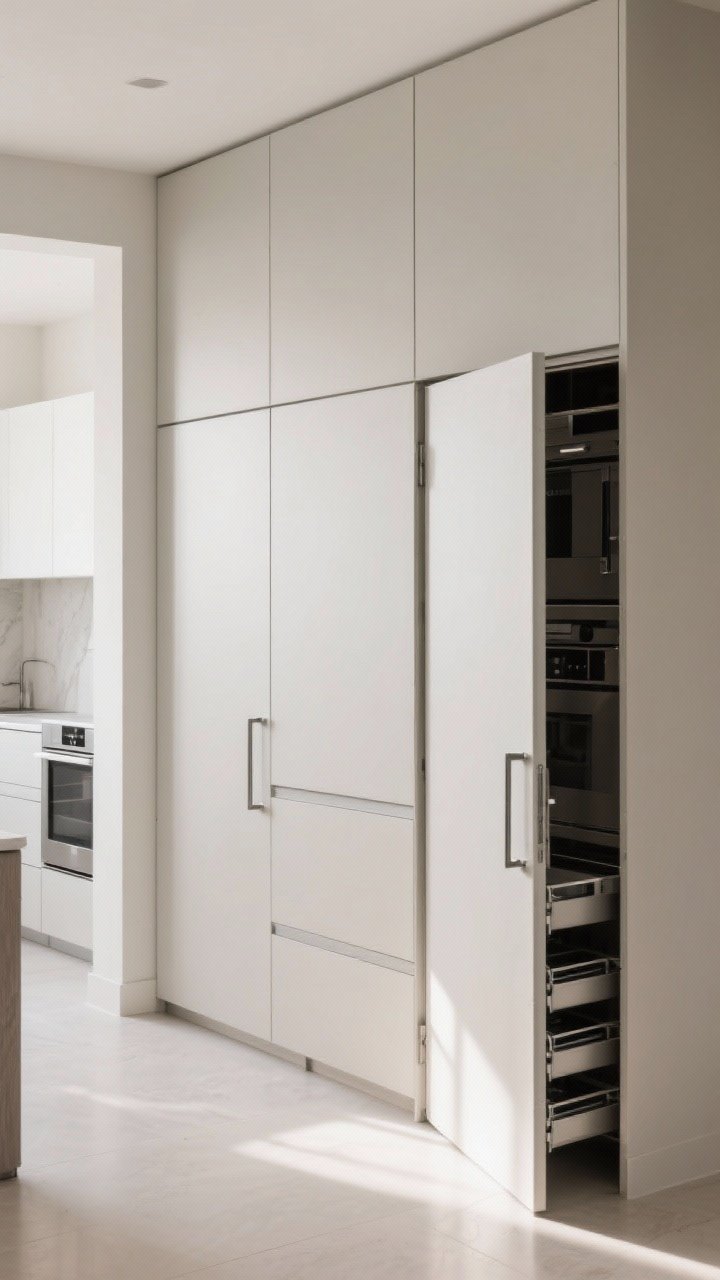
No uppers? No problem. Designers often trade them for a floor-to-ceiling pantry on one wall, then keep the rest of the kitchen open. The effect is clean, modern, and wildly functional.
How to plan it
- Mix heights and depths: Shallow uppers for dry goods, deeper lowers for small appliances.
- Integrate appliances: Hide the microwave, coffee station, or toaster behind doors—clutter be gone.
- Use pull-outs: You’ll never lose chickpeas to the abyss again.
Pro tip: Go for tall doors with slim, oversized hardware to make it feel intentional and architectural.

6. Add a Butler’s Pantry or Appliance Garage

If your kitchen opens into a little nook or you’ve got a corner to spare, create a mini butler’s pantry with counters, shelves, and pocket doors. Or tuck an appliance garage into a wall niche to hide the blender and espresso machine.
Designer details
- Pocket or tambour doors: Doors slide away so you can leave it open during busy mornings.
- Interior outlets: Everything stays plugged in—no cord spaghetti on your counters.
- Matching finishes: Use the same countertop and backsplash materials for a cohesive look.
Pro tip: Add a hot-water tap or built-in grinder if you’re all-in on the coffee bar lifestyle. FYI, you’ll become very popular.
7. Use Metal Rails, Hooks, and Magnetic Strips
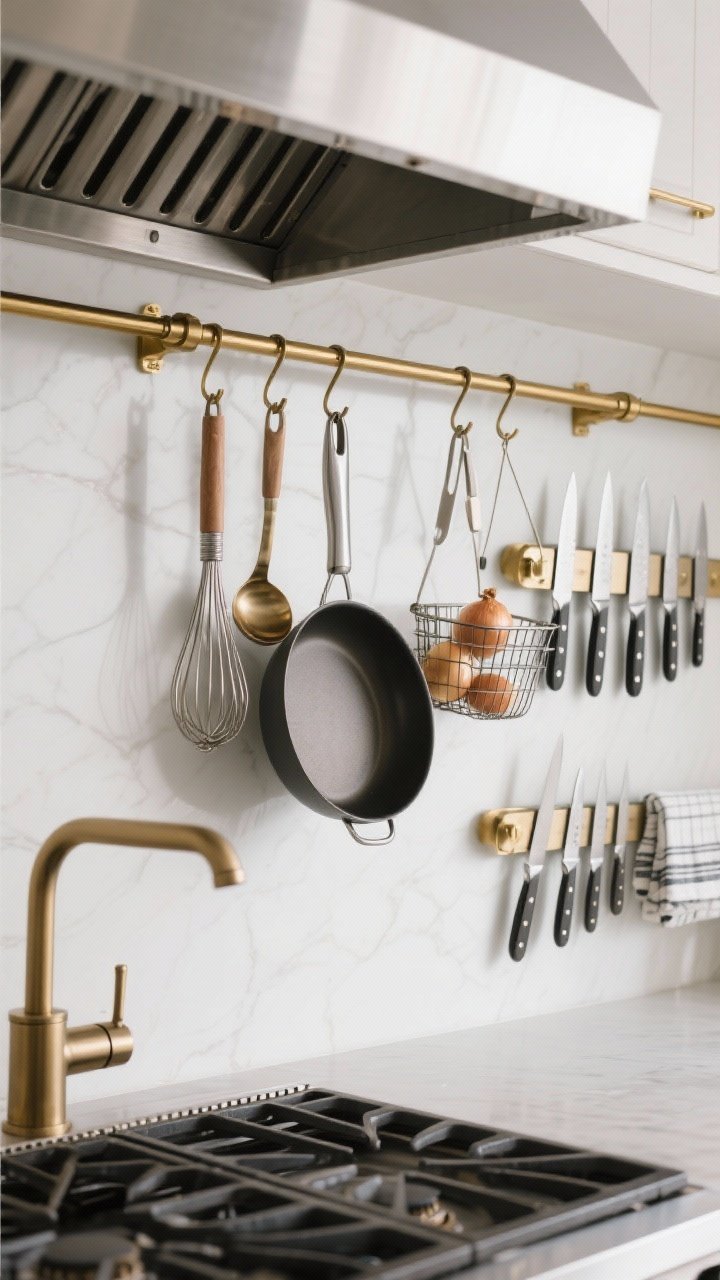
Channel your inner chef with wall-mounted rails for utensils, pans, and mugs. Add a magnetic knife strip and a spice rail, and suddenly cooking feels efficient—dare we say… fun?
What to hang
- Everyday tools: Ladles, tongs, whisks—keep them where you actually cook.
- Lightweight pans: Hang frequently used pans close to the range; display the pretty ones.
- Small baskets: Corral onions, garlic, or dish towels.
Pro tip: Use stainless or brass rails to match your faucet and hardware. Keep visual clutter down by sticking to one metal finish.
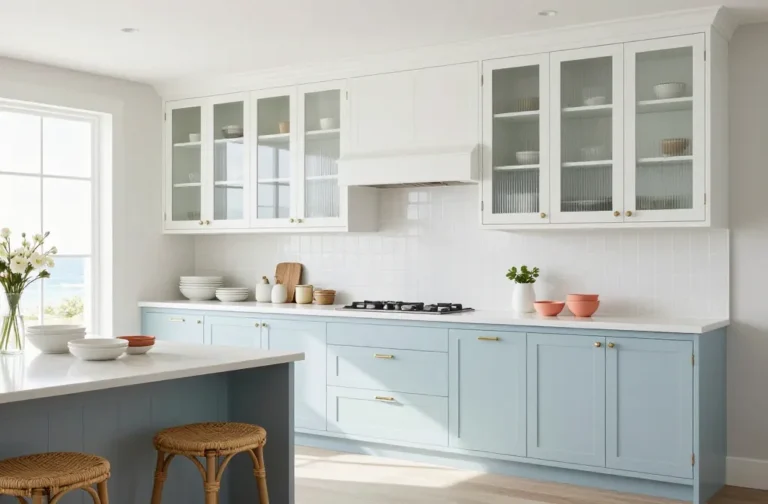
8. Go With Counter-to-Ceiling Windows
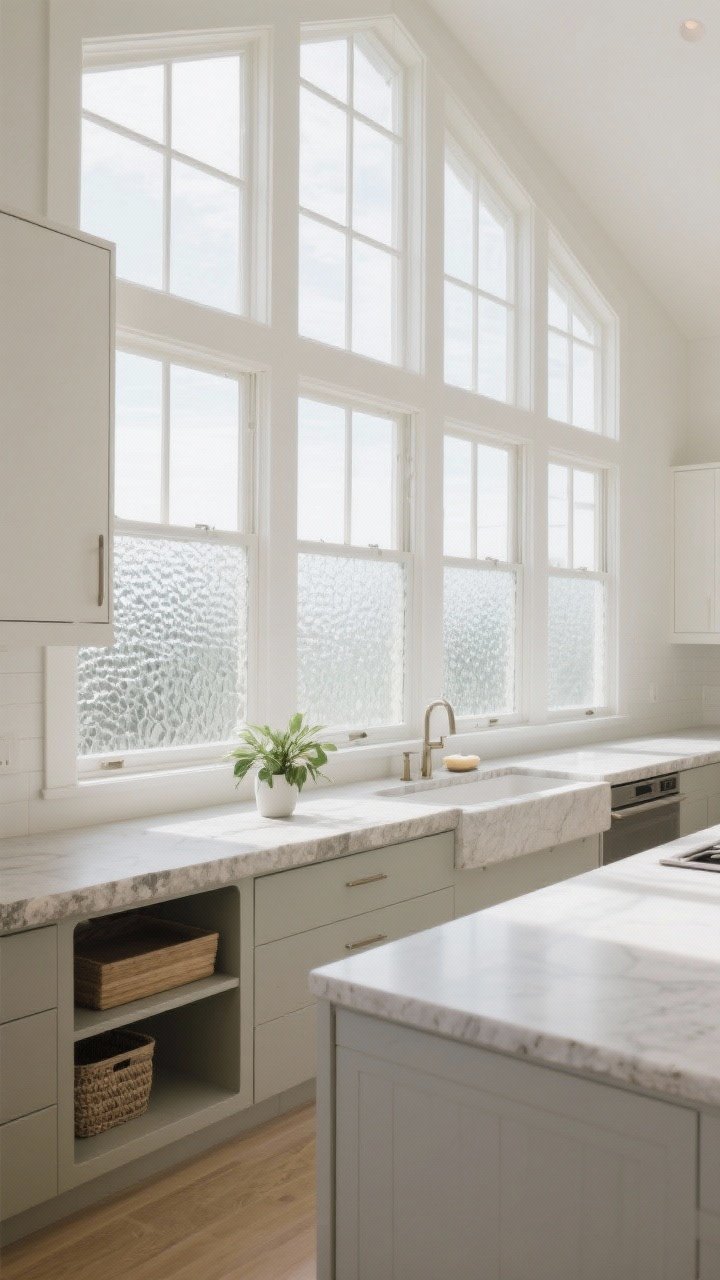
Want the kitchen to feel double its size? Skip uppers altogether and add big windows. Natural light does more for a small kitchen than any paint color or “open concept” plan ever could.
How to pull it off
- Plan storage elsewhere: Pair with a pantry wall or a large island with deep drawers.
- Use the sill: A wide stone sill acts like a tiny ledge for plants and soap.
- Consider privacy: Textured or divided-light windows keep it architectural and less fishbowl.
Pro tip: If you can’t add a full window, consider a clerestory band or a skylight over the range for similar impact.
9. Style a Statement Hutch or Freestanding Cabinet
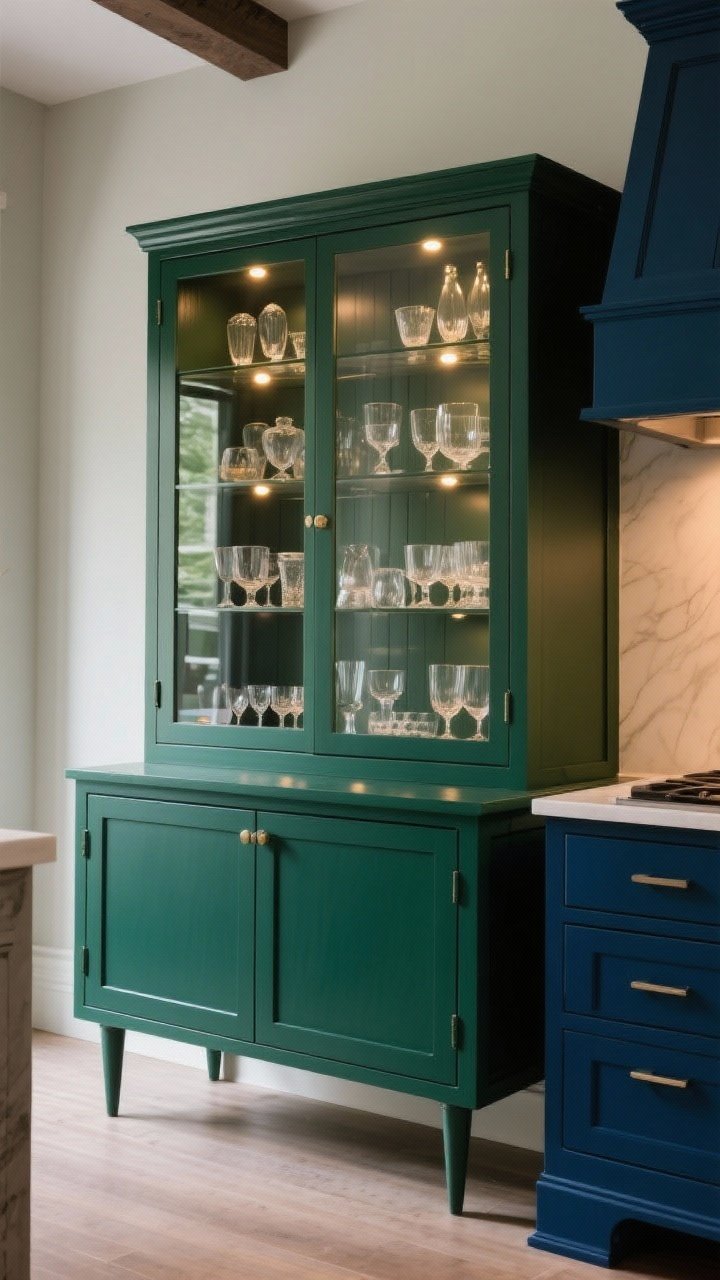
Designers love a freestanding hutch because it’s storage with personality. Glass-front doors let you display pretty glassware; closed lowers hide the chaos. It breaks up all the built-ins and makes the kitchen feel layered.
Hutch styling ideas
- Mix open and closed: Glass up top, solid down below for balance.
- Paint it bold: A deep green or inky blue reads custom and luxe.
- Add lighting: Tiny puck lights or LED strips make everything inside glow.
Pro tip: If your kitchen is tight, go with a shallow profile (12–14 inches) and tall legs to keep it airy.
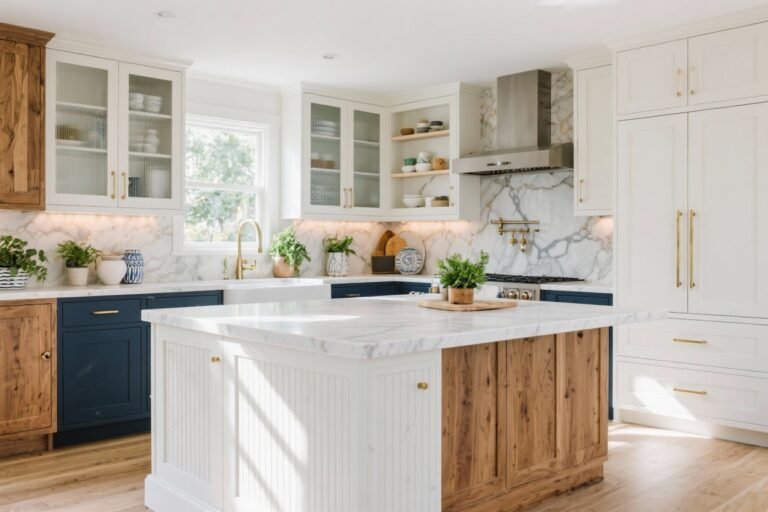
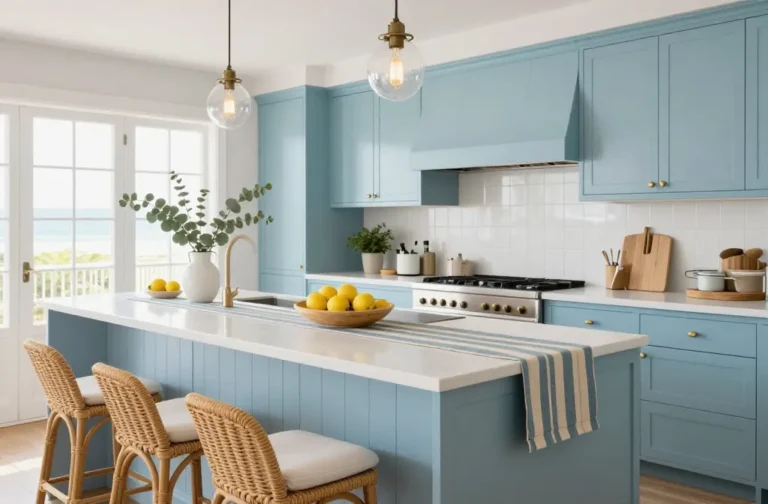
10. Build a Long, Low Island With Serious Storage
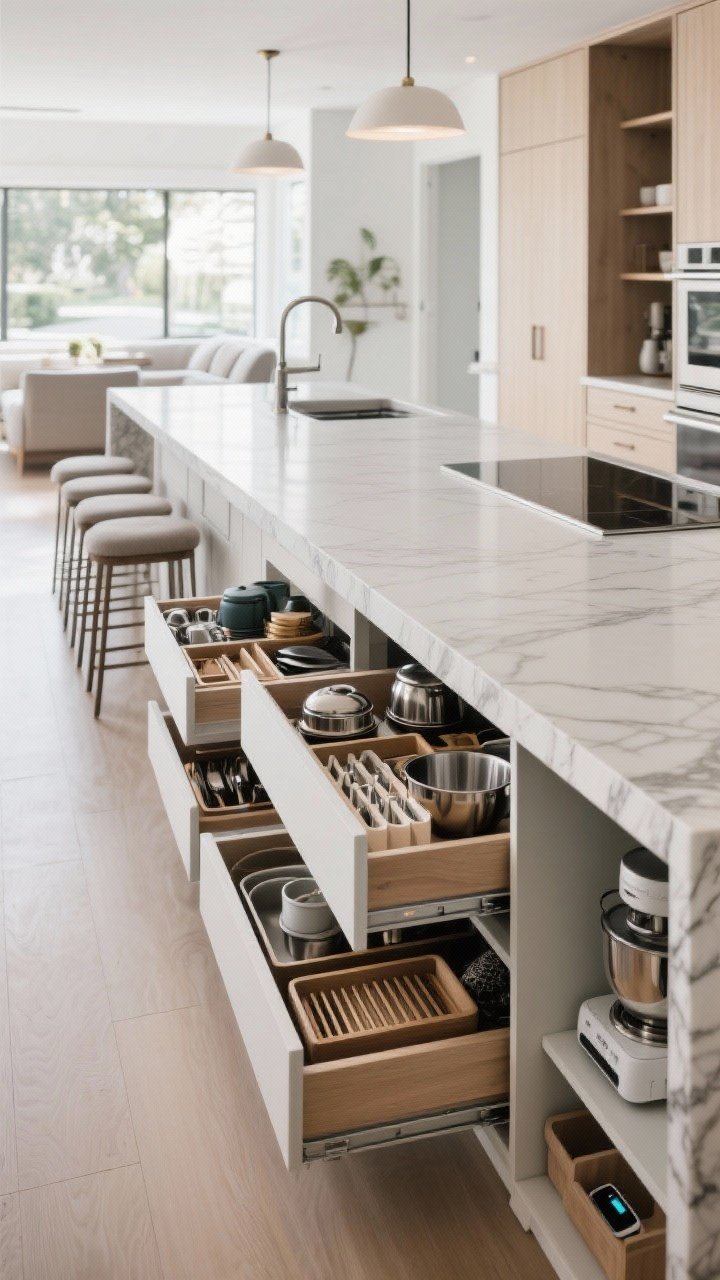
If you’re skipping uppers, your island needs to carry more weight. A long, low island with deep drawers, tray dividers, and hidden recycling can replace a surprising amount of wall storage—and it keeps everything within easy reach.
Make the island work harder
- Drawers beat doors: Full-extension drawers are basically a life upgrade. No crawling on the floor to reach the back.
- Appliance cubbies: Add a mixer lift, tray slots, and a charging drawer for devices.
- Overhang smartly: Balance seating on one side with storage on the chef’s side.
Pro tip: Consider a waterfall edge for durability and drama. IMO, it’s the fastest way to make an island look expensive.
Bonus Practical Tips So You Don’t Miss Upper Cabinets

Designers swear by these strategies
- Edit ruthlessly: Keep only what you use. Donate the novelty margarita glasses. You know the ones.
- Decant and label: Uniform containers save space and look calmer to the eye.
- Plan zones: Coffee, baking, breakfast—give each a dedicated area to avoid clutter creep.
- Add lighting: Under-shelf LEDs, sconces, and interior cabinet lights matter big time without uppers.
- Choose easy-clean finishes: Satin paint, sealed stone, and wipeable rails keep your cool when cooking gets messy.
Quick Comparisons: What Fits Your Style?
- Minimalist: Backsplash ledge + pantry wall + windows.
- Classic: Plate rack + hutch + peg rail.
- Industrial: Metal rails + open shelves with black brackets.
- Scandi: Light wood shelves + integrated appliance garage.
- Chef’s kitchen: Rail system + magnetic knives + long storage island.
Final Thoughts
You don’t need upper cabinets to have a functional, beautiful kitchen. Mix a few of these ideas—say, a pantry wall, open shelves, and a backsplash ledge—and you’ll get the storage you need without the visual bulk you don’t.
Start with one wall, experiment, and tweak. The best kitchens evolve with how you live. And if anyone asks where your uppers went, just smile and point to your stunning windows.