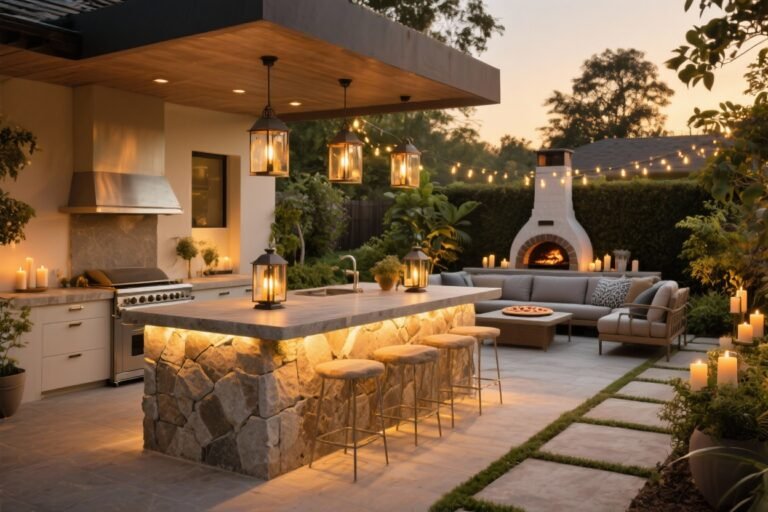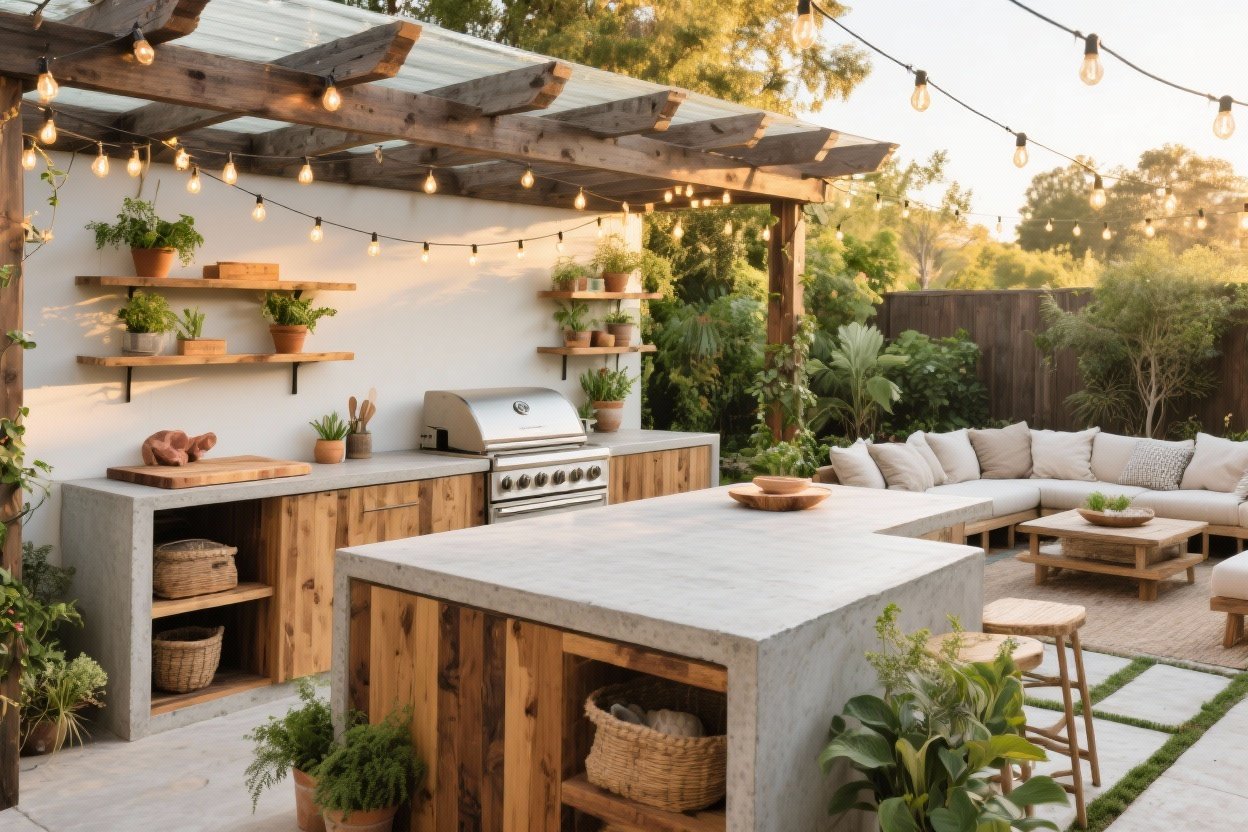
10 Diy Outdoor Kitchen Projects You Can Build This Weekend—no Contractor Needed
Let’s turn your backyard into the hangout everyone low-key envies. You don’t need a full reno or a wallet-crying budget. These 10 DIY outdoor kitchen projects are designed for weekend warriors—simple builds with legit style and function. Grab a cold drink, your tool kit, and let’s make some outdoor magic.
1. The Pallet Bar That Looks Custom (But Isn’t)
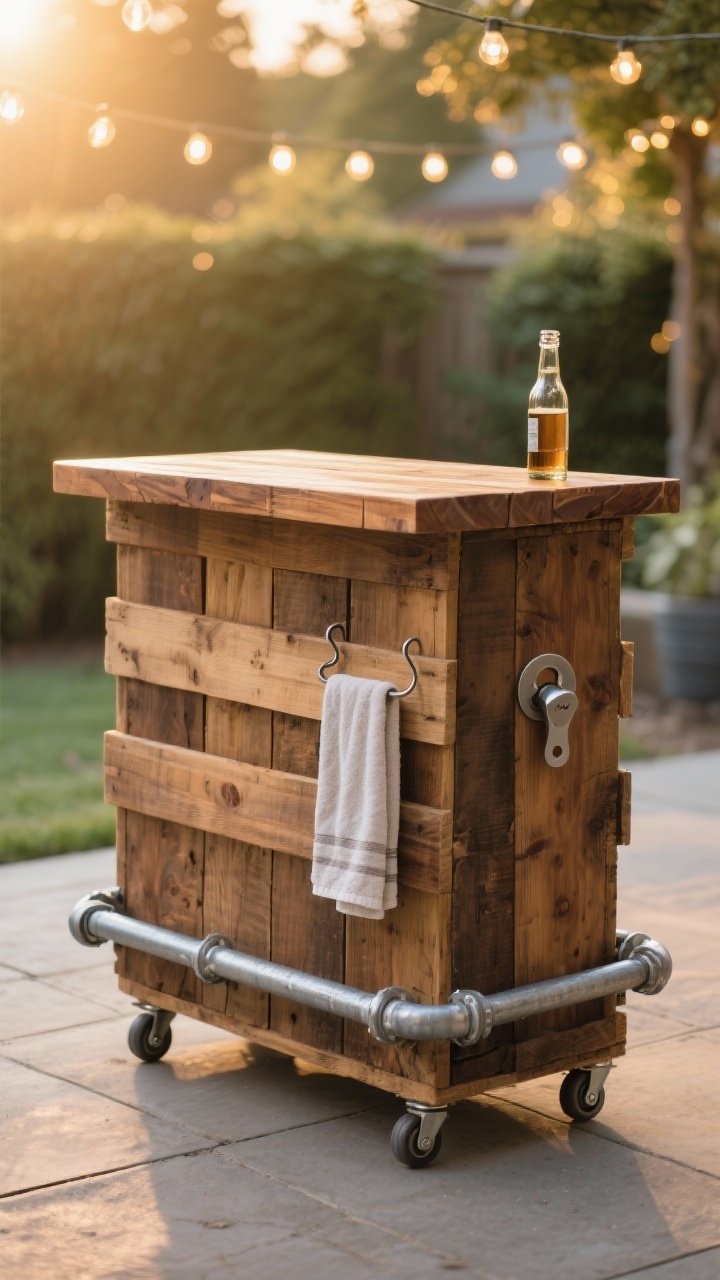
Want instant “wow” without spending all your vacation money? A pallet bar is the fastest glow-up you can build in a day. Stain it, cap the top, add hooks—and boom, it’s cocktail hour.
Tired of snacking when you’re not even hungry? This reset helps you stop the loop and feel back in control.
A simple reset for moments when cravings take over. Easy to use, easy to repeat, and designed to help you feel satisfied instead of stuck.
Why It Works
- Affordable: Pallets are often free or cheap.
- Flexible: Build to any width—fit it to your patio.
- Stylish: Rustic texture feels intentional outdoors.
How To Make It
- Stack two pallets vertically and secure with exterior screws.
- Top with a 2×10 or a butcher-block offcut sealed with exterior polyurethane.
- Add a footrest using a galvanized pipe and flange fittings.
- Attach S-hooks for towels and bottle openers.
Pro Tip: Sand aggressively to avoid splinters and add locking casters if you want a movable bar. Instant party station.
2. Cinder Block Grill Station With Serious Storage
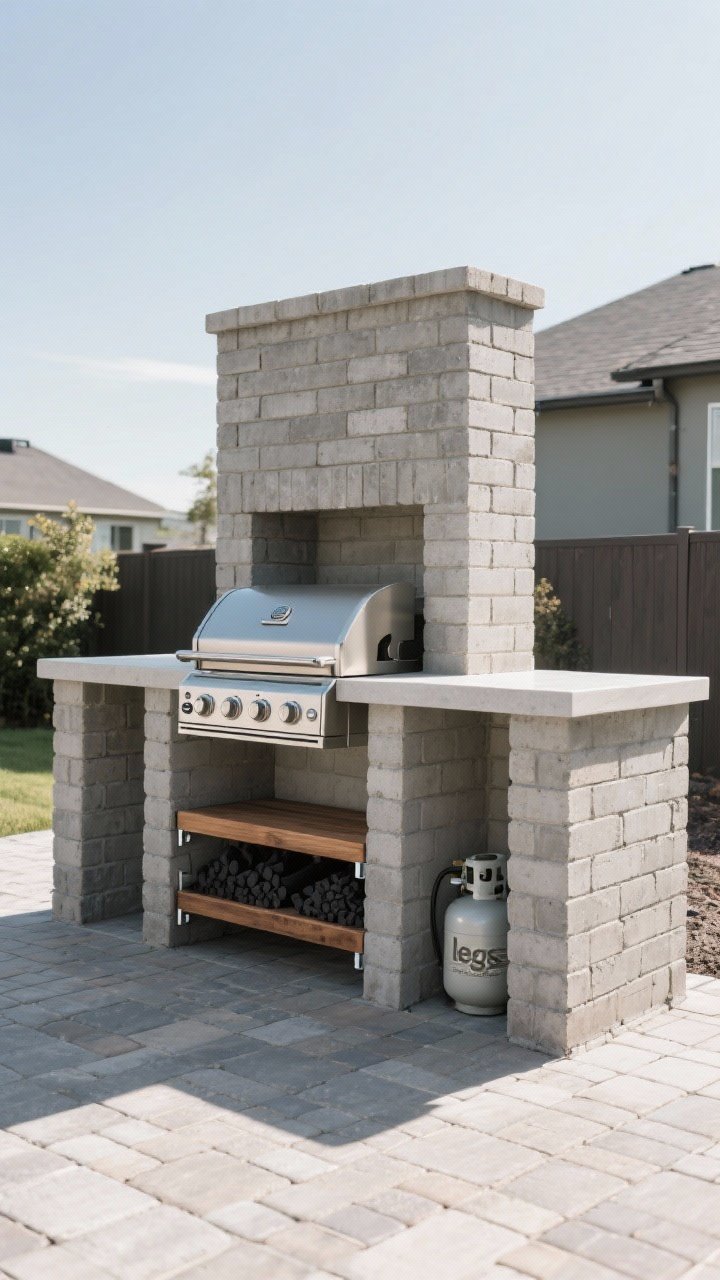
If your grill is just floating in space, give it a home. A cinder block base with a wood or concrete top makes your setup look custom and keeps tools handy.
What You’ll Need
- 12–20 cinder blocks (depends on size)
- Construction adhesive for masonry
- Concrete pavers or a stained wood top
- Metal brackets and a shelf board
Build Steps
- Dry-stack blocks to form two side “legs” and a back curb; test fit your grill.
- Glue blocks with masonry adhesive to lock the layout.
- Cap with pavers or a sealed wood counter.
- Add a lower shelf for charcoal, pellets, or propane.
Pro Tip: Leave a heat gap (at least 3 inches) around the grill and use a fireproof top near hot spots.
3. Rolling Prep Cart With Cutting-Board Top
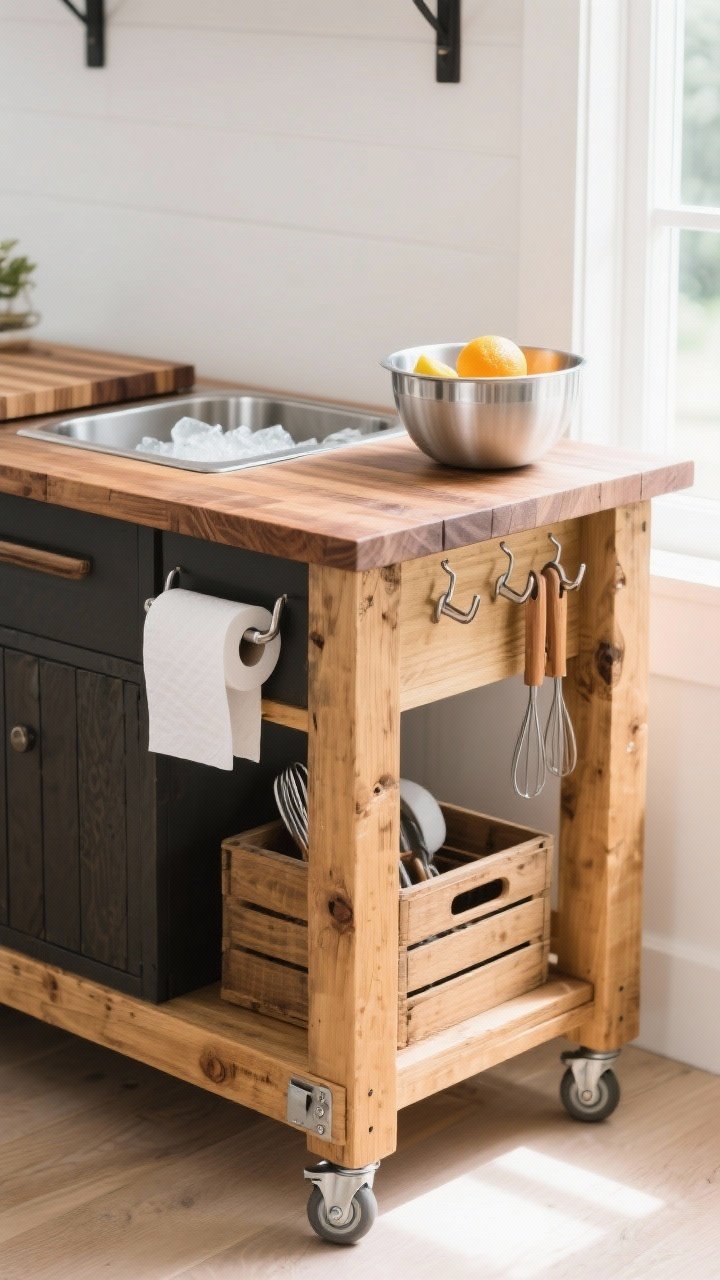
Meet your new MVP: a mobile prep cart that doubles as a serving station. Make it the right height, slap on storage, and thank yourself later.
Transform Your Home With 7,250+ Stunning Landscaping Designs—No Expensive Designers Needed!
- 🌿 Access 7,250+ stunning landscaping designs.
- 💰 Save thousands—no pro designer needed.
- 🏡 Plans for gardens, patios, walkways, and more.
- ✨ Simple, beginner-friendly DIY layouts.
- 🛠️ Customize any design to fit your yard.
Materials
- 2×2 or 2×4 lumber for frame
- Exterior screws, wood glue
- Locking casters (2 or 4)
- Butcher-block or edge-glued panel sealed for outdoors
Quick Build
- Assemble a rectangular frame with a lower shelf and apron.
- Attach casters and a sealed cutting-board top.
- Mount a paper towel holder and side hooks.
- Add a shallow drawer or crate for utensils.
Upgrade: Install a drop-in ice bin (a stainless mixing bowl works) to keep drinks or garnishes cold. Fancy vibes, minimal effort.
4. Concrete Paver Countertop That Looks Designer
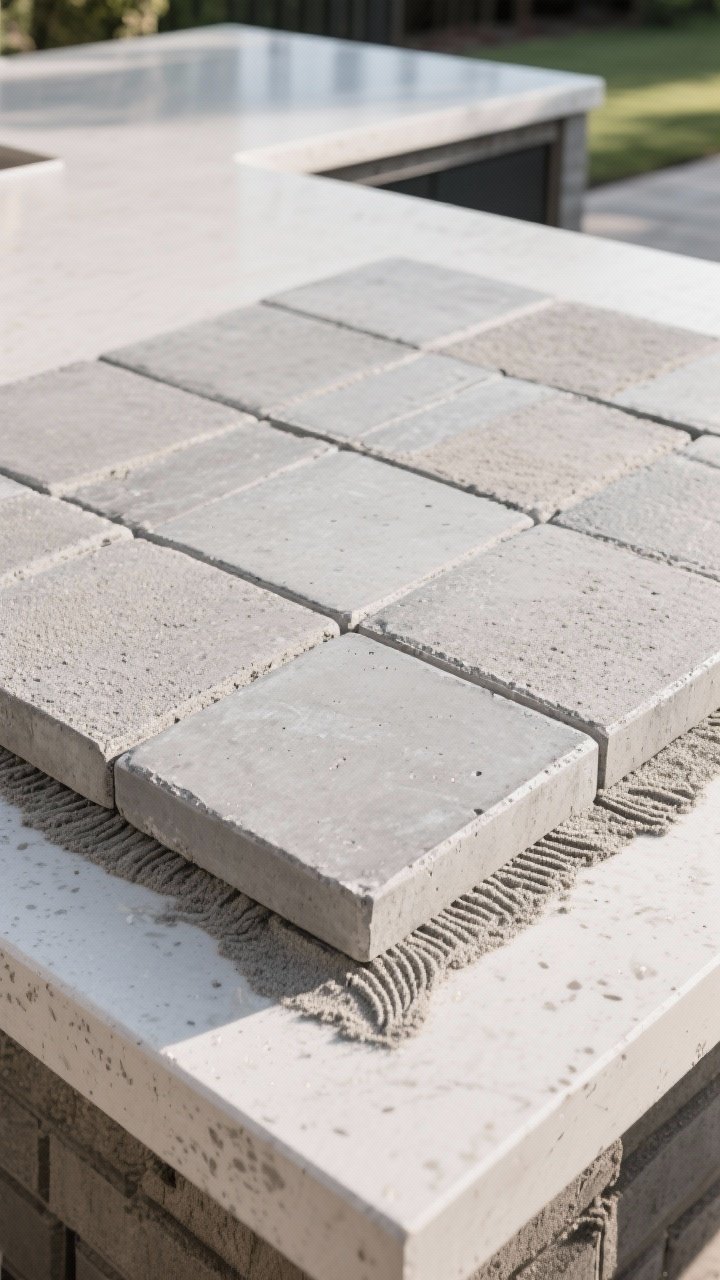
Want a sleek counter without pouring a giant slab? Use concrete pavers on a sturdy base for a modern, durable surface that laughs at spills.
How To Do It
- Build a basic 2×4 frame with cross supports.
- Top with exterior-grade plywood or cement board.
- Lay 12×24 or 24×24 pavers with exterior adhesive.
- Grout with polymeric sand or mortar for a seamless look.
Pro Tip: Choose large-format pavers to minimize grout lines and seal the surface to prevent staining. It’s the “I paid a pro” look—without the invoice.
5. Hidden Cooler Bench (Sit, Sip, Repeat)
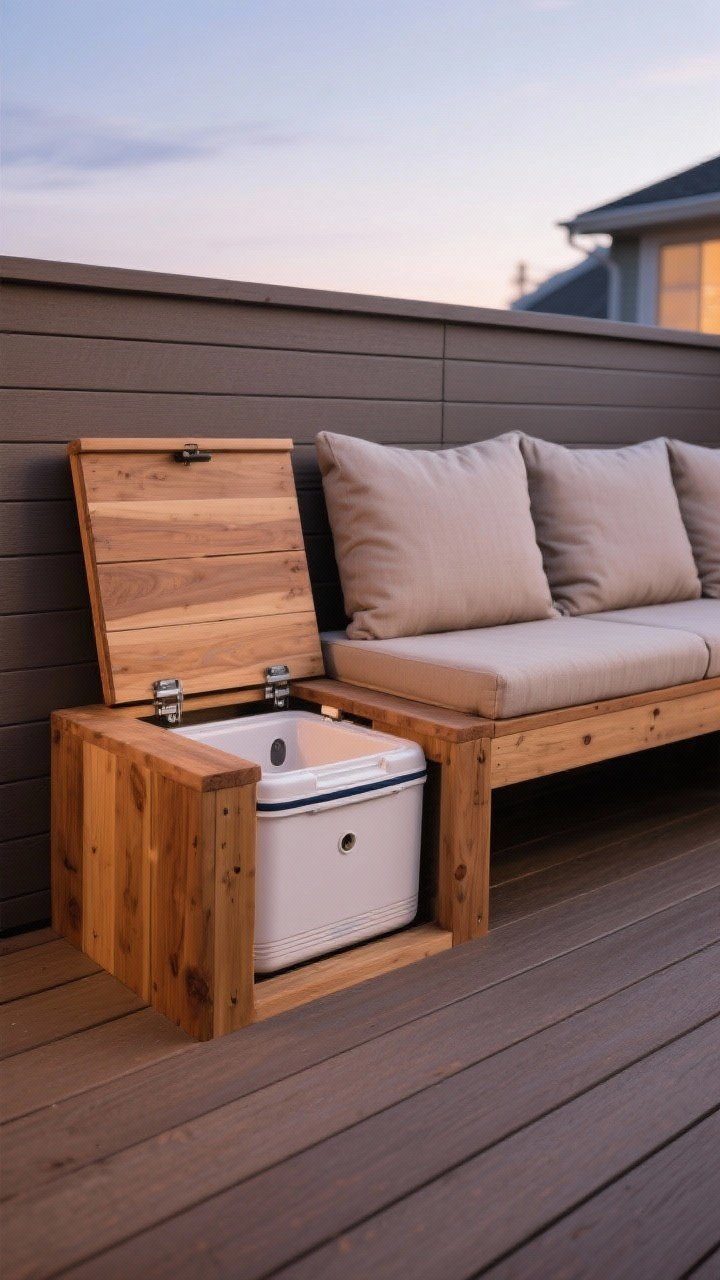
Meet the bench that also holds the beer. A hinged-lid bench with a built-in cooler keeps drinks icy and doubles as seating. Efficiency, but make it cute.
Build Basics
- Construct a standard outdoor bench frame using 2x4s and deck boards.
- Cut an opening in the seat for a drop-in cooler or heavy-duty storage bin.
- Add a hinged seat lid with a weatherstrip to help insulation.
- Drill a small drain hole with a stopper for easy clean-up.
Style It: Use cedar or composite deck boards for longevity. Toss on weatherproof cushions and watch your backyard instantly feel elevated.

6. Brick Pizza Oven Lite (A.K.A. The Weekender Version)
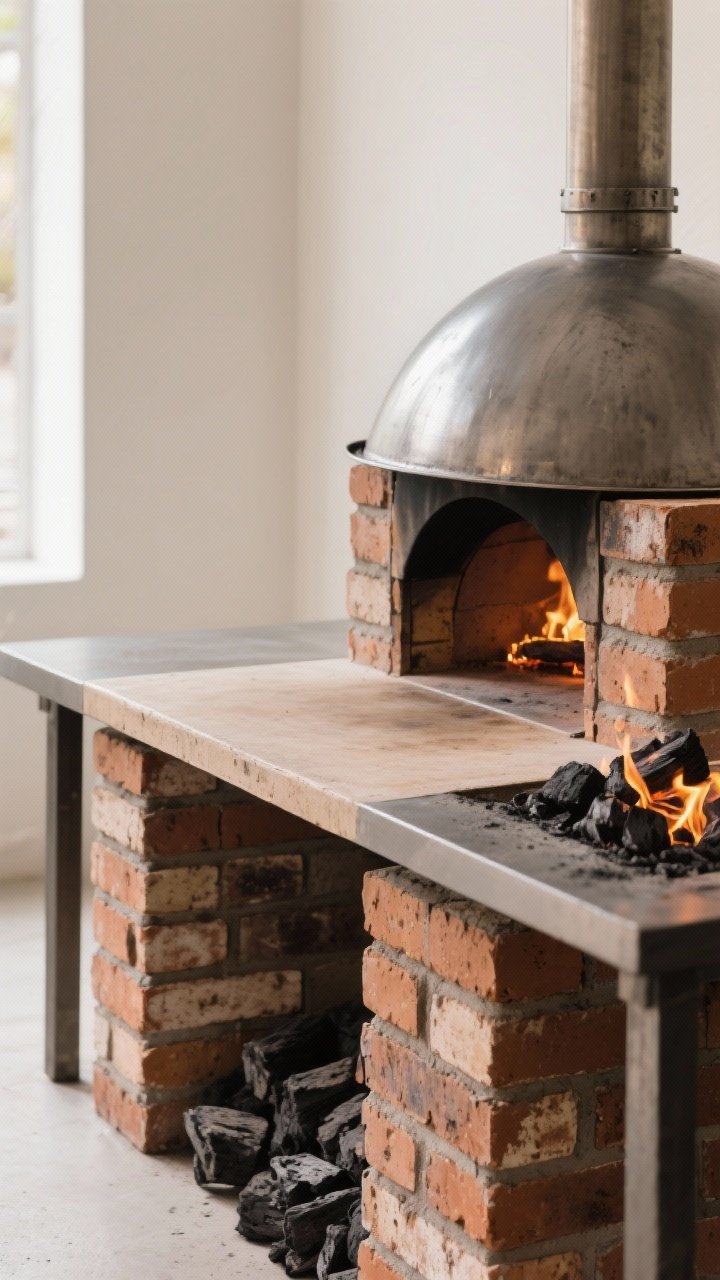
Dreaming of pizza that ruins delivery for you forever? Build a simple stacked-brick oven that channels real heat without weeks of masonry work.
What You Need
- Fire bricks (for the cooking surface)
- Standard bricks (for the exterior stack)
- Grill or charcoal as a heat source
- Steel baking dome or large roasting lid
How It Works
- Set fire bricks on a level base (cinder blocks or a sturdy table).
- Stack bricks around three sides to trap heat.
- Use lump charcoal or a propane torch to preheat the bricks.
- Cook under a steel dome to reflect heat from above.
FYI: This isn’t a Neapolitan-certified oven, but it will give you crispy edges and blistered crust. Add a pizza stone for extra consistency.
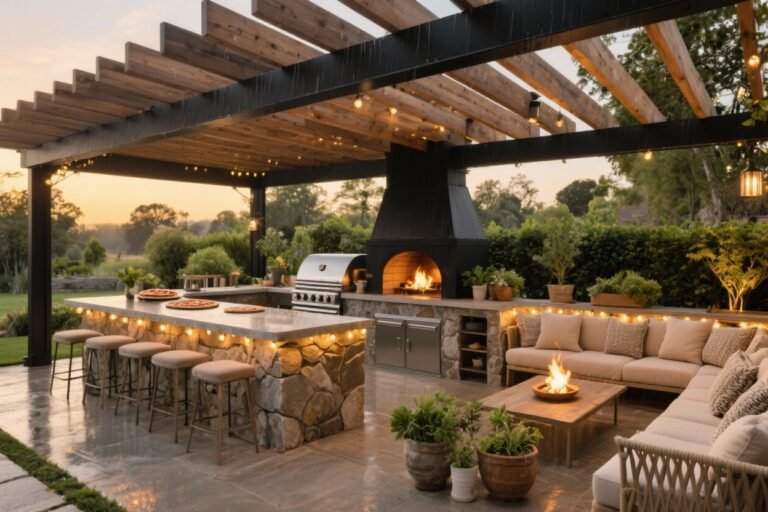
7. Pergola Shade With Built-In Lights And Hooks
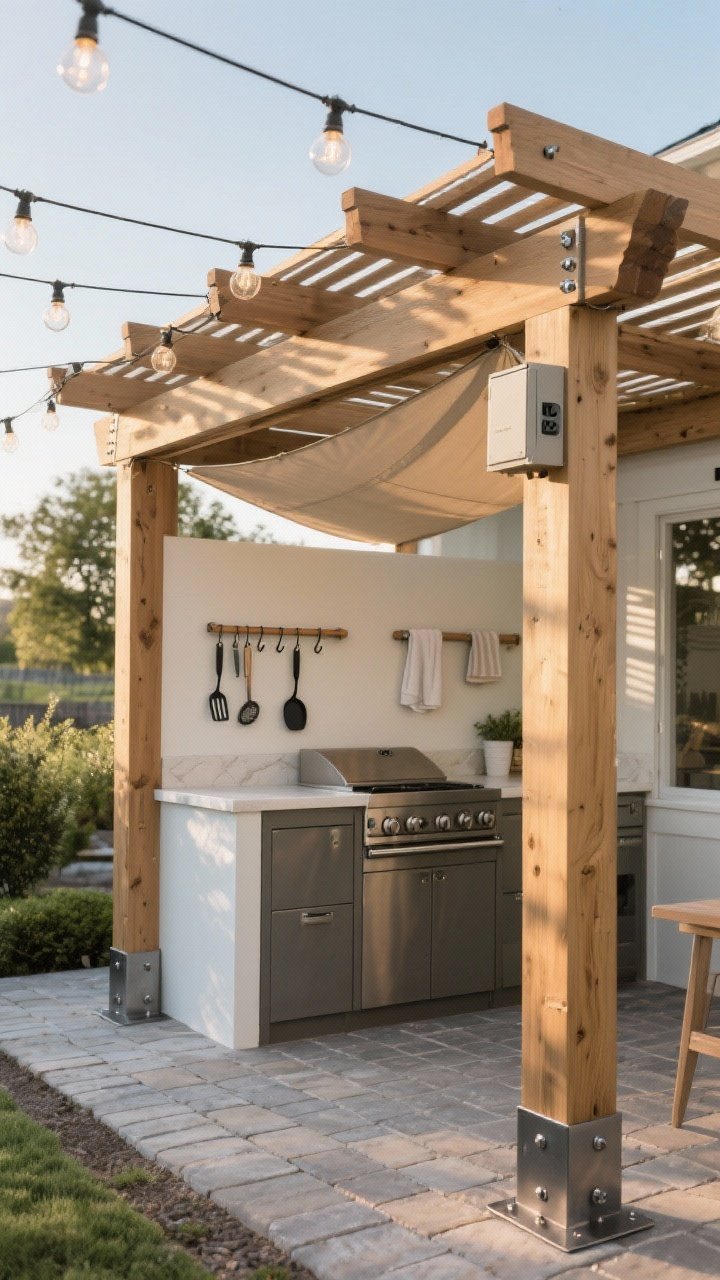
Your outdoor kitchen deserves a vibe. A mini pergola frames the space, adds shade, and gives you a place to hang lights, tools, and herbs.
Fast-Track Build
- Set 4×4 posts in metal post bases on your deck or pavers.
- Attach 2×6 beams with lag screws, then add 2×2 slats across the top.
- String outdoor globe lights and mount a power strip in a weatherproof box.
- Add hooks for tongs, spatulas, and a towel bar.
Upgrade: Install a shade sail under the slats for extra sun protection. Your future self, not sweating over the grill, says thanks.
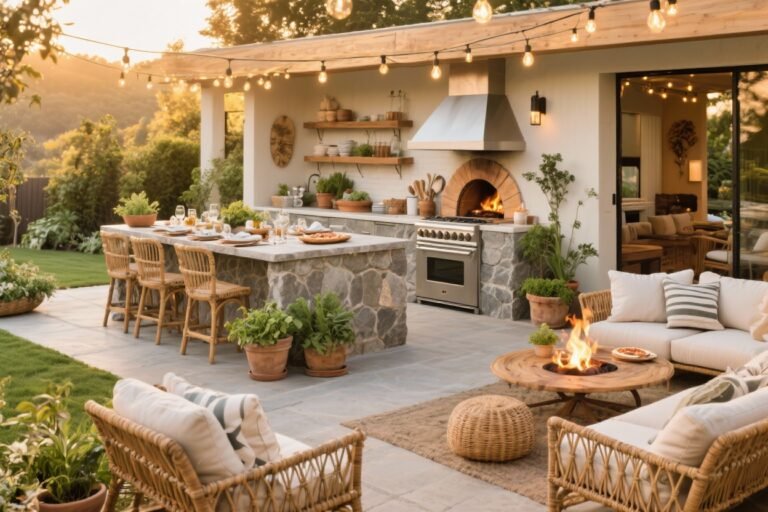
8. Tile-Top Serving Island That Pops
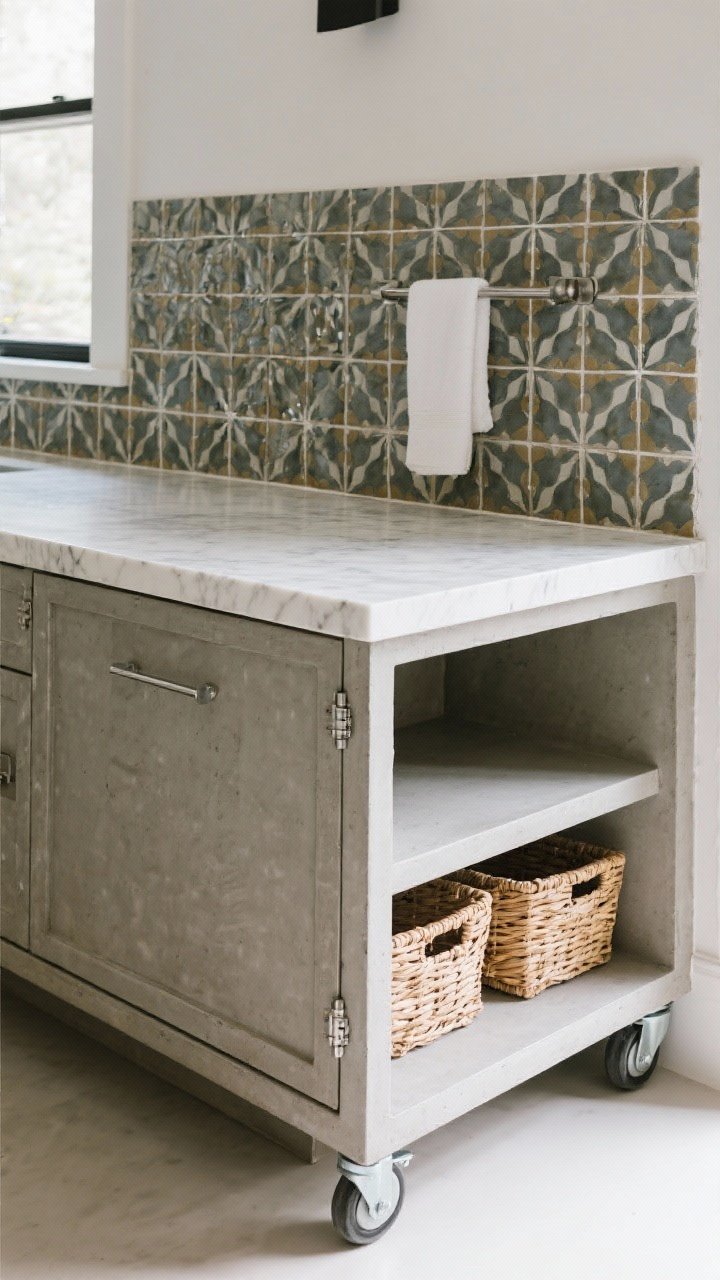
Give your outdoor kitchen a little personality with a tile-topped island. It’s equal parts functional and showpiece—plus it’s a great excuse to use those patterned tiles you’ve been eyeing.
Build And Style
- Frame a simple rectangle on heavy-duty locking casters.
- Top with cement board and waterproofing membrane.
- Lay porcelain or cement tiles with exterior thinset; grout with epoxy grout.
- Seal, then add a towel bar and a lower shelf for baskets.
Pro Tip: Choose porcelain tiles rated for freeze/thaw if your winters get spicy. Edge with aluminum tile trim for a clean, pro-level finish.
9. Sink Station With a Garden-Hose Hack
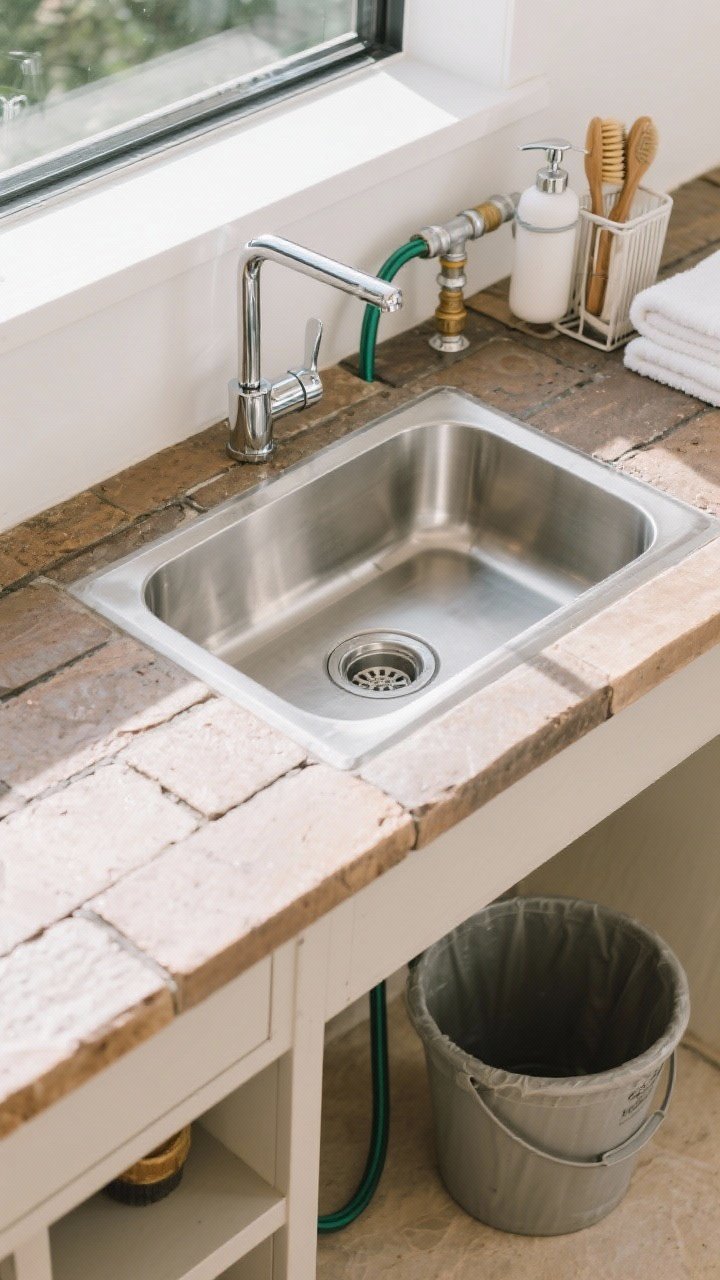
Hand-washing outside? Game-changer. Build a simple sink station that runs off your garden hose—no plumber required.
What You’ll Need
- Stainless or bar sink and a basic faucet
- Countertop cutout in a wood or paver top
- Y-splitter for the hose and quick-connect fittings
- Bucket or French drain for gray water (check local codes)
How To Set It Up
- Drop the sink into your counter and secure it with exterior silicone.
- Attach the faucet to the hose via a Y-splitter and quick-connects.
- Route drain to a sealed bucket or a gravel-filled pit (where permitted).
- Add a soap pump and a small caddy for brushes and towels.
Note: If you plan to wash dishes regularly, a proper drain line is smarter—this is a light-use solution. Still, for quick rinses, it’s a dream.
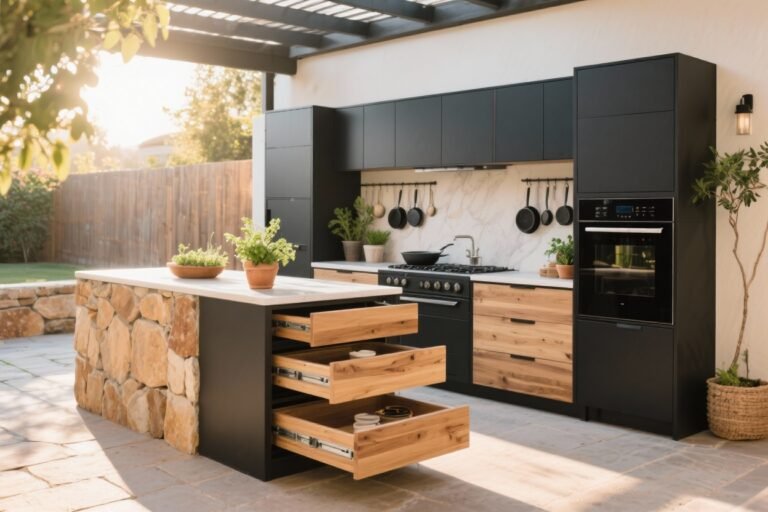
10. The Ultimate Starter Kitchen: Modular Crate Cabinets
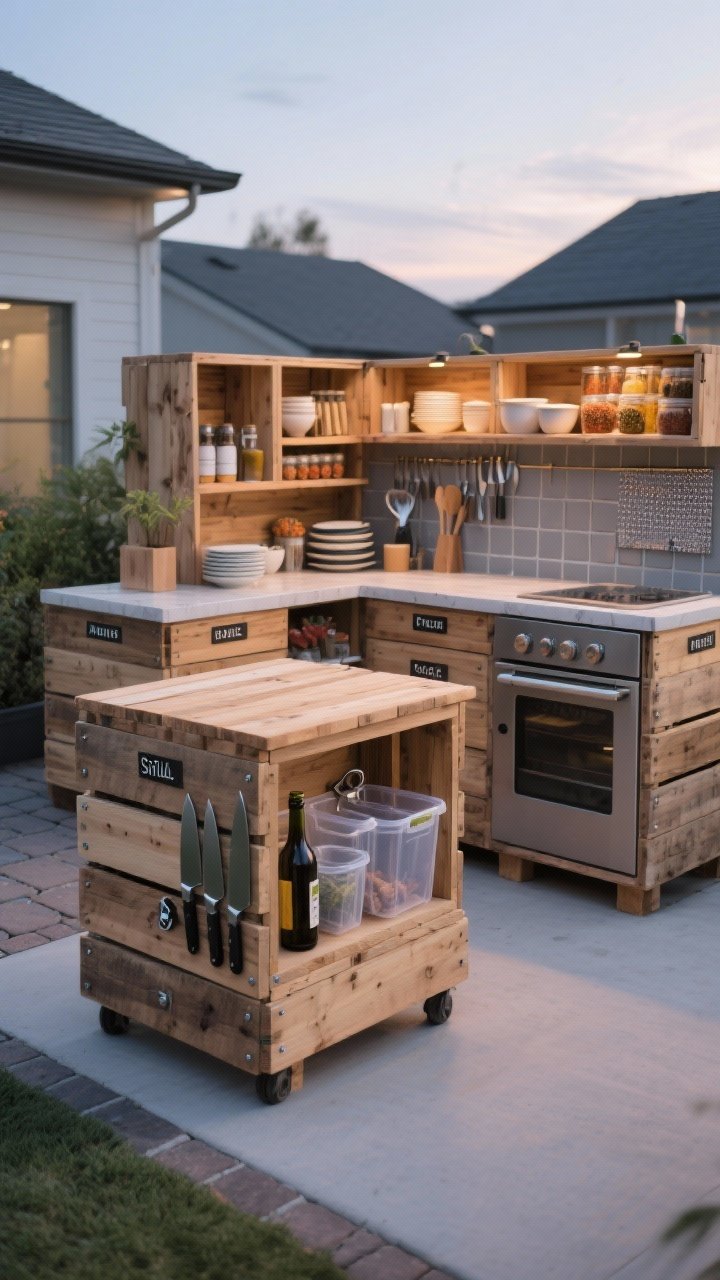
Don’t want to commit to full built-ins? Create a modular kitchen from stacked wooden crates or metal utility cubes. Rearrange anytime—season to season, or when inspiration strikes.
Assembly Tips
- Use weatherproof crates or seal wood crates with exterior varnish.
- Stack in an L-shape on a flat surface and screw together for stability.
- Top with a sealed plank counter or paver slabs.
- Assign zones: prep, grill tools, spices, dishes, bar. Label if you’re extra (same).
Pro Tip: Add magnetic strips inside for knives and bottle openers, and use clear bins to keep critters out. You’ll feel very organized, which is half the battle.
Bonus Finishes To Elevate Any Project
- Exterior stain: Rich color, better weather protection.
- Matte black hardware: Instantly modern.
- LED strip lights: Under-counter glow for nighttime cooking.
- Potted herbs: Pretty and practical—basil at arm’s reach is elite.
Safety + Maintenance (Quick But Important)
- Clearances: Keep flammables 12+ inches from heat sources; use fireproof backers near grills.
- Level base: Level your surfaces—wobbly counters are a no.
- Seal everything: Wood, tile, grout—keep moisture out for longer life.
- Cover up: Use grill and counter covers between uses for less maintenance later.
IMO: Start with one build (pallet bar or prep cart), then add on. Outdoor kitchens look best when they evolve—like your recipe repertoire and your tolerance for spicy wings.
Weekend Game Plan
- Day 1 morning: Shop and cut lumber.
- Day 1 afternoon: Assemble frames or bases.
- Day 2 morning: Install tops, tile, or pavers; add sealers.
- Day 2 afternoon: Hardware, hooks, lighting, and styling.
FYI: If you choose two smaller builds—like the rolling cart and hidden cooler bench—you can finish both in one weekend and feel wildly accomplished.
Quick Tool Checklist
- Miter saw or circular saw
- Drill/driver with exterior screws
- Level, square, and tape measure
- Caulk gun, construction adhesive, silicone
- Sander and exterior finish/sealer
Ready to make your backyard the place to be? Pick one of these DIY outdoor kitchen projects, queue your favorite playlist, and get building. The first sizzling burger or crispy pizza slice will taste even better when you know you made the setup yourself. You’ve got this.