10 Kitchen Organization Ideas That Make Your Kitchen Feel Brand New—no Remodel Required
You don’t need a sledgehammer to give your kitchen a glow-up. You just need smart organization that looks as good as it works. These ideas are small on effort, big on impact, and totally doable—yes, even in a rental. Ready to make your kitchen feel brand new without touching the cabinets? Let’s go.
1. The “Unpack Zone” You’ll Actually Use

Set up a dedicated landing strip for groceries so they don’t explode across the counter like confetti. This is your unpack zone: a clear counter spot next to the fridge with a few helpers—think a compost bin, a basket for pantry items, and a tray for produce.
Tired of snacking when you’re not even hungry? This reset helps you stop the loop and feel back in control.
A simple reset for moments when cravings take over. Easy to use, easy to repeat, and designed to help you feel satisfied instead of stuck.
How to Set It Up
- Tray + Basket Combo: Use a shallow tray for items heading into the fridge and a basket for pantry goods. Everything has a place for five minutes—just enough to avoid chaos.
- Trash/Compost Nearby: Keep peels and packaging contained while you sort.
- Label the Baskets: If you share your kitchen, labels are your best friend. Less “Where does this go?” more “Oh, right here.”
Bonus: You’ll discover what you actually buy every week, which makes the rest of your organization way easier.
2. Edit Like a Chef: Zone Your Kitchen

Chefs don’t wander around for the salt. They set up stations. Create simple zones so everything you need lives where you use it. It’s not fussy—it’s efficient.
Core Zones to Try
- Prep Zone: Cutting boards, knives, mixing bowls, and measuring tools near your main counter.
- Cook Zone: Oils, salt, pepper, utensils, and pans by the stove. Use a magnetic strip or utensil crock for grab-and-go.
- Bake Zone: Flour, sugar, baking sheets, and cooling racks in one cabinet.
- Beverage Zone: Coffee, tea, mugs, and sweeteners together. If you can spare the counter, create a tiny café. If not, use a shelf.
Once zones are set, you’ll stop sprinting between drawers like you’re on a cooking show timer.
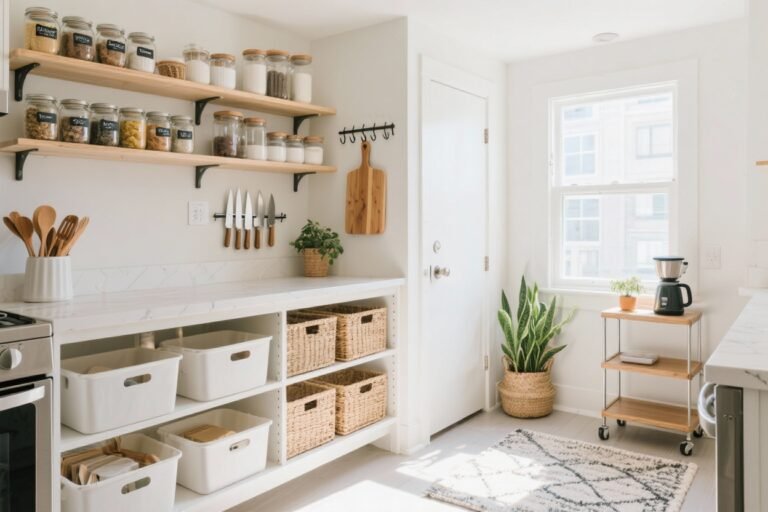
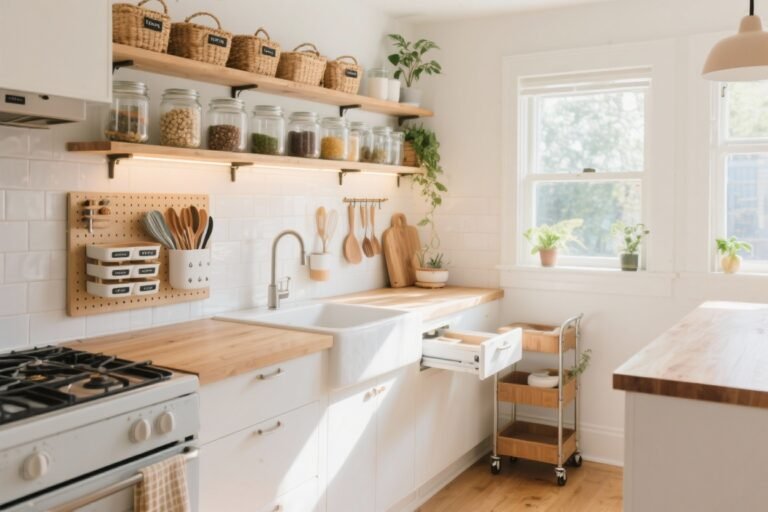
3. Use Vertical Space Like You Mean It
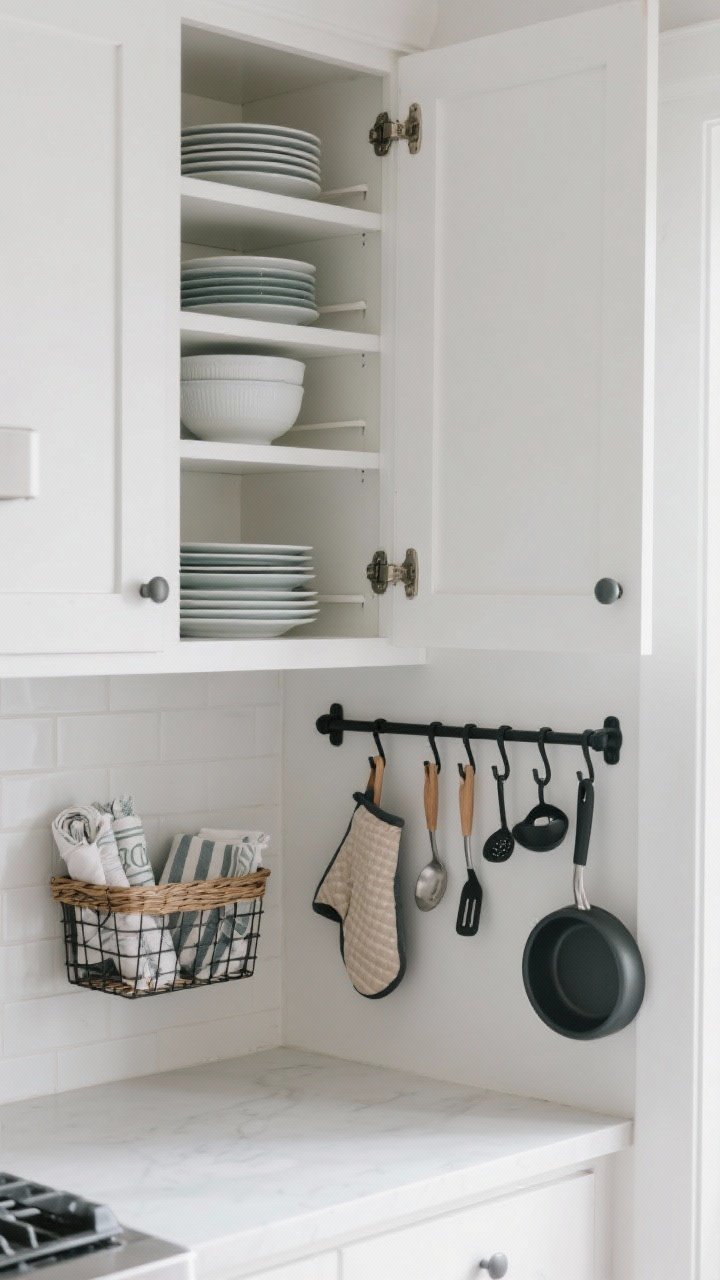
Cabinets are tall. Most of us only use the bottom half. Let’s fix that. Adding affordable shelf risers, under-shelf baskets, and adhesive hooks instantly doubles storage without a drill.
Transform Your Home With 7,250+ Stunning Landscaping Designs—No Expensive Designers Needed!
- 🌿 Access 7,250+ stunning landscaping designs.
- 💰 Save thousands—no pro designer needed.
- 🏡 Plans for gardens, patios, walkways, and more.
- ✨ Simple, beginner-friendly DIY layouts.
- 🛠️ Customize any design to fit your yard.
Smart Vertical Wins
- Shelf Risers: Stack plates and bowls without teetering towers.
- Under-Shelf Baskets: Slide in under existing shelves for wraps, napkins, or snacks.
- Cabinet Door Hooks: Hang measuring spoons, oven mitts, or pot lids inside doors.
- Wall Rails or Pegboards: Put spatulas, ladles, and frequently used pans where you can see them. It’s functional and cute—yes, both.
FYI: Vertical storage keeps countertops clear, which makes your kitchen look bigger—instant upgrade.
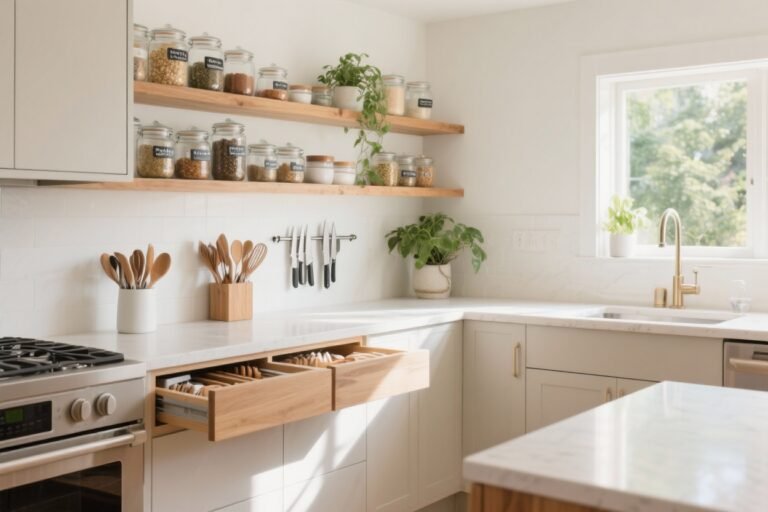
4. The Drawer Glow-Up: Dividers, Files, and a “VIP” Tier
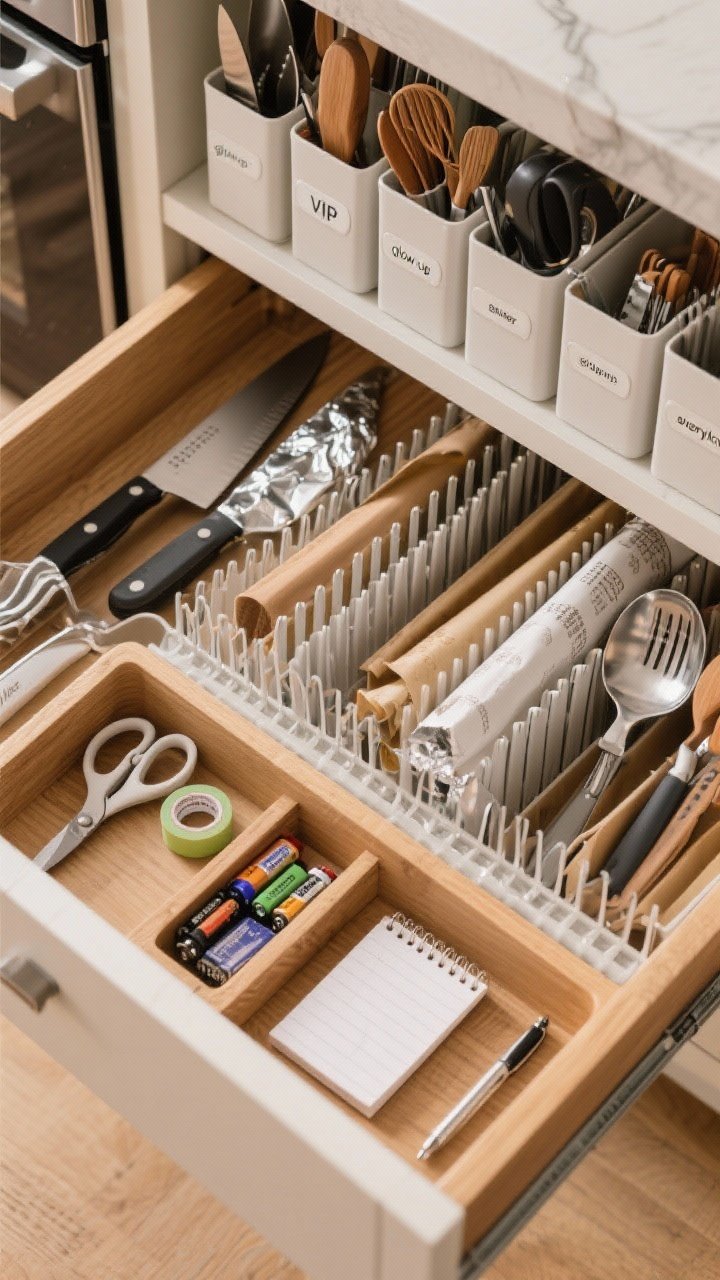
Messy drawers kill the vibe. Give them structure with adjustable dividers and a little logic. Think of your top drawers as VIP seating—only the most-used utensils get invited.
Divide and Conquer
- Adjustable Dividers: Fit them to your stuff, not the other way around. Group by task: baking tools, prep tools, serving tools.
- File Your Foils and Bags: Store aluminum foil, parchment, and zip bags upright with magazine holders or slim bins.
- Knife Drawer Insert: If a magnetic strip isn’t your thing, a knife insert keeps blades safe and counters clear.
- One “Everything Drawer,” Not a Junk Drawer: Keep a small toolkit: scissors, tape, batteries, a pen, and a mini notepad. That’s it. No mystery cords from 2009.
Top tier for daily use, middle for sometimes, bottom for rarely. It’s the drawer version of “out of sight, out of mind,” in a good way.
5. Turn Your Fridge Into a Boutique
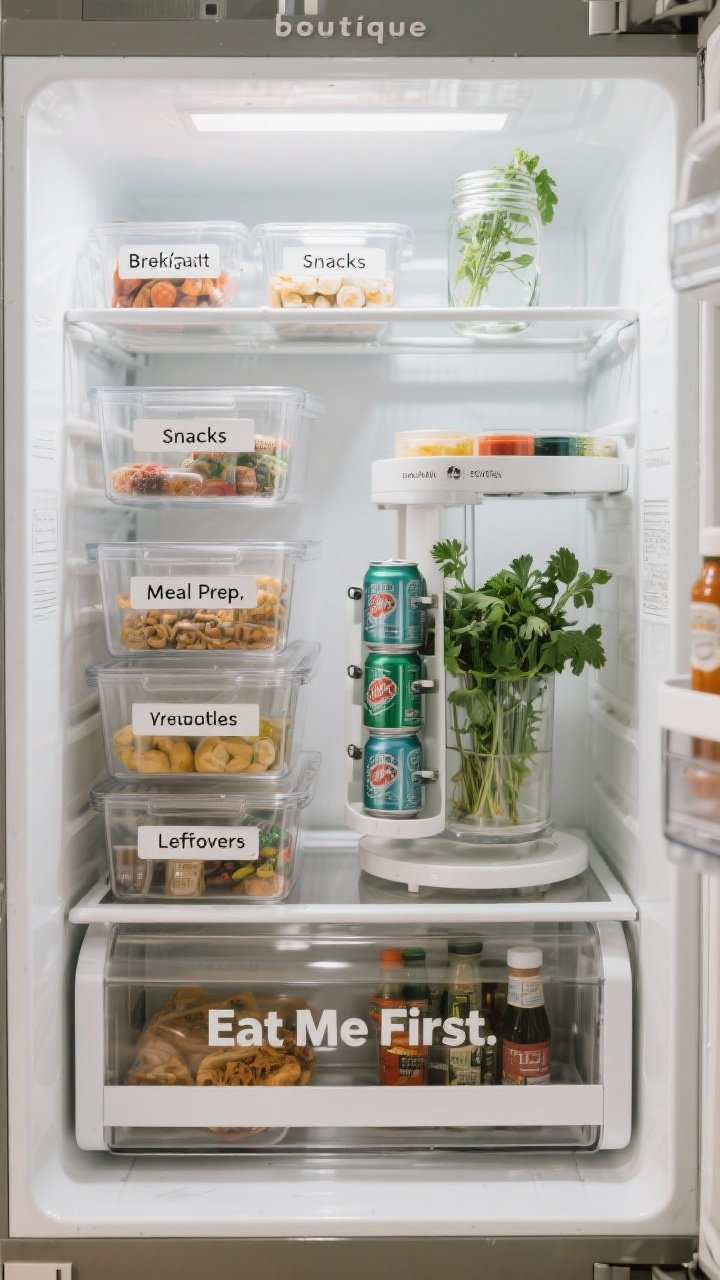
Stop letting produce disappear into the back like it’s starting a new life. Treat your fridge like a cute, organized shop. Clear bins, labels, and zones make everything visible and easy to grab.
Fridge Flow That Works
- Clear Bins by Category: Breakfast, snacks, meal prep, produce, leftovers. Pull out a bin, find what you need, slide it back—done.
- Lazy Susan for Condiments: Spins = no more duplicate mustards.
- “Eat Me First” Bin: Put near-expiring items here and use them before they ghost you.
- Vertical Cans Organizer: Stack seltzers or sodas to free up shelf space.
Pro tip: Keep herbs in a jar of water like flowers—top shelf, easy to grab, and they’ll last longer. Your future self will thank you.

6. Decant for Clarity (But Only Where It Matters)
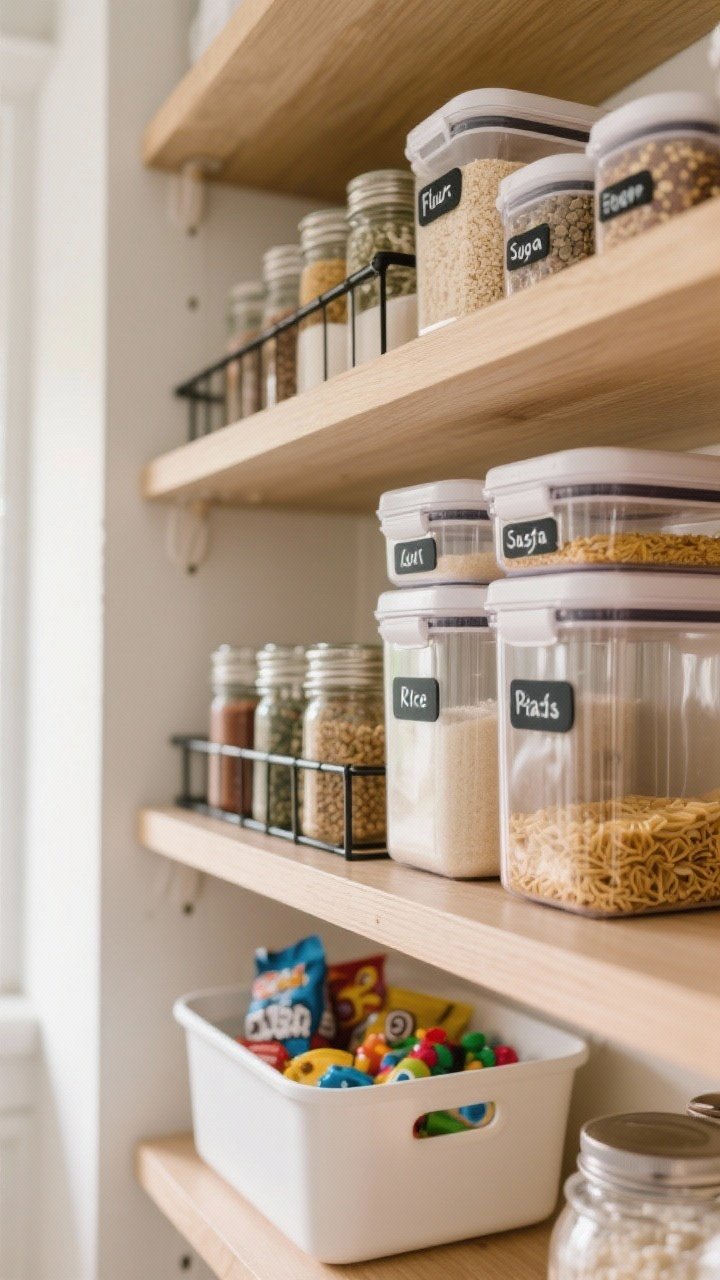
Yes, decanting looks dreamy, but you don’t have to decant every single thing you own. Focus on the high-traffic items that make the biggest visual and functional difference.
What to Decant
- Dry Staples: Flour, sugar, rice, pasta, oats. Use airtight, stackable containers with clear labels.
- Snacks: Put kids’ snacks or grab-and-go bites in shallow bins at eye level.
- Spices: Uniform jars with a lazy Susan or tiered rack = chef-level vibes.
What not to decant? Oddly shaped pasta you never buy again, random specialty flours, and anything you’re testing out. Keep the system flexible so it actually sticks.
7. Pan, Lid, and Cutting Board Tetris
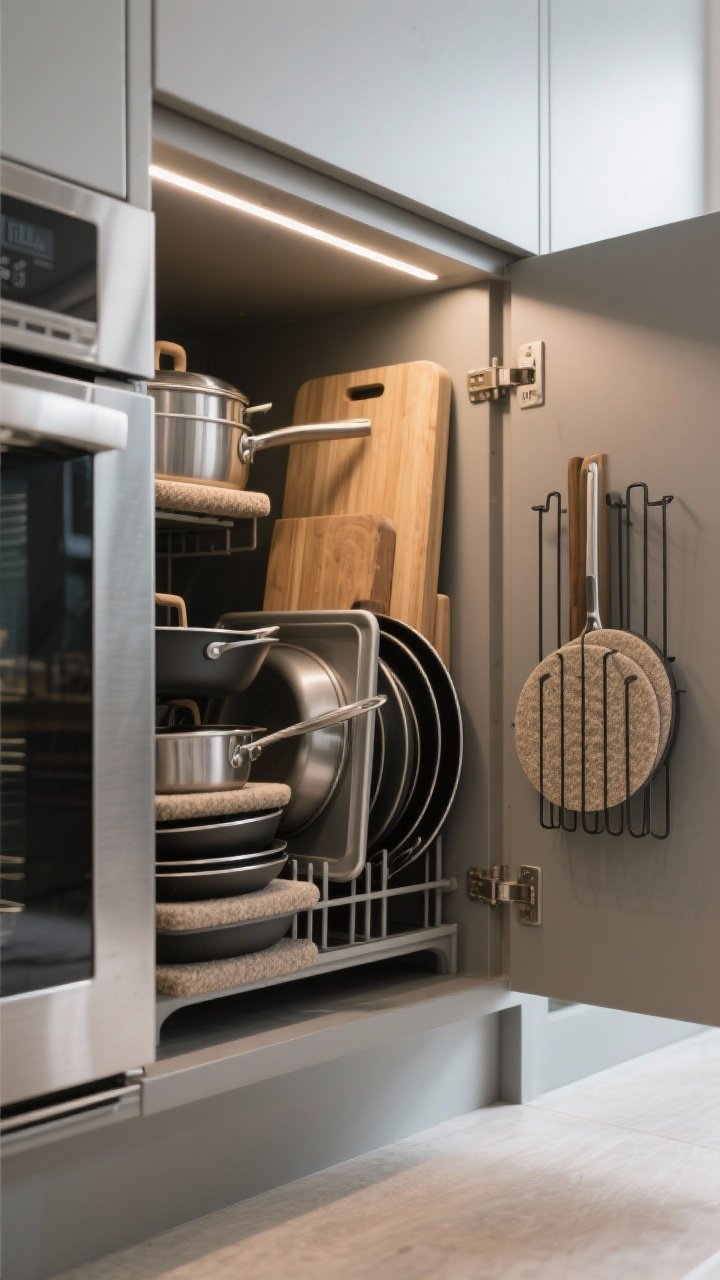
If your pans clatter like cymbals every time you cook, this one’s for you. Store cookware and lids vertically and separately so you can grab one without unleashing the whole orchestra.
Stack Smarter
- Vertical Dividers: Use tension dividers or rack-style organizers for cutting boards, sheet pans, and lids.
- Skillet Stacking Pads: Felt or silicone pads prevent scratches when you nest pans.
- File Sheet Pans: Stand them up in a lower cabinet near the oven—you’ll actually use the right size.
- Pot Lid Door Rack: Mount a slim rack inside a cabinet door for lids. Game changer.
If you can grab a pan with one hand, your future weekday dinners just got 30% less annoying. Scientific? Maybe not. True? Absolutely.
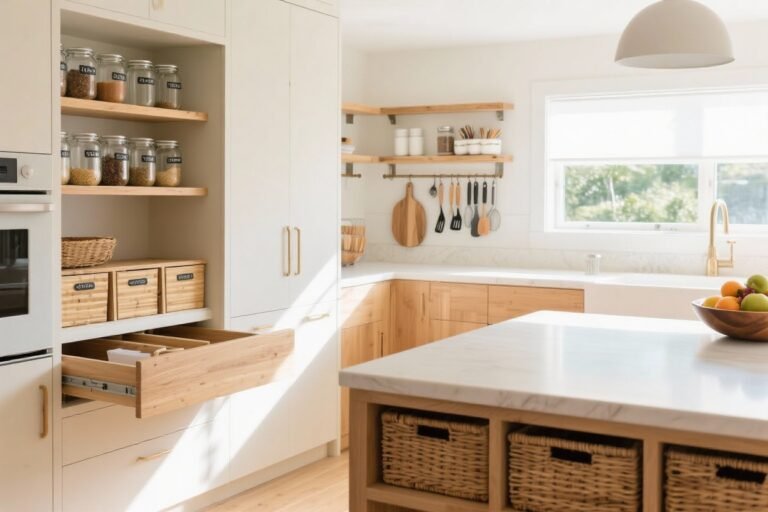
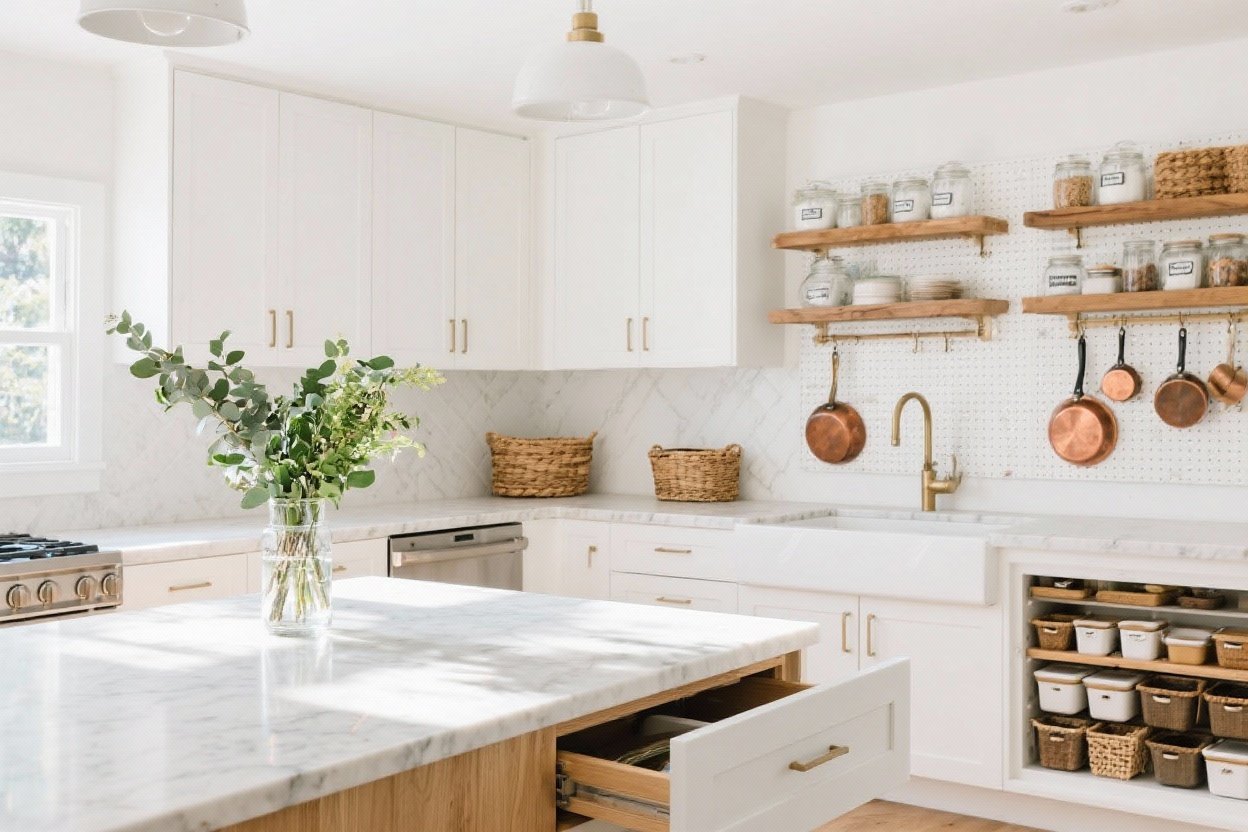
8. Make a Hidden Pantry (Even If You Don’t Have One)

No pantry? No problem. Create a stealthy one using a rolling cart, over-the-door shelves, or a single cabinet with the right inserts. It’s all about visibility and access.
Small Space Pantry Tricks
- Rolling Cart: Slide it between the fridge and wall. Store cans, snacks, oils. Out of sight, easy to pull out.
- Over-the-Door Rack: Perfect for spices, foil, and backups like vinegar and oil.
- Pull-Out Cabinet Organizers: Turn deep, dark cabinets into drawers. You’ll stop buying triplicate coconut milk.
- Tiered Can Risers: See every label at a glance. No more excavation projects.
IMO, a functional “fake pantry” beats an actual cluttered one any day. It’s about flow, not square footage.
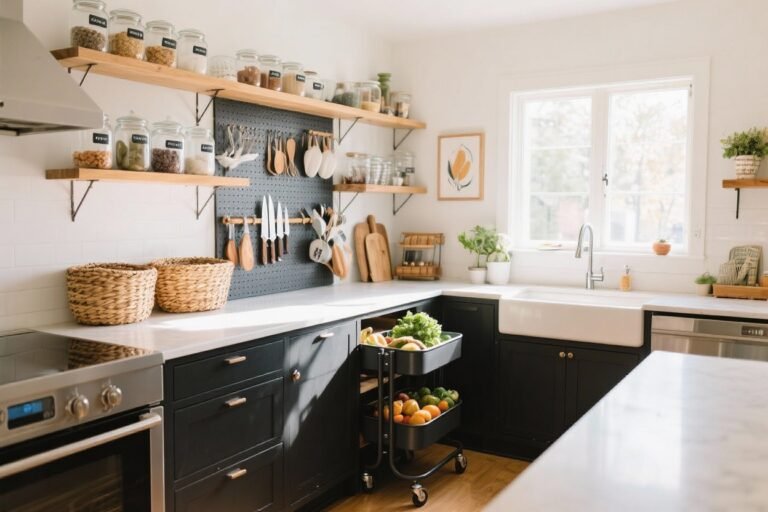
9. Style Meets Storage: Pretty Bins, Trays, and a Little Drama

Organization should look good. When your systems are attractive, you’ll actually keep them up. Use a few beautiful storage pieces to add personality and polish.
Make It Aesthetic (Without Trying Too Hard)
- Matching Bins: Choose one or two materials—woven, wire, or matte plastic—and stick to them for cohesion.
- Trays on Counters: Corral olive oil, salt, pepper, and a small plant on a tray. Suddenly it’s a curated vignette, not clutter.
- Label, But Make It Cute: Simple black-and-white labels or a label maker in one font style keeps things crisp.
- Color Story: Keep your visible items in a similar palette—wood, white, glass, black—for instant harmony.
Small decor moves—like a linen towel, ceramic utensil crock, or a bowl of lemons—make the space feel intentional, not clinical.
10. Daily Reset Rituals That Keep It All Working

Here’s the secret sauce: maintain as you go. A tiny daily reset keeps the kitchen fresh so it always feels “brand new.” No Sunday marathons required.
Micro-Habits That Stick
- Two-Minute Counter Sweep: Put everything back in its zone after dinner.
- Sink Clear Rule: Don’t go to bed with dishes in the sink. Brutal, yes. Worth it, also yes.
- Fridge Friday: Quick check of the “Eat Me First” bin and wipe a shelf. Takes five minutes.
- One-In, One-Out: New gadget? Retire something you don’t use. Space is currency.
FYI, it’s easier to keep order than to rebuild it. These little habits make your kitchen feel calm, clean, and totally under control.
Quick Shopping Checklist (Optional but Handy)
- Shelf risers, under-shelf baskets, and cabinet door hooks
- Adjustable drawer dividers and bin labels
- Clear fridge bins and a lazy Susan
- Vertical dividers for lids, pans, and boards
- Rolling cart or over-the-door pantry rack
- Stackable airtight containers for staples
- Tray for countertop essentials and a utensil crock
You don’t need a bigger kitchen—you need a smarter one. Start with one idea that solves your biggest headache, then layer in the rest. Before you know it, you’ll walk in and think, “Who renovated?” Spoiler: you did—with organization.