10 Kitchen Storage Ideas That Turn Wasted Space Into Storage You’ll Actually Use
Your kitchen has more storage potential than you think. It’s not about getting bigger cabinets; it’s about getting smarter with the space you already have. Ready to transform dead zones into dreamy, ultra-functional storage? Let’s raid every nook and cranny—without the remodel budget.
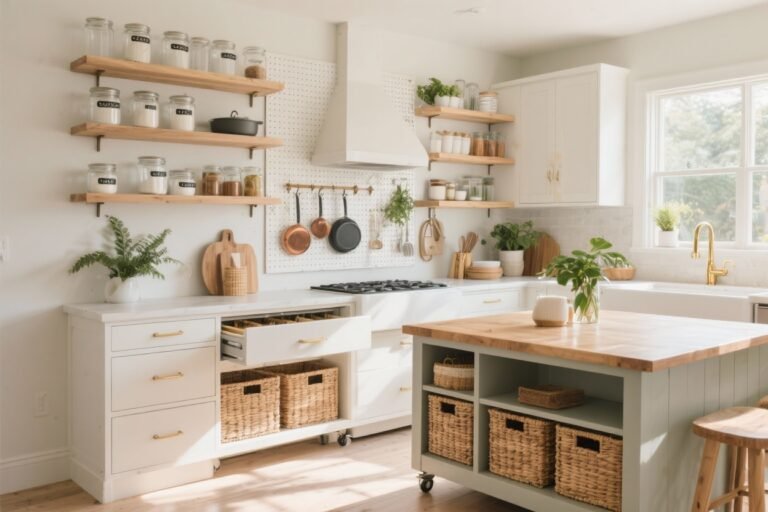
1. Claim the Cabinet Tops Like a Designer

That gap between your upper cabinets and the ceiling? It’s basically rent-free real estate. If you’re not using it, you’re missing out on prime storage for the stuff you don’t touch weekly.
Tired of snacking when you’re not even hungry? This reset helps you stop the loop and feel back in control.
A simple reset for moments when cravings take over. Easy to use, easy to repeat, and designed to help you feel satisfied instead of stuck.
What to Store Up There
- Bulky appliances (seasonal slow cookers, pressure cookers, waffle irons).
- Party platters, punch bowls, and cake stands.
- Backup pantry bins for paper towels, extra pasta, or snacks.
Make It Pretty
- Use matching baskets or lidded boxes to corral items and keep dust out.
- Stick on under-cabinet lighting to create a cozy glow and elevate the look.
- Label the sides so you’re not playing guessing games on a step stool.
FYI: If you’ve got open shelving instead of uppers, the same idea applies—just use stylish bins so it still looks curated.
2. Install a Slim Pull-Out Next to the Range

That awkward sliver of space beside your oven? It’s begging for a pull-out spice rack or sheet pan tower. These skinny cabinets are storage superheroes in disguise.
Great For
- Spices and oils in tiered shelves (no digging through the back).
- Baking sheets and cutting boards with vertical dividers.
- Foil, parchment, and zip bags in narrow baskets.
Tip: If you’re not renovating, use a free-standing rolling caddy designed to slide into narrow gaps. Same effect, zero demo.
3. Transform the Toe Kick Into a Hidden Drawer
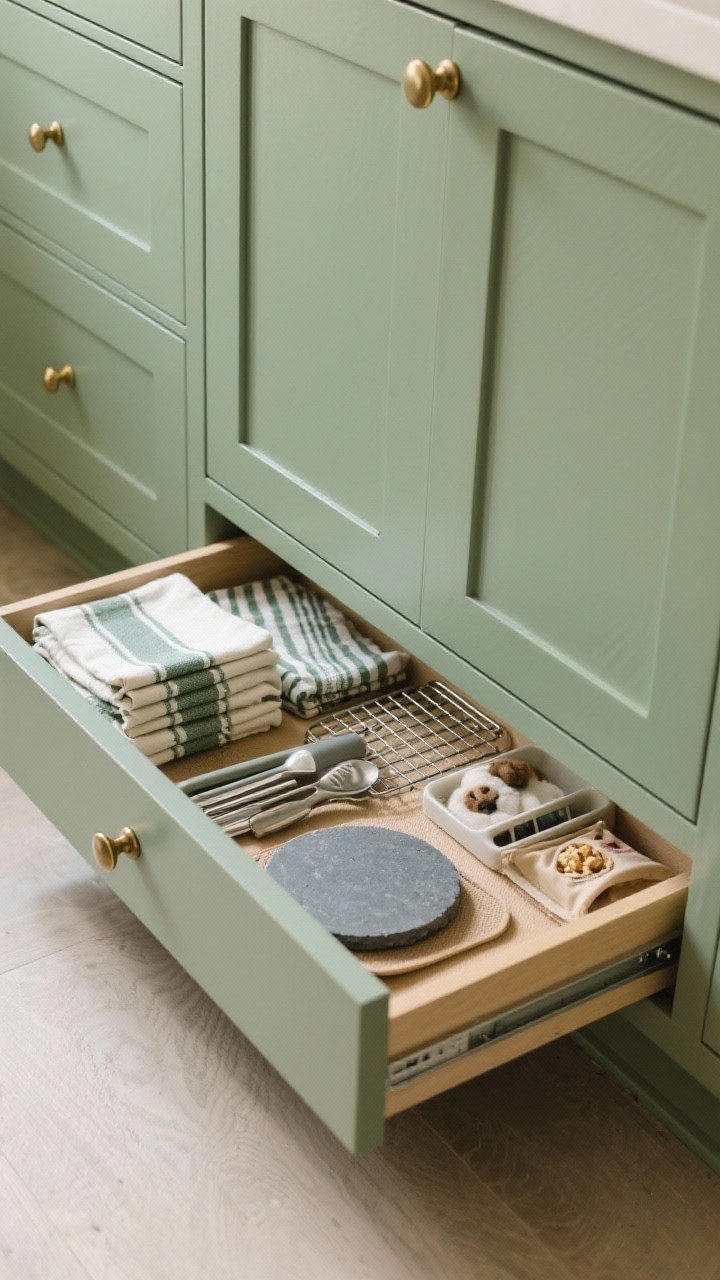
The toe kick—the recessed strip under your cabinets—can be more than a shoe scuffer. Turn it into shallow, full-length drawers and instantly win secret storage.
Transform Your Home With 7,250+ Stunning Landscaping Designs—No Expensive Designers Needed!
- 🌿 Access 7,250+ stunning landscaping designs.
- 💰 Save thousands—no pro designer needed.
- 🏡 Plans for gardens, patios, walkways, and more.
- ✨ Simple, beginner-friendly DIY layouts.
- 🛠️ Customize any design to fit your yard.
What Fits
- Flat baking tools: pizza stones, cooling racks, silicone mats.
- Placements and table linens that fold flat.
- Pet supplies like mats or treat stash (don’t worry, they won’t tell).
Installation isn’t DIY-only; pros can retrofit these. If you rent, look for clip-in toe kick drawers that fit standard cabinets without permanent changes.
4. Add a Second Shelf Under Every Shelf

Half your cabinet is air. Fix that with stackable shelf risers and under-shelf baskets so every vertical inch earns its keep.
Smart Combos
- Plates and bowls on risers; mugs hang from under-shelf hooks.
- Pantry items like canned goods below; snacks in baskets above.
- Glasses on top; teas and coffee pods underneath.
Pro move: Pick adjustable risers so you can tweak heights for tall glasses or low bowls. It’s like Tetris, but for your dishes.
5. Mount a Rail System on the Backsplash
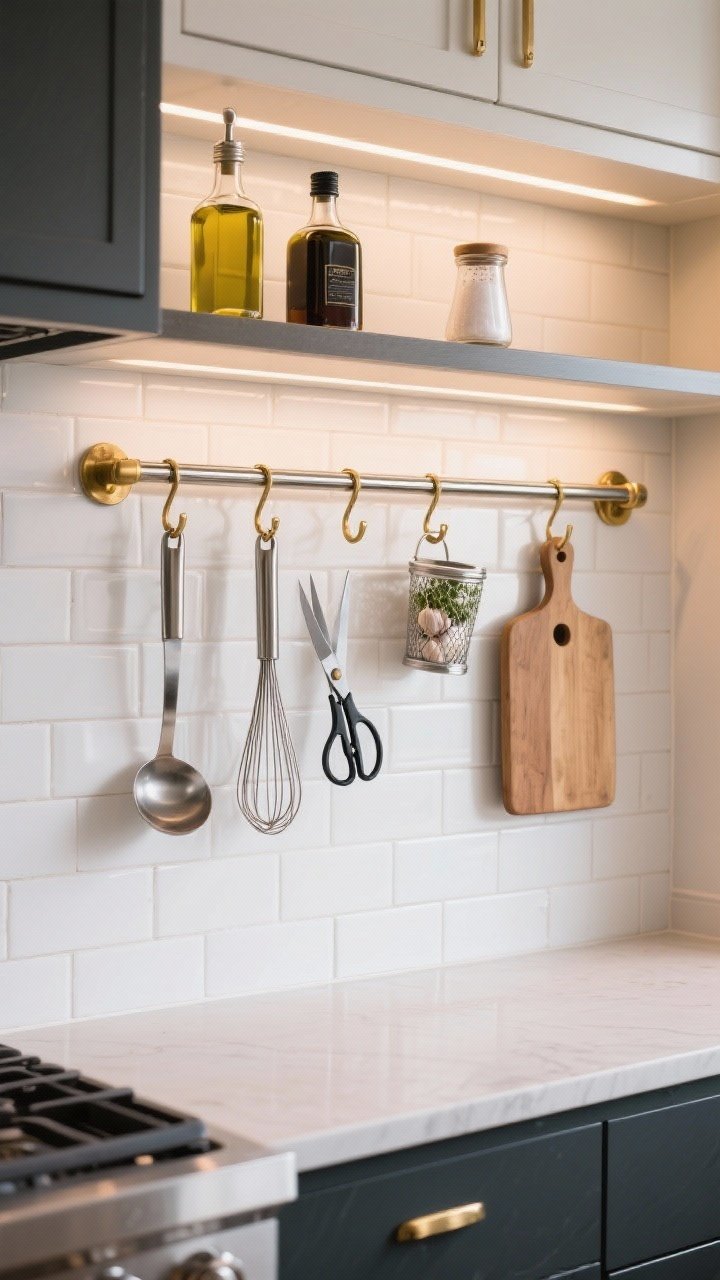
Don’t crowd your countertops—float your essentials. A simple metal rail with hooks turns your backsplash into a sleek, restaurant-style command center.
What to Hang
- Everyday tools: ladles, whisks, tongs, and scissors.
- Mini baskets or cups for garlic, herbs, or wooden spoons.
- Cutting boards with a handle hole.
Bonus: Hang a short shelf above the rail for oil and salt. Keeps everything within reach and your counter luxuriously empty (ahh, space).

6. Use the Sides of Cabinets and Fridges

The exposed side of a cabinet or the fridge is basically a blank canvas. Add slim racks, magnetic shelves, or pegboards and boom—instant storage.
Ideas to Steal
- Stick magnetic spice jars on the side of the fridge for a gorgeous color wall.
- Mount a vertical pot lid rack to a cabinet side near the stove.
- Use Command hook strips for oven mitts, measuring cups, or colanders (renters, rejoice).
Keep it tidy by grouping items by color or material. Clutter is a vibe—just not a good one.
7. Turn Corners Into Glide-Out Gold

Corner cabinets are where things go to disappear forever (RIP, 2016 casserole dish). Upgrade with a lazy Susan or pull-out corner system so everything slides right to you.
Pick Your System
- Two-tier lazy Susan for pots, mixing bowls, and baking supplies.
- Kidney-shaped pull-outs that swing out fully for easy reach.
- Blind-corner gliders that pull forward and across to use every inch.
Label zones (e.g., “Baking,” “Sauces,” “Snacks”) so your future self doesn’t play hide-and-seek. IMO, corners might be the biggest storage glow-up.
8. Build a Pantry Behind a Door

Backs of doors are storage powerhouses. Add a shallow rack system and you’ve got a built-in pantry where there wasn’t one.
Best Doors to Use
- Pantry or utility doors for canned goods and condiments.
- Cabinet doors for spices, foil, and cleaning supplies (just mount carefully).
- Closet or laundry doors near the kitchen for overflow paper goods.
Tips for Success
- Choose low-profile racks so doors still close smoothly.
- Store lightweight items to protect hinges.
- Group by height so labels are visible at a glance.
For renters, try over-the-door organizers with stabilizing hooks—no drilling needed and way sturdier than they look.
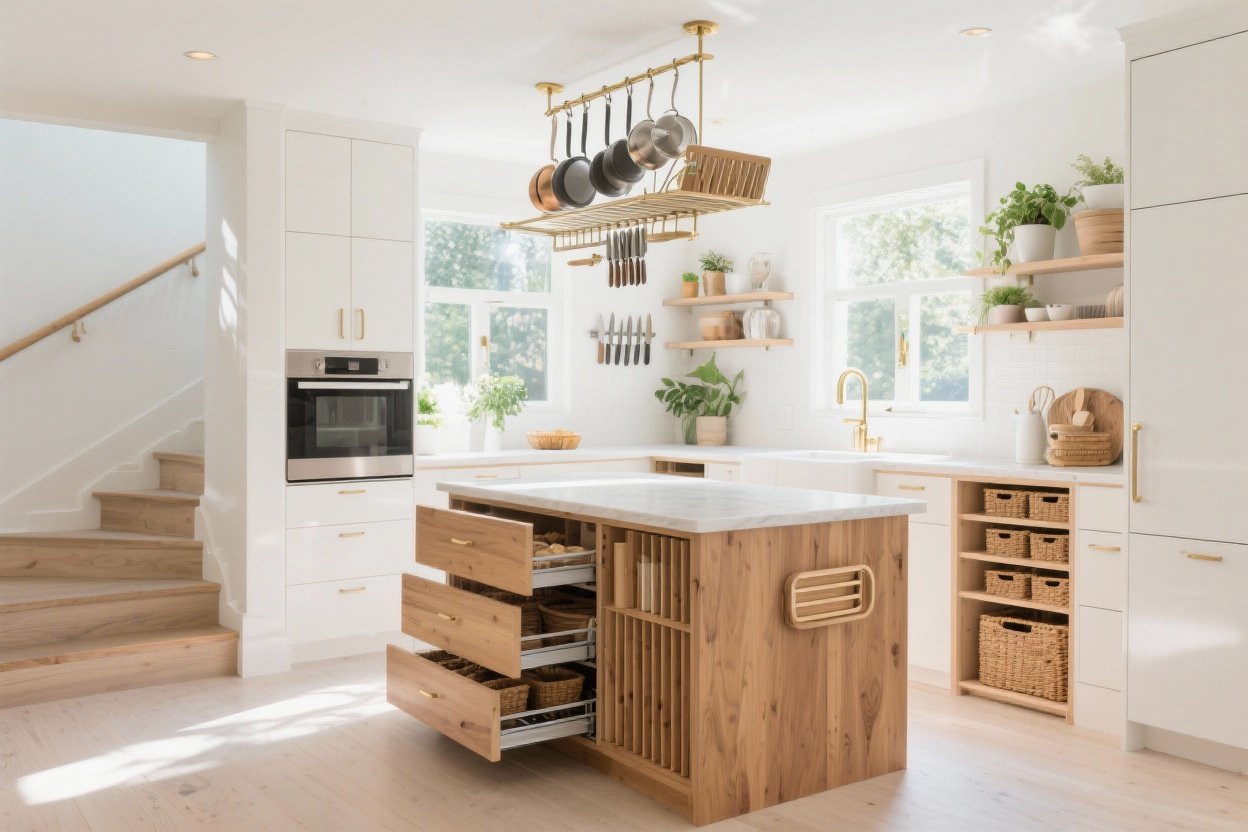
9. Hang Pots From the Ceiling (But Do It Chic)

Ceiling space is your friend, especially in small kitchens. A ceiling-mounted pot rack frees up an entire cabinet and looks chef-y in the best way.
How to Nail the Look
- Match metals: brass hooks + stainless pans = intentional, not chaotic.
- Limit to your prettiest or most-used pieces—keep it curated.
- Add a few herb bundles or wood utensils to soften the metal-on-metal feel.
No ceiling studs? Go for a wall-mounted bar rack or a pegboard instead. Same vibe, fewer anchors.
10. Slide Storage Into Skinny, Forgotten Gaps
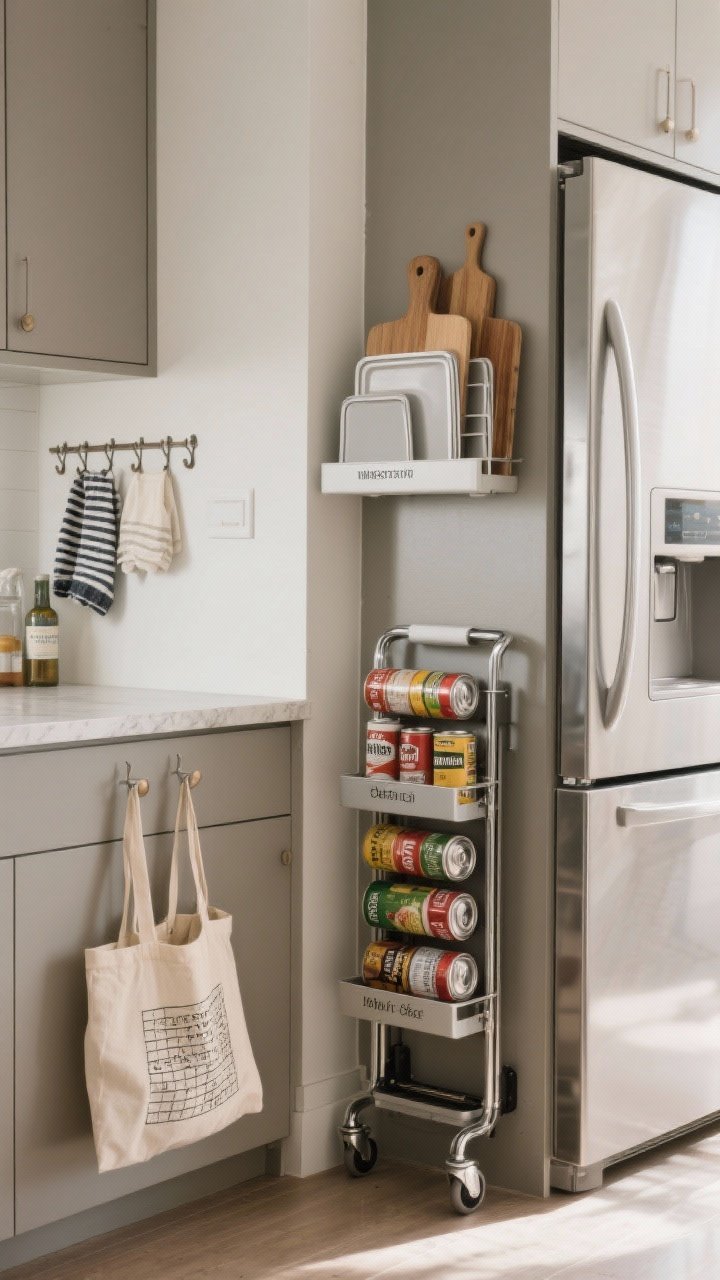
There are stealthy spaces hiding everywhere: between the fridge and wall, beside a trash pull-out, even under the island overhang. Use slim rolling carts or custom cut boards to make those gaps useful.
Small Space Wins
- Rolling can caddies for pantry overflow next to the fridge.
- Vertical dividers in the cabinet above the fridge for trays and boards.
- Hooks under the island for bar towels or reusable shopping bags.
Measure first, shop second. Narrow gaps vary wildly, and you want a snug fit that looks intentional—not like your storage is trying to escape.
Quick Bonus Tips to Max Out Every Idea
- Label everything—your future self will thank you on grocery day.
- Match containers for visual calm (clear bins = instant inventory check).
- Audit quarterly to purge duplicates and keep the system working.
You don’t need a bigger kitchen; you need smarter angles. Pick two or three of these ideas to start, and let the momentum carry you. Soon you’ll open any cabinet with the smug satisfaction of someone who has their life together (at least in the kitchen). Happy organizing!