10 Vertical Kitchen Storage Ideas That Free up Cabinets and Drawers—you’ll Love #7
Your countertops deserve better than the daily chaos of mugs, pans, and mystery Tupperware. The secret? Go vertical. When you start using your walls, backsplash, doors, and odd corners, your kitchen suddenly feels bigger, calmer, and way more functional.
Ready to clear the clutter and make your kitchen look like it’s about to be pinned 10,000 times? Let’s climb the walls—literally.
Tired of snacking when you’re not even hungry? This reset helps you stop the loop and feel back in control.
A simple reset for moments when cravings take over. Easy to use, easy to repeat, and designed to help you feel satisfied instead of stuck.
1. Pegboard Power Wall (Julia Child Knew What’s Up)
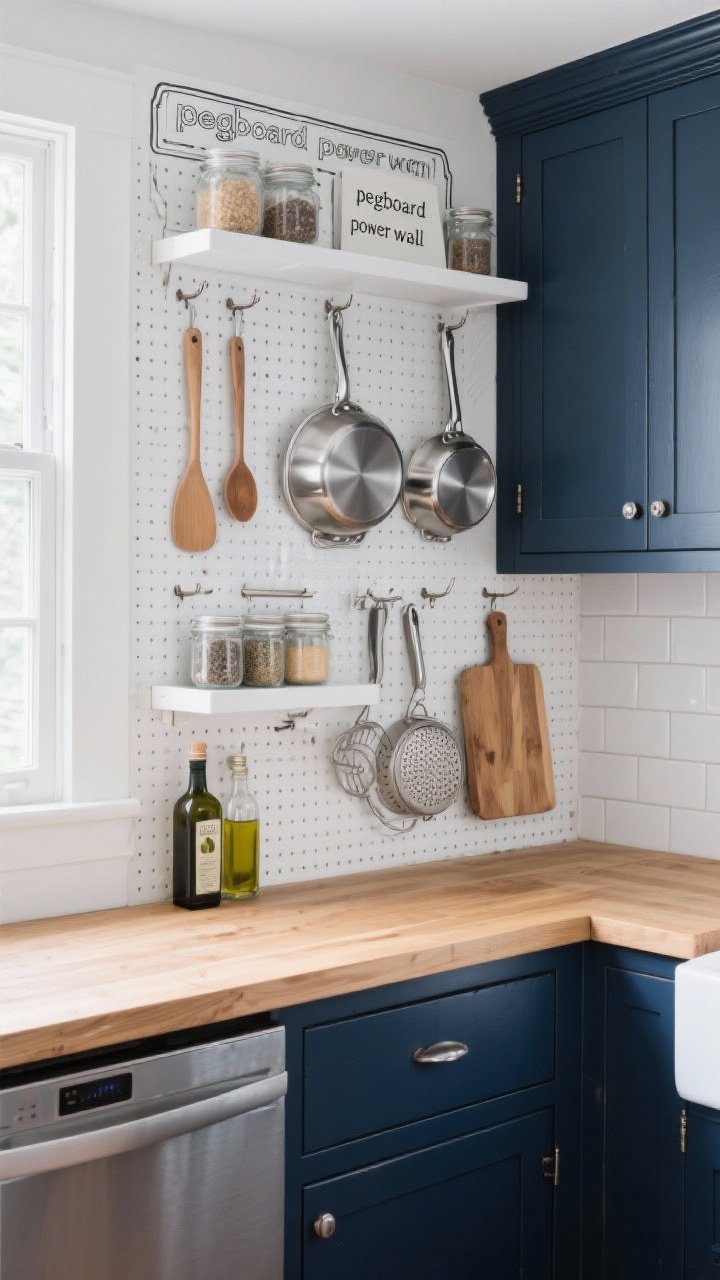
A classic for a reason. A pegboard isn’t just for tools—it’s a flexible, wall-sized organizer for pots, lids, utensils, and even cutting boards. Paint it to match your cabinets or go high-contrast for a statement wall.
Why It Works
- Adjustable: Move pegs around as your needs change.
- High capacity: Holds more than you think—just use strong anchors.
- Visual inventory: You see everything at a glance. No more drawer digging.
Pro Tips
- Use metal pegboard if you’re hanging heavier pans.
- Add shallow shelves for spices and oils—bonus: looks chic.
- Outline your tools (like Julia) so everything has a “home.”
2. Rail + Hook Systems Along the Backsplash

That strip of wall under your uppers? It’s prime real estate. Install a rail with S-hooks along the backsplash to hang ladles, strainers, mugs, or mini colanders. It looks intentional and frees drawers instantly.
What to Hang
- Daily-use utensils: Tongs, spatulas, whisks.
- Mini baskets for garlic, ginger, or dish brushes.
- Measuring cups and spoons so they stop vanishing.
Style It
- Brass rails for warmth, matte black for modern, chrome for minimal.
- Keep it tight: evenly spaced hooks = elevated look.
3. Magnetic Magic: Knives, Jars, and Tools

Magnets are the stealth heroes of vertical storage. A magnetic knife strip saves counter space and keeps blades safe. Level up with magnetic spice jars on the side of the fridge or a metal strip for small tools.
Placement Ideas
- Mount a strip beside the stove for easy reach (but not too close to heat).
- Use the side of a cabinet or fridge for spice jars—cute and practical.
- Try under-shelf magnetic bars for bottle caps and mini tins.
FYI
- Choose strong neodymium magnets so nothing slides off.
- Keep knives spaced so blades don’t clink and dull.
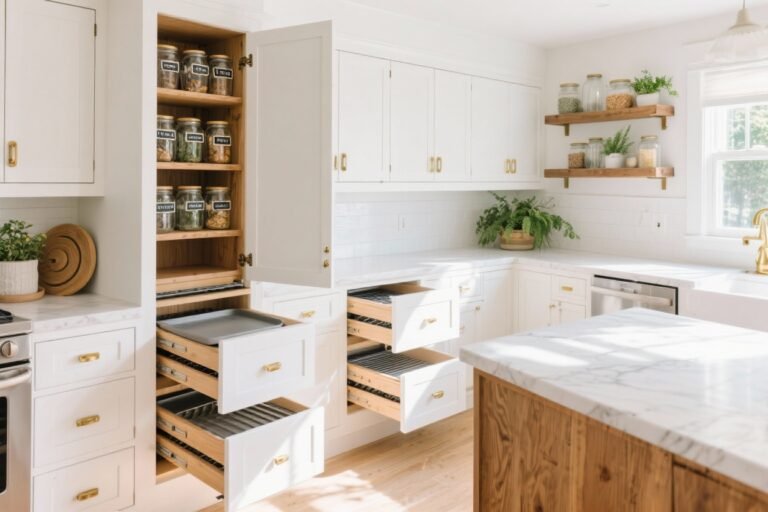
4. Slimline Shelves for Spices and Oils

Even a 3- to 4-inch ledge can be a spice shrine. Install narrow shelves on any blank wall or the side of tall cabinets for oils, vinegars, and spice jars. Looks like a mini pantry, but prettier.
Transform Your Home With 7,250+ Stunning Landscaping Designs—No Expensive Designers Needed!
- 🌿 Access 7,250+ stunning landscaping designs.
- 💰 Save thousands—no pro designer needed.
- 🏡 Plans for gardens, patios, walkways, and more.
- ✨ Simple, beginner-friendly DIY layouts.
- 🛠️ Customize any design to fit your yard.
How to Nail It
- Use gallery rails or tiny lips to keep bottles from slipping.
- Keep frequent spices at eye level; stash extras higher up.
- Go uniform with matching jars and labels for instant visual calm.
Placement Ideas
- Inside a pantry door if you’ve got one.
- Above the stove—just make sure bottles aren’t too close to direct heat.
5. Over-the-Door Racks That Actually Look Good

Backs of doors are like secret walls. Add over-the-door racks to pantry doors, broom closets, or even under-sink doors for wraps, foils, cutting boards, and snacks. Choose a slim profile so doors still close smoothly.
Best Uses
- Pantry door: Canned goods, spices, snacks.
- Cabinet doors: Lids, wraps, zip bags, scrub brushes.
- Tall door: Baking sheets and cutting boards in vertical slots.
Keep It Pretty
- Use labeled bins so it doesn’t become a free-for-all.
- Stick to one material (wire, bamboo, acrylic) for a cohesive look.

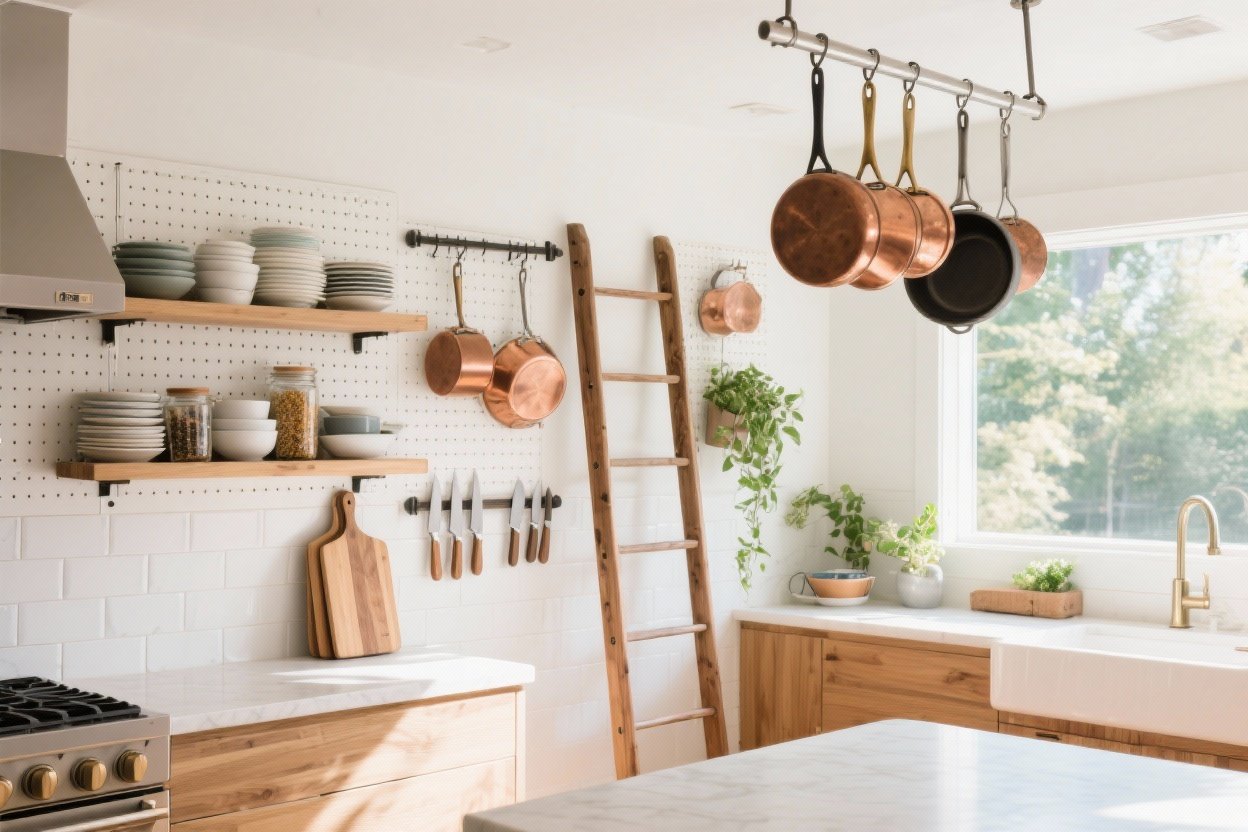
6. Ceiling-Mounted Pot Racks (Yes, Even in Small Kitchens)

If you’ve got decent ceiling height, suspend a pot rack over an island or along a wall. It turns your cookware into decor and frees a whole cabinet. Worried about visual clutter? Keep the selection tight and tonal.
Installation Musts
- Mount into studs or use proper anchors. Safety first.
- Hang it high enough to avoid head bumps but low enough to reach—usually 16–24 inches above the tallest user’s reach.
- Use uniform hooks and hang pans by size to keep it from looking messy.
Bonus
- Add a top shelf on the rack for lids or Dutch ovens.
7. Corner Vertical Towers That Dominate Dead Space

Those awkward corners? Gold mines. Add a tall corner shelf tower or a narrow etagere to store bowls, mixers, or baskets of produce. It gives you height without eating floor space.
Smart Styling
- Mix closed baskets (for ugly stuff) with open stacks (for pretty bowls).
- Stick to a color palette so it doesn’t read chaotic.
Functional Wins
- Use the top shelf for infrequent appliances.
- Keep everyday items at shoulder-to-eye height.
8. Under-Cabinet Heroes: Hooks, Rails, and Glass Racks

The space under your uppers is criminally underused. Install mug hooks, a slim utensil rail, or a stemware rack for wine glasses. It’s the easiest way to free a whole shelf or drawer.
What Works Best
- Mug hooks for everyday cups—keep them near the coffee zone.
- Stemware racks for glassware that doubles as decor.
- Magnetic or adhesive LED strips for light and glam. Function + vibes.
Installation Tip
- Measure mug/glass height so they clear the backsplash and counter appliances.
9. Vertical Dividers for Trays, Lids, and Boards
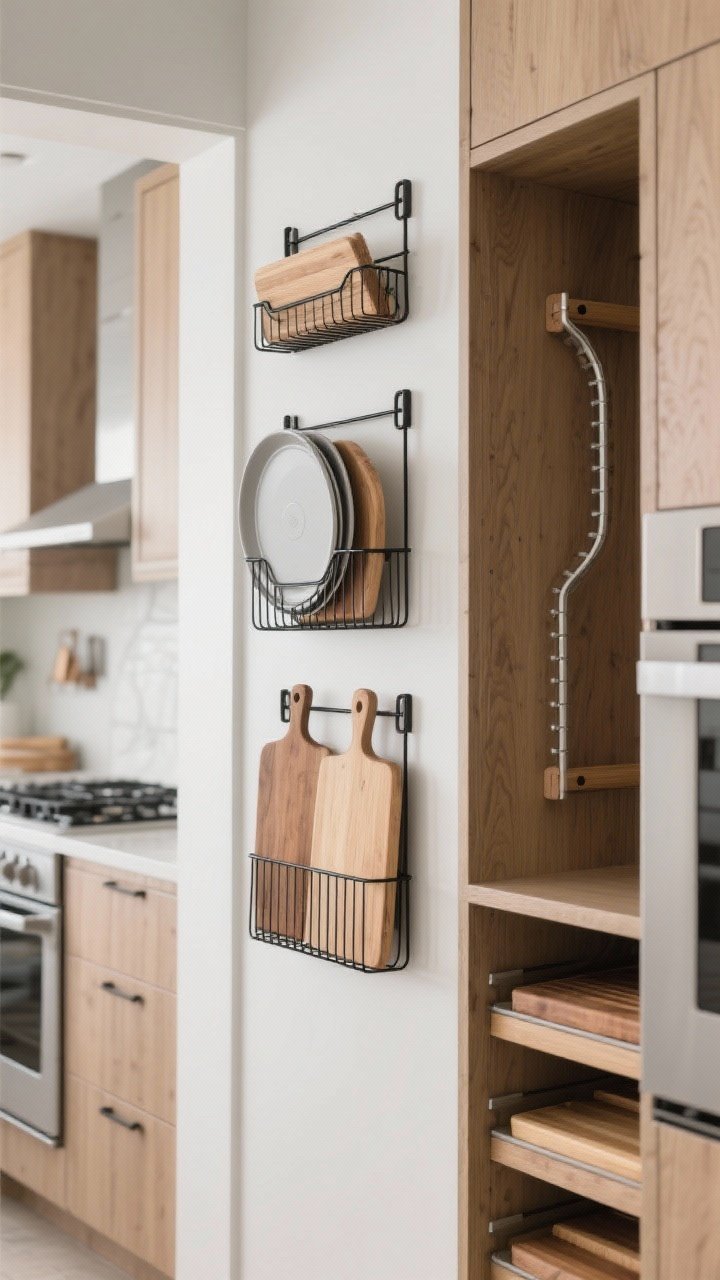
Inside cabinets gets all the love, but you can bring those dividers up the wall. Mount vertical file-style racks to hold cutting boards, baking sheets, and pot lids. It’s shockingly efficient and looks neat when styled right.
Mounting Ideas
- Use slim wire racks on the side of a cabinet.
- Try a wall-mounted lid organizer near your stove or prep zone.
- Install U-shaped rails inside a pantry to create vertical “parking spots.”
Styling Hack
- Choose boards in wood tones that match your cabinets for a cohesive look.
10. Floating Shelves With Intention (Not Clutter)

Floating shelves are beautiful, but they need rules. Use them for attractive daily-use items like stacked bowls, canisters, or cookbooks. Keep them shallow (8–10 inches) so they feel light and don’t become a dumping ground.
How to Curate
- Follow the 2/3 rule: two-thirds practical, one-third decorative.
- Use matching canisters for grains, coffee, or snacks—label neatly.
- Group in odd numbers and vary heights for balance.
Make It Sturdy
- Anchor into studs, and check weight ratings—especially for dishes.
Conclusion: Go Up, Breathe Out

When you start thinking vertically, your kitchen transforms from crowded to curated. Rails, racks, shelves, and magnets shift the load off your cabinets and onto the walls—with style. Pick two or three ideas to start, keep things intentional, and enjoy those blissfully clear drawers. Your countertops will thank you (and so will future you at dinnertime, IMO).