The Cheapest Way to Start Seeds Indoors on Any Budget
Want a lush garden without torching your wallet? Starting seeds indoors is the ultimate budget hack—plus it’s weirdly satisfying to watch tiny green sprouts pop up. You don’t need fancy gear or a grow-tent situation. You need a sunny spot, a few household items, and a plan that doesn’t involve spending $200 on seed-starting kits.
Why Start Seeds Indoors (And Why It’s Cheap)
Starting indoors gives you a head start on the season, bigger plants by transplant time, and way more variety than the sad rack at the store. Plus, one $3 seed packet can become dozens of plants. That’s basically printing money—well, salad money. And when you reuse containers and DIY your setup, you’ll spend next to nothing.
Tired of snacking when you’re not even hungry? This reset helps you stop the loop and feel back in control.
A simple reset for moments when cravings take over. Easy to use, easy to repeat, and designed to help you feel satisfied instead of stuck.
Gather Your Budget-Friendly Gear
Skip the shiny kits. You probably have most of this already. If not, it’s thrift-store time.
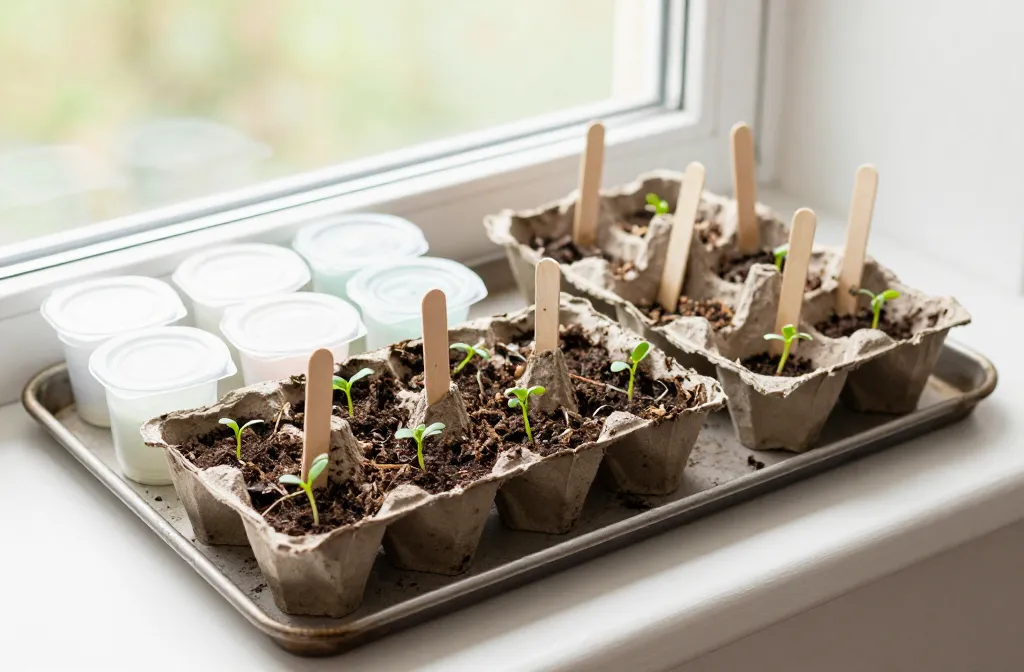
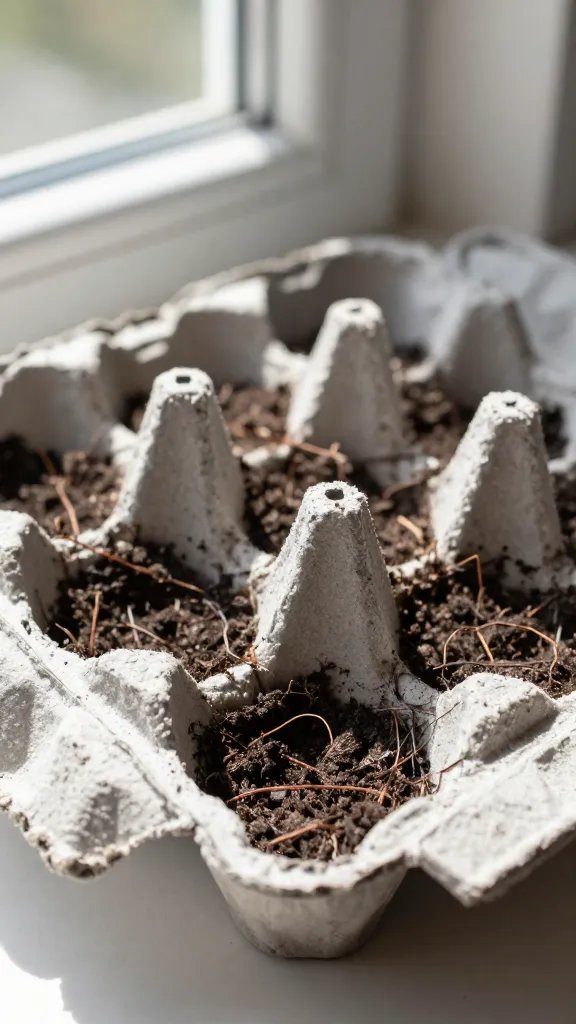
- Containers: Yogurt cups, clamshell salad boxes, cans with holes, egg cartons (cardboard only), or saved nursery packs.
- Trays: Old baking sheets, takeout lids, or boot trays to catch drips.
- Labels: Cut-up yogurt lids, painter’s tape, or popsicle sticks.
- Clear covers: Plastic wrap, clear produce bags, or the lids from those salad clamshells.
- Soilless mix: Seed-starting mix (light and sterile). You can DIY, but IMO, a bag is cheap insurance against fungus and pests.
- Light source: A sunny south window works for some; a cheap LED shop light works for everything.
- Watering tool: Spray bottle or a measuring cup with a spout. Bottom-watering tray if you’re fancy (or just resourceful).
What To Skip
- Garden soil indoors: Too heavy, slow drains, invites problems.
- Peat pots only: They stay soggy and stunt roots. Use sparingly or tear them open at transplant.
- Overpriced heat mats: Nice-to-have, not must-have. Many seeds germinate fine at room temp.
Set Up Your No-Frills Seed Station
Let’s keep it simple. Clean containers, poke drainage holes (a nail, awl, or scissors does the trick), and set them into a tray. Fill with pre-moistened seed-starting mix—think wrung-out sponge, not wet brownie batter. Label before you sow, because “mystery greens” is cute until it’s actually kale in your herb patch.
Planting Depth and Spacing
- General rule: Plant seeds at a depth of roughly 2–3x their width.
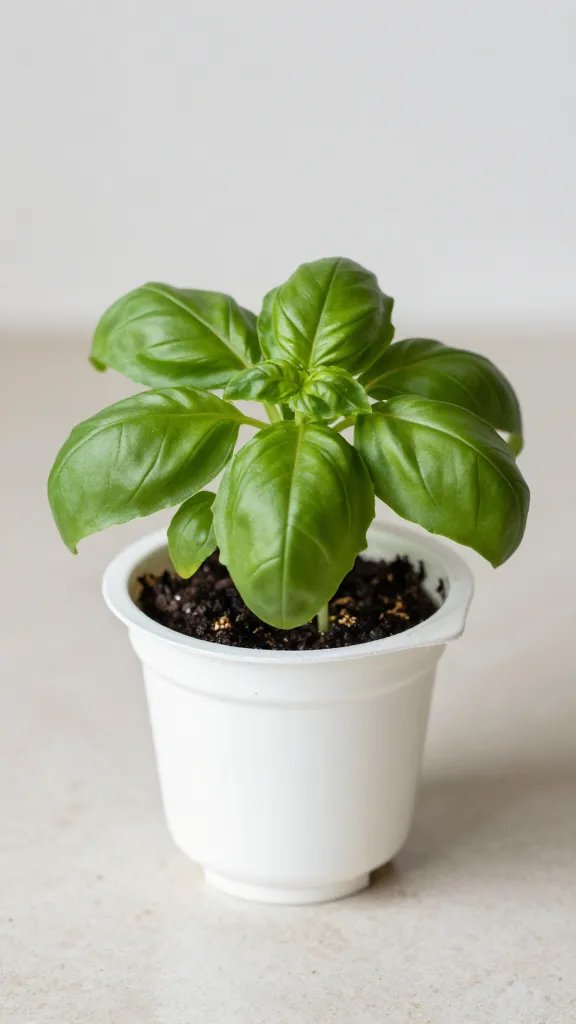
- Tiny seeds (basil, lettuce): Press onto the surface and barely cover.
- Medium seeds (tomato, pepper): About 1/4 inch deep.
- Big seeds (squash): Start later and shallower; they grow like teenagers after pizza night.
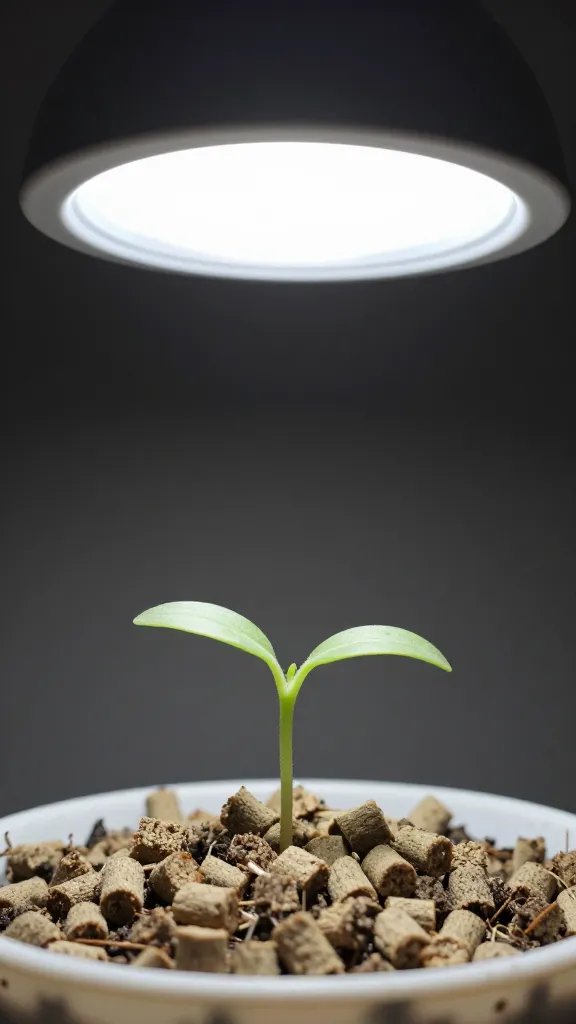
Light: The Make-or-Break Factor
FYI, most “leggy” seedlings suffer from lack of light. A bright window can work for leafy greens and herbs, but fruiting crops like tomatoes and peppers love more intensity. A basic 4-foot LED shop light (5000K, 3000–5000 lumens) hung 3–6 inches above seedlings costs little and works wonders.
Cheap Lighting Tips
- Hang low: Keep lights close and raise as plants grow.
- 12–16 hours daily: Use a cheap timer so you don’t forget.
- Reflectors: Tape up foil or place white poster board around the setup to bounce light.
Watering, Heat, and Humidity Without Gadgets
Overwatering kills more seedlings than your cat ever will. Keep soil moist—not soggy—and water from the bottom when possible. Cover with plastic until germination to lock in humidity, then remove covers so stems toughen up.
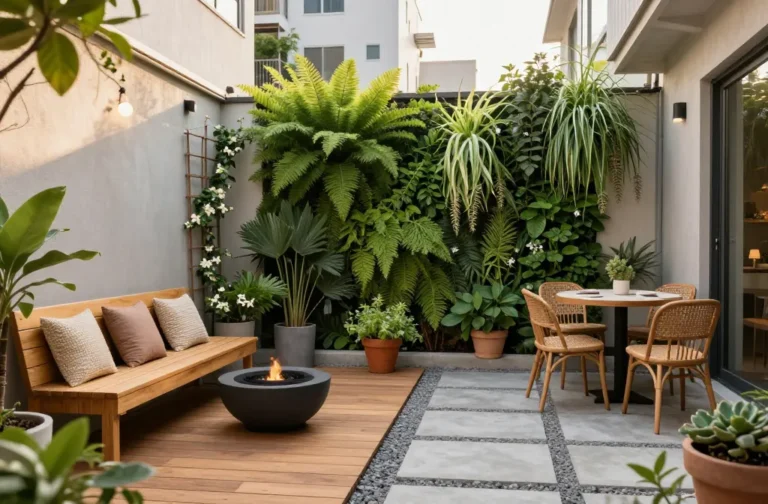
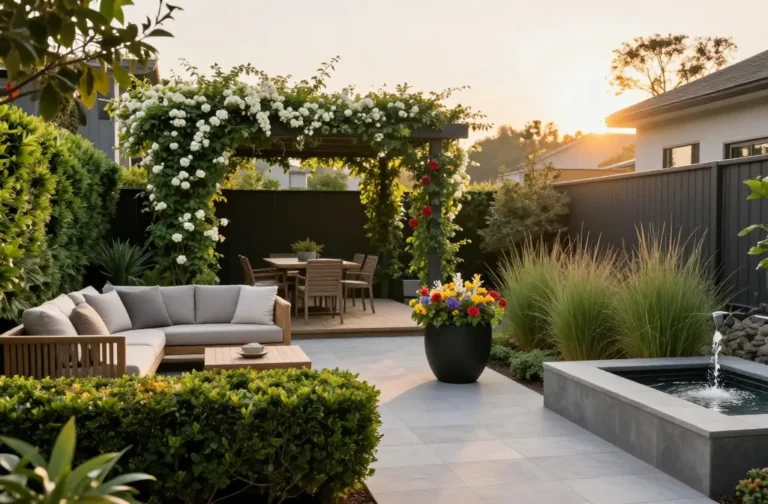
Transform Your Home With 7,250+ Stunning Landscaping Designs—No Expensive Designers Needed!
- 🌿 Access 7,250+ stunning landscaping designs.
- 💰 Save thousands—no pro designer needed.
- 🏡 Plans for gardens, patios, walkways, and more.
- ✨ Simple, beginner-friendly DIY layouts.
- 🛠️ Customize any design to fit your yard.
Temperature Tricks
- Warm germination: Tomatoes, peppers, and eggplants like 70–80°F. Top of the fridge works as a free “heat mat.”
- Cool crops: Lettuce, kale, broccoli germinate happily around 65–70°F.
- After sprouting: Slightly cooler temps (60–70°F) help avoid leggy growth.
Airflow = Strong Stems
- Fan it: A small fan on low a few hours a day strengthens stems and prevents disease.
- Brush pass: No fan? Gently run your hand over seedlings daily. Yes, you’re literally petting your plants.

Practical, Penny-Pinching Upgrades
Want pro results on a ramen budget? Try these tweaks.
- Bottom-watering tray: Repurpose a baking pan; add ridges with old jar lids so pots don’t sit in water.
- DIY humidity dome: Clear plastic storage bins flipped upside down over trays.
- Soil blocks: If you start tons of seeds, a $20 soil blocker saves on pots long term.
- Compost tea-lite: After 2–3 true leaves, feed weekly with diluted liquid fertilizer (half-strength). Skip before that.
Timing: When To Start What
Count back from your last expected frost date (Google your ZIP + “average last frost”).
- 10–12 weeks before: Onions, leeks, slow flowers (celosia, snapdragons).
- 8–10 weeks: Peppers, eggplants.
- 6–8 weeks: Tomatoes, brassicas (broccoli, cabbage), many herbs.
- 4–6 weeks: Lettuce, kale, chard.
- 2–4 weeks: Cucumbers, squash, zucchini (or direct-sow later—IMO easier).
Transplanting and Hardening Off (Don’t Skip!)
Before you toss babies into the harsh outdoors, “harden off” over 7–10 days. Start with a few hours of shade and zero wind, then add sun and time each day. Water well, watch the forecast, and avoid sudden temperature drops or gale-force winds. Your plants will thank you by not dying dramatically.
Up-Potting Without Buying Pots
- When: Once roots fill the cell and plants have 2–3 sets of true leaves.
- How: Shift to larger reused containers (yogurt cups!) with drainage.
- Bonus: Bury leggy tomato stems deeper up to the first leaves for stronger roots.
Common Problems (And Dirt-Cheap Fixes)
- Leggy seedlings: Move closer to light, increase light hours, reduce heat a bit.
- Damping off (stems pinch, seedlings flop): Improve airflow, don’t overwater, sprinkle a little cinnamon on soil surface as a mild antifungal.
- Yellowing leaves: Usually hunger or overwatering. Feed gently once true leaves form and let soil drain.
- Gnats: Let the top layer dry between waterings; add a thin layer of sand on top to deter them.
FAQ
Can I just use a sunny window and no lights?
You can for herbs and leafy greens, especially with a south-facing window. For tomatoes, peppers, and other sun-lovers, you’ll get stretched, weak seedlings without supplemental light. A cheap LED shop light solves it for under $30, IMO totally worth it.
Do I really need seed-starting mix?
It’s not mandatory, but it helps a ton. The fine texture and sterility boost germination and reduce disease. If you must DIY, use a very light mix with plenty of perlite and sift it so tiny seeds don’t struggle.
How often should I water?
Keep the mix evenly moist, not soaked. Bottom-water when the surface looks dry and the container feels light. Dump excess water after 30 minutes so roots don’t sit in a swamp.
What’s the cheapest fertilizer option?
A small bottle of balanced liquid fertilizer lasts ages when diluted to half strength. Fish emulsion works too, just don’t use it indoors if you hate your nose. Start feeding after the first set of true leaves appears.
When do I transplant outside?
After your last frost date, once seedlings are hardened off and nighttime temps stay reliably above 45–50°F for warm crops. Cool crops like lettuce and kale can go out earlier. Watch the forecast and keep a sheet or row cover ready for surprise chills.
Are egg cartons good seed starters?
Cardboard ones can work in a pinch, but they dry out fast and the cells run tiny. If you use them, place the whole tray in a shallow container for bottom-watering and transplant quickly to avoid stunting.
Conclusion
Starting seeds indoors on the cheap doesn’t require special equipment—just a bit of creativity, good light, and consistent care. Reuse containers, stick to a simple setup, and focus on light and watering. Do that, and you’ll raise strong, thrifty seedlings that make your garden (and your wallet) very happy. Go forth and sprout, gardener.