Vegetable Seed Starting Guide for Beginners That Works
You want fresh veggies without playing garden roulette? Start seeds right. In a few weeks you’ll turn tiny specks into sturdy seedlings that crush it outside. I’ll show you exactly what to buy, what to skip, and how to dodge the classic newbie mistakes. Ready to grow brag-worthy tomatoes and basil? Let’s do this.
Pick Your MVPs (And Skip The Divas)
New to seed starting? Choose fast, forgiving veggies first. You’ll learn faster and harvest sooner.
Tired of snacking when you’re not even hungry? This reset helps you stop the loop and feel back in control.
A simple reset for moments when cravings take over. Easy to use, easy to repeat, and designed to help you feel satisfied instead of stuck.
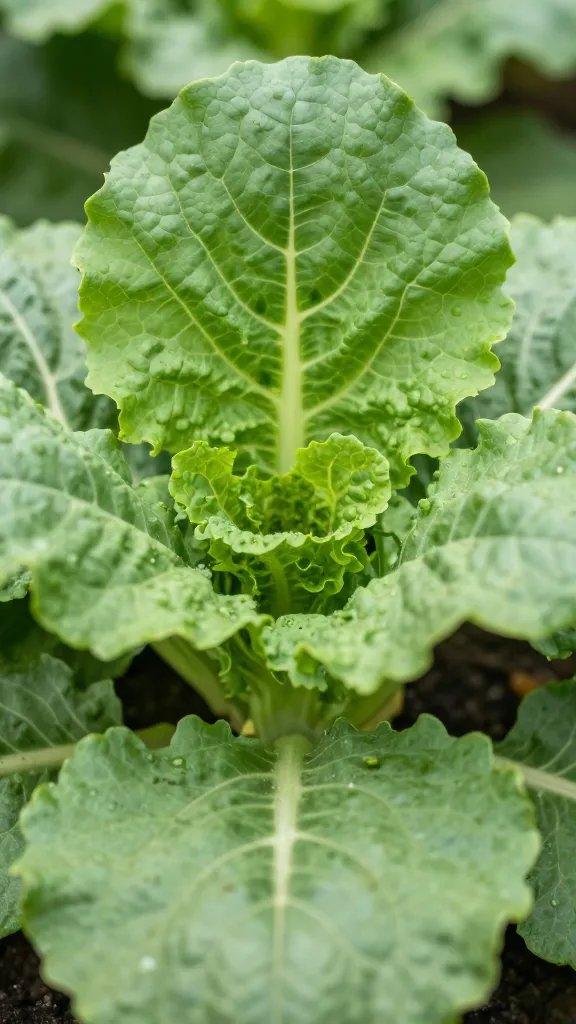
- Easy wins: Lettuce, spinach, kale, radishes, peas, bush beans, zucchini.
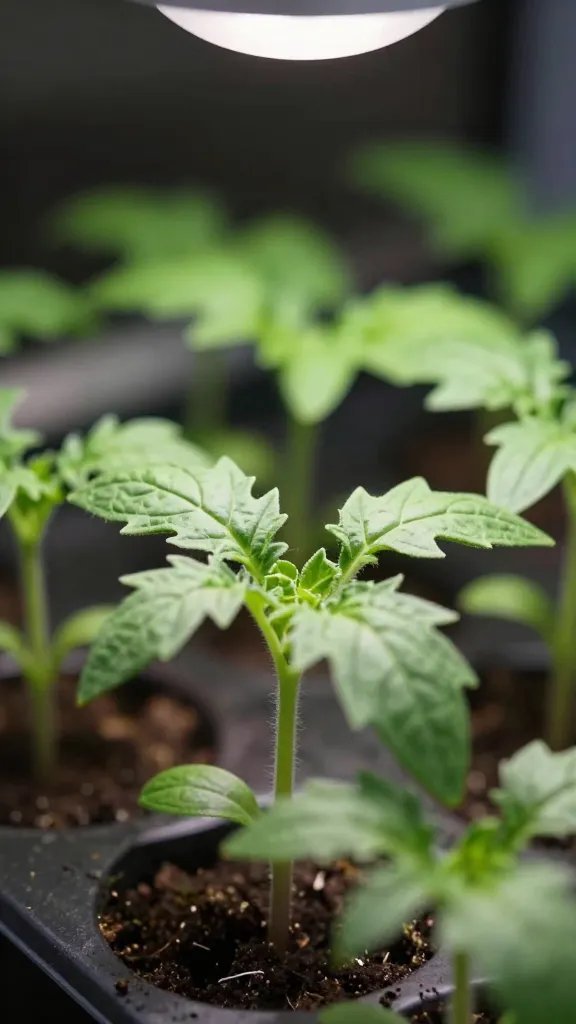
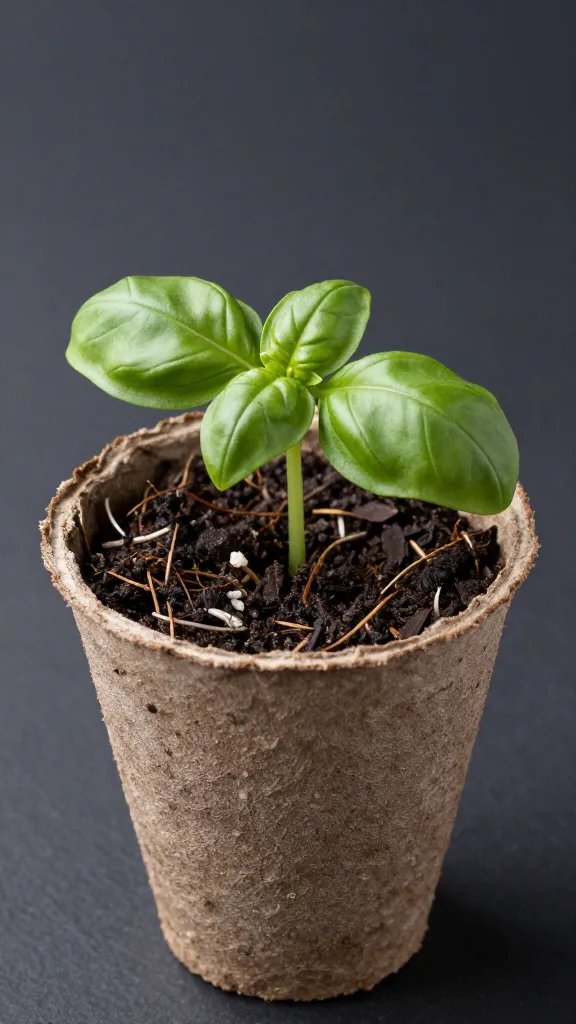
- Moderate but worth it: Tomatoes, peppers, basil, cucumbers.
- Just sow outside, IMO: Carrots, beets, turnips (they hate transplanting).
Pro tip: Check your last frost date. Count backward from transplant time on the seed packet to set your start date. Tomatoes usually need 6–8 weeks indoors; peppers 8–10; lettuce 3–4.
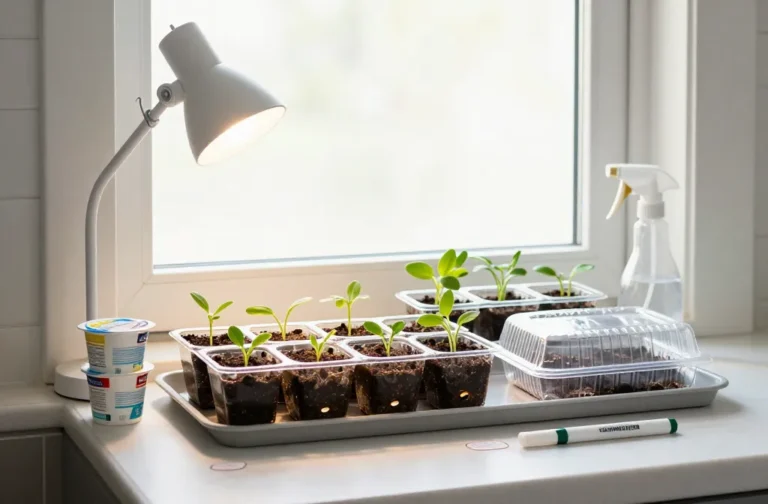
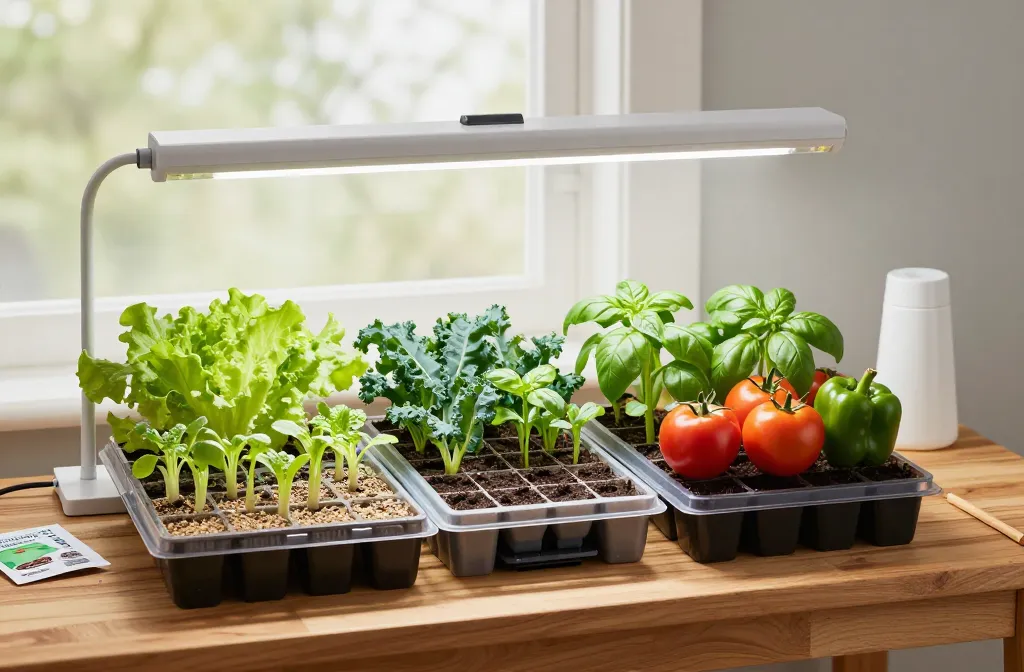
Gear That Actually Matters (And What Doesn’t)
You don’t need a lab. You need consistent light, warmth, and drainage.
- Containers: Cell trays, repurposed yogurt cups, or soil blocks. Add drainage holes, always.
- Seed-starting mix: Use sterile, fine-textured mix. Skip heavy garden soil that compacts and suffocates roots.
- Lights: A cheap LED shop light works. Hang it 2–4 inches above seedlings and raise as they grow.
- Heat mat (optional but clutch): Speeds germination for tomatoes, peppers, basil.
- Humidity dome: Helps sprouting, but remove once most seeds pop to prevent mildew.
- Labels + tray: You will forget what’s what. Label now, thank yourself later.
What You Can Skip
- Fancy fertilizers on day one (seeds pack their own lunch).
- Grow tent (cool if you have it, not required).
- Sunny window only—most windows don’t give enough light. Leggy seedlings say “help.”
The Step-By-Step: From Tiny Speck To Proud Seedling
Follow this once and you’ll feel like a garden wizard.
- Moisten mix: Add water until it feels like a wrung-out sponge. Not sopping, not dusty.
- Fill containers: Gently firm so the surface is even.
- Sow seeds: Rule of thumb—plant seeds 2–3x their width. Dust-fine seeds? Press onto the surface.
- Label: Variety + date. Future you will cheer.
- Warm + cover: Use a heat mat and humidity dome until most seeds sprout.
- Light on: As soon as you see green, remove dome and run lights 14–16 hours daily. Keep bulbs close.
- Water smart: Bottom-water by filling the tray and letting cells wick moisture for 10–20 minutes. Drain extras.
First Feeding
Once the first “true leaves” appear (not the baby leaves), feed every 1–2 weeks with a half-strength balanced liquid fertilizer. Gentle is key.
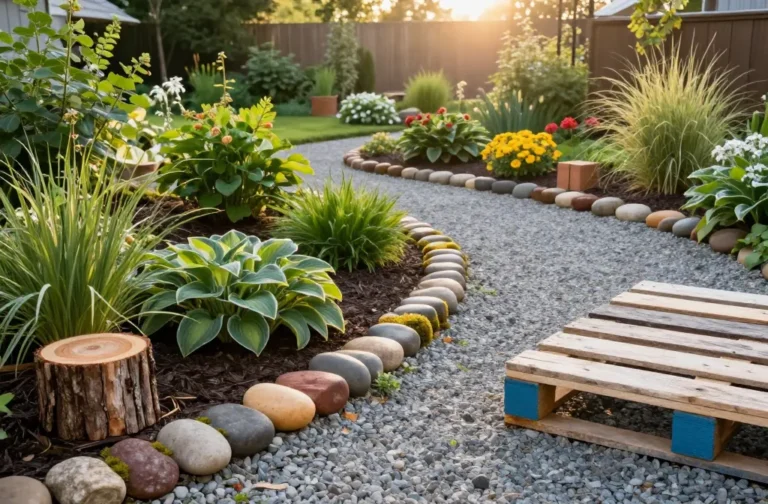
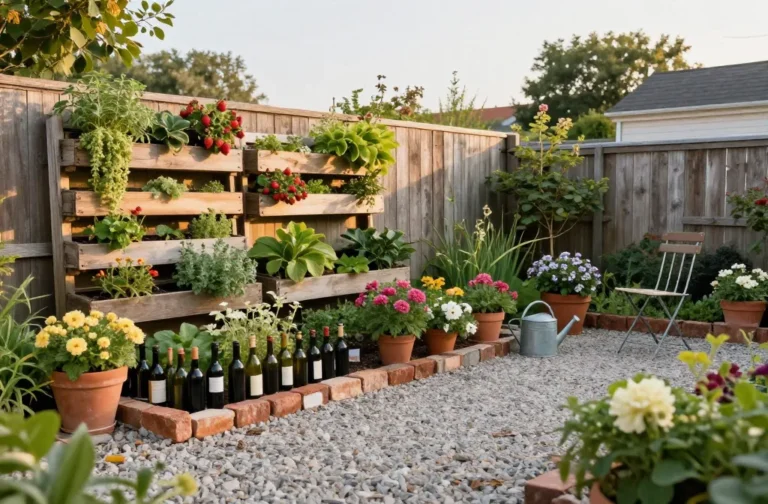
Transform Your Home With 7,250+ Stunning Landscaping Designs—No Expensive Designers Needed!
- 🌿 Access 7,250+ stunning landscaping designs.
- 💰 Save thousands—no pro designer needed.
- 🏡 Plans for gardens, patios, walkways, and more.
- ✨ Simple, beginner-friendly DIY layouts.
- 🛠️ Customize any design to fit your yard.
Perfect Conditions: Light, Temp, And Airflow
Strong seedlings need a chill-but-consistent environment.
- Light: 14–16 hours on, 8–10 off. Keep 2–4 inches from tops. Rotate trays weekly if needed.
- Temperature: Most veggies love 65–75°F. Peppers like 75–85°F for germination; 70–75°F after.
- Airflow: Run a small fan on low. You’ll get sturdier stems and less mold.
Leggy Seedlings? Here’s The Fix
If stems look tall and stretchy, move the light closer and cool the room a tad (around 65°F). You can up-pot tomatoes deeper to bury some stem; they’ll grow new roots.
Potting Up Without Stressing Out
Some seedlings outgrow their first home before it’s party time outdoors.
- When to up-pot: Roots poke out the bottom or leaves crowd neighbors.
- How: Lift by leaves, not stems. Place in fresh mix, bury to just below first true leaves (tomatoes can go deeper).
- Water + light: Water well, return under lights, and give a day of slightly reduced light to recover.

Hardening Off: The Crucial Week Everyone Skips (Don’t)
You trained them indoors. Now teach them wind, sun, and real life.
- Day 1–2: 1–2 hours outside in bright shade, no wind.
- Day 3–4: 3–4 hours, introduce some morning sun.
- Day 5–6: 5–6 hours, extend sun exposure.
- Day 7: All day outside; bring in at night.
- Then: Transplant on a calm, cloudy day if you can. Water deeply.
FYI: Keep an eye on temps. If a surprise cold snap rolls in, pause the schedule.
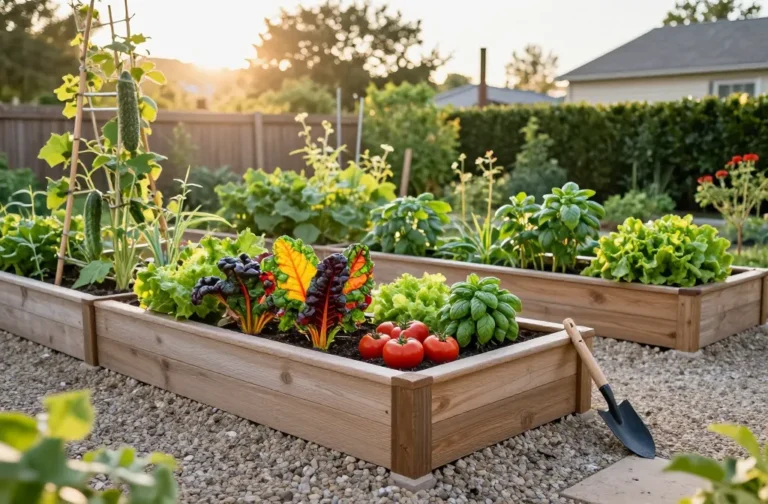
Soil And Spacing: Set Them Up To Thrive
Your outside soil matters. Don’t baby seedlings indoors and then toss them into concrete.
- Prepare beds: Mix in compost for drainage and nutrients. Aim for crumbly, not sticky.
- Check spacing: Crowding = disease and drama. Follow the packet (it’s there for a reason).
- Watering after transplant: Deep, slow soaks beat daily sprinkles. Mulch keeps roots cool and moist.
Common Oopsies To Avoid
- Overwatering: Soggy soil invites fungus gnats and damping-off. Keep it moist, not wet.
- Late starts: You can’t rush biology. Start on time or choose quicker crops.
- No labels: “Mystery pepper” is a fun game until it’s not.
Quick Starter Calendar (Adjust To Your Frost Date)
- 10 weeks before last frost: Peppers, eggplant, onions, leeks.
- 8 weeks: Tomatoes, parsley.
- 6 weeks: Broccoli, cabbage, kale.
- 4 weeks: Lettuce, basil.
- 2 weeks before last frost (outdoors): Peas, radish, spinach, carrots.
- After frost: Beans, cucumbers, squash, melons (direct sow or transplant).
IMO, building your own mini schedule once is the best gardening hack you’ll ever do.
FAQ
Do I really need grow lights?
If you want sturdy seedlings, yes. Most windows don’t deliver enough consistent light, and you’ll get spindly, floppy plants. A basic LED shop light is cheap and wildly effective.
Why did my seedlings collapse overnight?
That’s likely damping-off, a fungal disease triggered by wet, stagnant conditions. Use sterile mix, don’t overwater, add airflow, and remove humidity domes once seeds sprout. Bottom-water to keep stems dry.
When should I fertilize seedlings?
Start after the first true leaves appear, using a half-strength balanced liquid fertilizer every 1–2 weeks. Seeds carry starter nutrients, but growing plants need a gentle boost once they get going.
How close should my lights be?
Keep them 2–4 inches above the tops. If you see stretching, move lights closer. If leaves bleach or curl, raise them a bit. Aim for bright and cozy, not tanning-bed intense.
What if I started seeds too early?
Up-pot into larger containers, keep lights close, and trim lightly if needed for bushy growth (not tomatoes). Or start a second batch on time—sometimes round two outperforms the early birds, FYI.
Can I reuse seed-starting mix?
I wouldn’t, IMO. It compacts, and pathogens can linger. Use fresh mix for seed starting and toss the old stuff into outdoor containers or the compost.
Conclusion
Start simple, give seedlings strong light and steady moisture, and harden them off like a pro. Do that, and you’ll turn a handful of seeds into a garden that feeds you for months. It’s cheaper, more fun, and honestly a little addictive. Your future salsa, salads, and stir-fries say thanks in advance.