Effortless Wins the Lazy Gardener’S Guide to Seed Starting
You want fresh tomatoes, basil that smells like summer, and flowers that don’t judge your schedule. But the idea of grow lights, heat mats, and seed catalogs longer than novels makes you want a nap. Good news: you can start seeds without turning your living room into a lab. Here’s the low-effort, high-reward way to grow an awesome garden with minimal fuss.
Why Bother Starting Seeds (When You Could Just Buy Plants)?
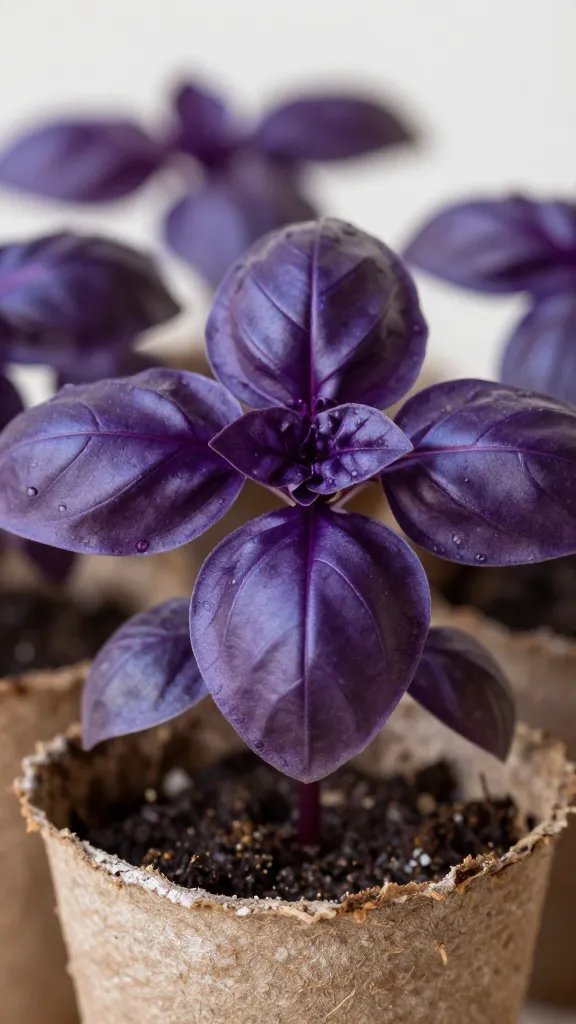
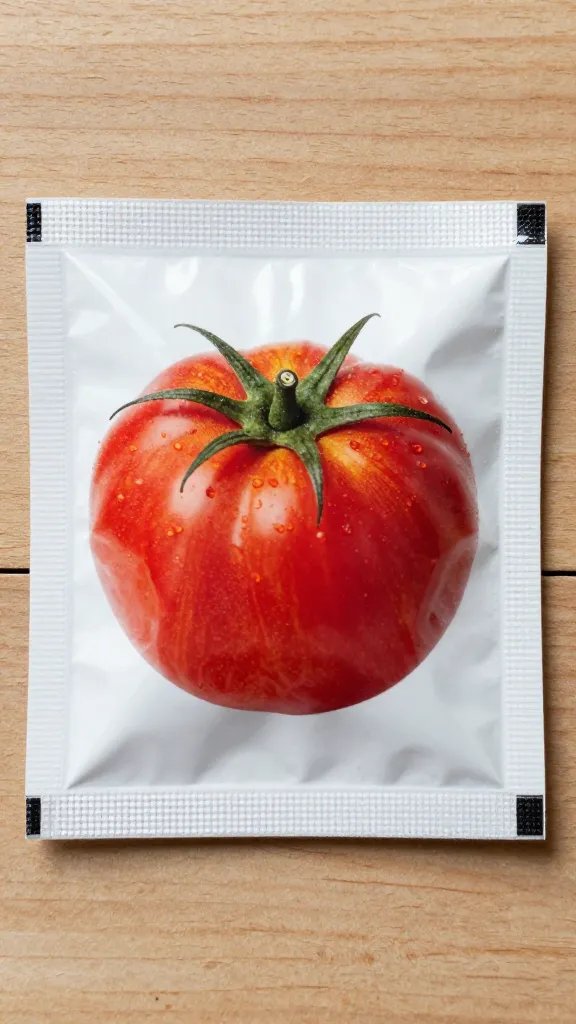
Seed packets cost less than your latte and give you way more variety. You get cool stuff you’ll never find at the garden center—purple basil, weirdly striped tomatoes, dreamy zinnias. Plus, you control the timing and the care, which means stronger plants and better flavor. And honestly, it’s weirdly satisfying to watch tiny green things pop up because of you.
Tired of snacking when you’re not even hungry? This reset helps you stop the loop and feel back in control.
A simple reset for moments when cravings take over. Easy to use, easy to repeat, and designed to help you feel satisfied instead of stuck.
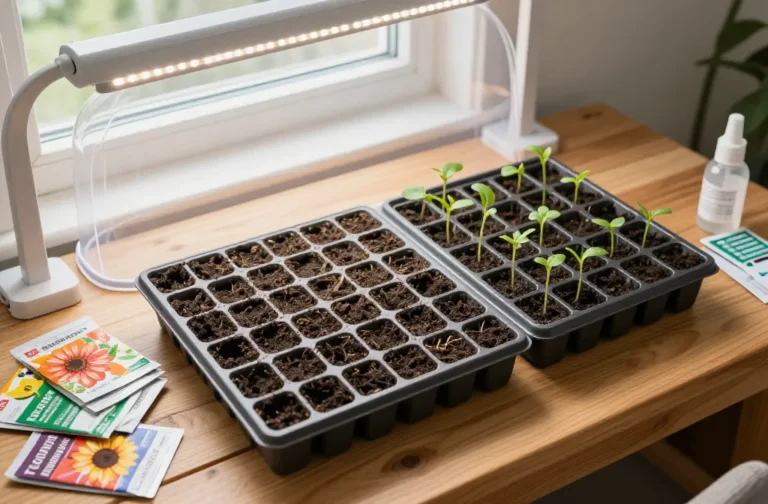
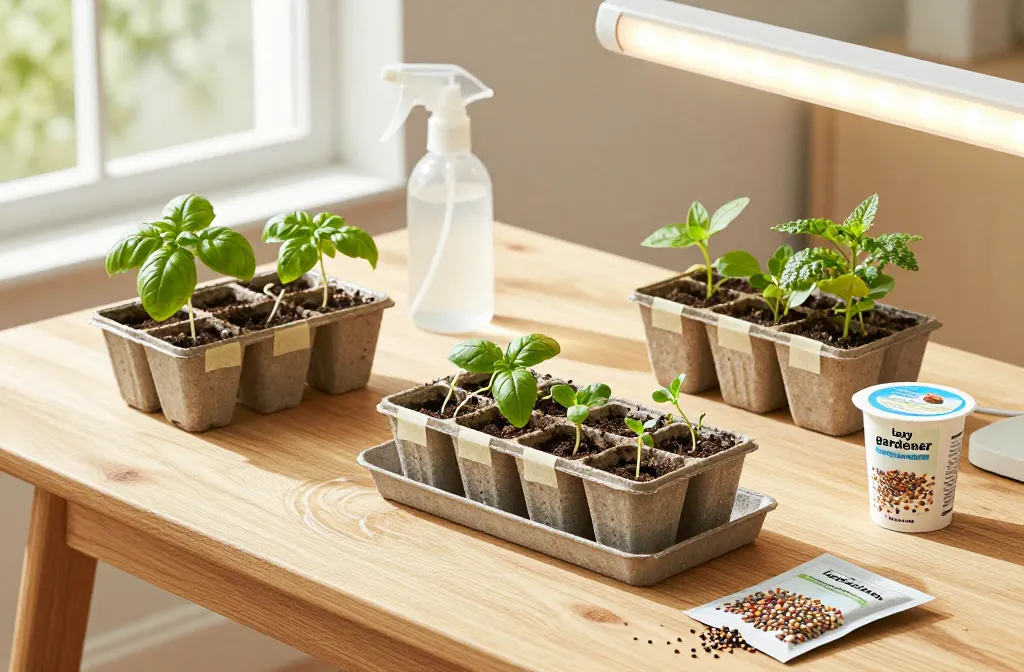
Only the Essentials: Gear That Keeps It Simple
You don’t need a grow tent or a degree in horticulture. You just need a few basics that actually make life easier.
- Containers: Reuse plastic nursery packs, yogurt cups with holes punched in the bottom, or a seed tray. Shallow works fine.
- Seed-Starting Mix: Light, sterile, and fast-draining. Regular potting soil stays soggy and annoys seeds.
- Light: A sunny south-facing window works. If it’s weak, add a cheap LED shop light, 2-4 inches above seedlings.
- Watering Tool: A spray bottle or a bottom-watering tray so you don’t blast delicate sprouts.
- Labels: Masking tape + a Sharpie = future you won’t curse present you.
- Optional But Handy: Clear plastic cover or plastic wrap to hold humidity until germination.
Lazy Pro Tip
Set everything up once, then put it on a tray you can move easily. Fewer trips, fewer spills, fewer regrets.
Timing Without the Headache
Seeds love a loose schedule, but they still need one. Check your average last frost date (Google “last frost date + your zip code,” FYI). Then follow the packet’s “start indoors X weeks before last frost” note.
- 6–8 weeks before frost: Tomatoes, peppers, eggplants.
- 4–6 weeks before frost: Basil, marigolds, zinnias.
- Direct sow (outdoors): Peas, beans, squash, sunflowers. Don’t babysit them inside—they hate it.
IMO: Don’t Start Everything Indoors
Some plants sulk when transplanted. Beans, peas, and root crops like carrots and radishes prefer going straight into the ground. Save yourself the effort.
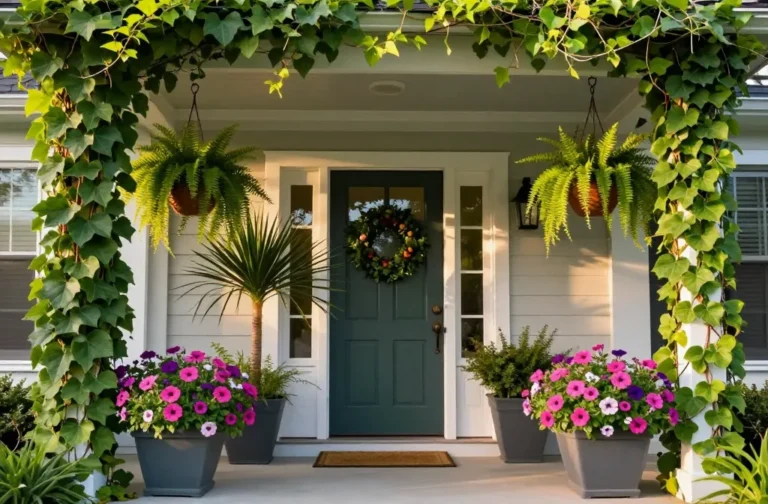
Transform Your Home With 7,250+ Stunning Landscaping Designs—No Expensive Designers Needed!
- 🌿 Access 7,250+ stunning landscaping designs.
- 💰 Save thousands—no pro designer needed.
- 🏡 Plans for gardens, patios, walkways, and more.
- ✨ Simple, beginner-friendly DIY layouts.
- 🛠️ Customize any design to fit your yard.
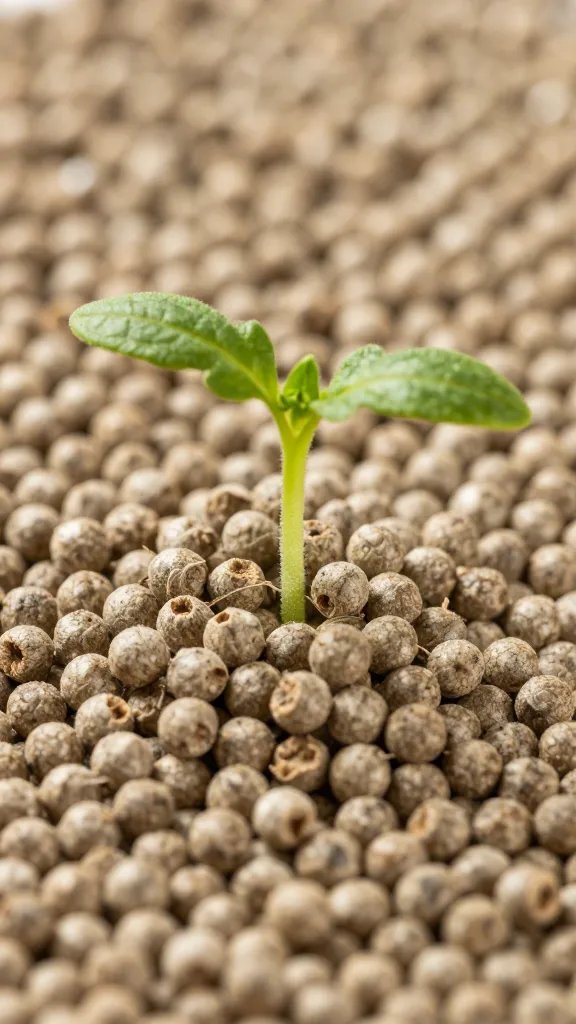
Planting Seeds: The Two-Second Rule
Think shallow. Most seeds want to sit about two times their width below the surface. Tiny seeds (basil, lettuce) barely need covering—just press them in and mist. Bigger seeds (sunflowers, squash) like a comfy 1/2 inch.
- Fill containers with moistened seed-starting mix. Aim for damp cake, not wet oatmeal.
- Make shallow holes with a pencil, drop in seeds, and cover lightly.
- Mist, label, and cover with plastic until you see green.
- Move under light immediately after sprouting. No procrastinating—leggy seedlings happen fast.
Humidity Dome Hack
Use a clear salad container as a mini greenhouse. When you see condensation and tiny sprouts, crack the lid or remove it fully. They need air as much as water.
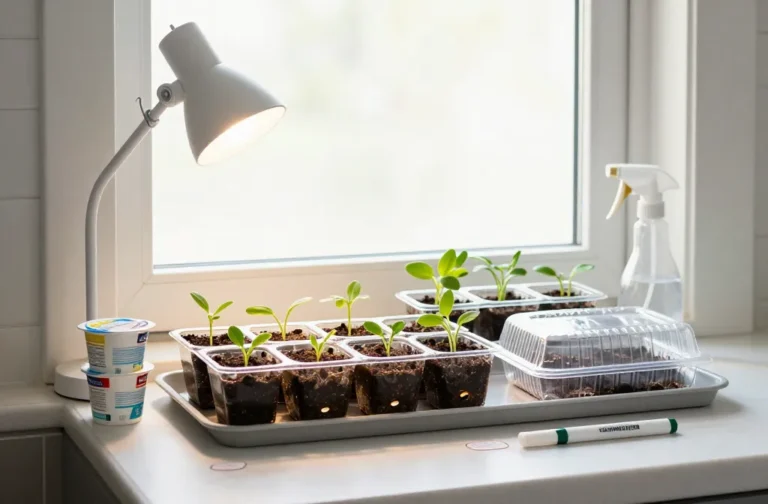
Light, Water, Chill: Keeping Seedlings Alive With Zero Drama
Seedlings love bright light and even moisture. Not rocket science.
- Light: 12–16 hours daily. Put lights on a $10 timer and forget it. Keep them close so seedlings don’t stretch.
- Water: Bottom water: pour water into the tray, let cells wick it up for 10–15 minutes, then drain. Top mist only if the surface dries out.
- Airflow: A small fan on low toughens stems and prevents fungus. Or just open a nearby window a bit.
- Temperature: Most seeds sprout best around 70–75°F. After sprouting, they’re fine a bit cooler.
Leggy Seedlings? Fix It Fast
If they look like spaghetti, they need more light and less heat. Drop the light closer, run it longer, and turn on a fan. They’ll beef up.

Feeding and Potting Up (Only If You Must)
Once seedlings have their first set of “true leaves” (the second set that looks like the plant), give a half-strength liquid fertilizer weekly. If roots outgrow their cells before planting time, pot up into slightly bigger containers. If timing works out, skip potting up entirely and move them straight outside when it’s warm. Minimal effort, maximum sanity.
Fertilizer Favorites
– Fish emulsion or seaweed feed for gentle growth
– Balanced synthetic liquid feed at half-strength if you want zero smell
– Compost tea if you’re into DIY, but keep it clean
Hardening Off Without Losing Your Mind
You can’t just toss pampered seedlings into the wild and hope. They’ll sulk, scorch, and sometimes give up. Spend 5–7 days easing them in.
- Day 1–2: Bright shade for 2–3 hours.
- Day 3–4: Morning sun for 3–4 hours. Bring them in if it’s windy or cold.
- Day 5–6: Half day of sun. Water well.
- Day 7: Full day out. Plant in the evening or on a cloudy day.
Quick Weather Checks
If nights dip below 45°F for warm-lovers like tomatoes and basil, wait or cover them. Cold snaps happen. Blankets and boxes save lives.
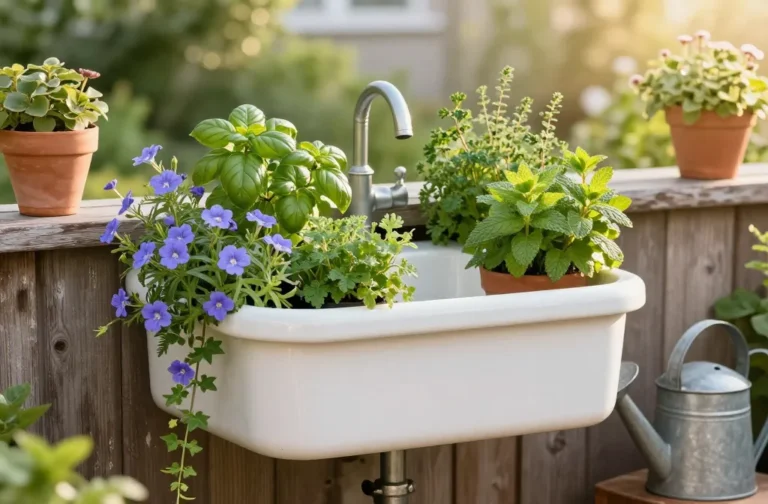
Zero-Fuss Varieties That Make You Look Like a Pro
Want wins without white-knuckle care? Start here.
- Greens: Lettuce, arugula, kale. Fast, forgiving, and tasty.
- Herbs: Basil, dill, cilantro (start cool and re-seed often), parsley.
- Flowers: Zinnias, marigolds, cosmos, calendula. Pollinators will write you thank-you notes.
- Veggies: Tomatoes (cherries are easiest), peppers (slower but worth it), cucumbers (start late or direct sow).
Skip (or Direct Sow) These If You’re Over It
– Beans, peas, carrots, radishes, and squash often do better started outside
– Delicate perennials with diva energy—save those for year two
Common Oopsies And How To Dodge Them
– Damping-off (seedlings collapse): Too wet, no airflow. Use sterile mix, don’t overwater, run a fan.
– Yellow leaves: Hungry or overwatered. Feed lightly and let the soil dry a bit between waterings.
– Stalled growth: Crowded roots or not enough light. Pot up or boost the lumens.
– Sunburn after transplant: You skipped hardening off. Shade cloth or a bedsheet rescue mission ASAP.
FAQ
Do I really need special seed-starting mix?
Yes. Seed-starting mix drains fast and stays airy, which keeps tiny roots happy and reduces rot. Regular potting soil compacts and holds too much water. It’s one small upgrade that saves you from 90% of rookie issues.
Can I use a window instead of grow lights?
If you have a bright south-facing window, go for it. Rotate trays daily and keep them as close to the glass as possible. If seedlings stretch, add a cheap LED shop light—no fancy grow light required, IMO.
How often should I water?
Keep the mix evenly moist, not soggy. Bottom water every few days, then drain off excess. If the top looks dry but the tray still feels heavy, wait—your plants aren’t thirsty yet.
When do I start feeding seedlings?
Once they have true leaves, feed every 7–10 days with a half-strength liquid fertilizer. They don’t need much. Too much food early just burns roots and slows growth.
Why do my seedlings keep flopping over?
They’re either too leggy from weak light, drowning from overwatering, or hit by damping-off fungus. Give them stronger light, better airflow, and let the surface dry a bit between waterings. A small fan works wonders, FYI.
How do I know they’re ready to plant outside?
They should be sturdy, have several true leaves, and you’ve finished hardening off. Check soil temps too: warm crops like tomatoes prefer 60°F+ soil. Plant on a cloudy day or in the evening to reduce transplant shock.
Conclusion
Seed starting doesn’t need to own your calendar or your wallet. With a sunny spot, a simple mix, and a little consistency, you’ll grow strong seedlings that crush it outside. Start small, pick easy wins, and let the plants do the heavy lifting. Your future self—and your summer dinners—will thank you.