10 Affordable Kitchen Cabinet Upgrades That Look Custom (without the Drama)
Your kitchen cabinets are 80% of what you see and 100% of what you complain about. The good news? You don’t need a full gut job to make them look custom. These 10 budget-friendly upgrades pack a big punch—like designer-level finishes, but without the designer-level invoice.
1. Swap In Chic Hardware That Feels Luxe
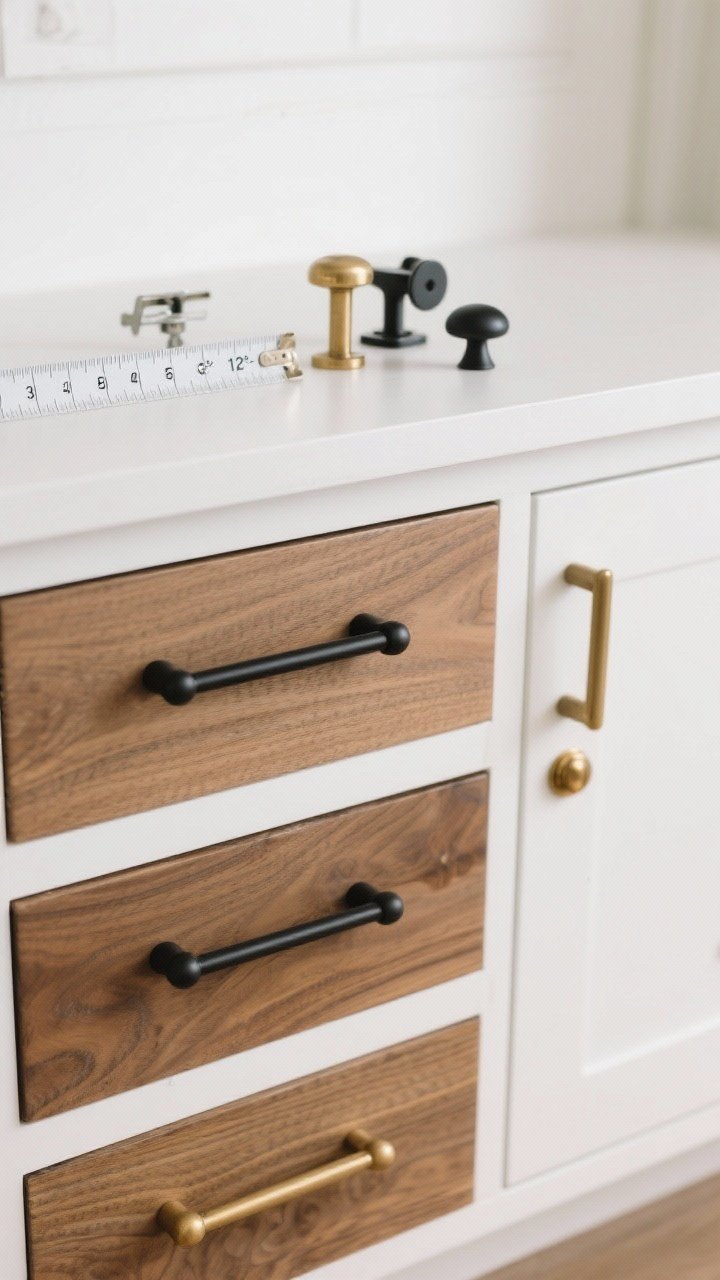
Fastest glow-up ever: new hardware. It’s like jewelry for your cabinets, and it instantly changes the vibe from builder-basic to boutique-hotel kitchen.
Tired of snacking when you’re not even hungry? This reset helps you stop the loop and feel back in control.
A simple reset for moments when cravings take over. Easy to use, easy to repeat, and designed to help you feel satisfied instead of stuck.
What to Choose
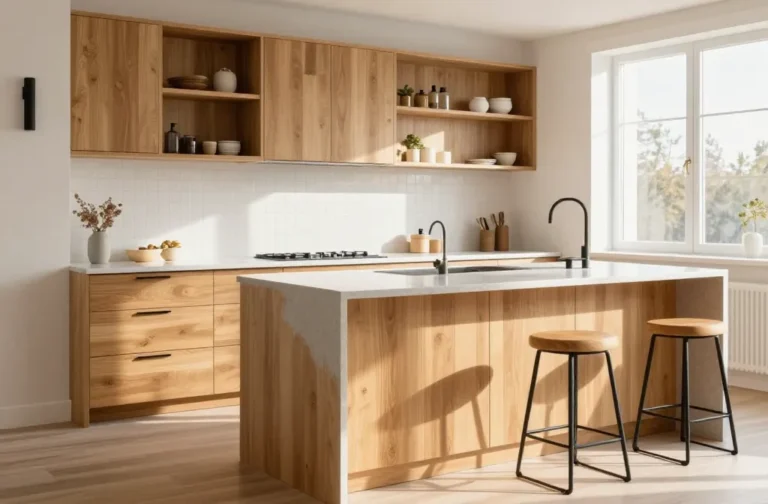
- Matte black for modern contrast, especially on white or wood cabinets.
- Brushed brass or warm gold for a rich, custom look that isn’t flashy.
- Mixed metals (e.g., brass pulls + black knobs) for that curated feel.
Tips
- Measure hole spacing before ordering—FYI, most pulls are 3, 4, or 5 inches center-to-center.
- Go longer on drawers for a high-end look—think 8–12 inches on wide drawers.
- Use a hardware jig to avoid crooked disaster. Your sanity will thank you.
2. Add Trim and Moulding for Instant “Custom Carpenter” Energy
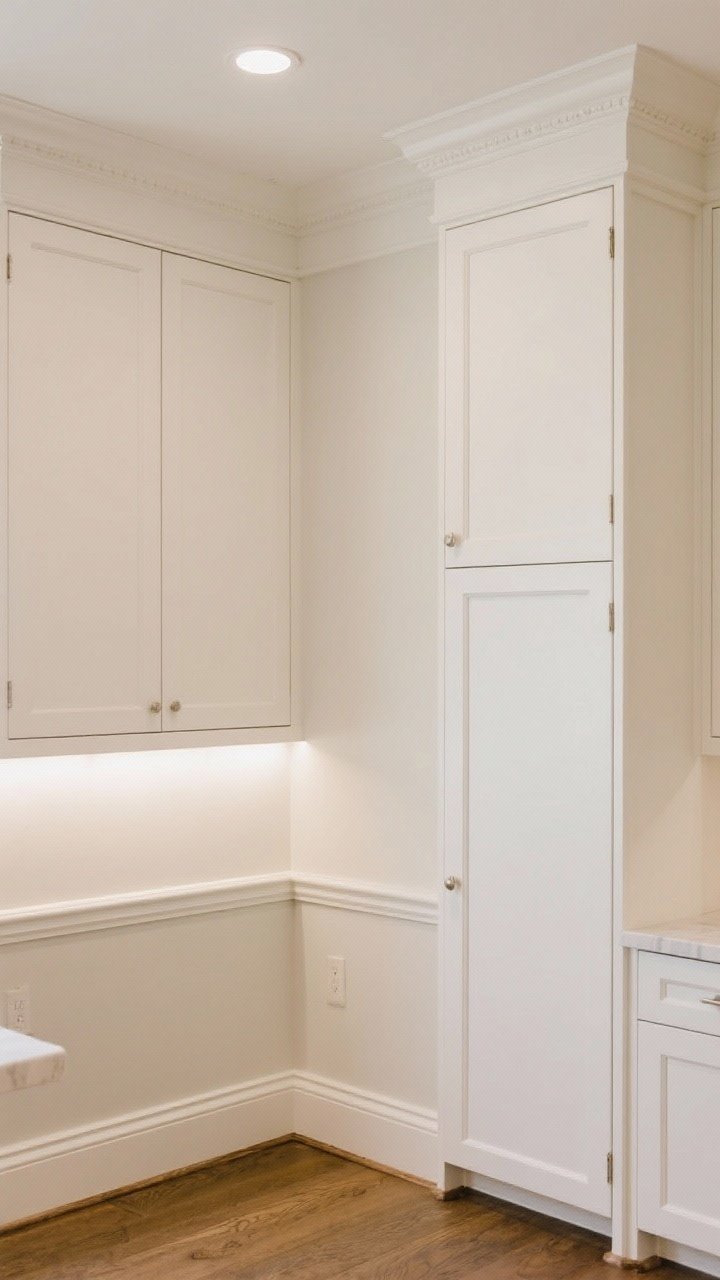
If your cabinets stop short of the ceiling or look flat and plain, trim is your best friend. It adds height, heft, and the illusion that someone very talented built your kitchen by hand.
Where to Add It
- Crown moulding at the top to bridge the gap to the ceiling.
- Light rail moulding under uppers to hide under-cabinet lights.
- Baseboard or shoe mould on the toe kicks for a polished finish.
- Shaker trim on plain slab doors to fake panel detail—hello, custom.
Pro Tips
- Use paintable MDF trim to keep costs low and finishes seamless.
- Caulk, sand, then paint everything together so it reads as one built-in piece.
3. Paint (or Repaint) Like a Pro—Finish Matters More Than Color
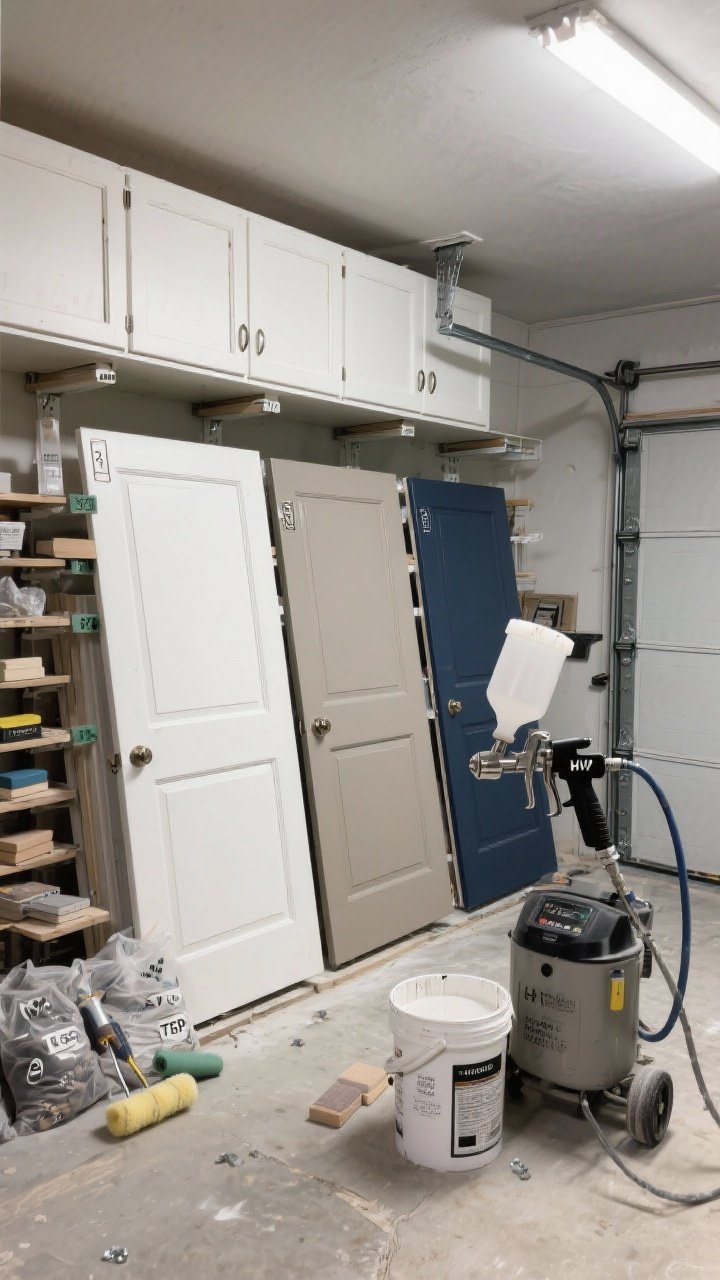
Yes, color is fun. But the secret to that custom look is the finish. Smooth, durable, and consistent. No brush marks, no drips, no regrets.
Prep Is Everything
- Degrease with TSP substitute, sand lightly, and prime with a bonding primer.
- Label doors and bag hardware because chaos is not a design style.
- Use a sprayer for a factory-like finish, or foam rollers for minimal texture.
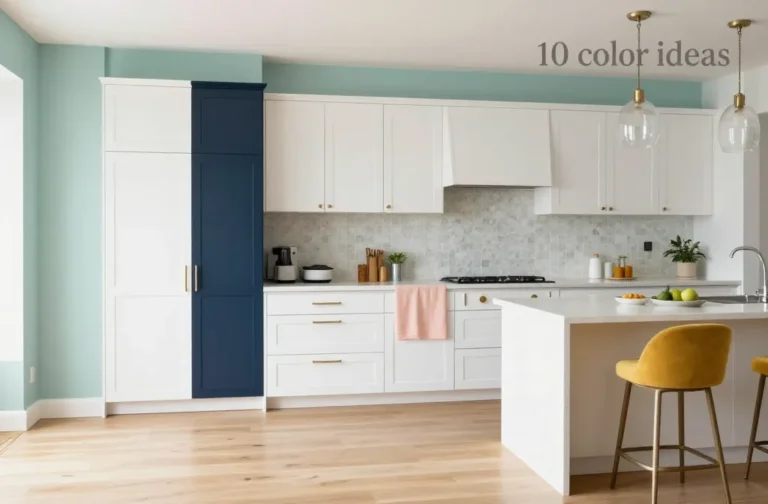
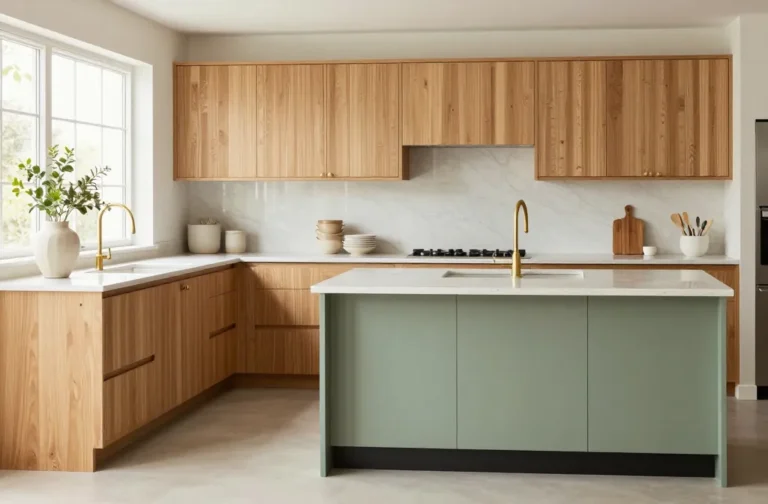
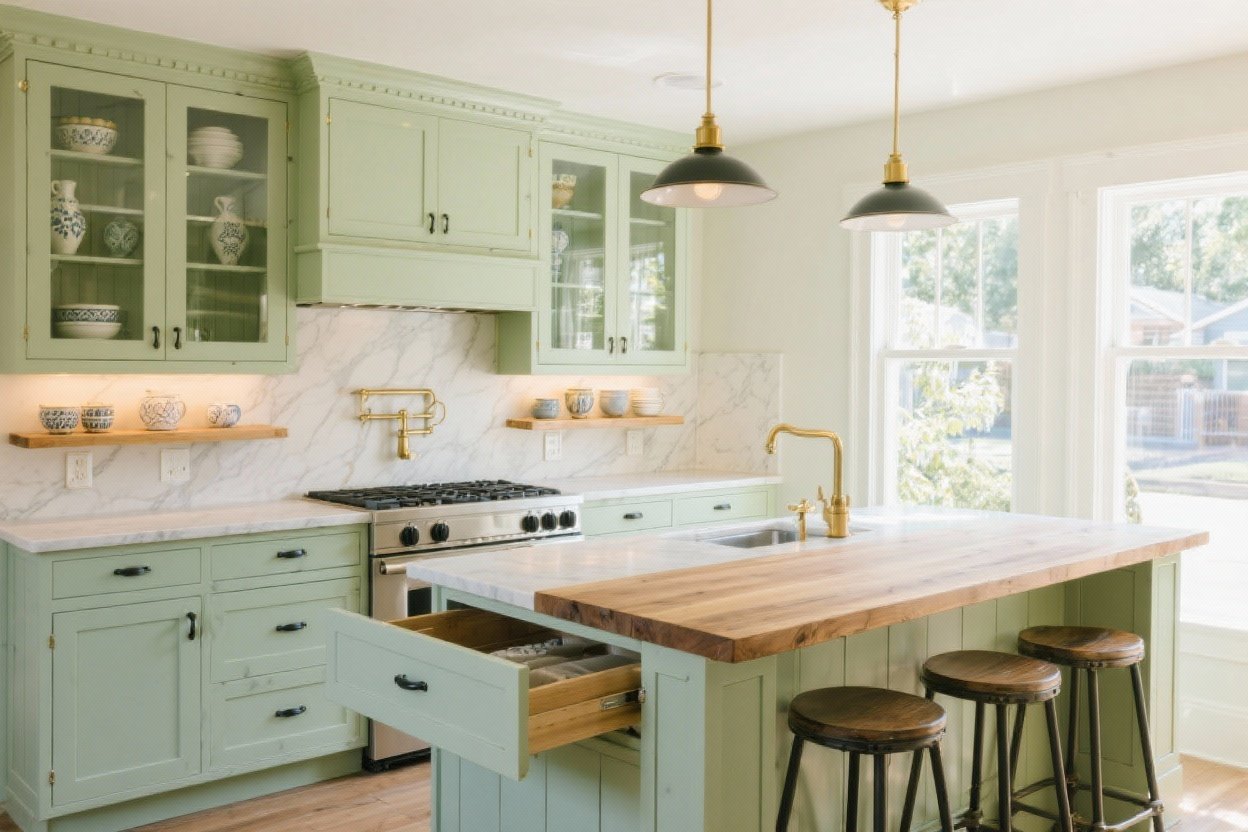
Colors That Look Expensive
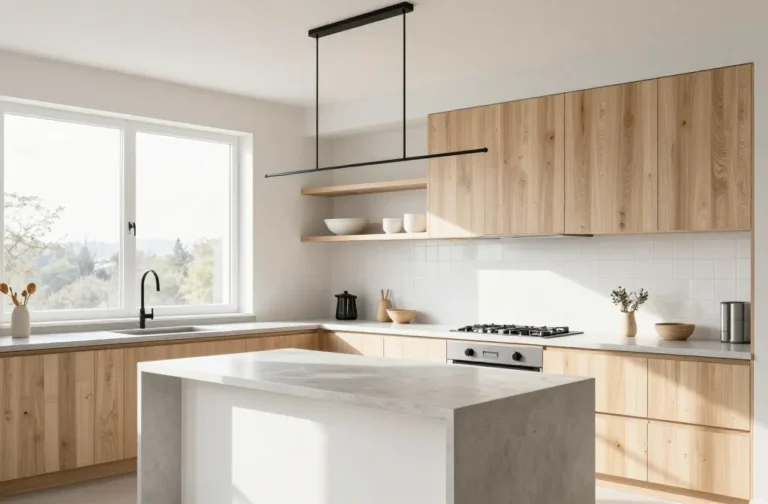
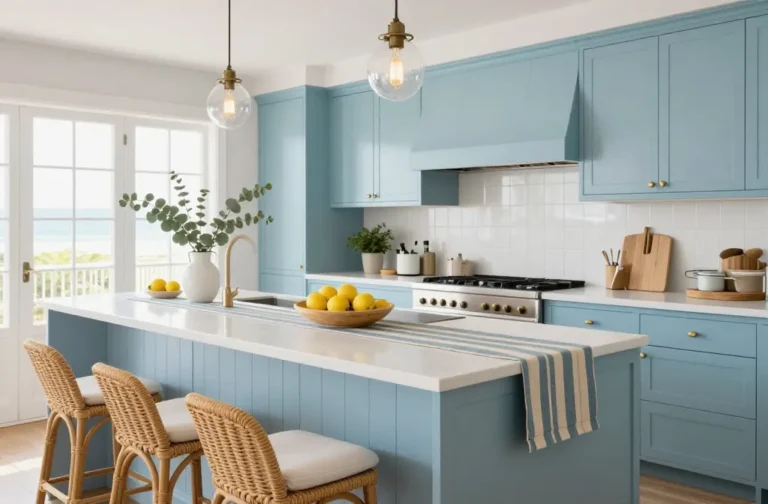
- Soft white (not stark) for timeless brightness.
- Greige or mushroom for a chic, European vibe.
- Deep navy, black, or forest green for moody luxury.
Finish: Go satin or semi-gloss for cleanability and light reflection without the cheap shine.
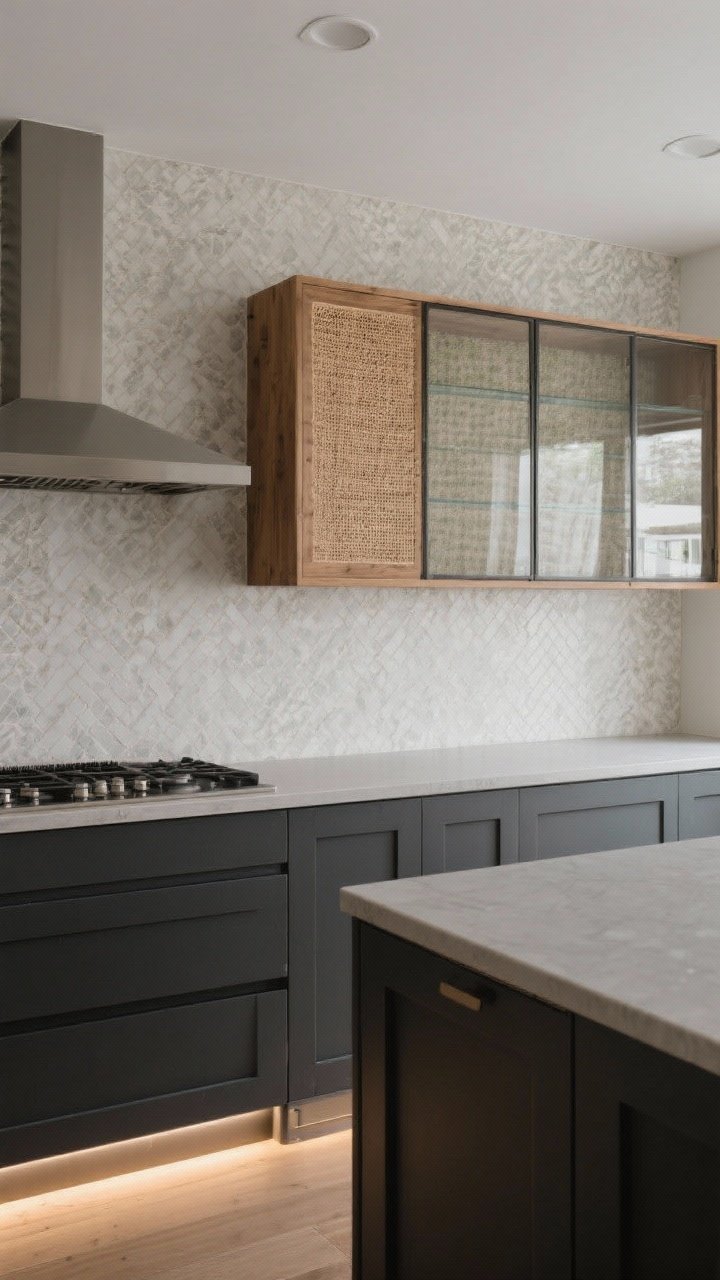
4. Replace Select Doors With Glass (Or Faux Glass) Inserts
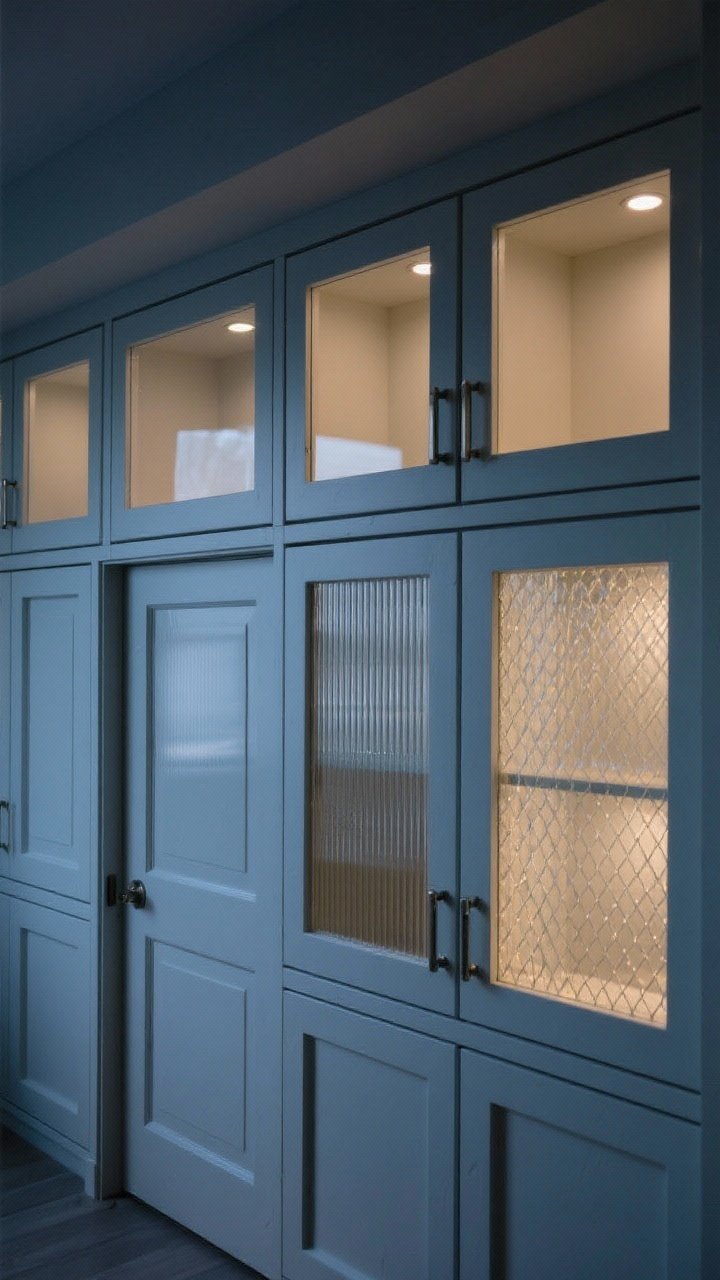
Open shelving is commitment. Glass-front doors? Way less dust and still stylish. They instantly break up heavy banks of cabinets and give you display space for pretty dishes.
Transform Your Home With 7,250+ Stunning Landscaping Designs—No Expensive Designers Needed!
- 🌿 Access 7,250+ stunning landscaping designs.
- 💰 Save thousands—no pro designer needed.
- 🏡 Plans for gardens, patios, walkways, and more.
- ✨ Simple, beginner-friendly DIY layouts.
- 🛠️ Customize any design to fit your yard.
Options
- Clear glass for a clean, airy look.
- Ribbed/fluted for texture that hides mess (IMO, the MVP).
- Wire mesh or reeded acrylic for budget-friendly custom vibes.
DIY Approach
- Remove center panel, add glass clips or silicone, and fit panels.
- Paint the door frames to match after install for a seamless look.
- Backlight with subtle LED puck lights for drama at night.
5. Upgrade the Interiors: Drawer Dividers, Roll-Outs, and Pretty Liners
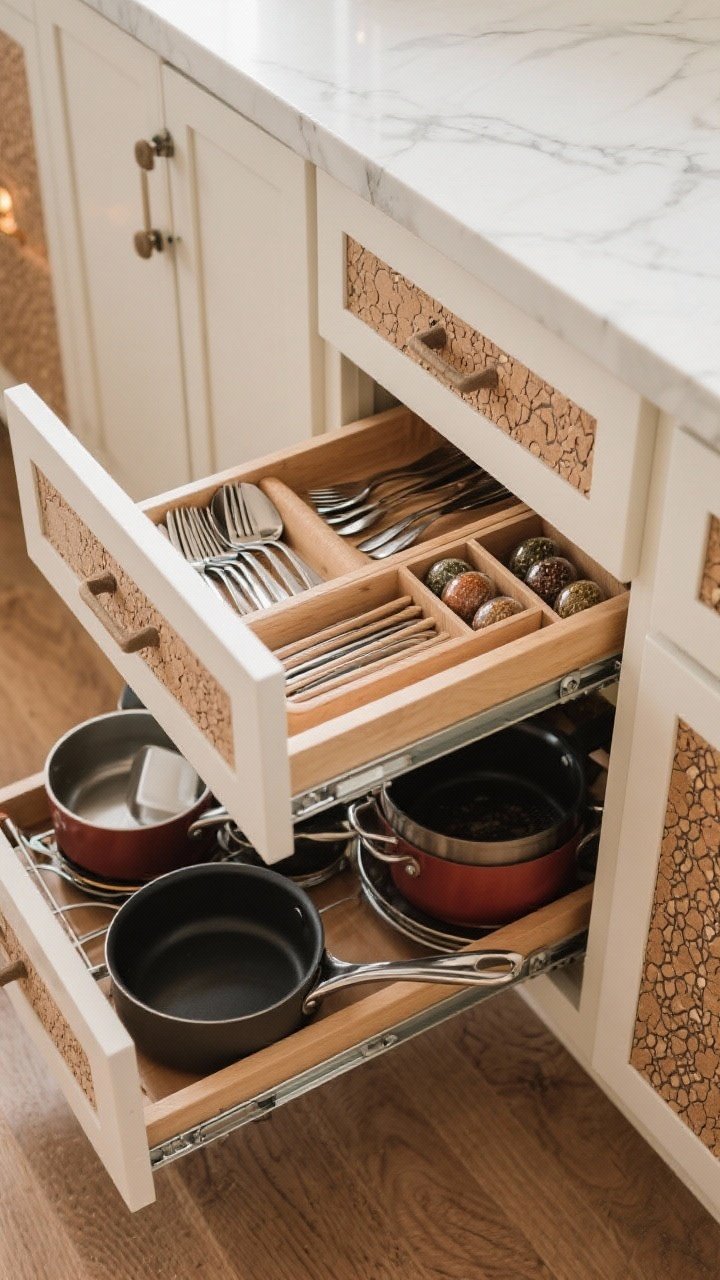
Real custom cabinets shine when you open them—so let’s fake it. Add organization that feels built-in and saves your sanity every single day.
High-Impact Add-Ons
- Roll-out shelves for pots and pans—no more squat-and-dig sessions.
- Soft-close hinges and drawer slides for that luxury hush.
- Cutlery dividers and spice inserts that fit snugly.
- Peel-and-stick cork or patterned liners to make interiors look intentional.
It’s the little things: Even adding felt pads and hidden bumpers makes cabinets feel expensive.

6. Install Under-Cabinet Lighting (AKA Instant Magazine Kitchen)

Lighting is the secret sauce. It adds depth, shows off your backsplash, and makes even budget cabinets glow like they’re VIPs.
Easy Options
- LED strip lights for continuous, shadow-free illumination.
- Rechargeable puck lights if wiring is a no-go. Remote-controlled equals maximum lazy-genius energy.
- Warm white (2700–3000K) to keep it cozy, not clinical.
Pro Tip
- Hide wires with light rail moulding or small channel trim painted to match.
7. Add End Panels and Feet For a Furniture-Style Finish
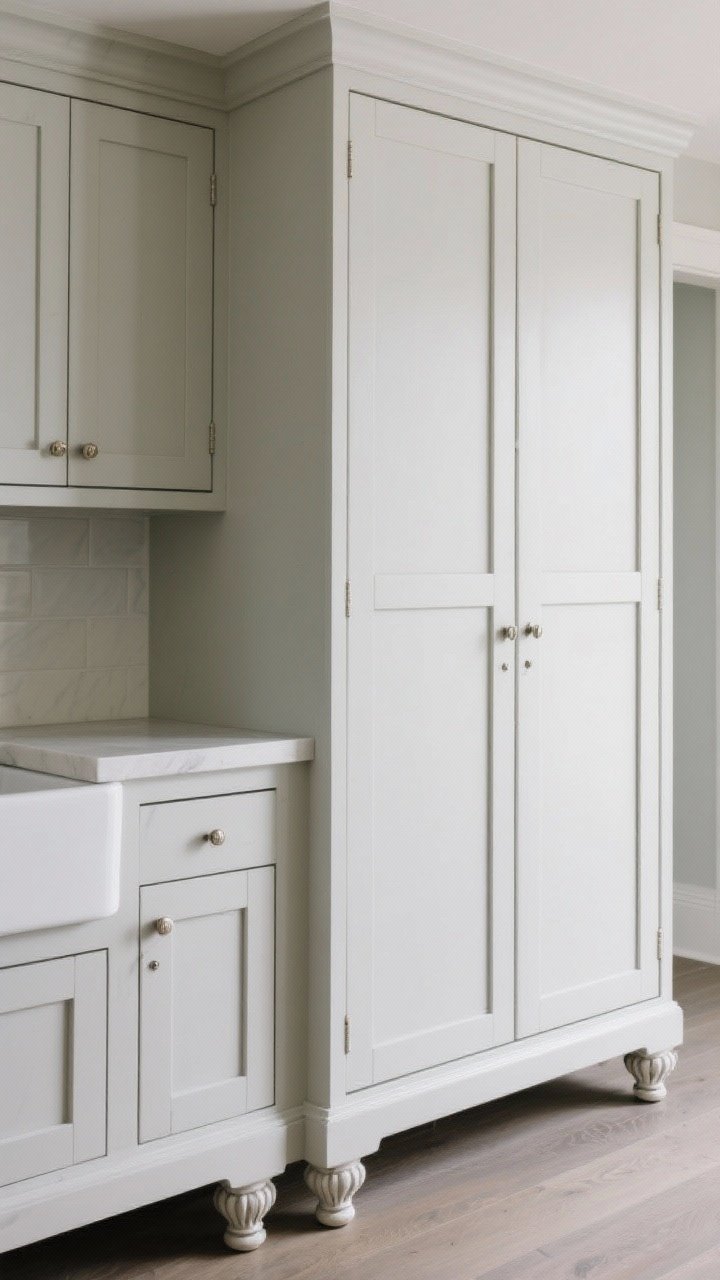
Cabinet sides and bases are where you can trick the eye hard. Slap on end panels and furniture feet, and boom—semi-custom look at big-box prices.
What to Add
- Shaker or beadboard end panels on visible cabinet sides.
- Decorative feet under the sink base or island—just the front, not the whole run.
- Applied stiles between double doors to make them read like separate pieces.
Paint everything to match so it reads as built-in. The continuity screams custom (in a classy whisper).
8. Dress Up Doors With Beadboard, Lattice, Or Fluted Trim
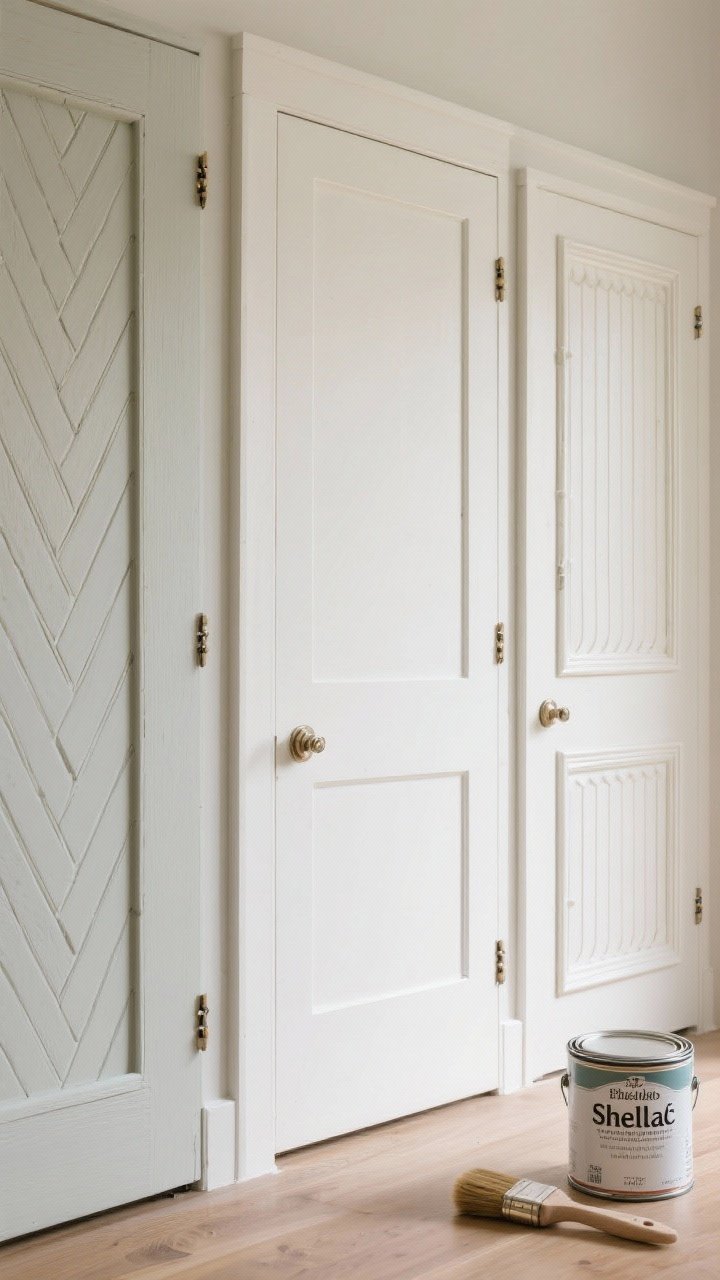
Flat doors aren’t a crime, but they’re not exactly thrilling. Adding texture is an affordable way to give your cabinets serious personality.
DIY Door Face-Ups
- Beadboard or V-groove panels for cottage charm.
- Lattice strips to create shaker frames on slab doors.
- Fluted trim or half-rounds for an unexpected designer detail.
Execution Tips
- Use wood glue + pin nails, then fill and sand for crisp edges.
- Prime with shellac-based primer for a smooth, durable paint job.
- Keep profiles consistent across all doors for cohesion.
9. Upgrade To Hidden Hinges Or Soft-Close Everything
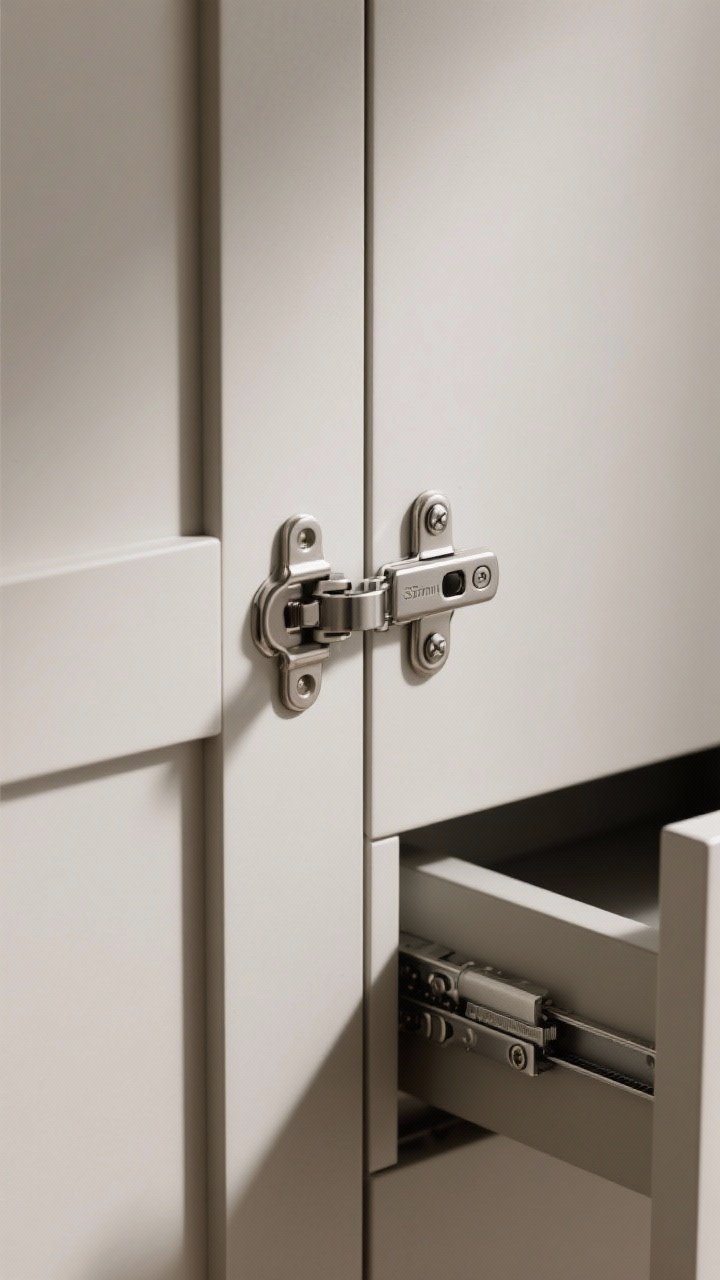
Nothing says “builder-basic” like clacky, visible hinges. Swap them for concealed or soft-close versions and enjoy the quiet luxury (literally).
What to Know
- Concealed Euro hinges need a 35mm cup hole—check your door style first.
- If routing cups is scary, consider retrofit soft-close adapters that clip onto existing hinges.
- Add soft-close slides to drawers for the full effect.
Pro move: Adjust hinge screws so door gaps are even. That symmetry = custom cred.
10. Style The Backs And Toes: Backsplash, Inside-Back Panels, And Toe-Kick Wraps
Designers obsess over the “background characters”—and you should too. Small, strategic surfaces can make your whole kitchen look elevated.
Backsplash That Works Hard
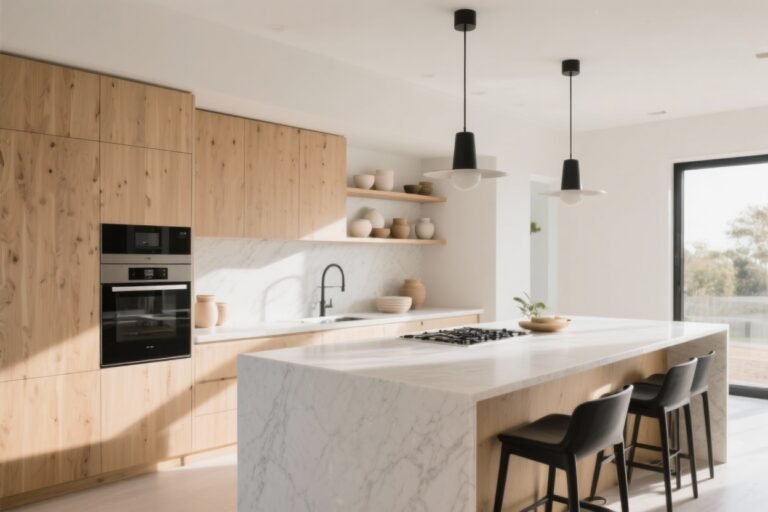
- Run tile to the ceiling behind your range or sink for a bespoke focal wall.
- Use a slab backsplash (laminate or thin quartz lookalikes count) for a sleek, high-end vibe.
- Consider peel-and-stick options if you’re renting—choose matte finishes for realism.
Inside-Back Cabinet Panels
- Add a wood-look or cane-textured panel behind open shelves or glass doors.
- Try wallpaper or grasscloth (sealed) for a boutique moment when doors open.
Toe-Kick Refresh
- Wrap toe kicks in matching panel or dark paint to visually ground the cabinets.
- Add LED toe-kick lighting for subtle drama and nighttime navigation.
These details are understated, but they photograph—and feel—like custom work.
Budget Breakdown Cheatsheet
- Hardware: $60–$200
- Trim & moulding: $100–$300
- Paint + primer: $120–$250
- Glass inserts: $80–$250 per door (less with acrylic)
- Organization & slides: $100–$400
- Lighting: $40–$200
Mix and match based on your kitchen size and what bugs you most. You don’t need all ten to get that custom feel—three or four well-chosen upgrades can completely change the room.
Quick Planning Tips
- Start with a mood board: choose your metal finish, paint color, and one texture.
- Work in zones: hardware and paint first, then trim and lighting, then interiors.
- Order samples for glass, trim profiles, and hardware to confirm scale and finish IRL.
You’ve got this. With a weekend (or three), a few smart upgrades, and a tiny bit of DIY swagger, your cabinets will look custom without the custom price tag. Now go make your kitchen the one everyone screenshots.