10 Budget-friendly Kitchen Cabinet Makeovers That Look Expensive (seriously!)
Let’s be honest: kitchen cabinets eat budgets for breakfast. But you don’t need a full gut reno to get that “designer walked in here” vibe. With a few clever tricks and a weekend or two, your cabinets can go from meh to magazine-cover.
Below are 10 budget-friendly kitchen cabinet makeovers that actually look expensive. We’re talking paint, hardware, lighting, and some sneaky styling moves the pros swear by. Pick a couple, stack them, and watch your kitchen glow-up.
Tired of snacking when you’re not even hungry? This reset helps you stop the loop and feel back in control.
A simple reset for moments when cravings take over. Easy to use, easy to repeat, and designed to help you feel satisfied instead of stuck.
1. Paint With Designer Intention
Paint is the ultimate cheat code. It’s affordable, high impact, and instantly modern. But the secret? Choosing the right finish and color story.
Color Strategies That Look Luxe
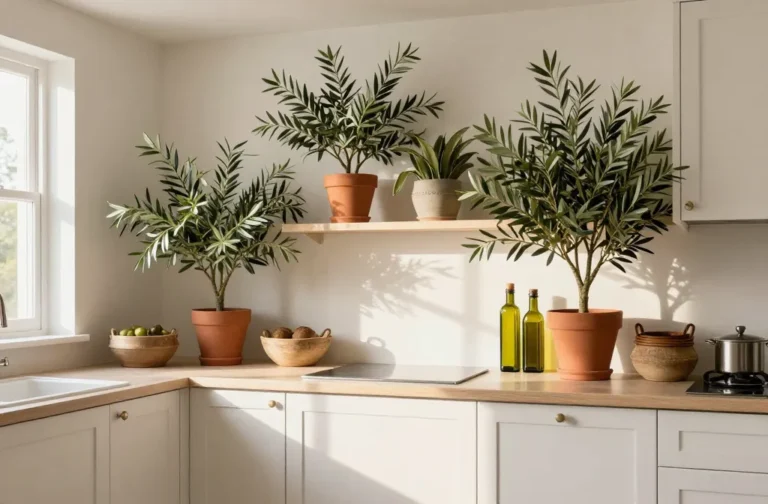
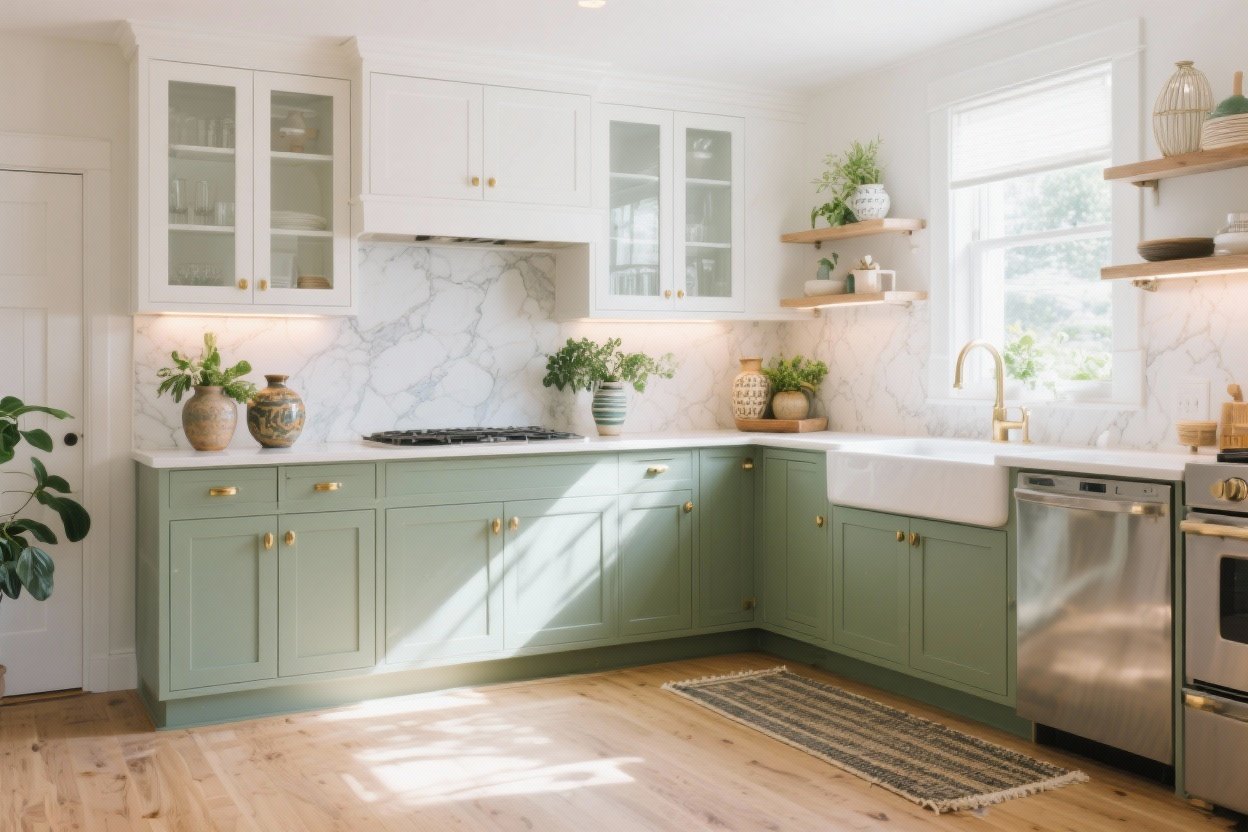
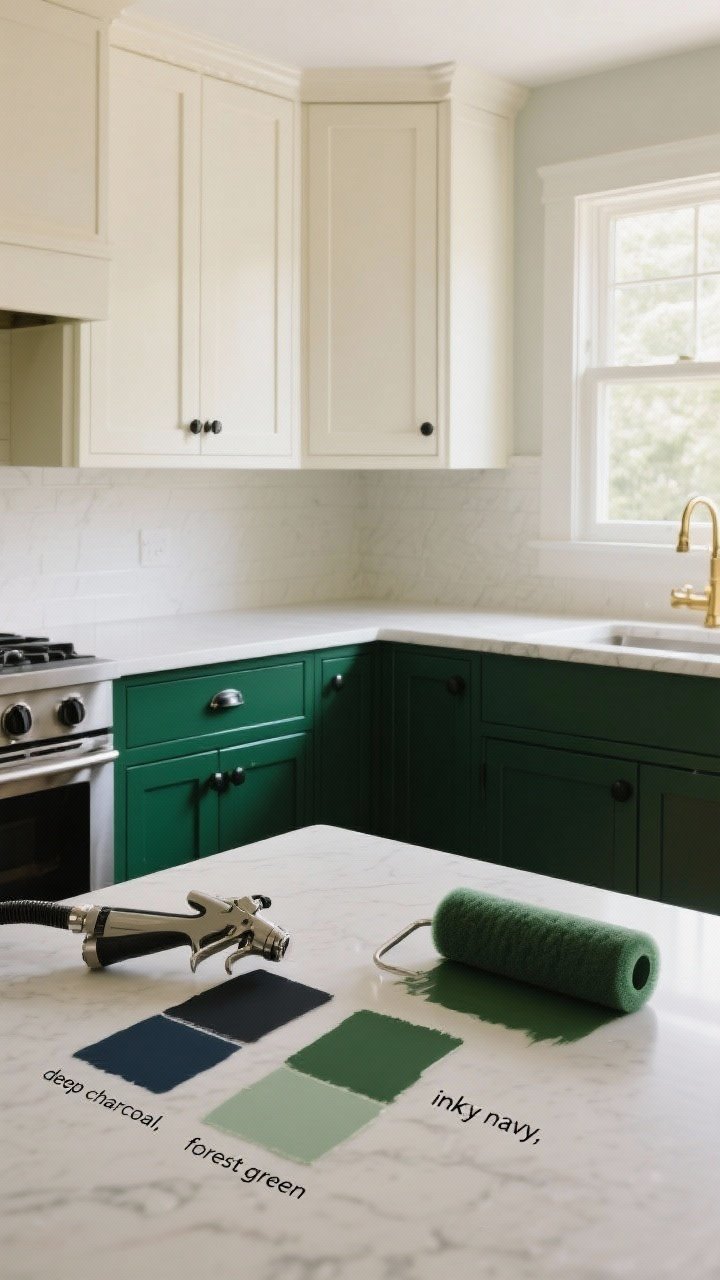
- Moody Neutrals: Deep charcoal, inky navy, or forest green scream custom. They hide fingerprints and look rich.
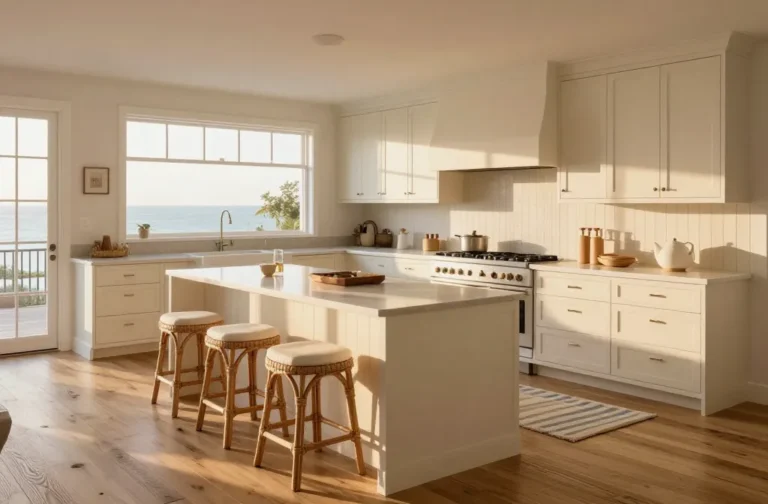
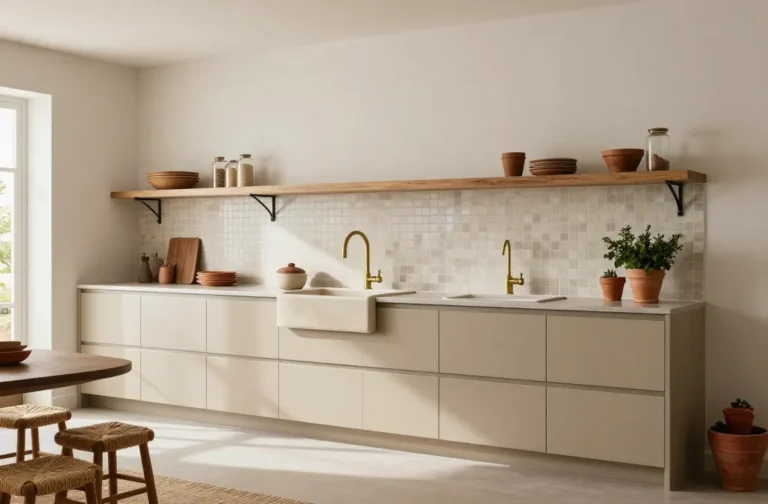
- Warm Whites: Creamy whites (not stark) read high-end and pair with brass or black hardware like a dream.
- Two-Tone: Dark lowers, light uppers = instant architectural depth. It’s like contouring for your kitchen.
Finish & Technique Tips
- Prep like a pro: Degrease, sand lightly, and prime. Skipping prep is a rookie move.
- Use enamel or cabinet paint: Satin or semi-gloss gives that wipeable, factory feel.
- Spray for the smoothest finish: A small paint sprayer is worth it, but high-density foam rollers also deliver.
Pro tip: Color-match to a designer brand (Farrow & Ball vibes) at a budget paint store. You get the look without the cost, IMO.
2. Swap Hardware Like It’s Jewelry
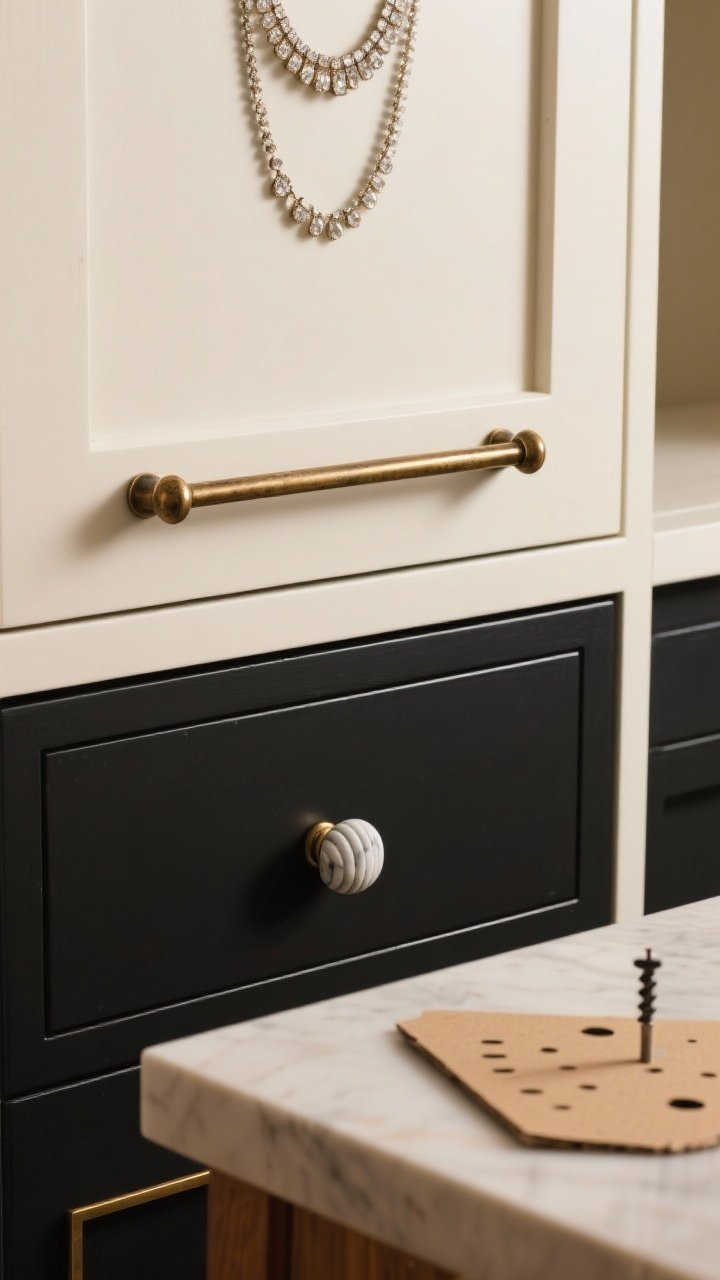
Hardware is the cabinet equivalent of earrings: small, shiny, and wildly transformative. Choose pieces that feel weighty in the hand—cheap metal shows.
Hardware That Looks High-End
- Mixed Metals: Aged brass on uppers, matte black on lowers? Chic.
- Linear Pulls: Long bar pulls or finger pulls create sleek lines and visually stretch doors.
- Statement Knobs: Fluted, reeded, marble, or leather-wrapped—one set on a feature area can steal the show.
FYI: Fill old holes with wood filler if changing sizes. Create a template from cardboard to keep placement consistent.
Transform Your Home With 7,250+ Stunning Landscaping Designs—No Expensive Designers Needed!
- 🌿 Access 7,250+ stunning landscaping designs.
- 💰 Save thousands—no pro designer needed.
- 🏡 Plans for gardens, patios, walkways, and more.
- ✨ Simple, beginner-friendly DIY layouts.
- 🛠️ Customize any design to fit your yard.
3. Go Doorless (Or Fake It With Glass)
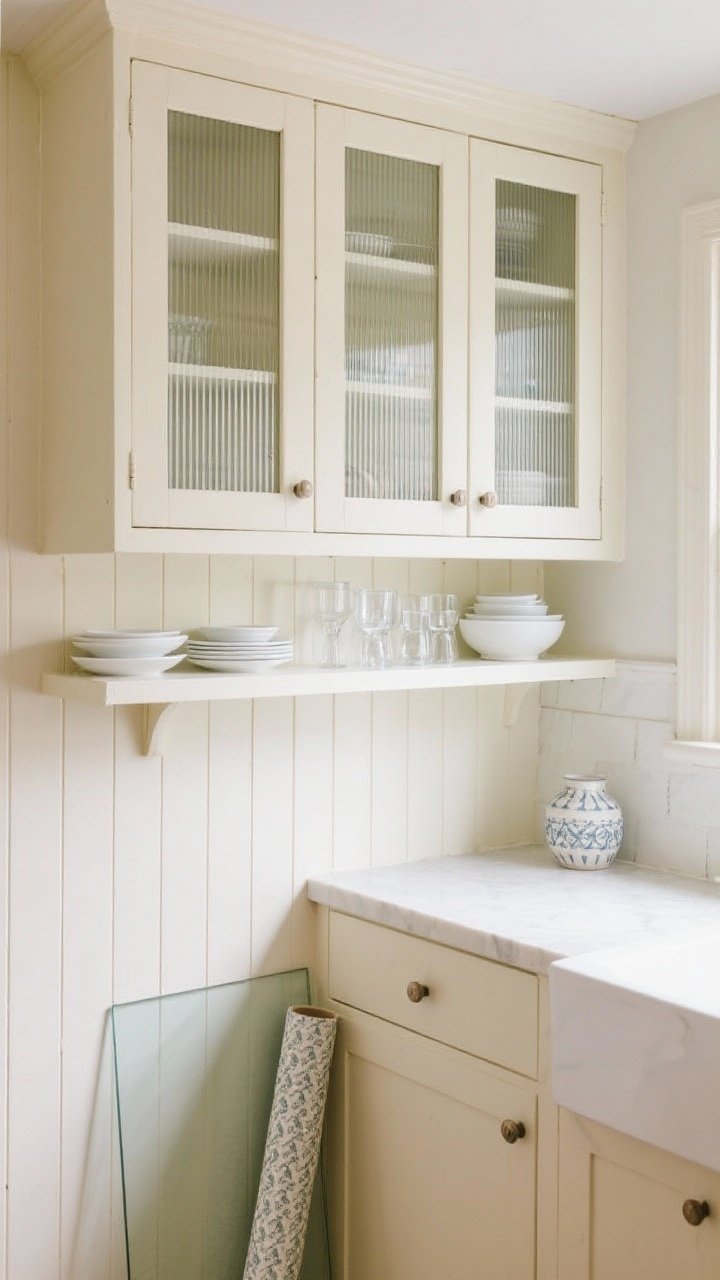
Open shelving and glass fronts look custom, and they make small kitchens feel bigger. You can remove a few doors and call it a day, or upgrade with sleek glass inserts.
Two Budget Routes
- Doorless Uppers: Remove doors, fill holes, paint the interior, and style with your prettiest dishes.
- DIY Glass: Cut out the panel and add clear, frosted, or ribbed glass. Ribbed hides chaos but still looks luxe.
Pro tip: Line interiors with beadboard or wallpaper for a boutique built-in feel.
4. Add Molding And Trim Like A Custom Shop
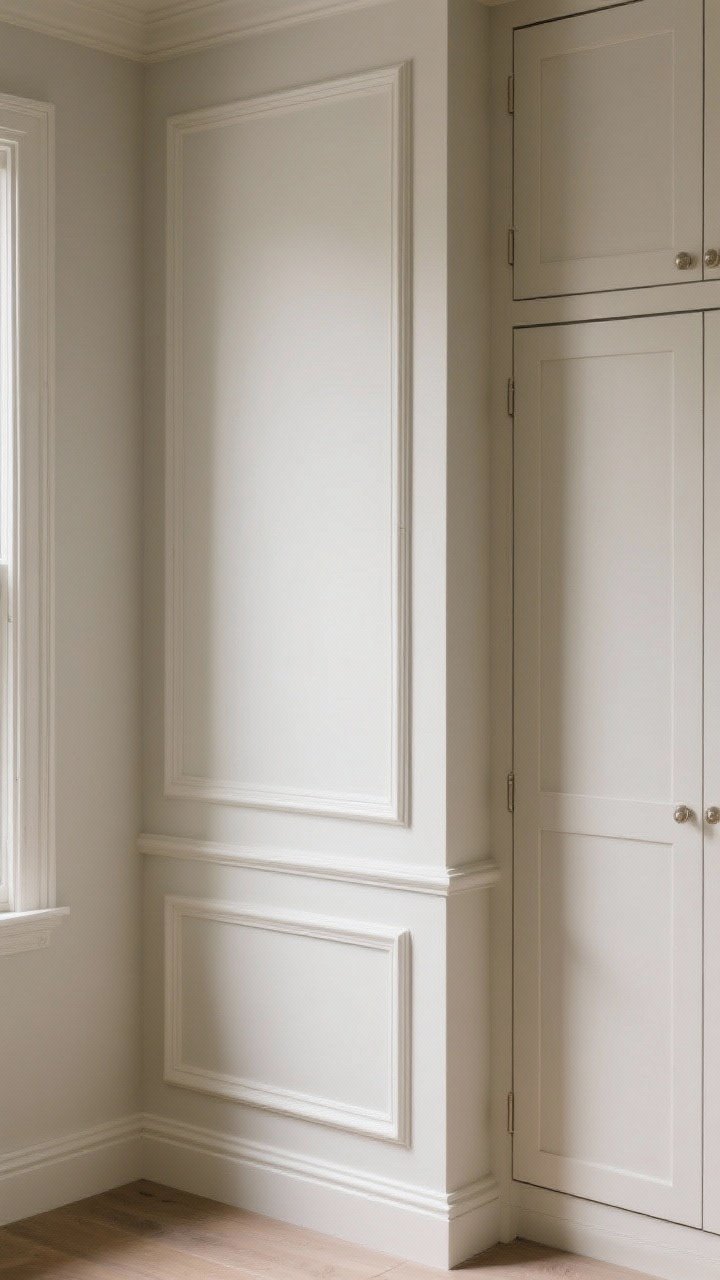
Flat cabinets? No problem. Molding and trim can fake high-end millwork fast. It’s architectural skincare.
Where To Add Detail
- Shaker Frames: Add 1.5–2″ trim to flat doors to create Shaker-style fronts.
- Crown Molding: Cap the top of your uppers—instant grandeur.
- Toe-Kick And Base Trim: Beef up the bottom to make cabinets feel built-in.
Finish smart: Caulk seams, sand edges, and paint everything together so it reads as one piece.
5. Reface With Peel-and-Stick Or Thin Veneer

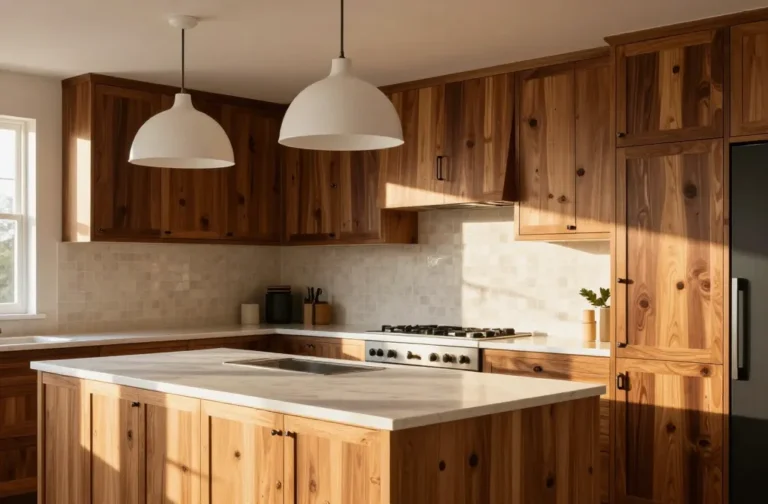
Want that wood-grain luxury without replacing doors? Try peel-and-stick wood grain film or real wood veneer. It’s a renter-friendly miracle when done right.
How To Make It Believable
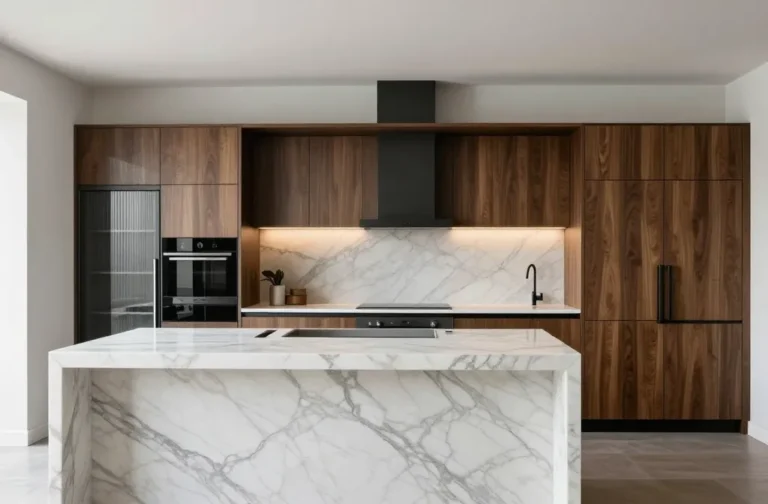
- Choose a believable grain: Rift oak, walnut, or light ash look high-end and modern.
- Wrap edges cleanly: Use a heat gun and a plastic squeegee to avoid bubbles.
- Pair with matte black or brushed brass: Hardware should complement, not compete.
Pro tip: Use veneer edge banding on plywood shelves or exposed cabinet sides for a seamless built-in look.

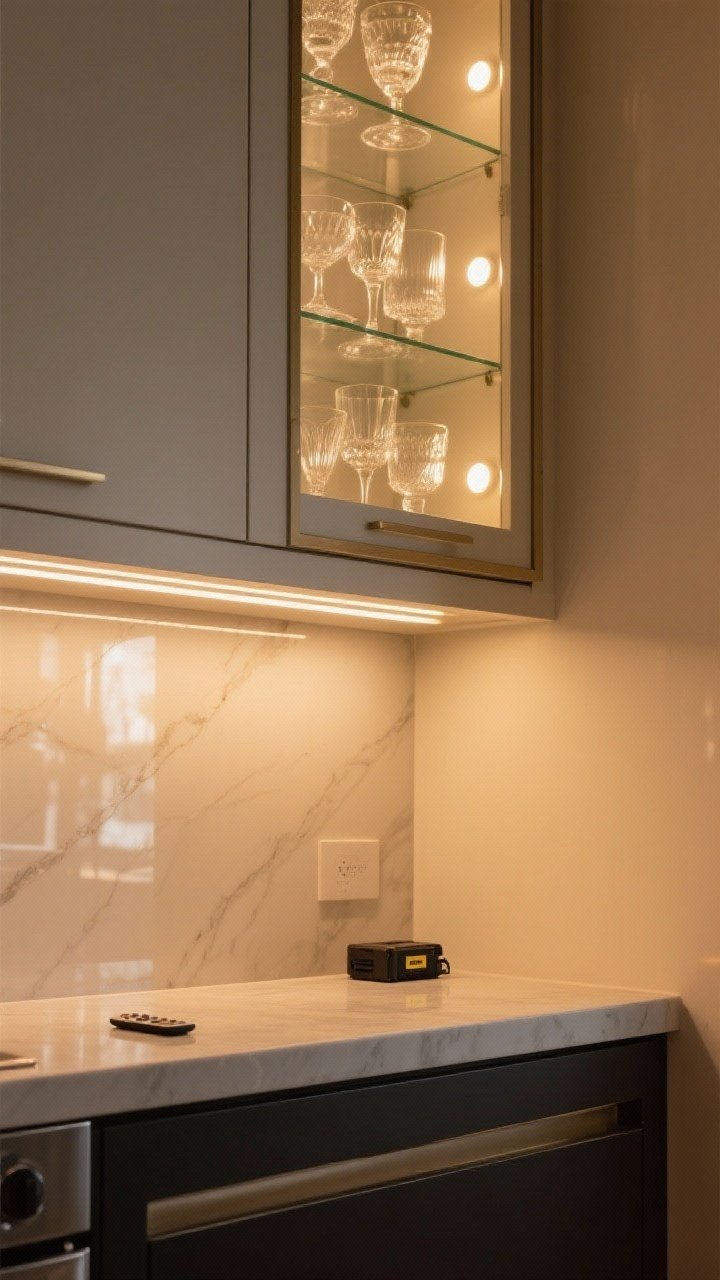
6. Install Under-Cabinet and In-Cabinet Lighting

Lighting is the quiet luxury of kitchens. Add LED strip lights under cabinets, and if you’re feeling extra, inside glass-fronts or open shelves.
Lighting That Elevates
- Plug-in or battery LEDs: Affordable, dimmable, and often remote-controlled.
- Warm temperature: Aim for 2700K–3000K for that cozy, expensive glow.
- Hide the strips: Tuck behind a small trim or the bottom lip for a clean line.
FYI: Add puck lights inside a couple of cabinets to spotlight pretty glassware. It’s giving boutique hotel bar.
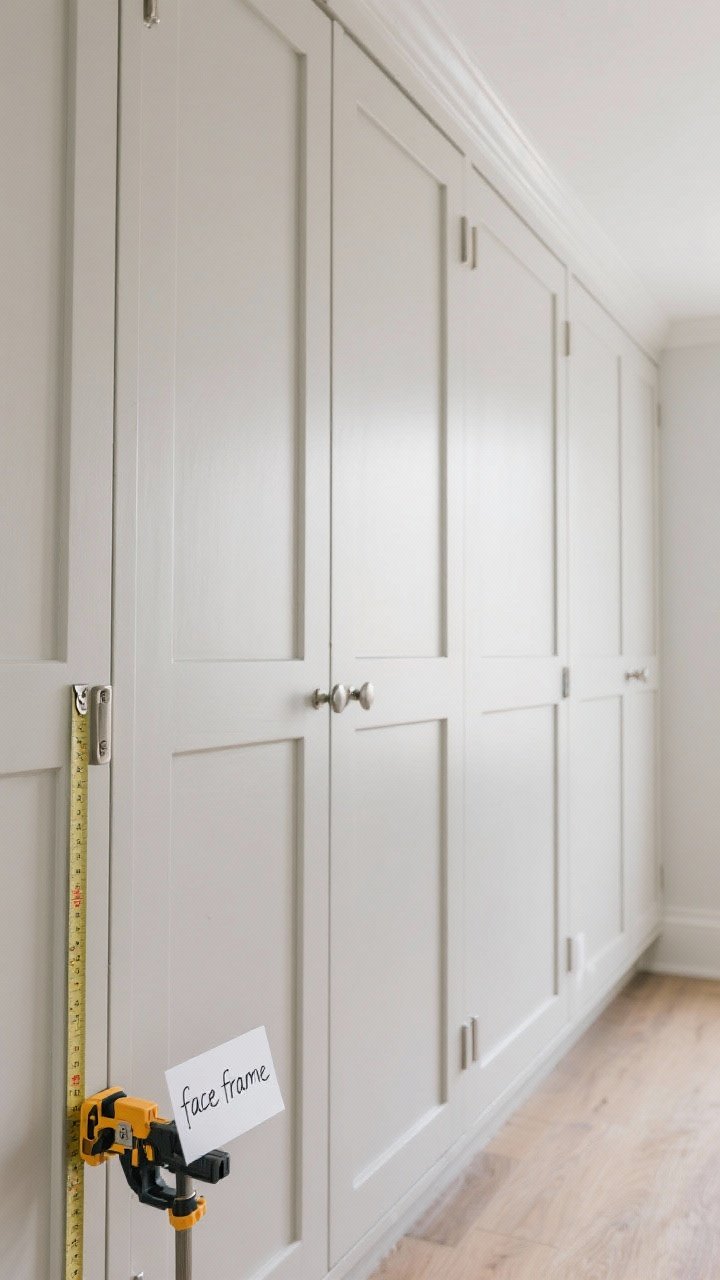
7. Replace Just The Doors (Not The Boxes)
If your boxes are solid but doors are dated, swap the doors and keep the frames. This is the budget-friendly version of a full refit—and it looks custom.
Make It Seamless
- Measure twice, order once: Get exact measurements and hinge type (face frame vs. frameless).
- Modern profiles: Go Shaker, slab, or reeded for a clean upgrade.
- Soft-close hinges: Small luxury, big daily joy.
Pro tip: Paint or veneer the side panels and toe-kick to match the new doors so nothing gives away the upgrade.
8. Style The Interiors Like Open Shelving
Even if you keep doors, the inside matters—especially with glass or partial open storage. Curate what’s visible to look intentional and high-end.
Cabinet Styling Moves
- Unify color: White dishes, clear glass, or matching canisters read cohesive and calm.
- Group in odd numbers: 3s and 5s look styled, not cluttered.
- Layer heights: Stack bowls, lean a cutting board, add a small plant for life.
Bonus: Line shelves with cork or clear shelf liners to protect paint and keep things from sliding.
9. Upgrade End Panels, Backs, And Sides

The sneakiest “custom” trick? Dress the exposed sides and the back wall. It frames your cabinets and creates a finished, high-dollar look.
High-Impact, Low-Cost Ideas
- Paneled Ends: Add beadboard, shiplap, or flat paneling to cabinet sides.
- Statement Backsplash: Peel-and-stick tile or beadboard behind open shelves looks bespoke.
- Painted Interiors: Contrast color inside glass uppers (think slate blue or olive) for depth.
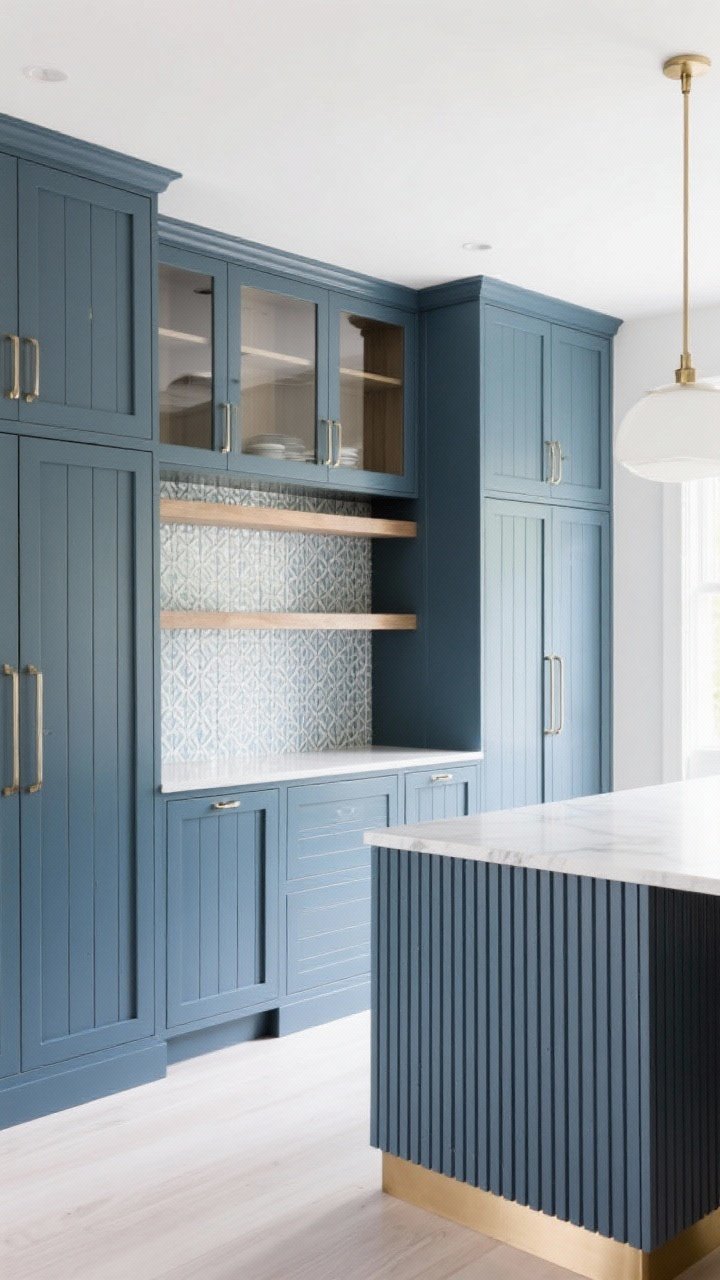
Pro tip: Wrap your island or peninsula in vertical slats and cap the base with trim—instant custom furniture vibes.
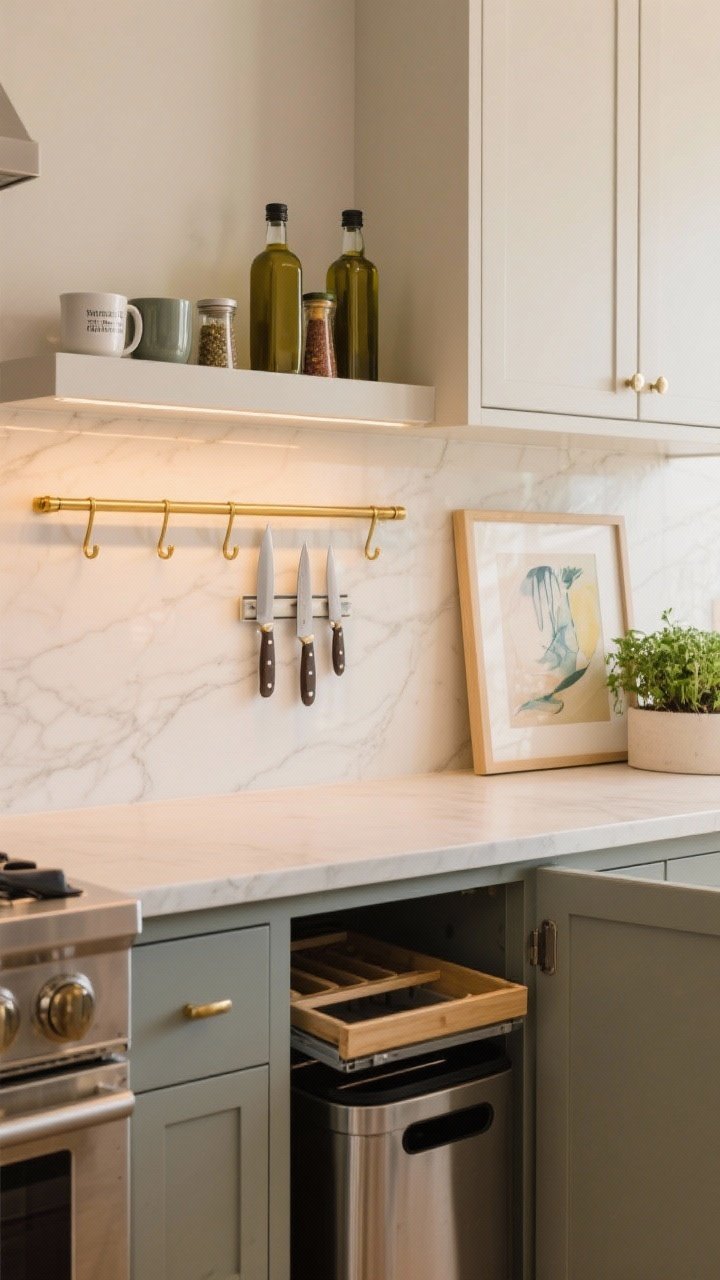
10. Add Functional Bling: Rails, Ledges, And Integrated Accessories
Form plus function? Chef’s kiss. Add small architectural details that make your kitchen work harder and look designer-level.
Accessories That Look Pricey (But Aren’t)
- Brass Gallery Rail: Install on top of a shallow cabinet or open shelf to corral oils and spices—super European.
- Slim Ledge Shelf: Mount just below uppers for mugs, art, or a mini herb garden.
- Pull-Outs: Trash pull-outs, tray dividers, or lazy Susans instantly feel like a custom kitchen.
- Magnetic Knife Strip: Clean counter, professional feel, and it shows off your pretty knives.
FYI: Keep metal finishes coordinated across rails, hooks, and hardware so the story reads intentional, not random.
Putting It All Together
Pick a hero move (paint or doors), then layer in hardware, lighting, and one detail like molding or a gallery rail. That combo delivers the “did you renovate?” reaction.
Conclusion
You don’t need a five-figure budget to get five-star cabinets. With smart paint, elevated hardware, a little trim, and mood lighting, your kitchen can look custom, fast. Start small, stack a couple of these ideas, and watch your space glow up—on budget and on point.