Seed Starting 101: the Simple Method That Actually Works Now
You want lush, thriving seedlings without turning your kitchen into a science lab? You’re in the right place. We’ll ditch the overcomplicated tricks and go with a method that’s cheap, reliable, and repeatable. By the end, you’ll know exactly what to buy, what to skip, and how to get seedlings that don’t flop over and die three days later.
The Why: Start Seeds To Save Money (And Sanity)
Store-bought starts can be pricey and limited. Starting your own seeds gives you more varieties, healthier plants, and better timing. Plus, it’s wildly satisfying to watch something grow because you, yes you, made it happen. Also, FYI: you’ll get stronger plants that handle transplanting like champs.
Tired of snacking when you’re not even hungry? This reset helps you stop the loop and feel back in control.
A simple reset for moments when cravings take over. Easy to use, easy to repeat, and designed to help you feel satisfied instead of stuck.
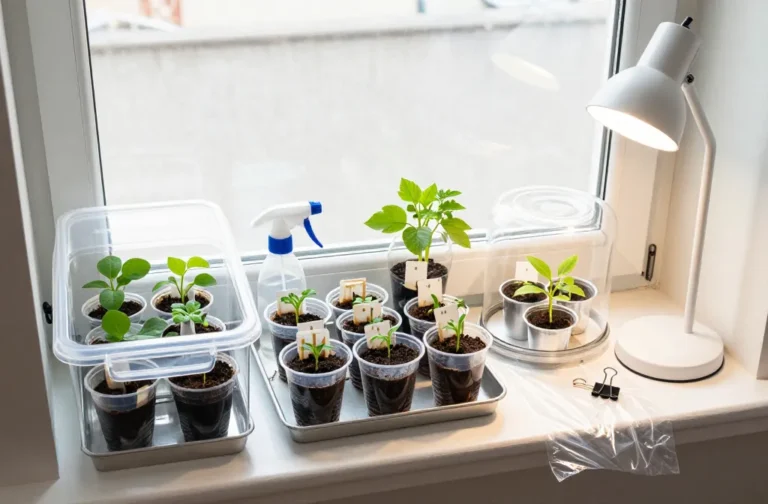
The Simple Setup: What You Actually Need
You don’t need a greenhouse. You need a few solid basics done right.
- Seed trays or cell packs: 72-cell trays work great. Reuseables are sturdier; cheap ones work fine too.
- Humidity dome: A clear plastic lid locks in moisture for germination. A plastic wrap hack works in a pinch.
- Seed starting mix: Light, sterile, and fast-draining. Not garden soil. Not potting soil loaded with bark.
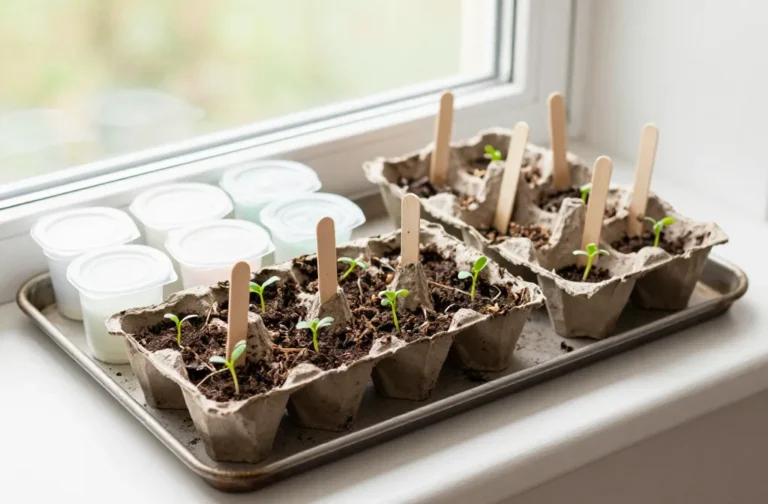
- Labels: You think you’ll remember what’s what. You won’t.
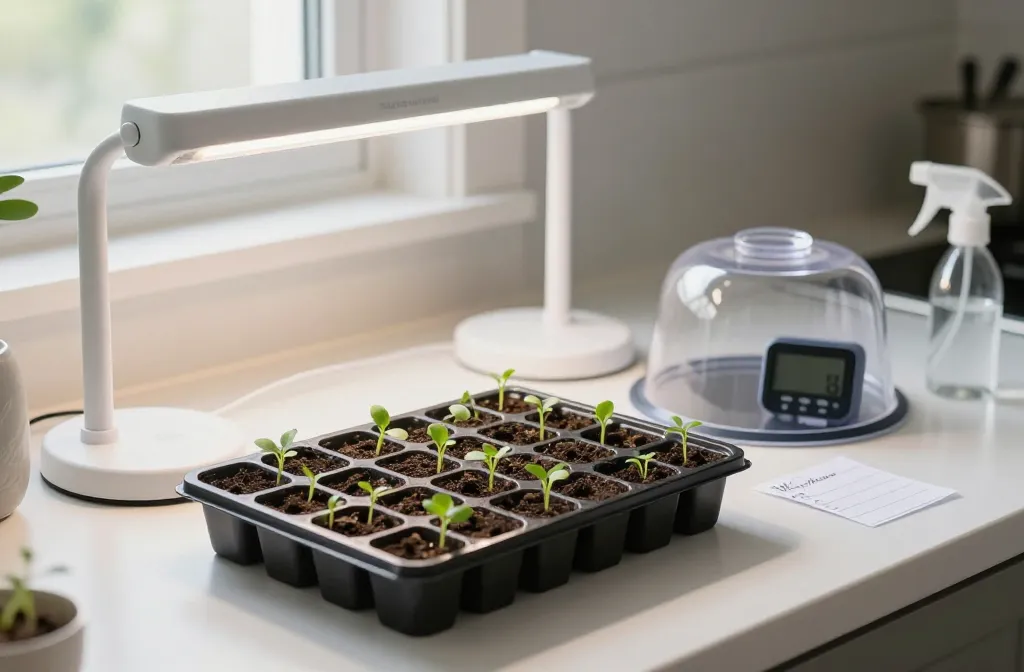
- Light: A simple 2–4 ft LED shop light (5000–6500K). No need for “grow” branding, IMO.
- Timer: Cheap plug-in timer = consistent light schedule.
- Heat mat (optional but clutch): Speeds germination for heat-lovers like tomatoes and peppers.
- Watering tool: Spray bottle for the start, bottom-watering tray after.
Good-To-Have Extras
- Fan: A tiny oscillating fan builds stronger stems and prevents damping-off.
- Vermiculite: A dusting helps retain surface moisture for finicky seeds.
- Fertilizer: A gentle, balanced liquid feed for later (think 1/4 strength).
The Method: From Dry Seed To Mighty Seedling
Let’s keep it simple and consistent. Here’s the workflow that actually works.
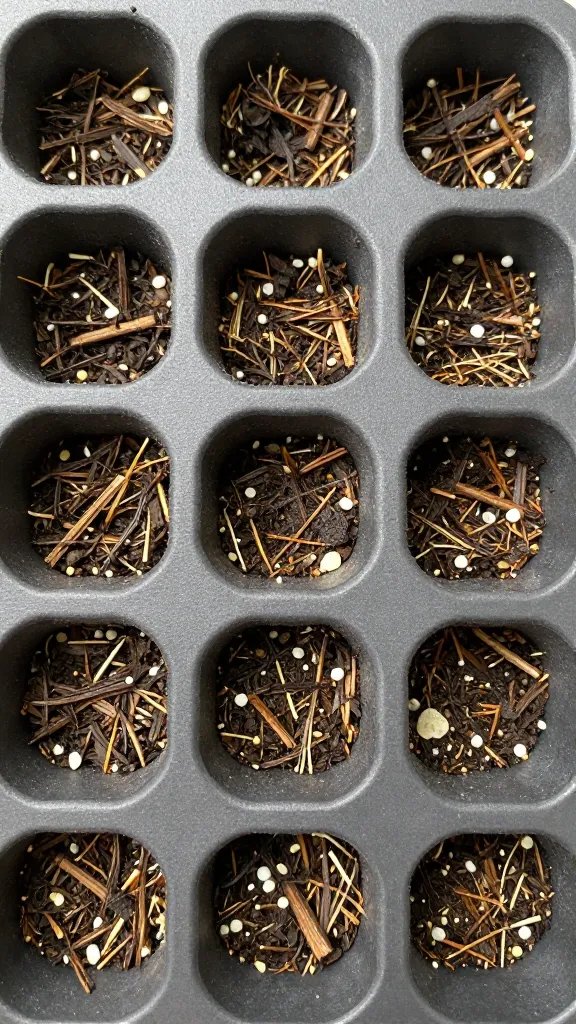
- Moisten your mix: In a bowl, mix water into your seed starting mix until it feels like a wrung-out sponge. No dust clouds, no soup.
- Fill and firm: Pack cells gently. Tap the tray to settle. Top off as needed—no massive air pockets.
- Sow seeds at the right depth: Rule of thumb: about 2–3x the seed’s width. Tiny seeds often want surface sowing.
- Label immediately: Variety + date. Future you says thanks.
- Moisture + cover: Mist the surface, add a thin sprinkle of vermiculite if desired, and put on the dome.
- Warmth to sprout: Place on a heat mat or warm spot (70–80°F for tomatoes/peppers). Cool-season crops like lettuce or kale can sprout around 60–70°F.
- Light ASAP after germination: As soon as you see green, remove the dome and put the tray under lights 1–3 inches above the leaves.
- Bottom water: Keep the medium evenly moist by adding water to the tray, then drain off excess after 15–30 minutes.
Pro Tip: The First 72 Hours After Sprout Matter Most
Get them under bright light immediately. Leggy seedlings happen when sprouts stretch to find light. Keep lights close and on 14–16 hours per day with your timer.
Dialing In Light, Water, And Air (The Big Three)
You’ll nail seed starting when you balance these three.
Transform Your Home With 7,250+ Stunning Landscaping Designs—No Expensive Designers Needed!
- 🌿 Access 7,250+ stunning landscaping designs.
- 💰 Save thousands—no pro designer needed.
- 🏡 Plans for gardens, patios, walkways, and more.
- ✨ Simple, beginner-friendly DIY layouts.
- 🛠️ Customize any design to fit your yard.
- Light: Bright, close, consistent. Adjust the height so leaves don’t touch and scorch. If stems stretch, lower the light. If leaves pale, you might need more intensity.
- Water: Keep the medium evenly moist, not soggy. Bottom water to avoid fungus. Let the top barely dry between waterings to discourage damping-off.
- Air: Run a small fan on low for a few hours daily. It strengthens stems and reduces disease pressure. Also, crack the dome early once you see sprouts, then remove it.
A Quick Note On Temperature
Most seeds germinate best around 70–75°F. After sprouting, slightly cooler (65–70°F) builds sturdier growth. Hot and soggy equals fungus city—hard pass.
Potting Up: When Tiny Apartments No Longer Cut It
Seedlings outgrow small cells fast. When roots circle or leaves crowd neighbors, move them up.
- Timing: Usually at the 2–3 true leaf stage (not counting the first cotyledons).
- Container: 3–4 inch pots with drainage holes.
- Medium: A light potting mix works now; you can graduate from sterile seed mix.
- Technique: Handle by leaves, not stems. Bury tomatoes deeper to encourage more roots. Don’t bury peppers as deep—just up to the original level.
Feeding Without The Drama
Start a 1/4-strength balanced liquid fertilizer once seedlings have 2–3 true leaves. Feed weekly or every other watering. Watch the foliage—dark green and steady growth means you’re on track.

Hardening Off: The Step Everyone Skips (And Regrets)

You grew pampered indoor babies. Outside is wind, sun, and birds with opinions. Help seedlings adapt.
- Days 1–2: Shade outdoors, 1–2 hours, gentle breeze. Bring them back in.
- Days 3–4: Bright shade or morning sun, 3–4 hours. Keep them watered.
- Days 5–6: Partial sun, 4–6 hours. They should look unbothered.
- Days 7–8: Full sun most of the day if they’re sun lovers. Overnight if temps allow.
Strong seedlings after hardening off will barely flinch at transplant time. Skipping this step? Enjoy crispy leaves and dramatic fainting. Your call.
Timing: Back-Plan From Your Frost Date
Check your local last frost date and work backwards.
- Tomatoes/peppers/eggplant: Start 6–8 weeks before last frost. Transplant after frost when nights stay above 50°F.
- Brassicas (broccoli, kale): Start 4–6 weeks before last frost. They like cooler temps.
- Lettuce: 3–4 weeks before. Also great for direct sowing early.
- Squash/cukes: 2–3 weeks before. They grow fast—don’t start too early.
- Herbs: Basil 4–6 weeks; parsley 8–10 weeks (it’s slow—patience required).
FYI: Starting too early creates root-bound, stressed plants. Start on time, not “January because I’m excited.”
Common Mistakes (And How To Dodge Them)
- Too little light: Leggy, floppy seedlings. Fix: lights 1–3 inches above, 16 hours daily.
- Overwatering: Mushy stems and fungus. Fix: bottom-water and drain; let the surface dry slightly.
- No airflow: Damping-off disease. Fix: remove dome after sprout and run a fan.
- Skipping labels: Mystery plants. Fun? Not really. Label every row.
- Planting too deep: Tiny seeds suffocate. Fix: surface sow or dust with vermiculite.
- Rushing outside: Sunscald and shock. Fix: harden off, then transplant.
FAQ
Do I really need a grow light, or can I use a sunny window?
A sunny window almost always produces leggy seedlings because light intensity drops indoors. Use an inexpensive LED shop light 1–3 inches above the seedlings for stout, dark green growth. You’ll see the difference in a week.
What’s the best temperature for germination?
Most warm-season crops pop fastest at 70–80°F. Cool-season crops can germinate well around 60–70°F. After they sprout, keep things a bit cooler to encourage stocky growth.
How often should I water?
Bottom-water when the tray feels light and the top looks slightly dry. Let pots wick water for 15–30 minutes, then pour off excess. Consistent moisture beats a drench-drought cycle every time.
When do I start fertilizing?
Begin feeding at 1/4 strength after the seedlings develop 2–3 true leaves. Increase to 1/2 strength if leaves pale or growth slows. If you see burnt tips, back off—easy fix.
Why are my seedlings falling over at the soil line?
That’s likely damping-off, a fungal issue. Improve airflow, remove the humidity dome, avoid overwatering, and consider a light vermiculite layer on top. Sanitize trays between seasons, IMO it’s worth the five minutes.
Can I reuse seed starting mix?
I wouldn’t. It compacts, and it can harbor pathogens. Reuse containers after a quick wash and dilute bleach rinse, but start each season with fresh mix for the win.
Conclusion: Keep It Simple, Keep It Consistent
You don’t need fancy gear or mystical gardening vibes—just light, moisture control, airflow, and timing. Follow the simple method here and you’ll raise sturdy, transplant-ready seedlings without the drama. Start small, take notes, tweak as you go, and enjoy the wild satisfaction of planting out strong starts you grew yourself. Your future harvest will brag for you.