
10 Kitchen Storage Ideas That Add Storage Without Remodeling—and Look Amazing
Your kitchen doesn’t need a demo day to feel bigger. You just need smart moves, a few swaps, and maybe a label maker you’ll become weirdly attached to. These storage ideas work in rentals, tiny galley kitchens, or that “open concept” that somehow still has zero cabinet space. Let’s make room—without swinging a sledgehammer.
1. Go Vertical With Slim Shelves and Rails

Your walls are prime real estate. Stop treating them like a screensaver. Mount slim **floating shelves** or a **rail system** to store the things you reach for daily—mugs, spices, cutting boards, even your prettiest pans.
Tired of snacking when you’re not even hungry? This reset helps you stop the loop and feel back in control.
A simple reset for moments when cravings take over. Easy to use, easy to repeat, and designed to help you feel satisfied instead of stuck.
Why It Works
- It moves clutter off counters and into the air—aka, the space you’re not using.
- Rails with S-hooks are insanely flexible: hang utensils today, colanders tomorrow.
- Slim shelves don’t visually crowd small kitchens but still hold a lot.
Quick Tips
- Use 10–12 inch deep shelves for plates; go 6–8 inches for spices and mugs.
- Keep a consistent color/finish for brackets and hooks so it looks intentional.
- Group items by task: coffee zone, prep zone, baking zone.
2. Double Your Cabinet Space With Interior Organizers

No remodel needed—just better hardware. Think **pull-out shelves**, **tiered risers**, **door-mounted racks**, and **lazy Susans**. You’re not short on space; you’re short on access.
Upgrades That Pay Off
- Pull-out trays for pots, pans, and small appliances you actually use.
- Risers to stack dishes and bowls without risking a Jenga collapse.
- Lazy Susans in corners so nothing disappears forever.
- Door racks for wraps, foils, cutting boards, and spices.
FYI: Measure your cabinet openings carefully. A half-inch makes or breaks pull-outs, and nobody wants the return process drama.
3. Add a Skinny Pantry Wherever You Can

No built-in pantry? Join the club. Add a **slim rolling cart** or a **narrow bookcase** with baskets between the fridge and wall, or next to your island. It sneaks in storage where nothing else fits.
Smart Ways to Style It
- Use matching baskets for bags, snacks, or onions and potatoes.
- Label shelves by category so you don’t buy your 8th bottle of soy sauce.
- Choose a unit on casters—you can roll it out when you need access.
Pro move: Put the heaviest items on the bottom to keep it steady and kid-safe.
Transform Your Home With 7,250+ Stunning Landscaping Designs—No Expensive Designers Needed!
- 🌿 Access 7,250+ stunning landscaping designs.
- 💰 Save thousands—no pro designer needed.
- 🏡 Plans for gardens, patios, walkways, and more.
- ✨ Simple, beginner-friendly DIY layouts.
- 🛠️ Customize any design to fit your yard.
4. Corral the Counter Chaos With Trays and Risers

Minimalist counters are great… in theory. In real life, you need stuff handy. Use **trays** and **counter risers** to make that stuff look curated, not chaotic.
How to Make It Pretty and Practical
- One big tray for olive oil, salt, pepper, and a crock of utensils.
- Small riser to tuck spices or mugs underneath and a plant or grinder on top.
- Magnetic strip on the backsplash for knives—cleaner than a bulky block.
Bonus: A tray protects your counter from oil drips and makes cleaning a 10-second job.
5. Turn Cabinets Into Zones With Clear Bins

Want to stop losing half-opened pasta bags behind the slow cooker? **Clear bins** give your cabinets structure and visibility. Everything has a home, and you stop overbuying because you can actually see what you have.
Zone Ideas
- Baking: flours, sugars, chips, sprinkles.
- Breakfast: oats, cereals, nut butters, syrups.
- Snacks: bars, fruit cups, crackers.
- Grab-and-go: lunch sides, reusable cutlery, napkins.
Label the bins. Yes, even if it feels extra. Labels keep other people from “putting things away” in weird places. You’re welcome.

6. Make the Most of Your Sink Zone

The area around your sink is storage gold if you plan it right. Use **over-the-sink shelves**, **tilt-out trays**, and **under-sink caddies** so your cleaning gear stops taking over the counter.
Small Upgrades, Big Payoff
- Tilt-out tray in front of the sink for brushes and sponges.
- Stacking under-sink drawers to clear the pipe maze and maximize the vertical space.
- Over-the-door bin inside the cabinet for dishwasher pods.
- Over-the-sink drying rack that rolls up—air-dry without sacrificing counter space.
Pro tip: Use a plastic mat under cleaning supplies. It catches leaks and saves your cabinet base from swelling and sadness.
7. Convert a Wall Into a Pegboard Pantry

Channel your inner Julia Child. A **painted pegboard** transforms a blank wall into a custom storage grid for **pans, strainers, measuring cups, and oven mitts**. It’s functional art—just add cute hooks.
How to Nail the Look
- Paint the board to match your cabinets or go bold for a graphic moment.
- Outline each tool in pencil before hanging so the layout is balanced.
- Mix hook types: straight for pans, curved for strainers, small pegs for scoops.
IMO, this is the best way to free up two whole drawers without losing your mind. Plus, guests will ask about it every time.
8. Use Furniture: Carts, Consoles, and Benches
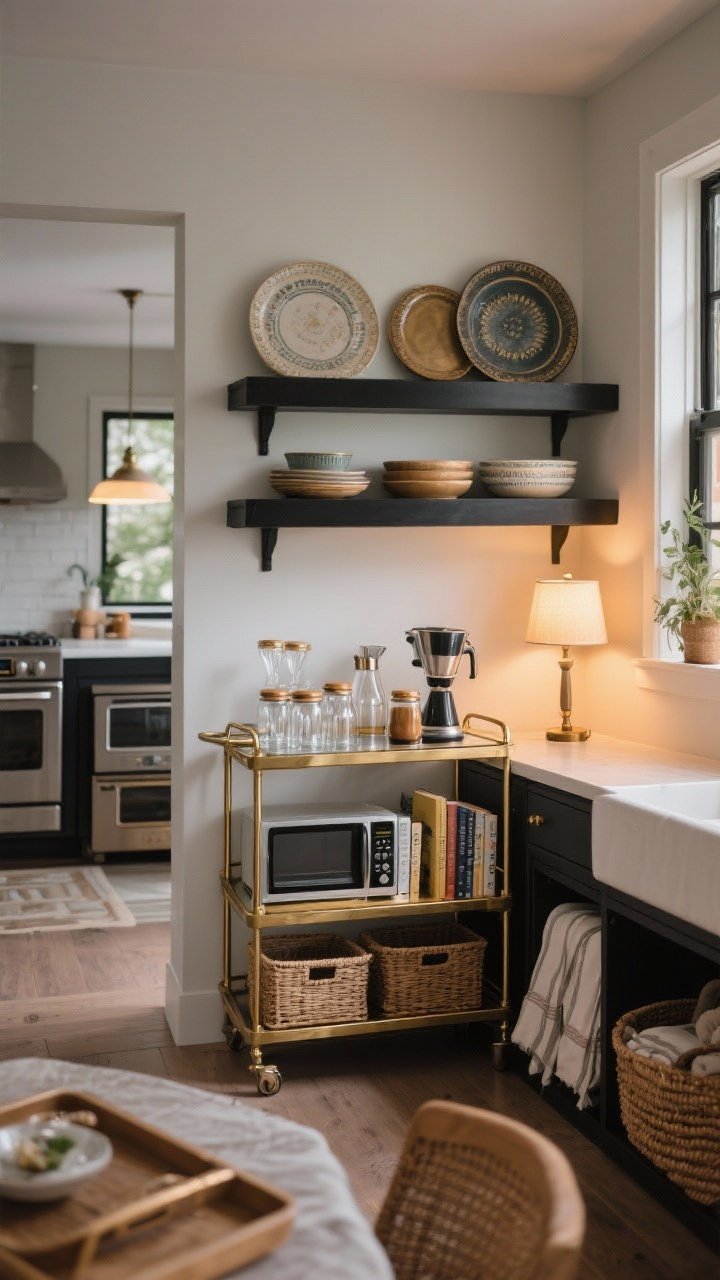
Who said kitchen storage has to be built-in? **Bar carts, narrow consoles, baker’s racks, and storage benches** all pull double duty—especially in open-plan spaces or rentals.
What to Look For
- Bar cart for glassware, mixers, and coffee station supplies.
- Narrow console behind the island for platters and serving bowls.
- Baker’s rack for microwave, toaster oven, and cookbooks.
- Storage bench in a breakfast nook for table linens and extras.
Style it with baskets, trays, and a lamp for that “intentional furniture moment” while secretly hiding the snack hoard.
9. Master the Inside of Cabinet Doors

The inside of your cabinet doors is the most underrated storage spot in the kitchen. It’s like finding a secret level in a video game. Add **shallow racks**, **file holders**, and **adhesive hooks** to stash awkward items.
Door-Side MVPs
- Cutting boards and baking sheets in a mounted file holder.
- Spice racks for small bottles or medicine-style droppers.
- Measuring spoons and cups on hooks with a conversion chart taped inside.
- Wraps and foils in a slim caddy right above the prep zone.
Check clearance first. Close the door slowly to make sure nothing crashes into your shelves. Ask me how I learned that.
10. Decant and Downsize for Space You Didn’t Know You Had
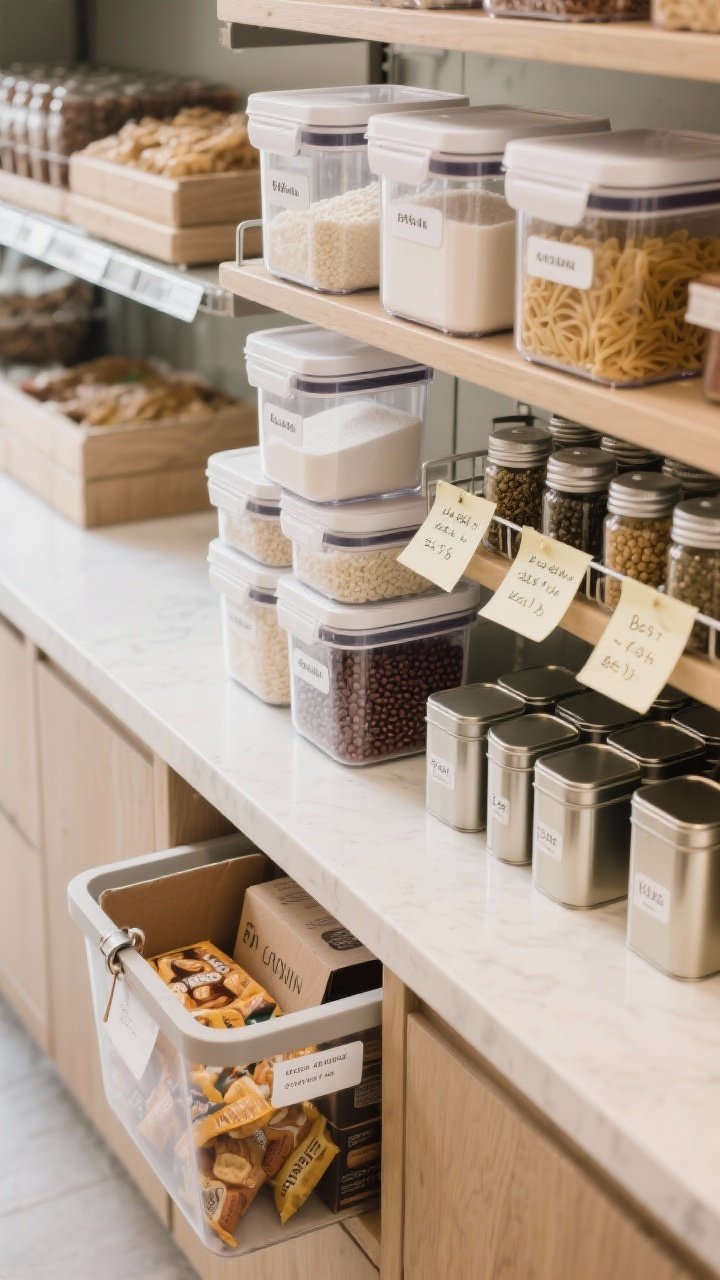
This is less a product and more a strategy. **Decanting** bulk ingredients into **stackable containers** saves serious space, especially for dry goods. And **downsizing packaging** frees up drawers and cabinets fast.
Where to Start
- Dry goods: flour, sugar, rice, pasta, beans—uniform containers stack better.
- Snacks: reset bulky boxes into bins with clip-on labels.
- Tea and coffee: slim tins beat the chaotic bag pile every time.
- Spices: switch to matching jars with a tiered rack or drawer insert.
Keep notes of cooking times and best-by dates on a piece of tape under the container lid. It’s low-tech and it works. FYI: You’ll feel like you organized a boutique grocery aisle, which is half the fun.
Bonus Micro-Edit Ideas
- Use pan dividers so lids and sheets file upright.
- Add cabinet shelf inserts to double vertical space instantly.
- Switch to nesting bowls and cookware to shrink bulky stacks.
Small shifts add up. Once you decant and downsize, every other idea here works even harder.
Putting It All Together
Start with one zone—say, the coffee station—and build out. Mix a few “big impact” moves (like pull-out trays) with easy wins (like door hooks and clear bins). You’ll get that peaceful, organized-kitchen feeling without touching a single cabinet box.
You don’t need a remodel. You need a plan, a measuring tape, and maybe a Saturday playlist. Go vertical, use your doors, and let storage furniture carry some weight. Your kitchen’s about to feel bigger—and way more you.


