10 Kitchen Storage Ideas That Finally Tame Pantry Chaos Like Magic
Let’s be honest: a messy pantry has main-character energy—in the worst way. You open the door and 14 bags of chips gasp for air while the quinoa you bought in 2019 judges you from behind the cereal. Good news: you don’t need a butler’s pantry or a full reno to fix it. You just need a few smart moves and some seriously satisfying systems.
Here are 10 kitchen storage ideas that finally tame pantry chaos—and yes, you can actually keep them up. Ready to make everything easy to find (and cute)? Let’s do this.
Tired of snacking when you’re not even hungry? This reset helps you stop the loop and feel back in control.
A simple reset for moments when cravings take over. Easy to use, easy to repeat, and designed to help you feel satisfied instead of stuck.
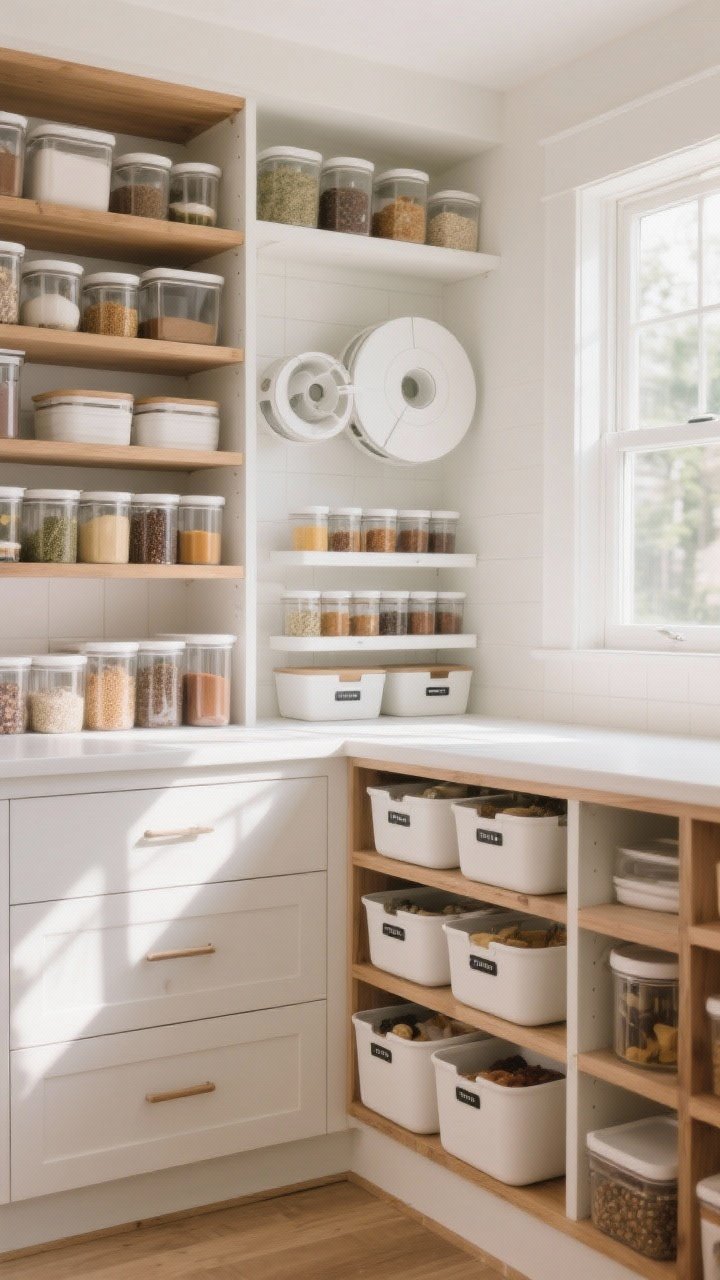
1. Decant Like You Mean It
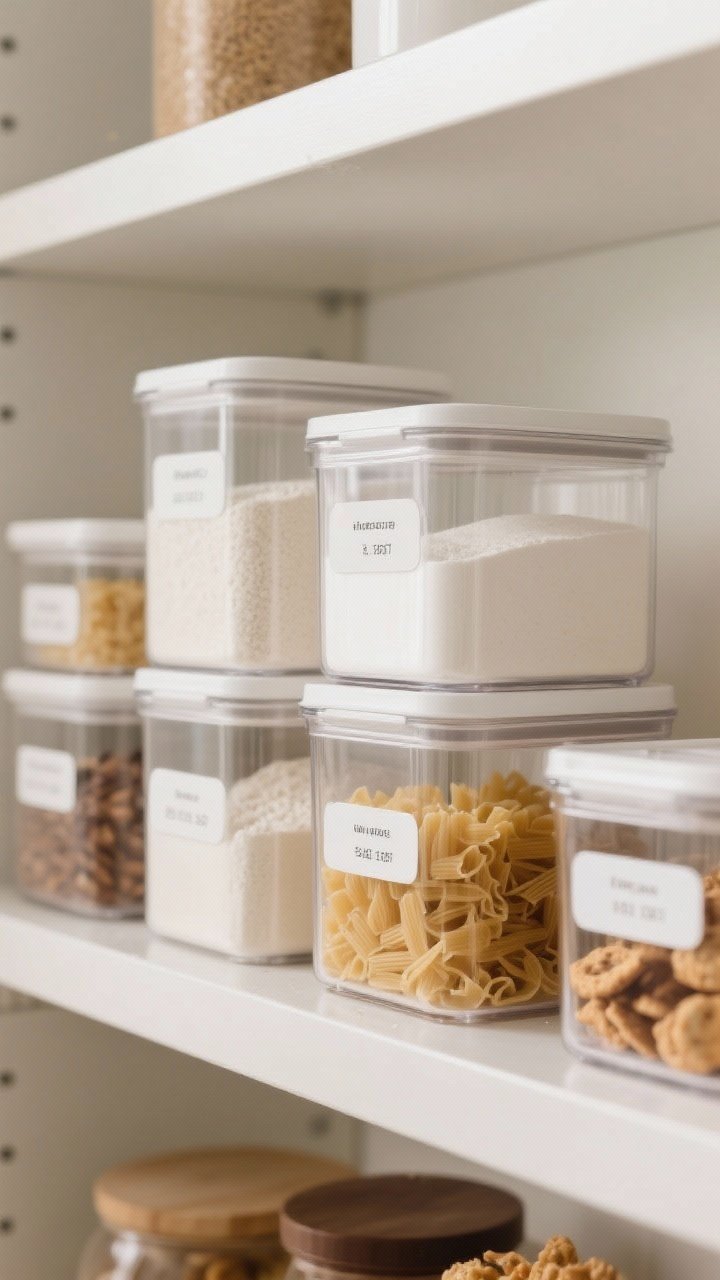
Step one in your pantry glow-up? Decant the messy stuff. Flour, sugar, pasta, snacks—anything that comes in a floppy bag becomes a neat stack of clear containers. Suddenly you can see what you own, and snack time doesn’t end with a breadcrumb avalanche.
Why it works
- Visibility: Clear containers show exactly how much you have left.
- Stackability: Flat lids = vertical space unlocked.
- Freshness: Airtight seals keep things crisp and bug-free.
Pro tips
- Choose one container style so everything looks cohesive (and stacks!).
- Label both front and bottom with the product and expiration date. FYI: A removable label maker is worth it.
- Decant partial bags too—no need to wait for a full pantry makeover.
2. Zone Out (On Purpose)
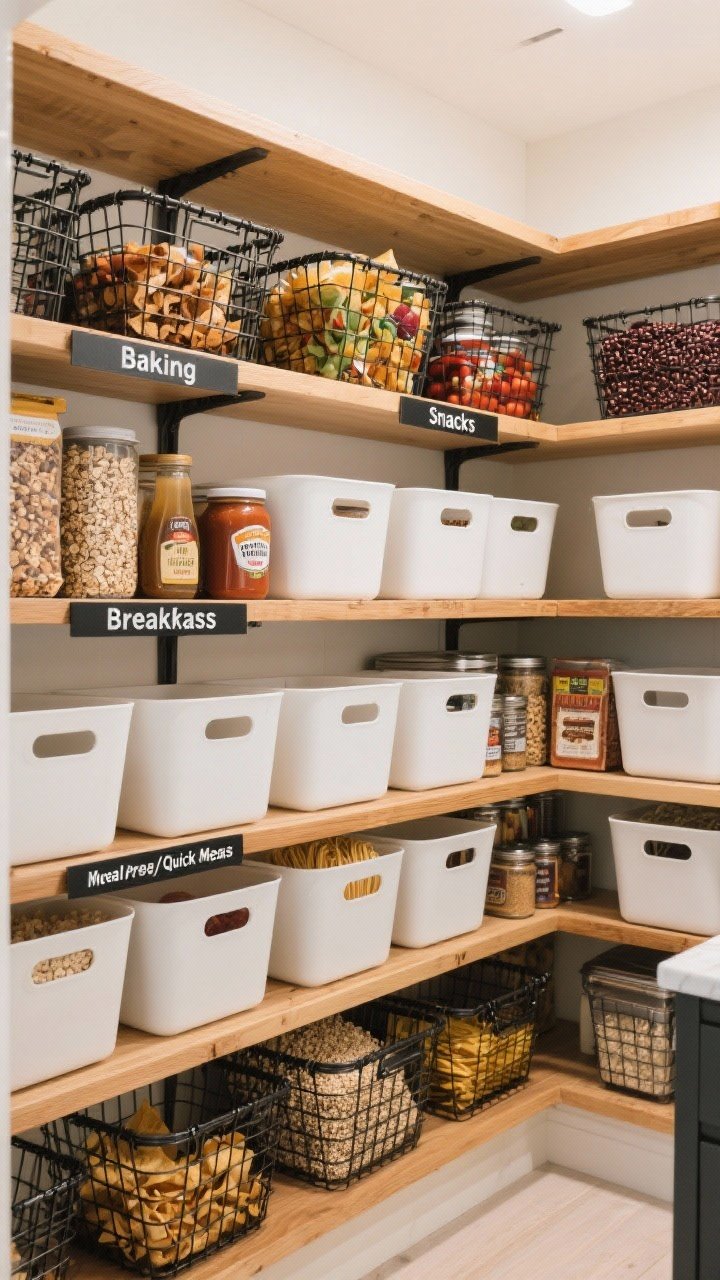
If a grocery store has aisles, your pantry should have zones. Group by category so putting things away becomes automatic. If you have kids (or midnight snackers), you’ll thank yourself later.
Try these zones
- Baking: Flour, sugar, chocolate chips, baking soda, extracts.
- Breakfast: Cereal, oats, nut butters, syrup, granola.
- Snacks: Bars, chips, crackers, dried fruit.
- Canned + Jars: Beans, tomatoes, sauces.
- Grains + Pasta: Rice, quinoa, noodles.
- Meal Prep/Quick Meals: Broths, sauces, quick noodles, spice kits.
Use bins or baskets to contain each zone. Add a label front and center so the whole house learns the system, not just you.
3. Lazy Susans Are Your New Besties
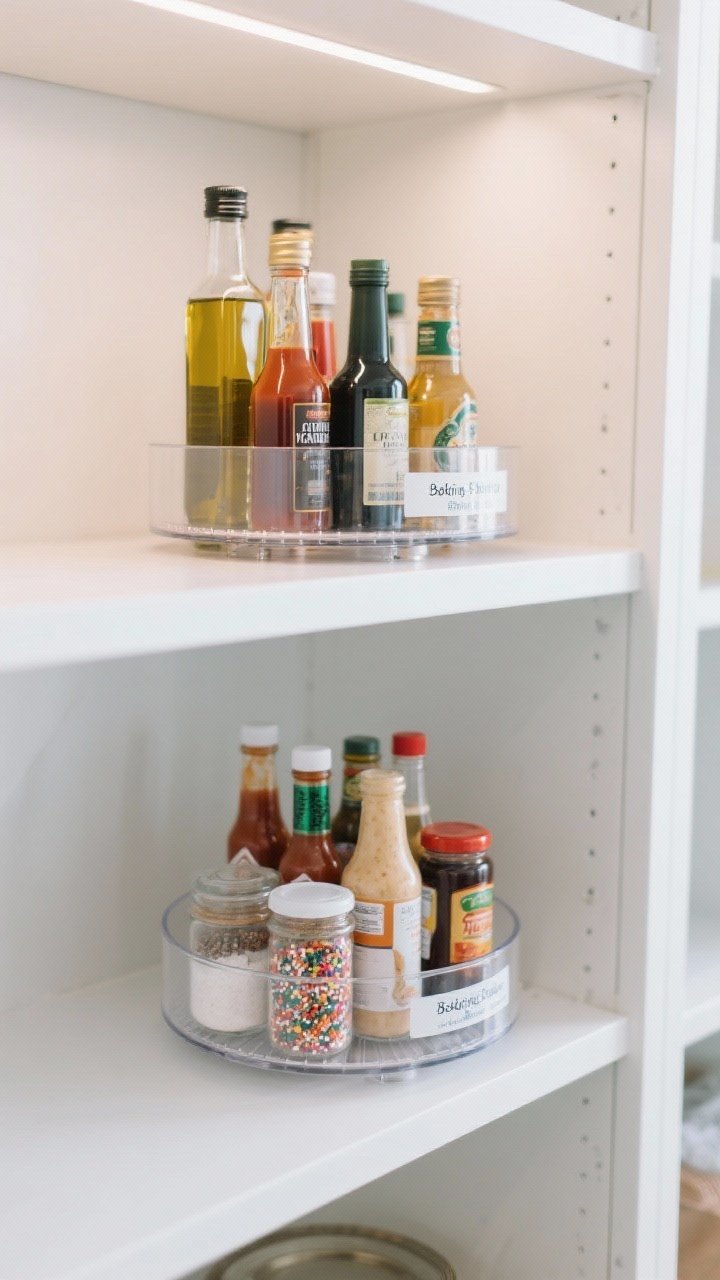
RIP to the sticky molasses bottle in the back. Lazy Susans (aka turntables) put everything within a one-finger spin. Perfect for corners, deep shelves, and small jars that love to wander off.
Transform Your Home With 7,250+ Stunning Landscaping Designs—No Expensive Designers Needed!
- 🌿 Access 7,250+ stunning landscaping designs.
- 💰 Save thousands—no pro designer needed.
- 🏡 Plans for gardens, patios, walkways, and more.
- ✨ Simple, beginner-friendly DIY layouts.
- 🛠️ Customize any design to fit your yard.
Where to use them
- Oils and vinegars: Corral tall bottles together.
- Baking add-ins: Sprinkles, extracts, baking powder.
- Condiments: Hot sauces, salad dressings, syrups.
Smart picks
- Double-decker styles for spices and tiny jars.
- High-rim edges to keep bottles from tipping.
- Clear acrylic so you can see labels from above.
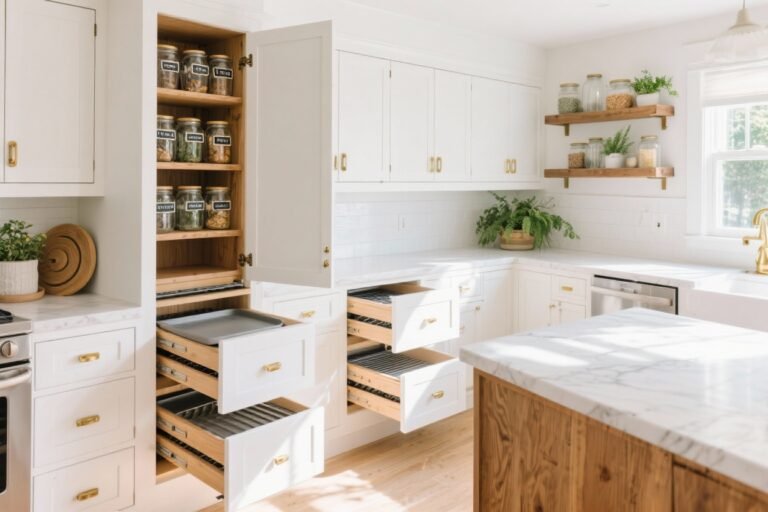
4. File, Don’t Stack: The Vertical Revolution
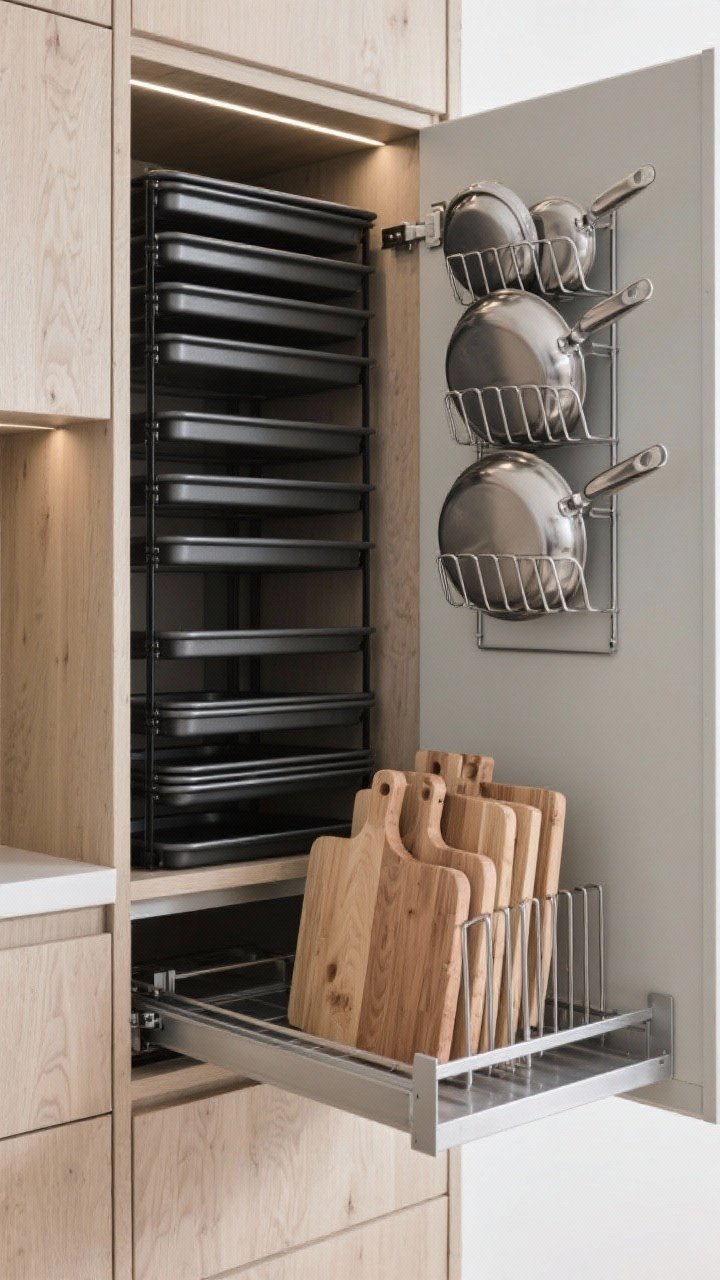
Stacking baking sheets and cutting boards is chaos waiting to happen. Switch to vertical storage to save your sanity (and your wrists). Think magazine file, but for cookware.
What to file upright
- Baking sheets and trays using tension dividers.
- Lids with a pull-out lid organizer—bye, clattering.
- Cutting boards in a shelf divider or a slim pull-out cabinet.
Bonus: When the heavy sheet pan isn’t buried under six others, you’ll actually use it. Revolutionary, IMO.
5. Make the Most of Dead Space
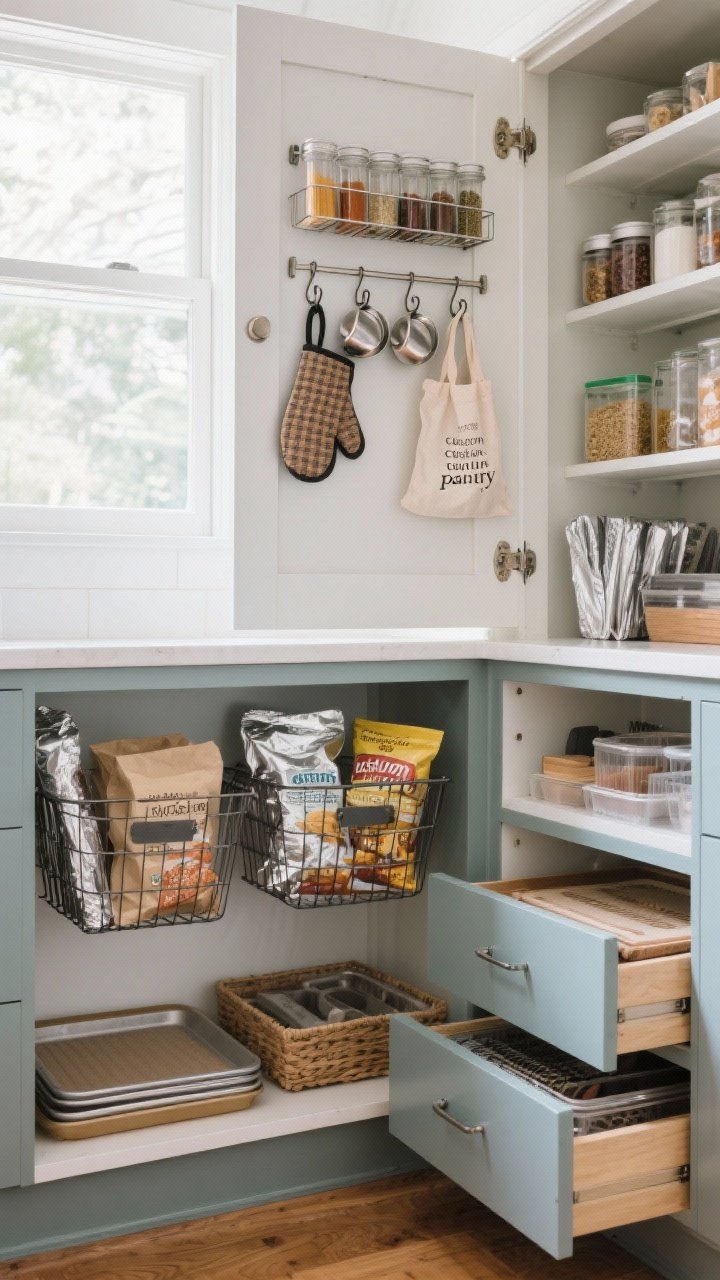
Every pantry has those awkward inches that do nothing. Time to recruit them. Add under-shelf baskets, adhesive hooks, and door racks to turn dead space into prime real estate.
Ideas to steal
- Under-shelf baskets: Slide under existing shelves for wraps, napkins, or snack bags.
- Hooks: Hang measuring cups, oven mitts, or bag clips inside cabinet doors.
- Over-the-door rack: Perfect for spices, foil, tea, and backups.
- Toe-kick drawers: If you’re renovating, add sneaky slim drawers at floor level for baking mats or trays.
Small changes, big energy. It’s giving “custom pantry” without the custom price tag.

6. Bins With Purpose (Not Just Vibes)
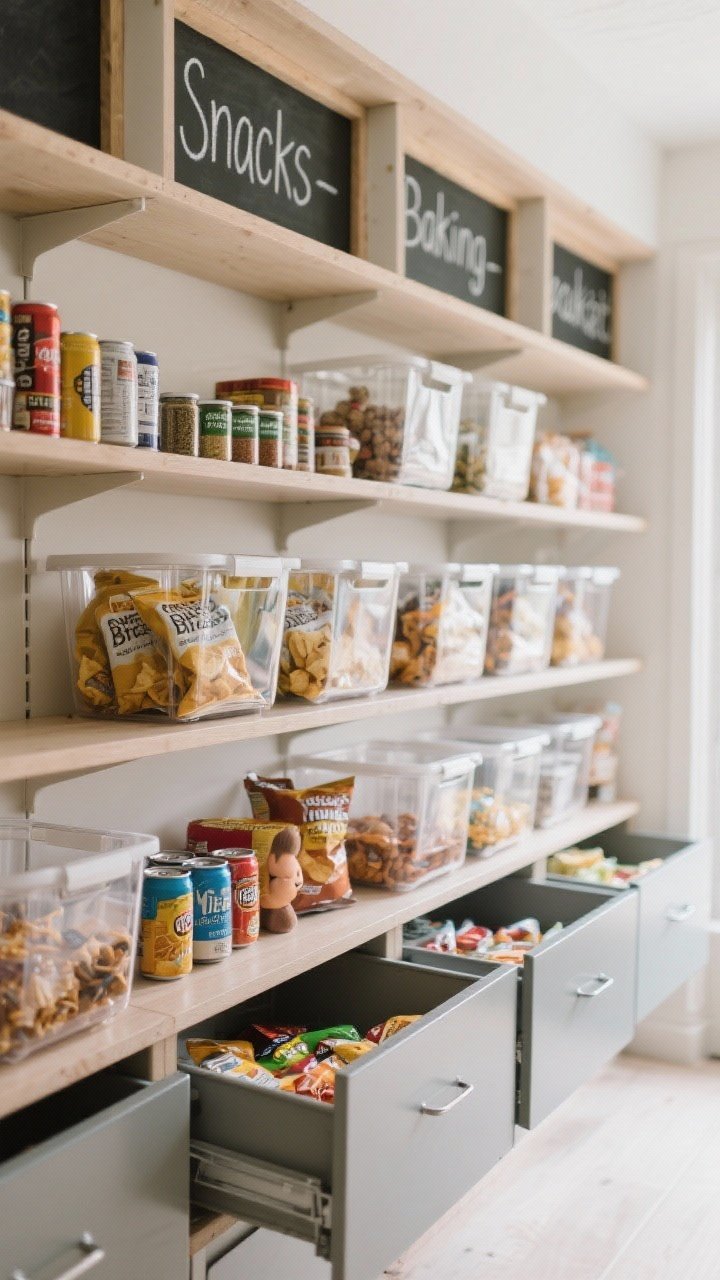
Bins are not just cute—they’re functional. Choose the right bin for the right job and suddenly your shelves are working overtime.
Bin types that actually help
- Deep bins: For bagged snacks, chip bags, and bagged rice.
- Shallow bins: For cans, spice packets, and small jars.
- Open-front bins: Grab-and-go access for kids’ snacks.
- Drawer-style bins: Great for deep shelves—pull the whole thing out to see everything.
Labeling that sticks
- Use category labels (Snacks, Baking, Breakfast) rather than specific brands.
- Keep it at eye level for the most-used bins.
- Consider blackboard labels if your categories evolve with seasons or diets.
7. Stair-Step Your Spices (And Cans)
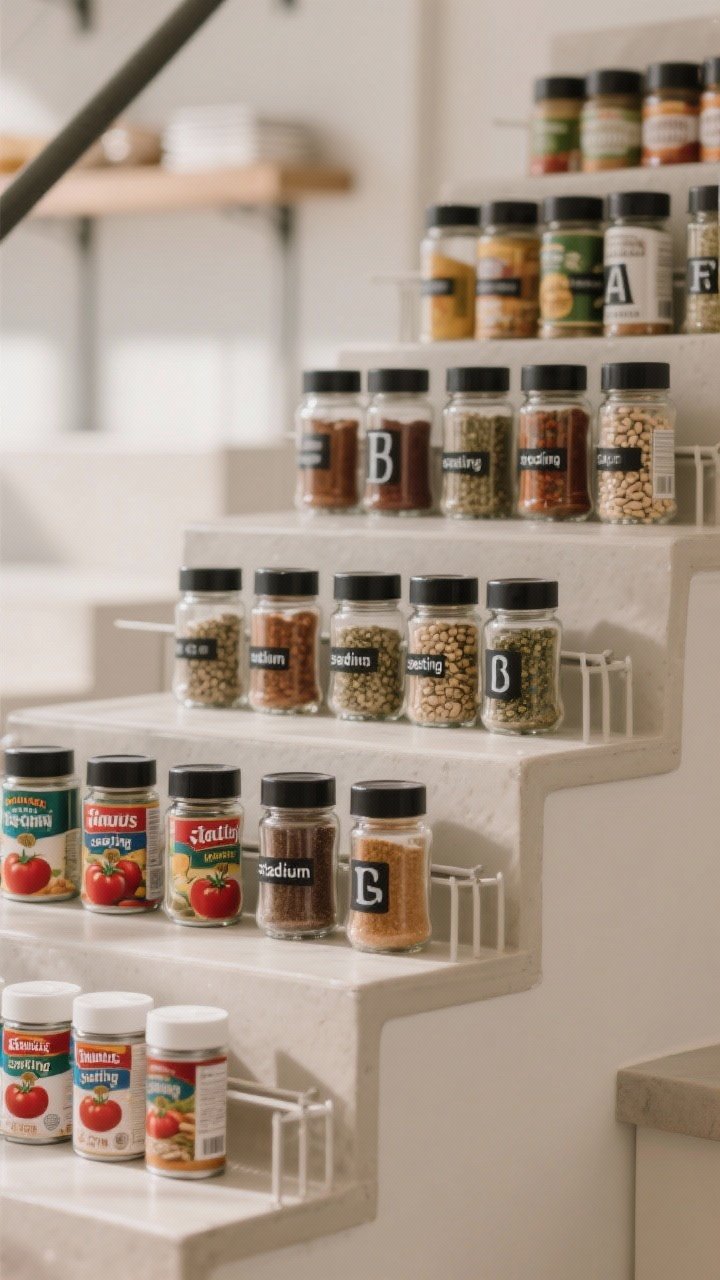
If you can’t see it, you won’t use it. Tiered organizers create mini stadium seating for spices and cans so every row gets a front-row view.
Where to deploy tiers
- Spice shelves: Expandable tiered racks prevent duplicates.
- Canned goods: Group by type—soups, tomatoes, beans—on stairs for faster inventory checks.
- Mini bottles: Food coloring, tiny extracts, or sample-size sauces.
Pro move: Alphabetize spices within the tier. Yes, it’s nerdy. Yes, it’s glorious.
8. Embrace Refill Stations
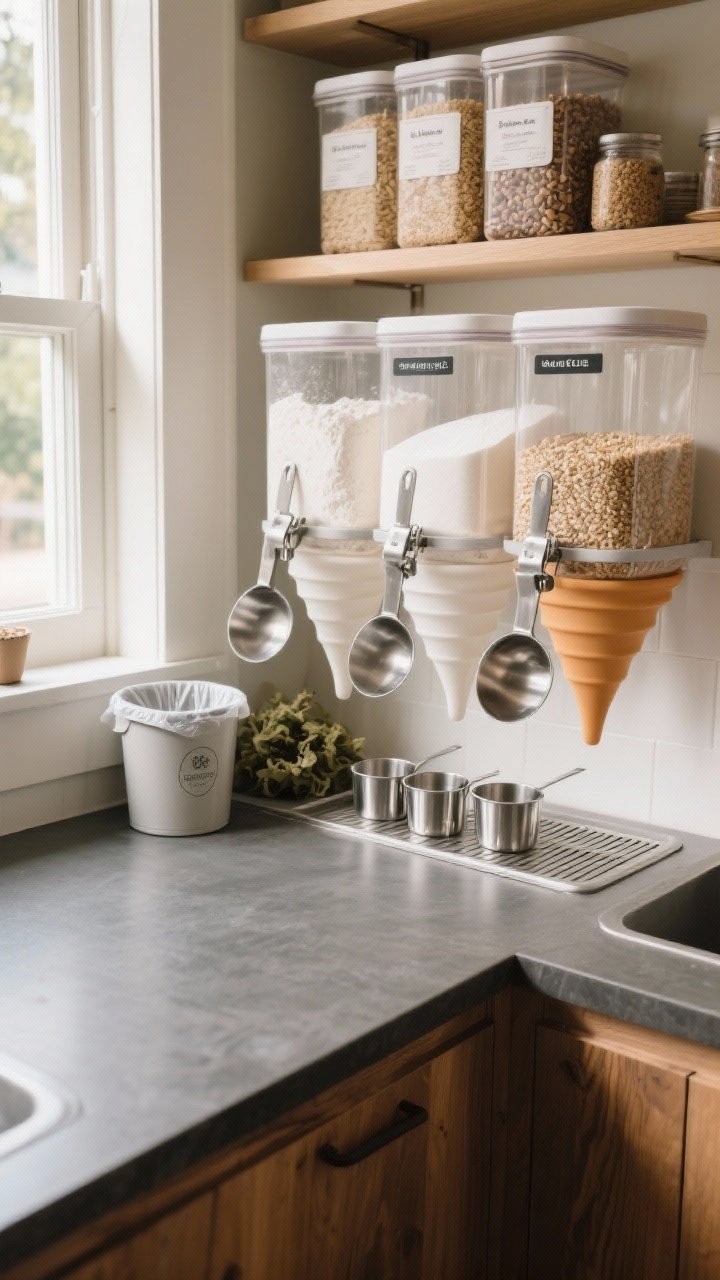
Refill day can be… chill. Create a refill station with scoops, funnels, and measuring cups so moving bulk goods into containers is quick and (almost) fun.
Set up your station
- Scoops clipped to containers (so you’re not hunting for them).
- Collapsible funnels for flour, sugar, and grains—no dust clouds.
- Measuring cups dedicated to the baking zone.
- Backstock bin: Keep unopened duplicates in a single labeled bin up high.
Bonus points: Keep a small trash bin or compost pail nearby for packaging waste on refill day.
9. Use the Fridge Rules in the Pantry
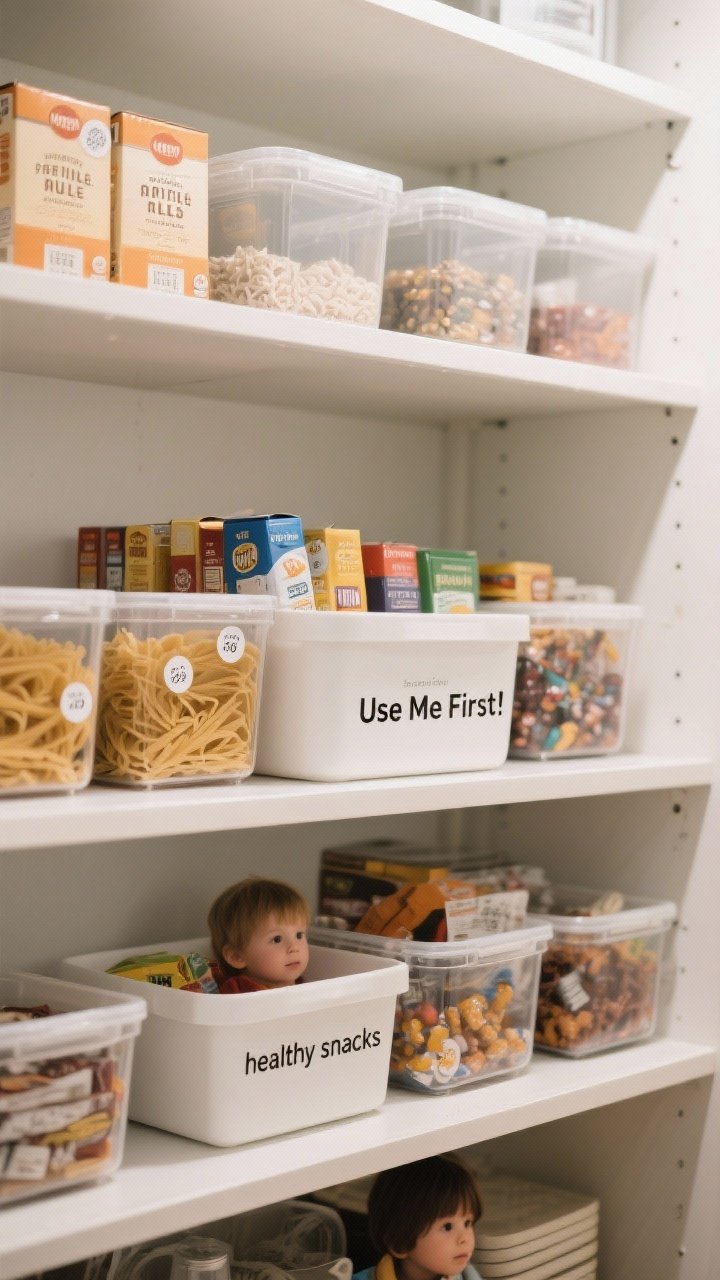
What works in your fridge works in your pantry. Try the “first in, first out” rule so older items get used before newer ones. Your wallet and future self will high-five you.
How to make it automatic
- Front-load older items: When you buy new pasta, move the older boxes forward.
- Date labels: A tiny sticker with the purchase or open date keeps things honest.
- Snack decoy bin: Put healthier grab-and-go options at kid eye level; treats go higher up.
Also, set aside a “Use Me First” bin for close-to-expiring items. Challenge yourself to cook from it once a week.
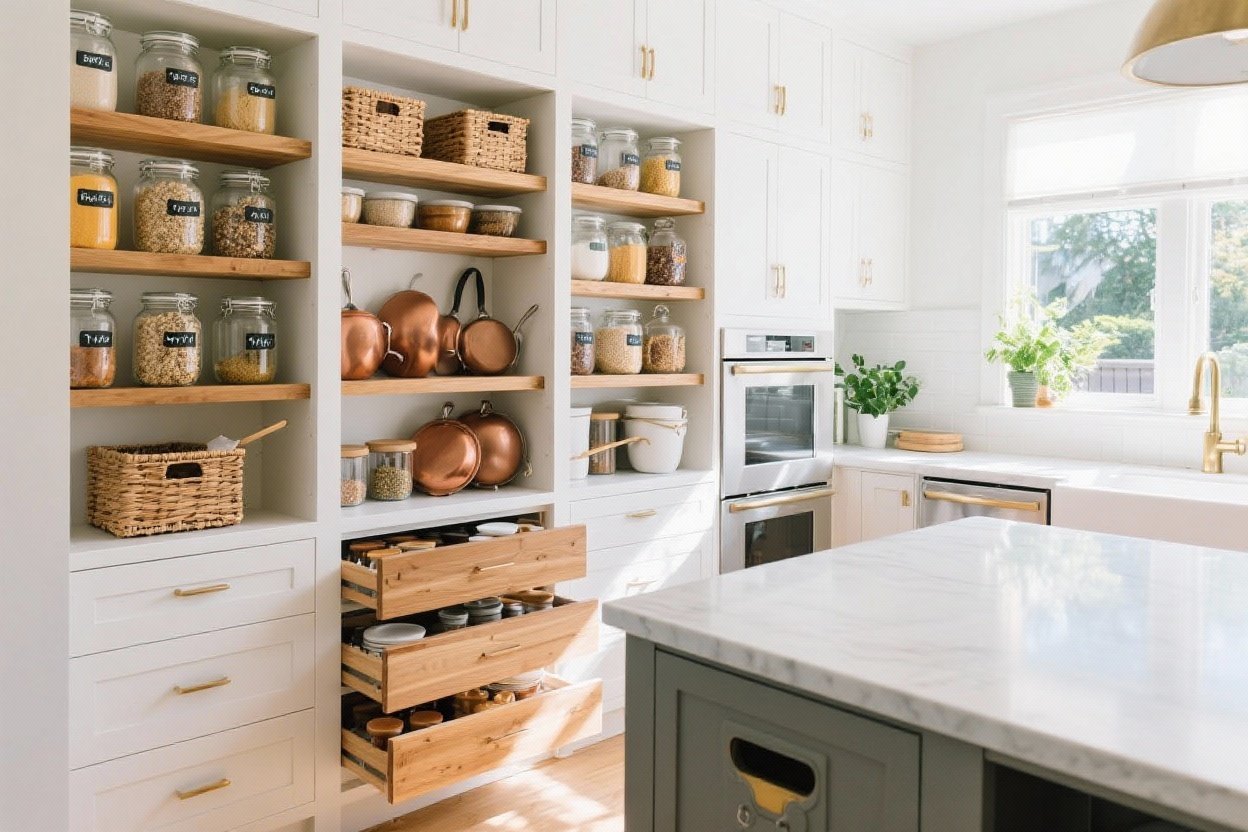
10. Go Pull-Out or Go Home
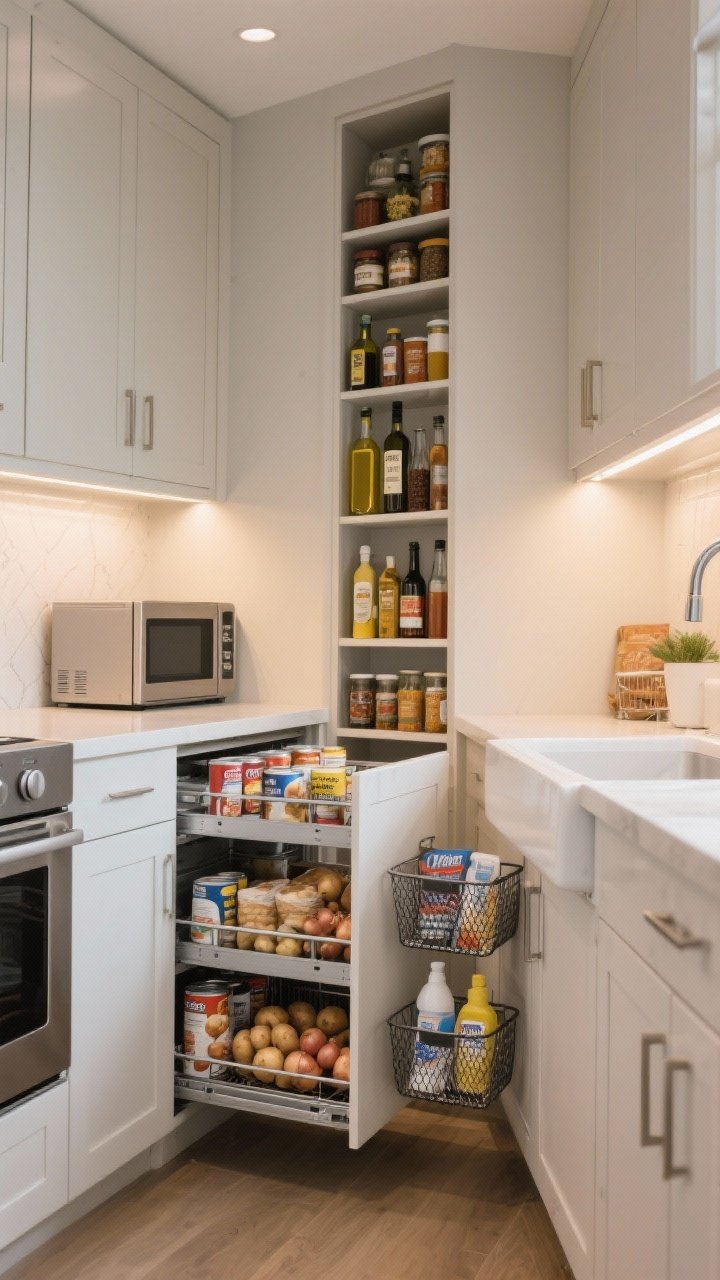
Deep cabinets love to hide things. Pull-out shelves or sliding baskets turn dark caves into easy-access wonderlands. You’ll stop buying duplicates because your back corner is no longer the Bermuda Triangle.
Where to install
- Base cabinets: Sliding shelves for canned goods, baking supplies, and appliances.
- Pantry towers: Narrow slide-out units for oils, spices, and bottles.
- Under-sink: A pull-out caddy for wraps, dishwasher tabs, and cleaners.
Quick install tips
- Measure the clear opening, not just the cabinet’s overall width.
- Opt for full-extension glides so the back is truly accessible.
- Choose metal mesh baskets for airflow (potatoes, onions) and easy cleanup.
Conclusion: Small Tweaks, Major Calm
Taming pantry chaos isn’t about buying every organizer on the internet. It’s about clear categories, visible storage, and easy systems that anyone in your house can actually follow. Start with one idea—decanting, zones, or a few lazy Susans—and build from there.
Before you know it, your pantry will be the most productive square footage in your home. And yes, you’re allowed to open the door just to admire it. Same.