10 Unreal Landscape Ideas That Don’t Look Diy (but Are!) You’ll Want Now
Ready to make your yard look like it hired a fancy landscape designer—without the fancy bill? Same. These ideas are high-impact, low-stress, and totally doable on a weekend (or two). We’re talking big visual payoffs, clean lines, and zero “Pinterest fail” energy.
Grab your gloves and a coffee. Let’s fake-it-till-you-landscape-it.
Tired of snacking when you’re not even hungry? This reset helps you stop the loop and feel back in control.
A simple reset for moments when cravings take over. Easy to use, easy to repeat, and designed to help you feel satisfied instead of stuck.
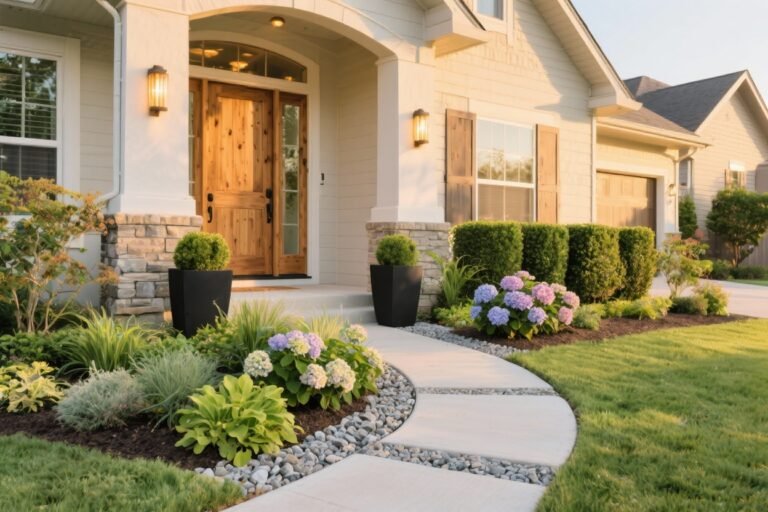
1. Frame Your Entry With Symmetry (Instant Estate Energy)
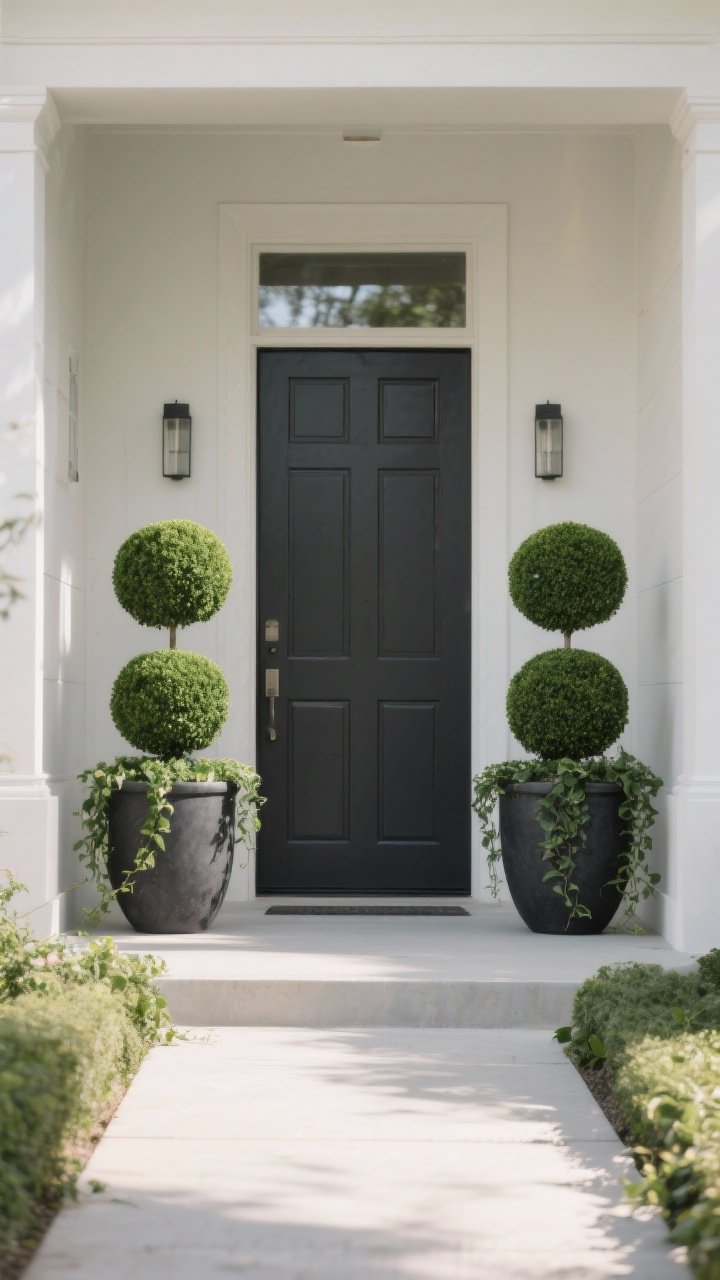
Nothing says “polished” like symmetry. Flank your front door or path with matching planters, shrubs, or small trees and you’ll get that classic, expensive look fast.
The trick? Keep it simple. Choose one plant type and repeat it on both sides so it looks intentional, not chaotic.
Pro Moves
- Match the containers: Go for two identical planters in a neutral tone (black, stone, or aged bronze).
- Plant twins: Boxwood spheres, dwarf olives, or bay laurel trees read crisp and custom.
- Underplant for depth: Add low trailing plants like ivy or sweet potato vine around the base for a layered look.
- Keep heights consistent: Trim regularly so both sides grow in sync. A quick snip goes a long way.
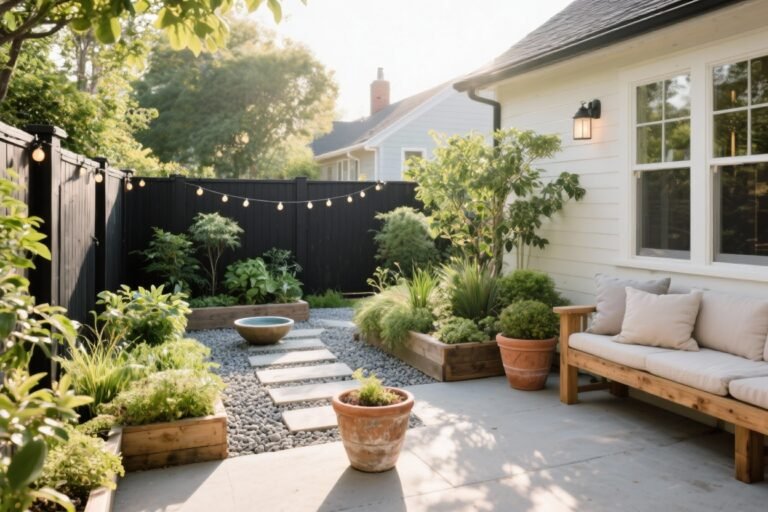
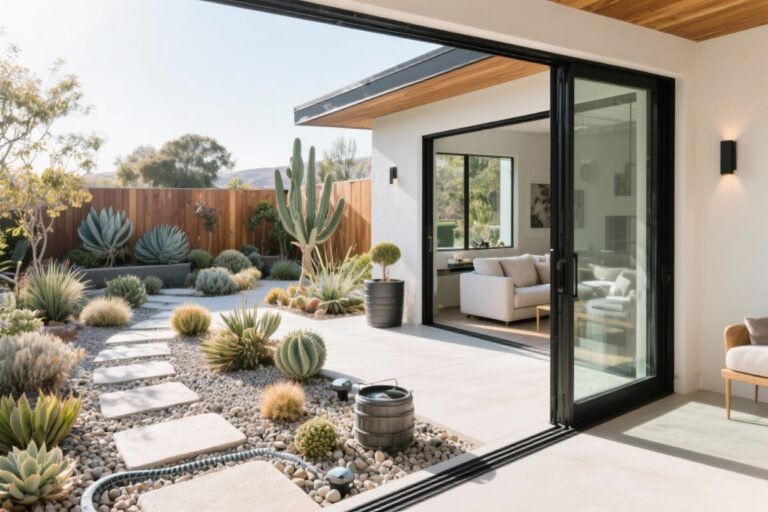
2. Create a Gravel Courtyard With a “Custom” Feel
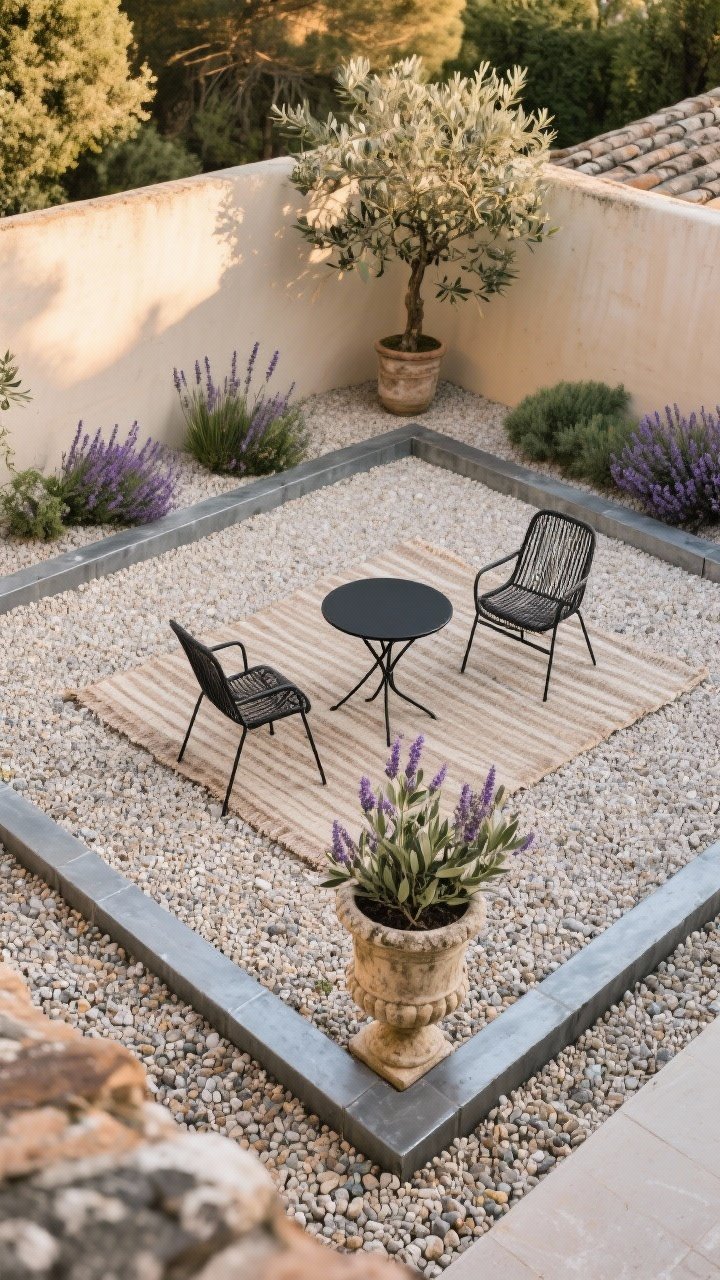
A crushed rock patio looks continental and chic, but it’s super DIY-friendly. You’re basically creating a clean rectangle, laying landscape fabric, and topping with gravel.
Finish it with a few anchors—like a cafe table, vintage urn, or fire bowl—and boom: instant “found in Provence” vibes.
Transform Your Home With 7,250+ Stunning Landscaping Designs—No Expensive Designers Needed!
- 🌿 Access 7,250+ stunning landscaping designs.
- 💰 Save thousands—no pro designer needed.
- 🏡 Plans for gardens, patios, walkways, and more.
- ✨ Simple, beginner-friendly DIY layouts.
- 🛠️ Customize any design to fit your yard.
How-To Snapshot
- Edge it first: Use steel edging or pavers to define the area and keep gravel contained.
- Fabric is non-negotiable: Weed barrier = professional finish. Don’t skip it.
- Size matters: 3/8-inch pea gravel compacts nicely and is comfy underfoot.
- Style it: Add a few potted olives or lavender, sling chairs, and an outdoor rug for softness.
3. Layer Your Borders Like a Designer
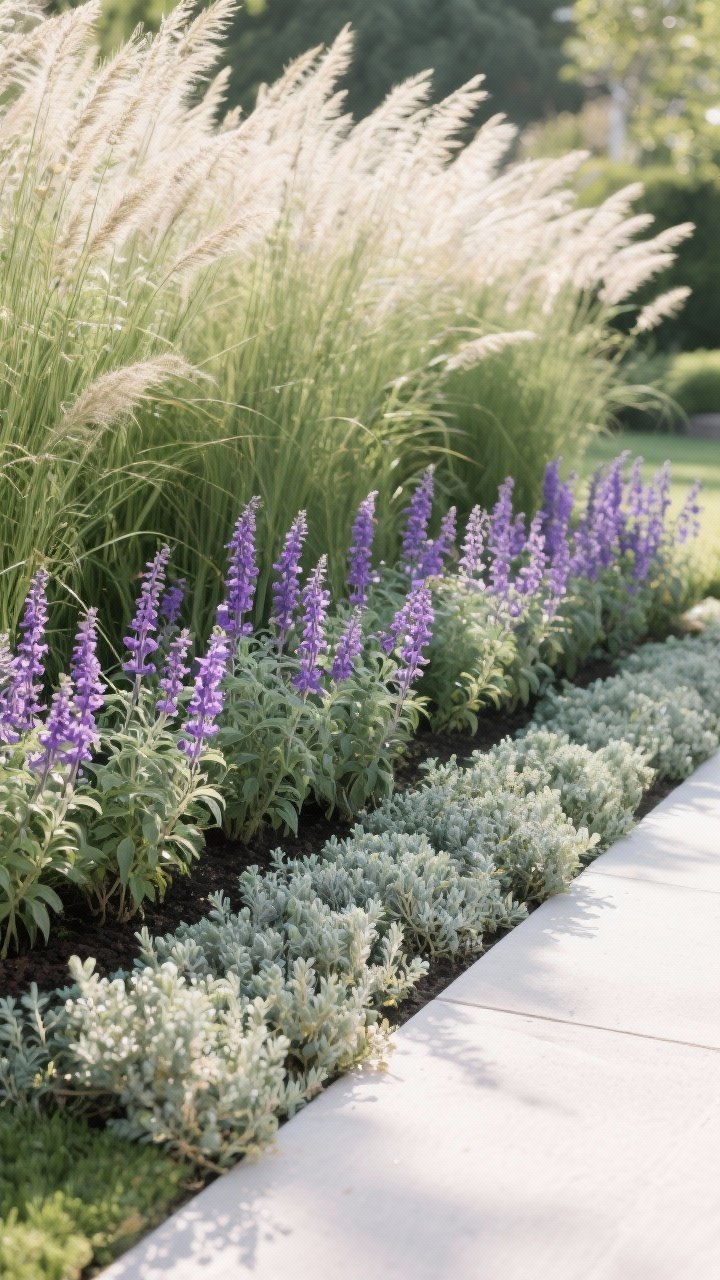
Pros plant in layers: tall in back, medium in the middle, low in front. It creates depth and looks lush without feeling busy. Even a small bed looks fuller with this formula.
Stick to a tight palette and repeat plants in groups of three or five for rhythm. It’s like styling a shelf—your eyes need a pattern to rest on.
Reliable Combos
- Sunny: Tall ornamental grasses + salvia + low thyme or sedum.
- Shade: Japanese forest grass + hosta + heuchera (aka coral bells).
- Modern: Upright junipers + agave (or yucca) + black mondo grass.
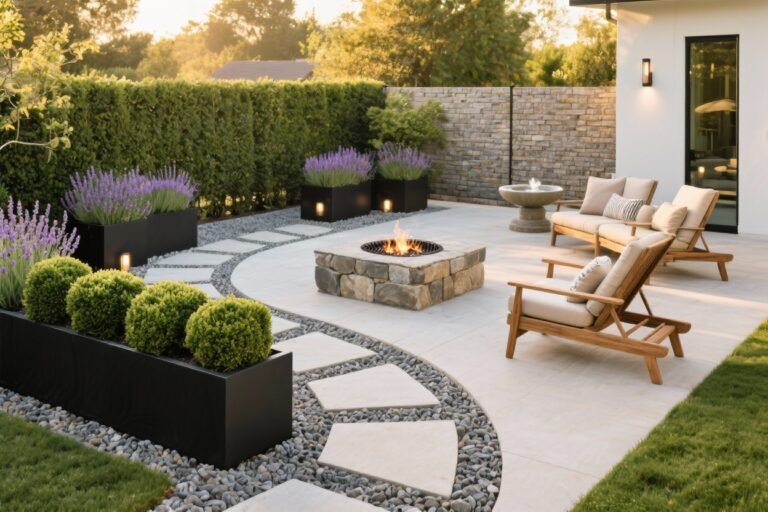
4. Build a Raised Bed That Looks Custom (Not “Hardware Store”)
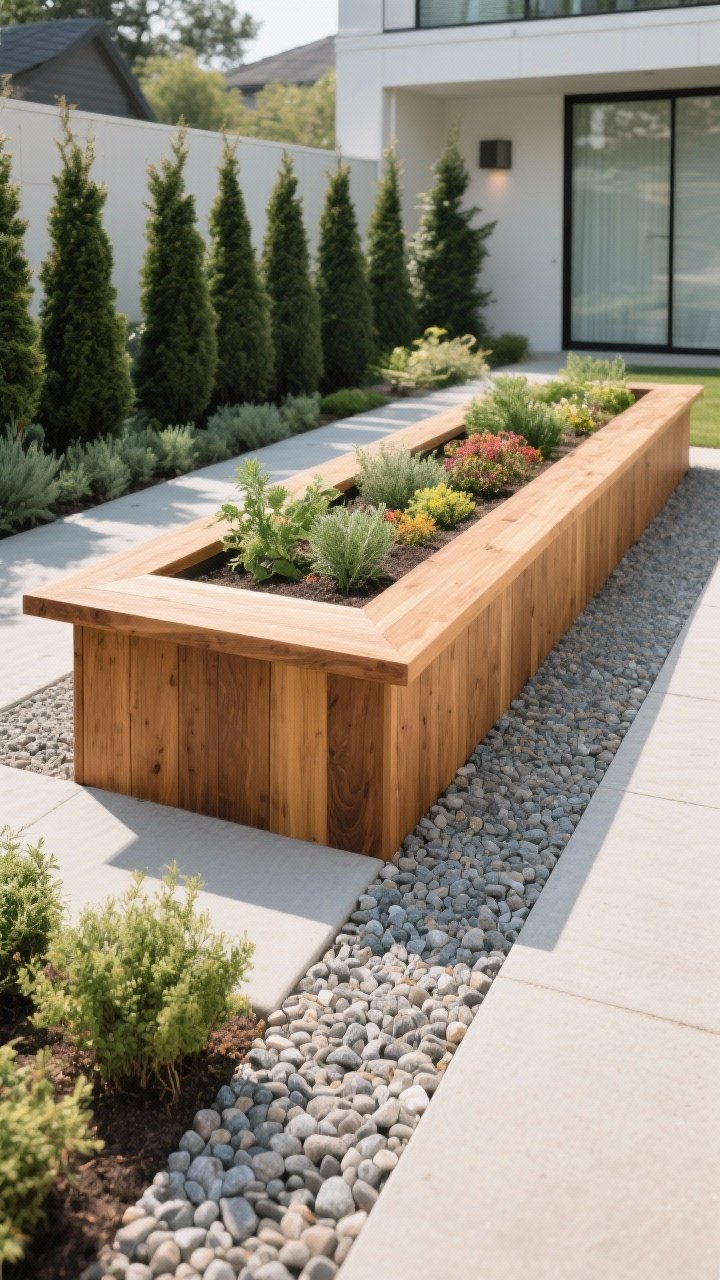
Raised beds can look super luxe if you choose the right materials and proportions. Aim for long, low rectangles with clean lines—think simple and elegant.
Cedar boards or concrete blocks with a smooth finish feel high-end. Stain or limewash for extra polish.
Design Tips
- Mind the height: 12–18 inches tall looks substantial and is easy to work with.
- Cap it: Add a 2×4 top cap on wood beds for a bench-like edge (and somewhere to perch).
- Plant with intention: Repeat herbs or evergreen shapes for structure; tuck in seasonal color for fun.
- Gravel paths: Surround with pea gravel for a crisp, “designed” finish.
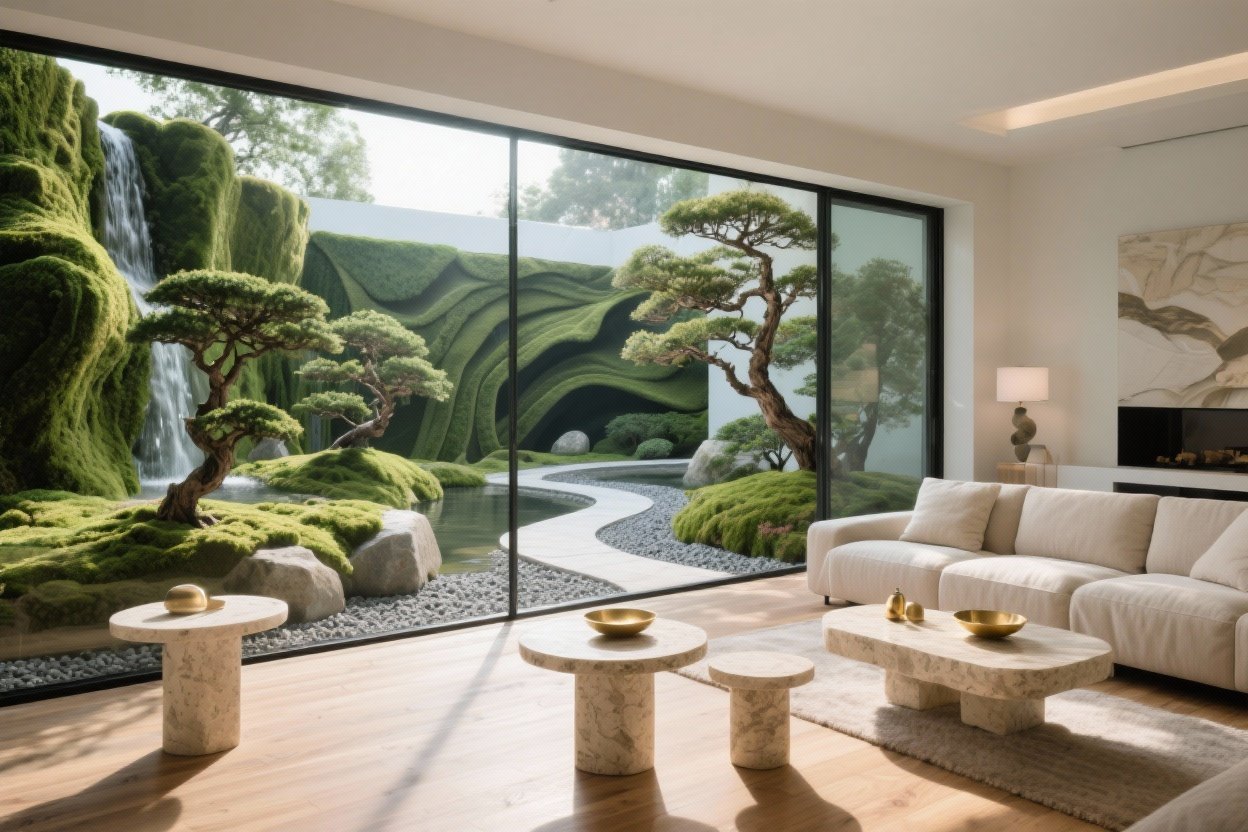
5. Fake a Water Feature With a Disappearing Fountain
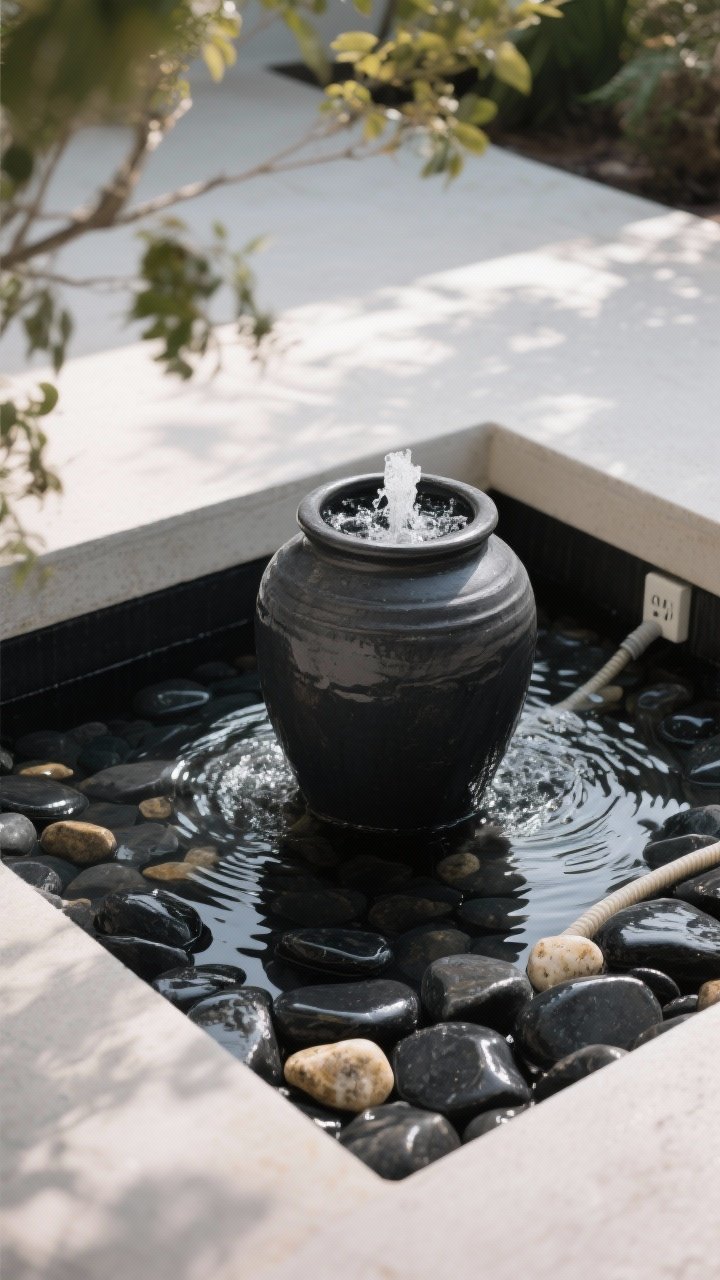
Want the sound of water without the maintenance of a pond? A disappearing fountain is your move. It’s basically a bubbling urn or boulder sitting on a hidden basin.
It looks custom, costs less than you’d think, and the install is straightforward if you can dig and level.
What You’ll Need
- Fountain kit: Basin, pump, and tubing (look for “reservoir kit”).
- Feature piece: Ceramic urn, drilled boulder, or metal bowl.
- Rock topping: Mexican beach pebbles or black polished river rock to conceal the basin.
- Power: A GFCI outlet nearby. Safety first, pretty second.

6. Edge Everything for That Crisp, Pros-Only Look
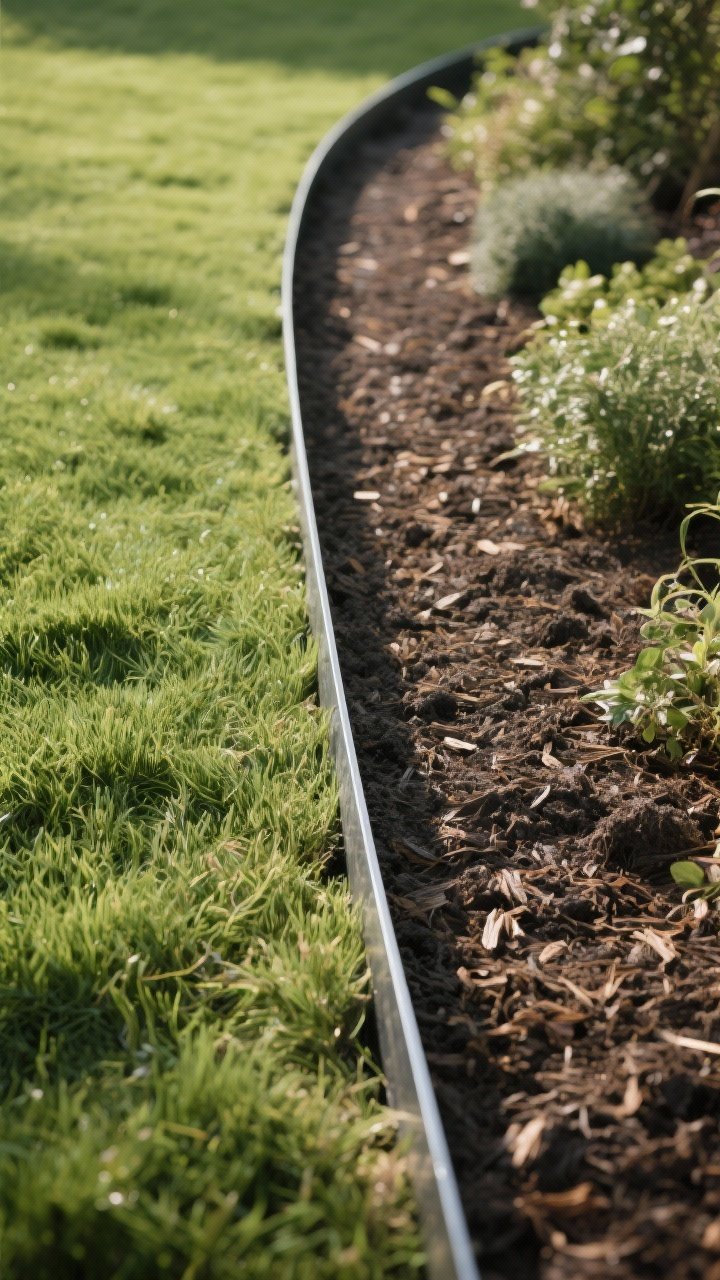
Edges are the secret sauce. The moment you define your beds and lawn with a clean border, your whole yard looks expensive.
Use steel edging for modern lines or paver soldier courses for classic style. Even a simple trench edge can look sharp if you maintain it.
Edging Options
- Steel or aluminum: Sleek, low-profile, perfect for curves. Install with stakes.
- Paver border: Brick or stone set on a compacted base for longevity.
- Natural cut: Spade a V-shaped trench along beds; refresh a few times a season.
7. Use Lighting Like a Landscape Architect
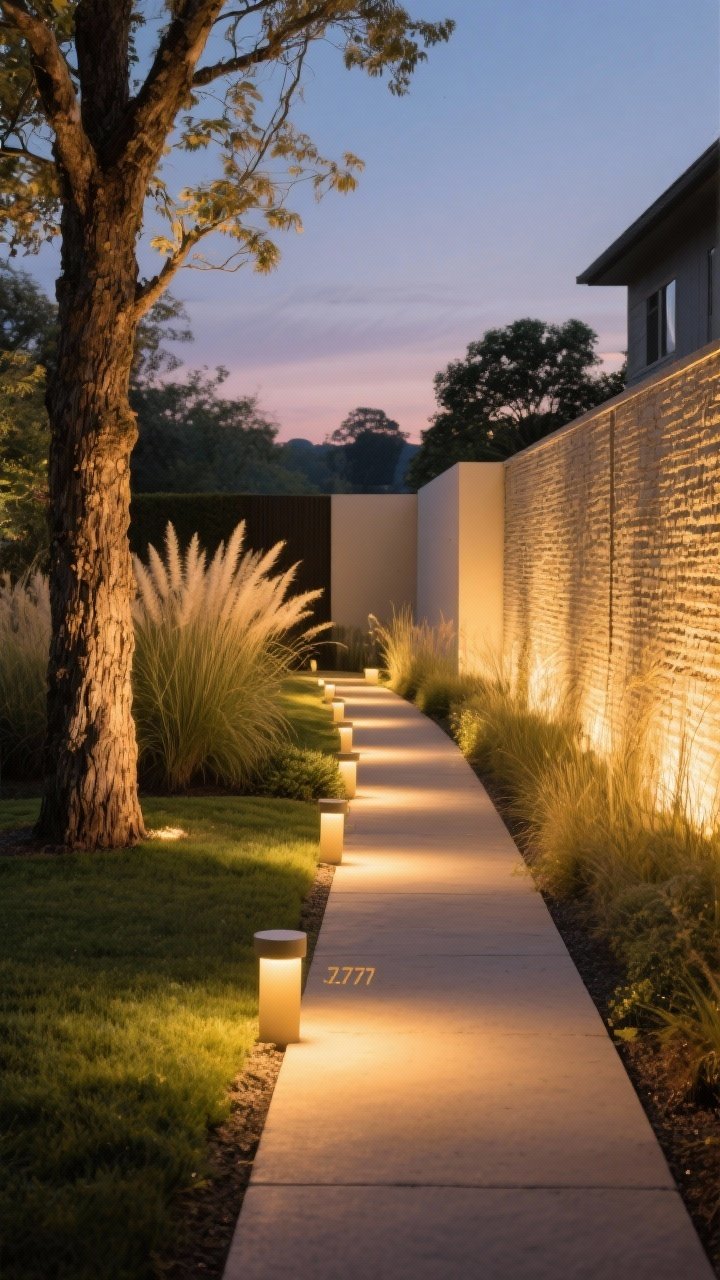
Lighting is where the magic happens. A few well-placed fixtures can transform even simple plantings into a magazine scene at night.
The goal is drama without glare. Think soft, warm light that grazes surfaces and leads the eye.
Lighting Plan
- Path lights: Stagger them, don’t line them up like a runway.
- Uplights: Aim at specimen trees, tall grasses, or textured walls.
- Wall wash: Low, wide beams to soften fences or masonry.
- Warm color temp: 2700K–3000K for cozy vibes.
- Solar vs. low-voltage: Solar is easy; low-voltage looks more pro. Choose your adventure.
8. Build a Boardwalk Path With Decking or Sleepers
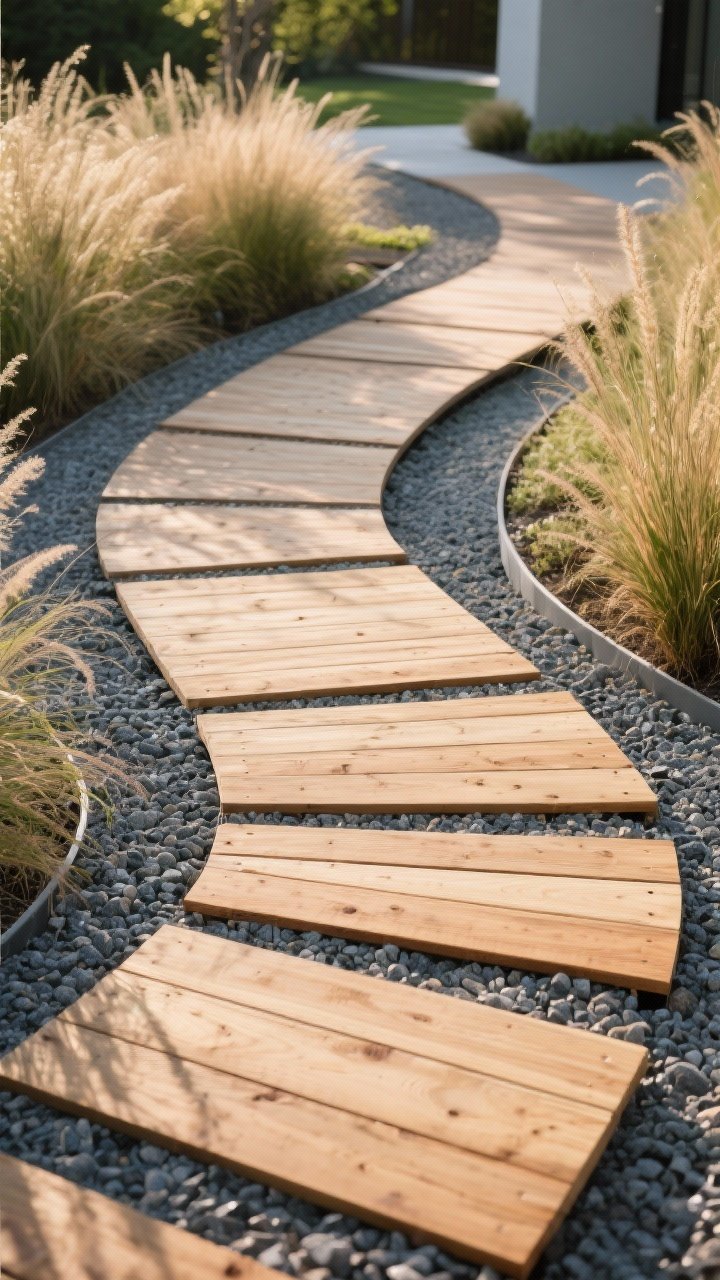
A wood “boardwalk” path instantly elevates your garden and screams designer without screaming your wallet. Use composite decking, pressure-treated lumber, or reclaimed sleepers laid over a gravel base.
It’s especially stunning through grasses or around a modern gravel garden.
Quick How-To
- Plan the route: Gentle curves feel organic; straight lines feel architectural. Both work.
- Base first: Lay compacted gravel and landscape fabric to prevent sinking and weeds.
- Even spacing: Leave small gaps between boards for drainage. Consistency = pro look.
- Finish smart: Oil hardwoods or choose composite for low maintenance.
9. Go Big With Oversized Planters and Simple Planting
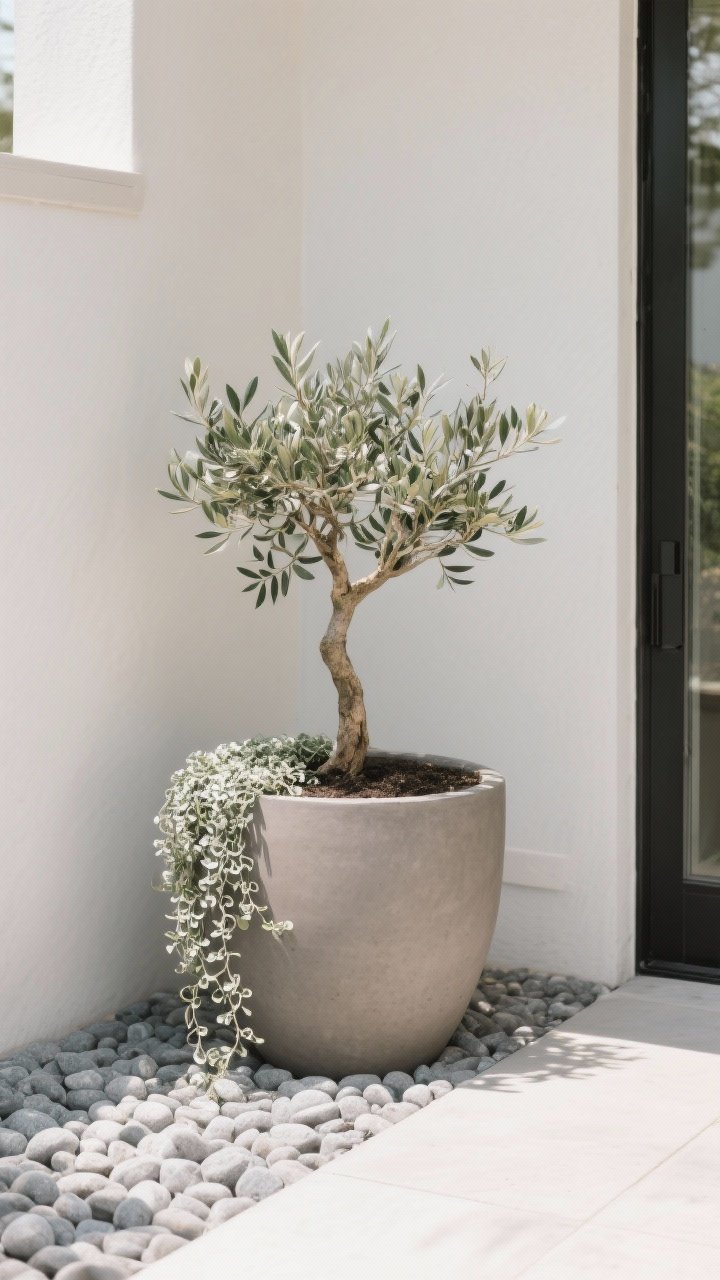
One oversized planter makes more impact than six small ones. It’s the law of scale. Place a large pot at a focal point—entry, patio corner, or end of a path—and keep the planting restrained.
Think one structural plant + one trailing plant. Clean, sculptural, and very “I hired someone.”
Styling Cheats
- Choose the right pot: 20–30 inches wide. Fiberstone, concrete, or clay look luxe.
- Pick a hero: Olive tree, dwarf citrus, topiary, or a dramatic grass.
- Add a spiller: Creeping rosemary, dichondra ‘Silver Falls’, or bacopa.
- Top with pebbles: A layer of stone mulch hides soil and keeps it tidy. FYI, it also reduces splash and weeds.
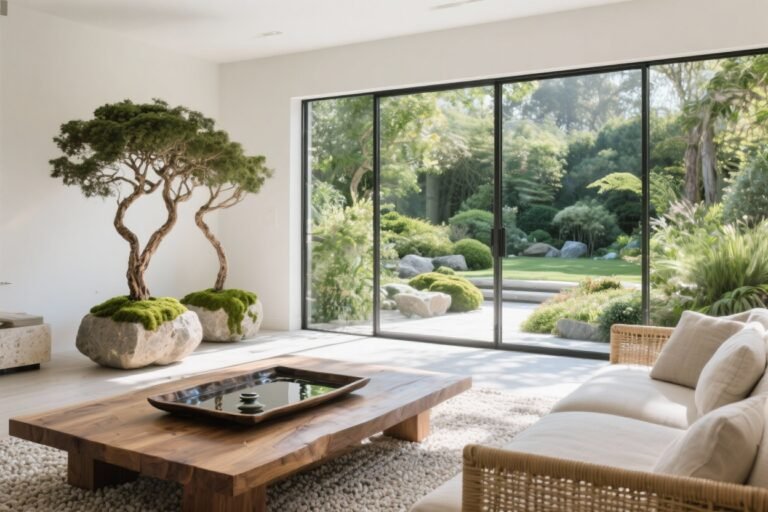
10. Design a “Scenic Moment” With a View Frame
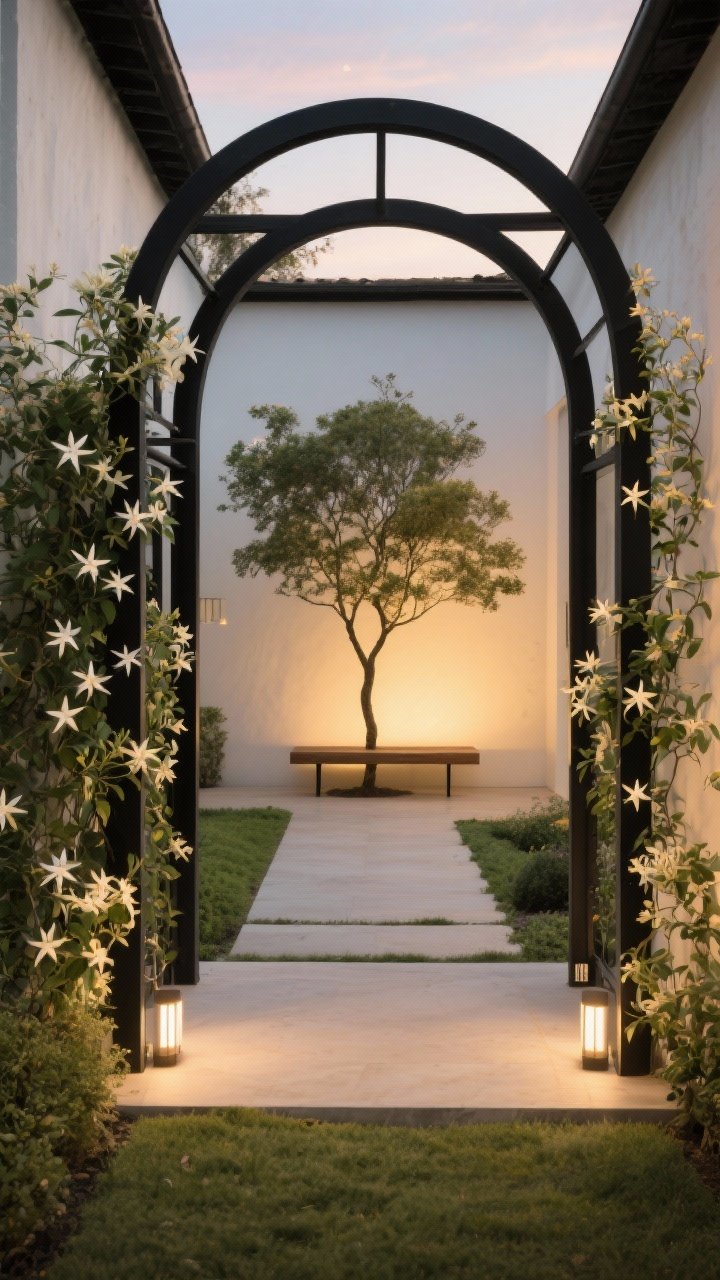
This is the move designers use to create Instagram-worthy corners: frame a view. Place an arbor, trellis, or even a simple wood portal, then align it with a focal point—tree, sculpture, or bistro set.
It turns your garden into a series of “rooms,” and it totally looks like a pro planned it. Because, well, you did.
How to Nail It
- Choose the frame: A black metal arch for modern, cedar arbor for natural, or a painted trellis for cottage.
- Anchor the vista: Center a specimen plant, fountain, or bench at the far end.
- Plant the sides: Climbing roses, star jasmine, or clematis soften the structure.
- Light it: A couple of uplights make it magical at night. IMO, this is the glow-up move.
Bonus Styling Micro-Ideas You Can Layer Anywhere
- Repeat materials: Match gravel color to paver tones for cohesion.
- Limit your palette: Two to three foliage colors max feels curated.
- Use negative space: Bare gravel or mulch areas make plantings pop—don’t fill every inch.
- Scale up: Bigger plants and fewer varieties look more intentional (and more expensive).
Seasonal Care That Keeps It Looking “Pro”
- Quarterly edits: Trim, edge, and top up gravel or mulch. It’s the landscaping equivalent of a haircut.
- Fertilize smart: Slow-release once in spring for most perennials and shrubs.
- Refresh annuals: Swap out seasonal color in planters to keep things lively.
You don’t need a landscape architect to get a glossy-magazine yard—just a little strategy, a few repeatable patterns, and a willingness to get a tiny bit dirty. Start with one area, nail the edges and symmetry, and layer from there. Your neighbors will assume you hired someone, and honestly, we’re fine with that.