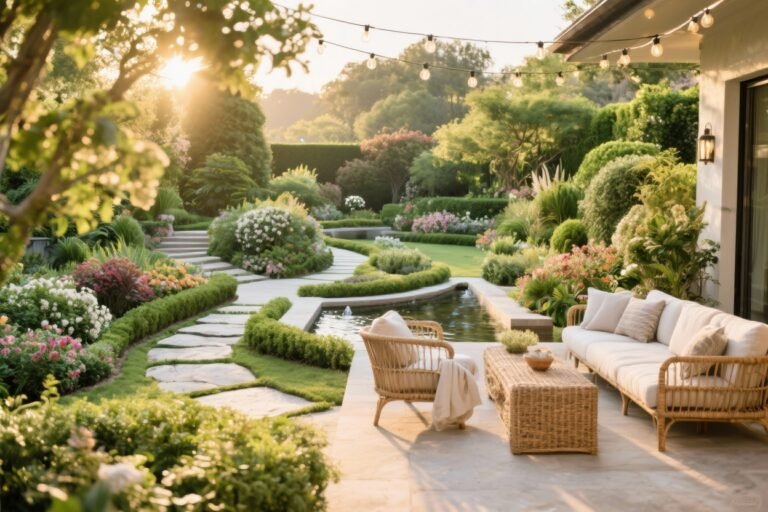
10 Budget-friendly Landscape Ideas That Look Expensive (without the Drama)
You don’t need a landscaper, a backhoe, or a reality TV budget to make your yard look high-end. You just need smart moves, a few weekend projects, and a vision. Ready to give your curb appeal a glow-up that screams “custom” without draining your savings? Let’s play outside.
1. Define Spaces With Clean Edging
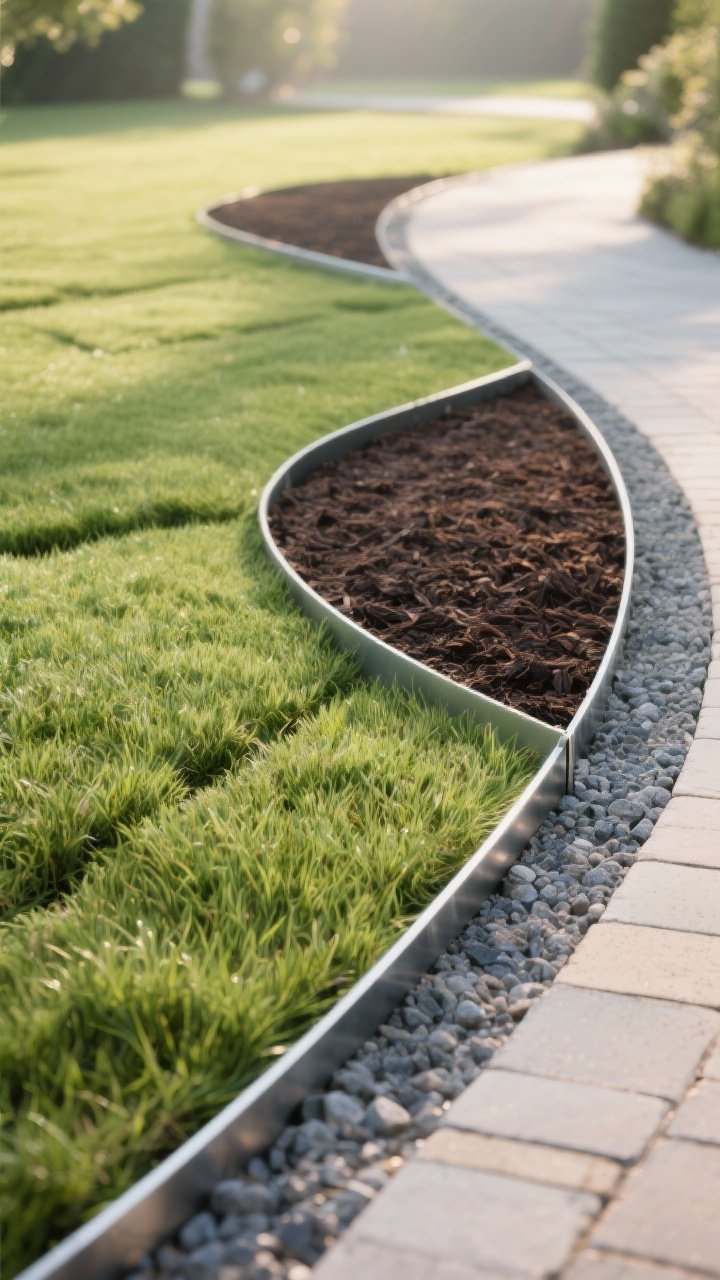
Nothing says “expensive” like crisp, defined lines. Edging creates that tailored look between lawn, beds, and pathways—like a good haircut for your yard. The best part? It’s one of the cheapest upgrades you can do.
Tired of snacking when you’re not even hungry? This reset helps you stop the loop and feel back in control.
A simple reset for moments when cravings take over. Easy to use, easy to repeat, and designed to help you feel satisfied instead of stuck.
Smart Edging Options
- Steel or aluminum strips: Slim, modern, and durable. Perfect for clean lines around beds.
- Paver or brick edging: Classic and sturdy. Lay them flush for a polished look.
- Cut-edge turf: Use a flat spade to slice a neat border. Refresh twice a season.
Pro tip: Keep curves gentle and purposeful. Too many wiggles = messy, not luxe.
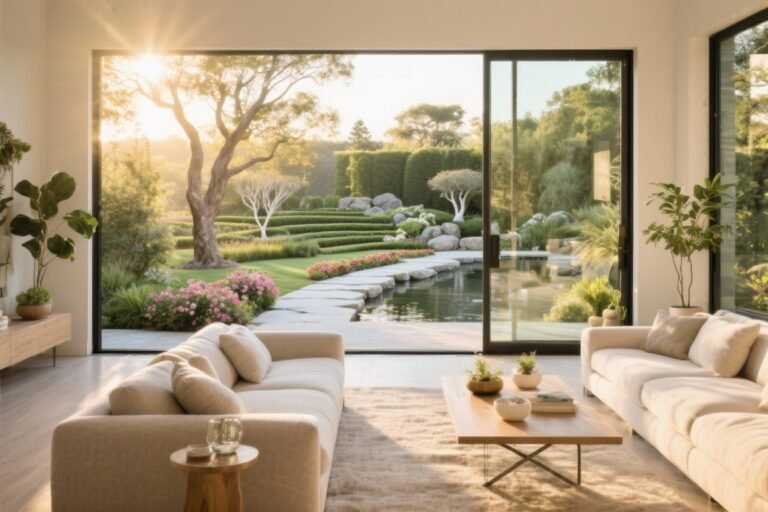
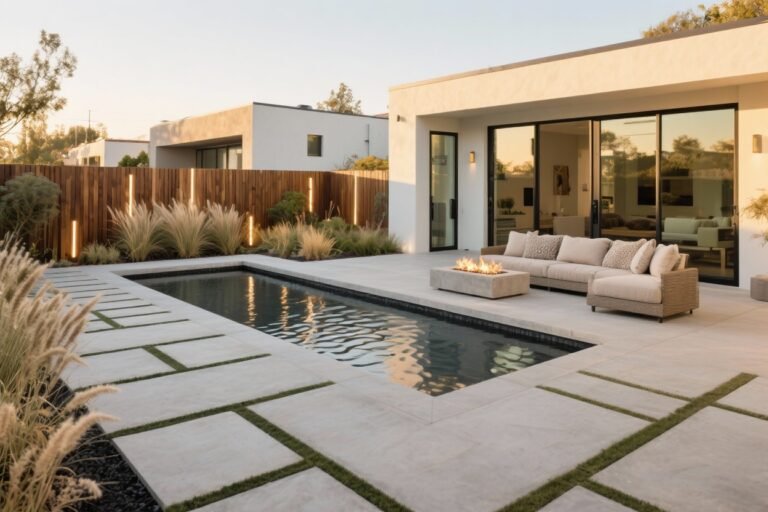
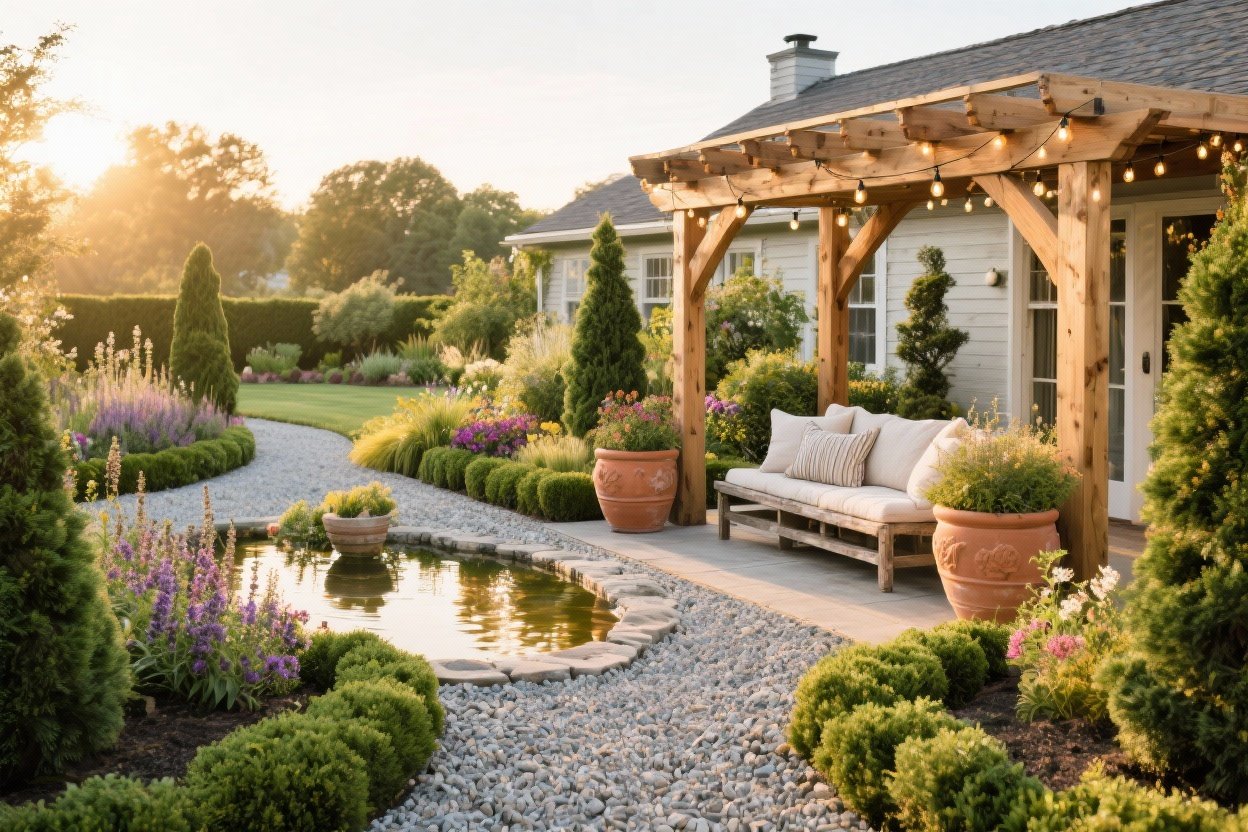
2. Add a Gravel Courtyard Moment
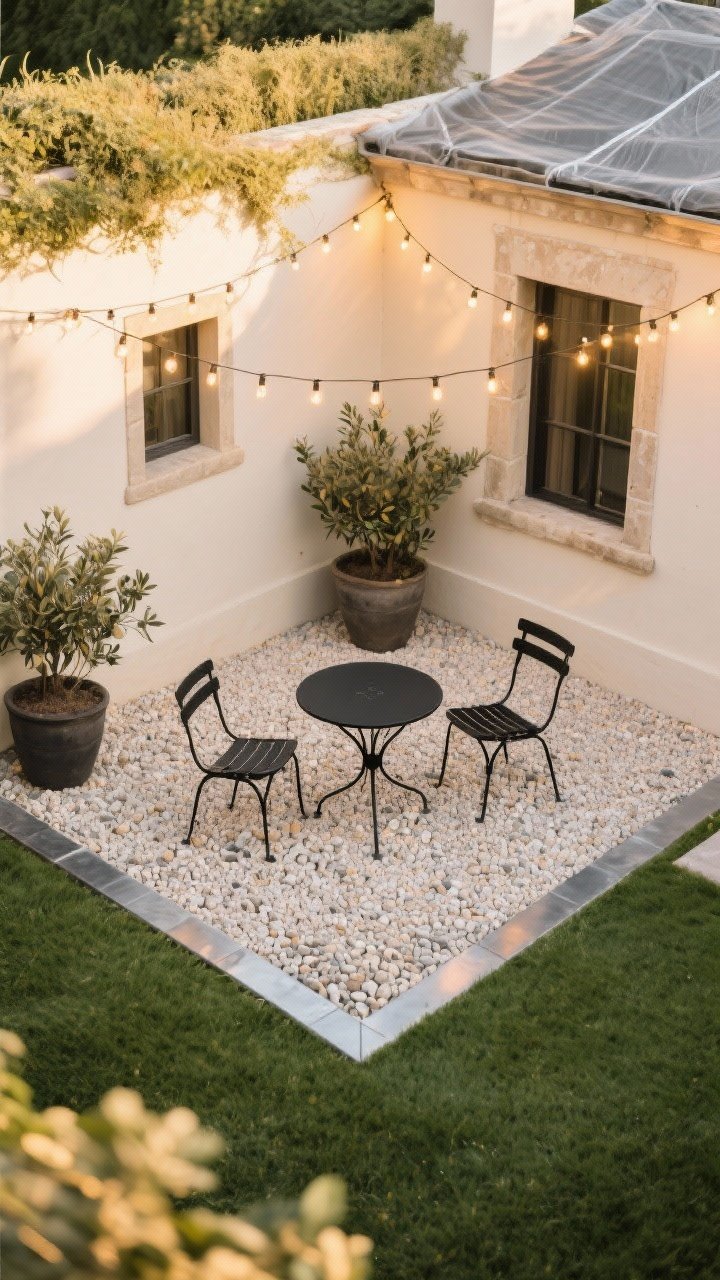
Crushed gravel is the MVP of affordable “European villa” vibes. It’s low-maintenance, drains well, and instantly elevates awkward corners or unused lawn areas.
How to Pull It Off
- Prep: Weed-barrier fabric first. Always.
- Gravel size: Pea gravel is comfy underfoot; 3/4-inch looks more architectural.
- Frame it: Use edging so it doesn’t creep into your grass.
Add a bistro set, a couple of planters, and boom—instant outdoor room. FYI, string lights take it from cute to “I live in a magazine.”
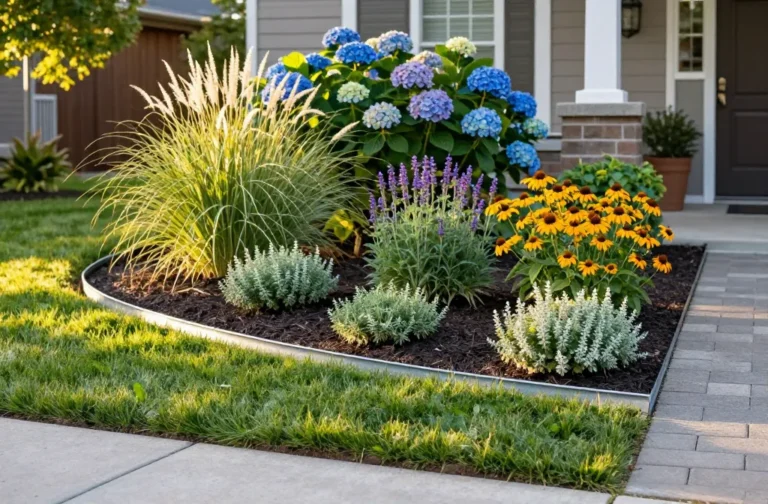
3. Plant in Repetition (Designer Trick!)
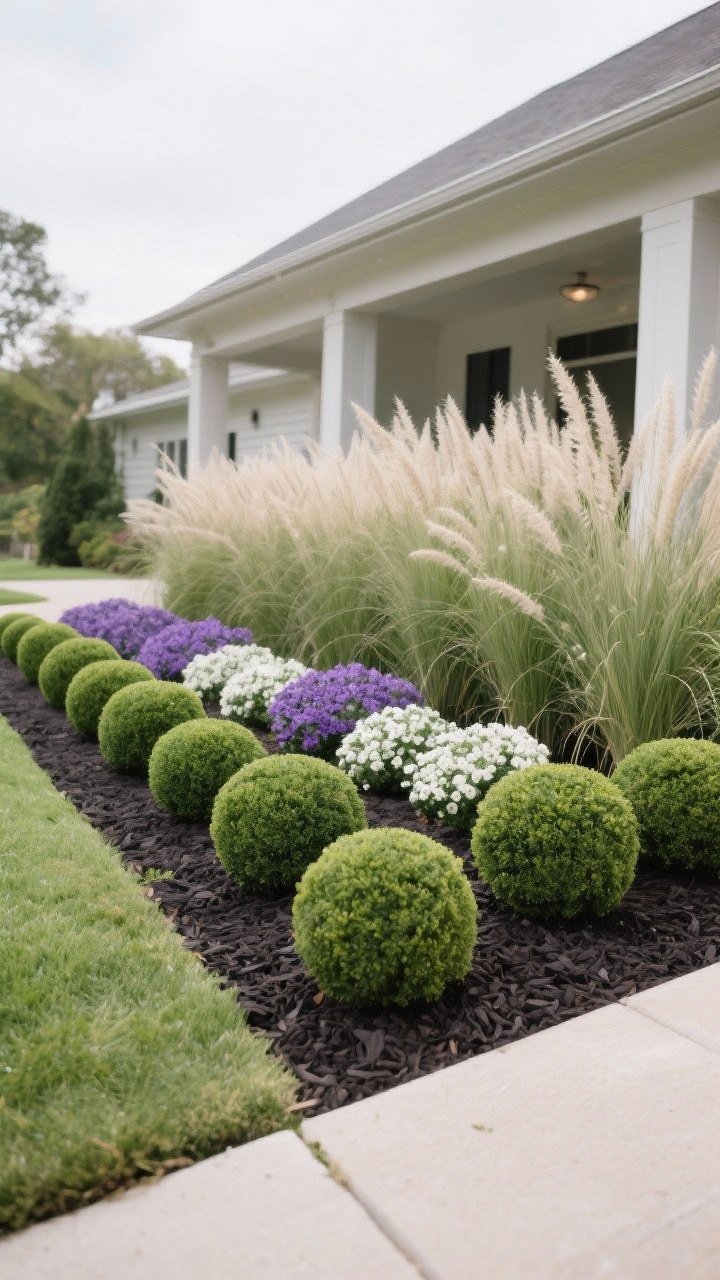
Want your yard to feel professionally designed? Repeat plants. Repetition creates rhythm and cohesion, which reads as expensive—because it looks intentional.
Transform Your Home With 7,250+ Stunning Landscaping Designs—No Expensive Designers Needed!
- 🌿 Access 7,250+ stunning landscaping designs.
- 💰 Save thousands—no pro designer needed.
- 🏡 Plans for gardens, patios, walkways, and more.
- ✨ Simple, beginner-friendly DIY layouts.
- 🛠️ Customize any design to fit your yard.
What to Repeat
- Evergreen anchors: Boxwood, yew, or dwarf conifers for year-round structure.
- Grasses: Feather reed grass or fountain grass for movement and texture.
- Color blocks: Choose 1–2 bloom colors and repeat in groups of 3–5.
Pro tip: Group plants in odd numbers and avoid the “one of everything” trap. It’s a garden, not a sampler platter.
4. Create a High-End Pathway
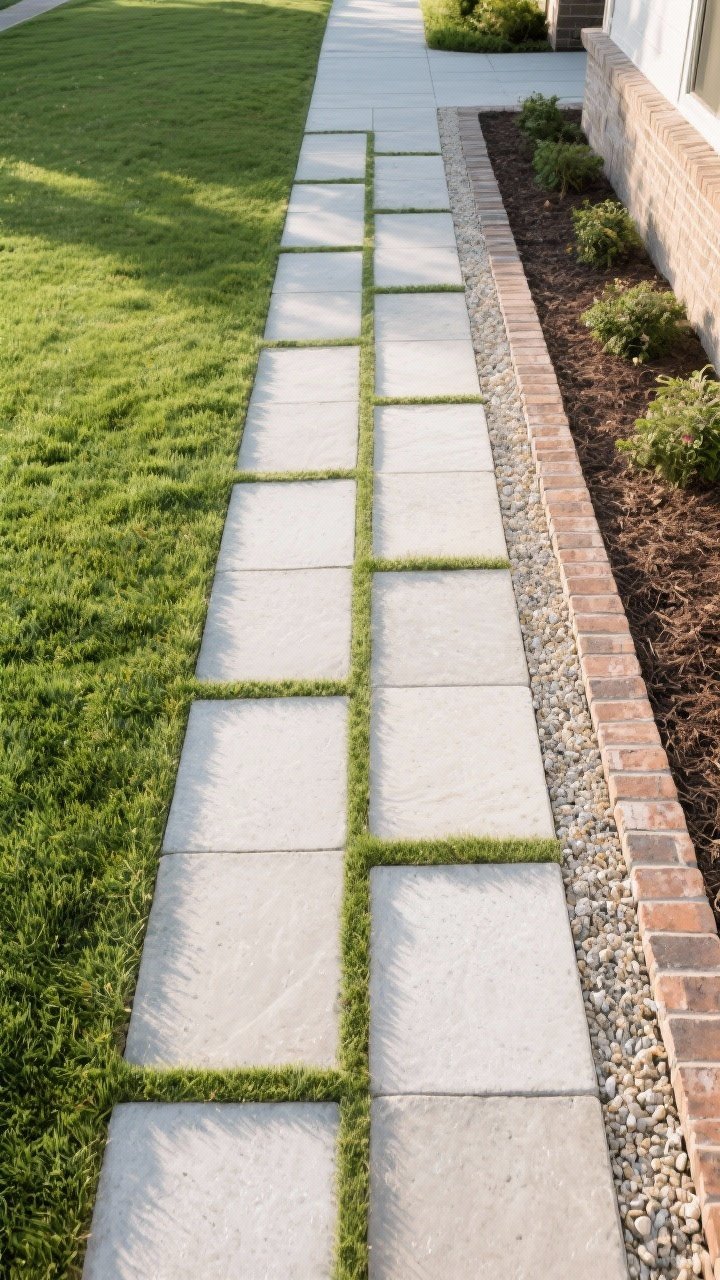
Paths control the flow of your space and make everything feel designed. You don’t need stone masons—just a weekend and some materials that fake a custom look.
Budget-Friendly Path Ideas
- Stepping stones + gravel: Lay pavers set into gravel with a 2–3 inch gap.
- Soldier-course bricks: Bricks lined up lengthwise along a mulch path = classic charm.
- Oversized pavers in turf: Minimalist, modern, and surprisingly simple to DIY.
Keep the path at least 36 inches wide. Wide = intentional. Narrow = oops.
5. Upgrade Mulch Like You Mean It
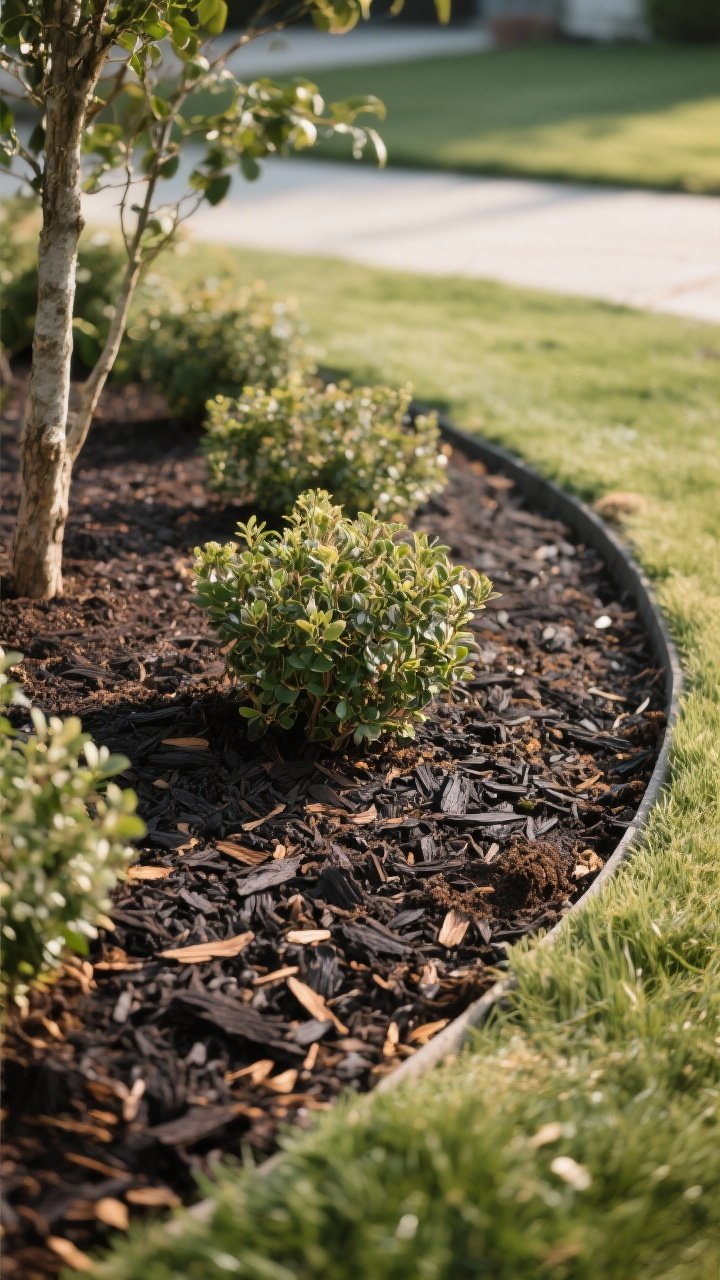
Mulch is basically makeup for your beds—instant refresh with a side of weed control. The trick is choosing the right type and applying it neatly.
Mulch Moves That Look Luxe
- Dark brown or black: Looks rich and makes greenery pop.
- 2–3 inches deep: More is not better—no volcanoes around tree trunks, please.
- Compost top-dress: For a natural, fertile look that feeds your soil too.
Edge, mulch, and suddenly everything looks curated. It’s wild how fast this works.

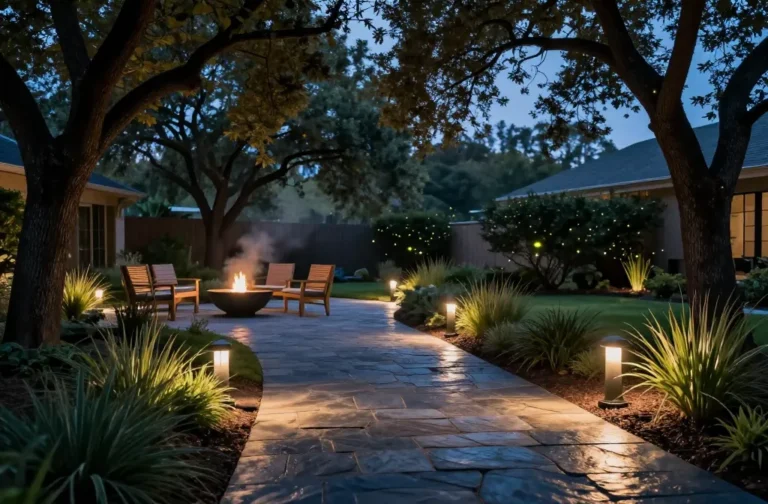
6. Layer Lighting for Nighttime Magic
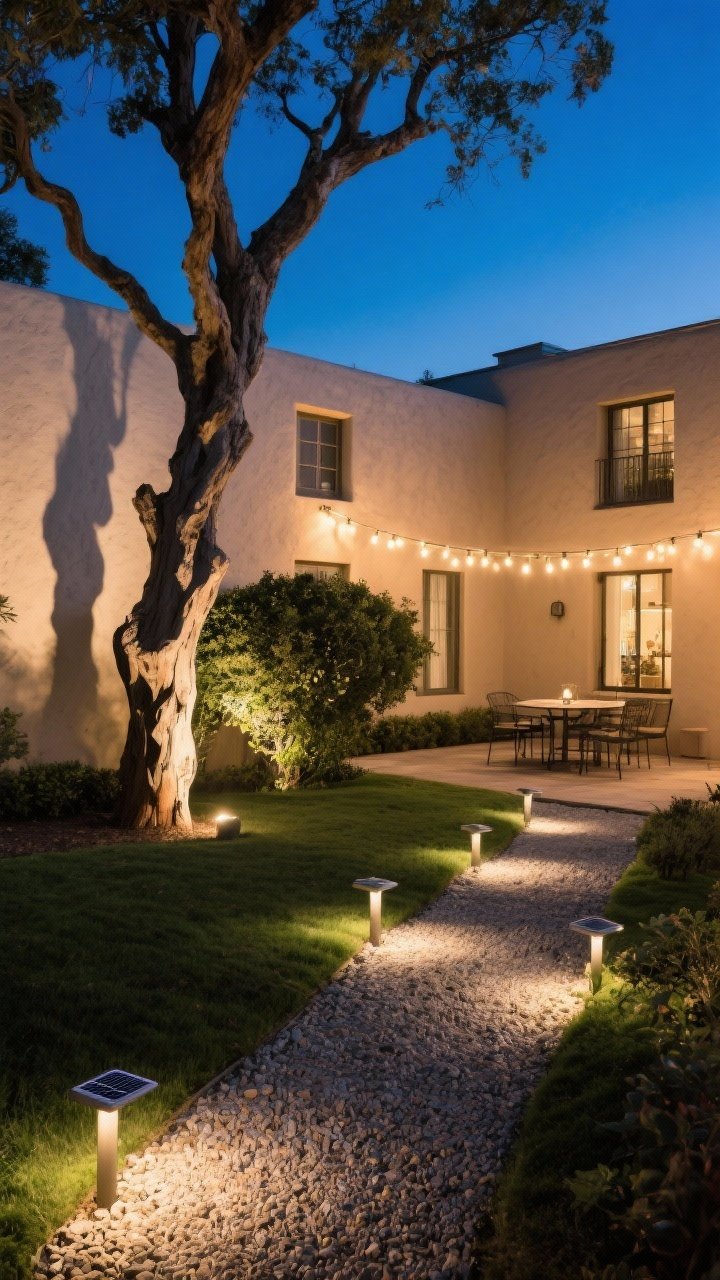
Lighting is the secret sauce. It’s how you turn a perfectly fine yard into a boutique hotel courtyard. And no, you don’t need hardwiring—solar has come a long way.
Low-Cost, High-Impact Lights
- Solar path lights: Line them sparingly—don’t make an airport runway.
- Spotlights: Aim up at a tree trunk, feature shrub, or façade for drama.
- String lights: Zigzag over a patio or gravel area for instant ambiance.
Pro tip: Warm white bulbs (2700–3000K) feel upscale. Cool light = dentist office.
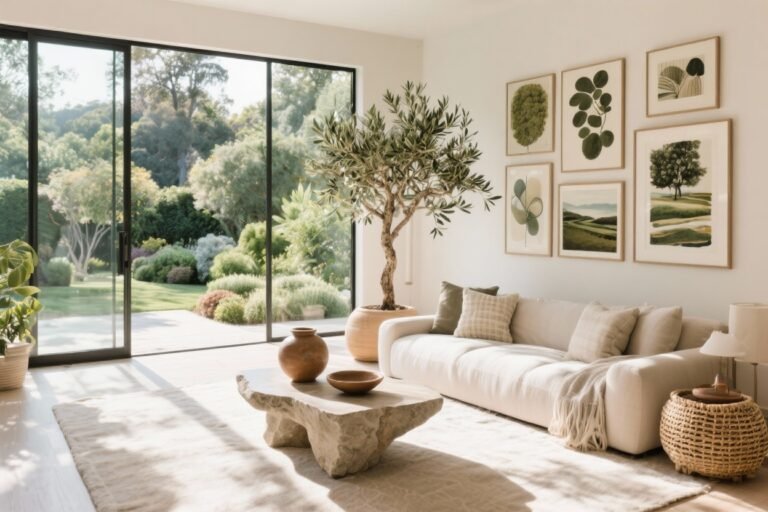
7. Add Statement Containers (Big, Not Busy)
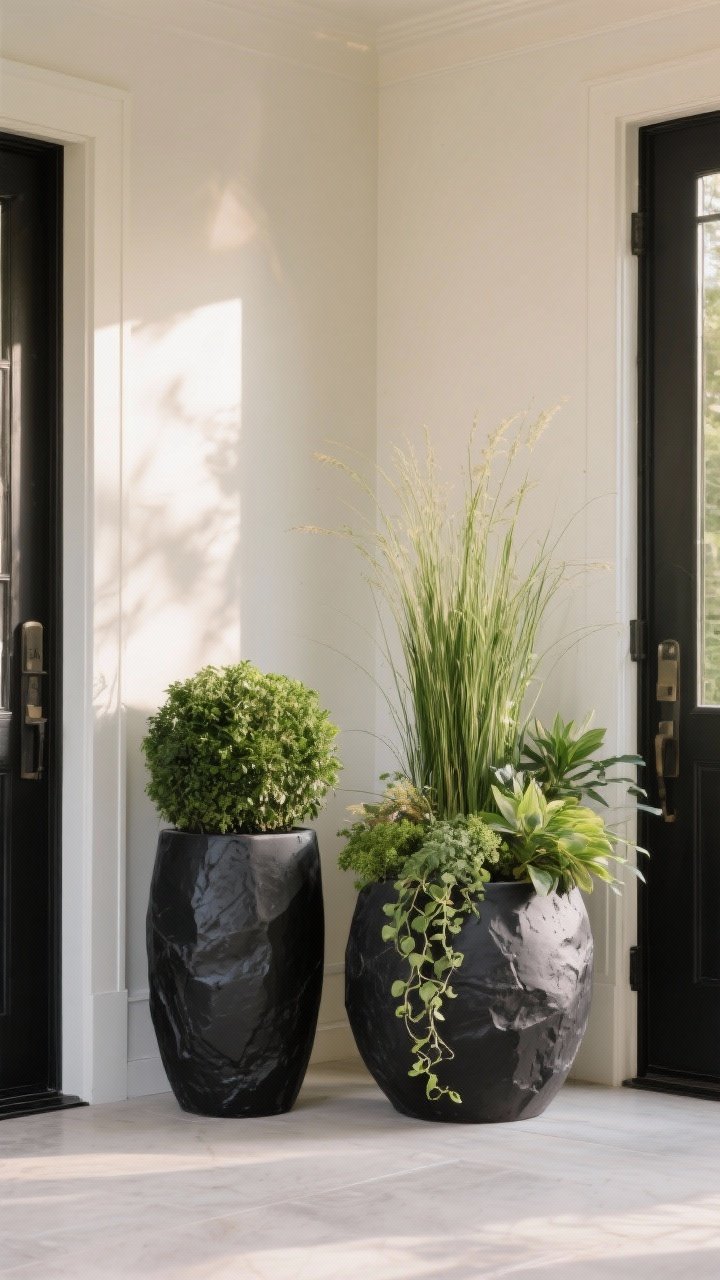
Large planters look luxurious—tiny pots scattered everywhere do not. Invest in a few oversized containers and place them where they’ll make the biggest statement.
Container Styling Tips
- Go tall: 20–30 inch planters anchor entrances and corners.
- Monochrome plantings: One plant variety per pot looks designer.
- Thriller, filler, spiller: A tall centerpiece, a mid-height filler, and a trailing edge plant. Classic for a reason.
Don’t sleep on spray paint—matte black or stone finishes can transform basic planters for pennies.
8. Build a Simple Feature Wall or Trellis

If your fence is giving “meh,” add a focal wall or trellis. Vertical elements add height, structure, and that custom-crafted vibe—without the cost of a full reno.
Easy Ways to Go Vertical
- Slatted screen: Use cedar or pressure-treated 1x2s for a modern privacy panel.
- Arched trellis: Frame a path or gate and add climbers like jasmine or clematis.
- Grid trellis: Paint it the same color as the fence for a built-in look.
Plant to pair: Climbing roses, star jasmine, or ivy if you’re patient (and not worried about invasiveness—check your area first, IMO).
9. Sprinkle in Architectural Accents

Small details make a huge difference. Think of these like jewelry for your yard—subtle, strategic, and very photogenic.
High-End Details on a Budget
- House numbers & mailbox: Modern fonts and metal finishes = instant curb upgrade.
- Water bowl or birdbath: A simple concrete or black steel basin looks sculptural.
- Bench or cube stools: Place in a shady spot or along a path to create “moments.”
- Doormat + planter duo: Layer a large outdoor rug under a coir mat for a boutique entry.
Repeat finishes (black metal, warm wood, brushed brass) to keep the look cohesive, not chaotic.
10. Go Big on Groundcovers and Low-Maintenance Greens

Filling beds with groundcovers and evergreen shrubs gives you that lush, magazine look for less. They cover a lot of ground (literally), reduce weeds, and look great year-round.
Budget-Friendly Plant Picks
- Groundcovers: Creeping thyme, mondo grass, ajuga, or sedum for sunny spots.
- Evergreens: Dwarf boxwood, nandina, pittosporum, or hebe for structure.
- Perennial fillers: Salvia, catmint, coneflower, and daylilies for reliable color.
Planting strategy: Start with evergreens as anchors, fill around with groundcovers, then tuck in perennials for seasonal flair. Mulch the gaps, and your garden looks finished from day one.
Bonus Layout Formula (Easy And Foolproof)
- Back row: 3–5 medium shrubs (repeat species)
- Middle: 5–7 perennials in two varieties
- Front: A continuous sweep of groundcover
It’s simple, scalable, and looks like you hired a designer. Because basically, you did—hi.
Quick Budget-Saving Tips to Stretch Your Dollar
- Buy young plants: One-gallon sizes establish faster than you think and cost way less.
- Divide perennials: Many can be split in spring or fall. Free plants are the best plants.
- Shop off-season: End-of-season sales are gold—just water well and mulch for winter.
- Use what you have: Repaint planters, reuse bricks, and relocate plants for instant impact.
Seasonal Maintenance That Keeps It Looking Luxe
- Spring: Edge, mulch, fertilize, reset gravel, and check lighting.
- Summer: Deadhead perennials, trim hedges lightly, water deeply (not daily).
- Fall: Plant shrubs and bulbs, divide perennials, top up mulch.
- Winter: Clean tools, plan projects, and dream big. The yard will be ready.
You don’t need a contractor. You just need a plan and a couple of weekends. Tackle one section at a time, repeat your best ideas for cohesion, and keep those lines clean. Your neighbors will assume you spent a fortune. We’ll keep your secret.