Seed Starting Without Soil: Is It Worth It? the Truth
Let’s skip the fluff: you’ve seen people sprouting seeds in paper towels, rockwool, or sleek hydro kits and wondered if it’s actually better than dirt. Does it grow faster? Is it a gimmick? And more importantly—should you try it or stick with your trusty potting mix? Buckle up; I’ll give you the real scoop, minus the muddy boots.
We’ll hit the pros, cons, tools, and sneaky pitfalls that can tank your seedlings (ask me how I know). By the end, you’ll know exactly when soil-free seed starting shines—and when it’s just extra vibes with no payoff.
Tired of snacking when you’re not even hungry? This reset helps you stop the loop and feel back in control.
A simple reset for moments when cravings take over. Easy to use, easy to repeat, and designed to help you feel satisfied instead of stuck.
What “Soilless” Seed Starting Actually Means
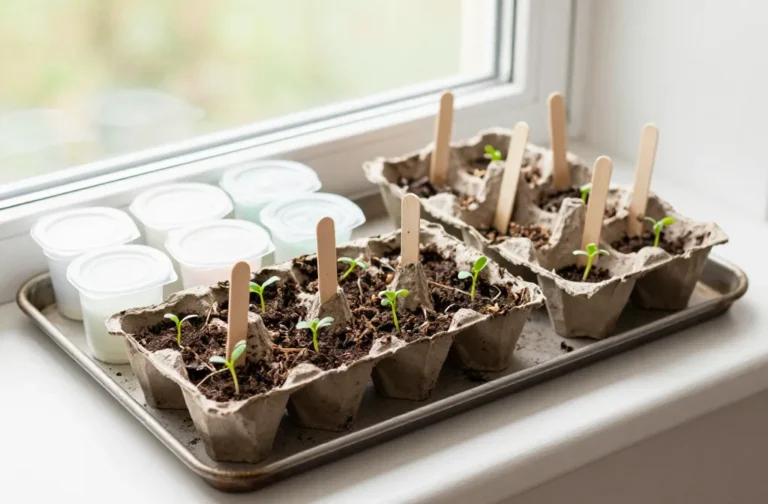
Soilless seed starting means you germinate and grow seedlings using water and sterile media instead of traditional potting soil. Think hydroponics, rockwool cubes, coco coir, perlite, or even the classic paper towel-in-a-baggie trick. You control water and nutrients precisely, which sounds fancy because it is.
Common Soilless Methods
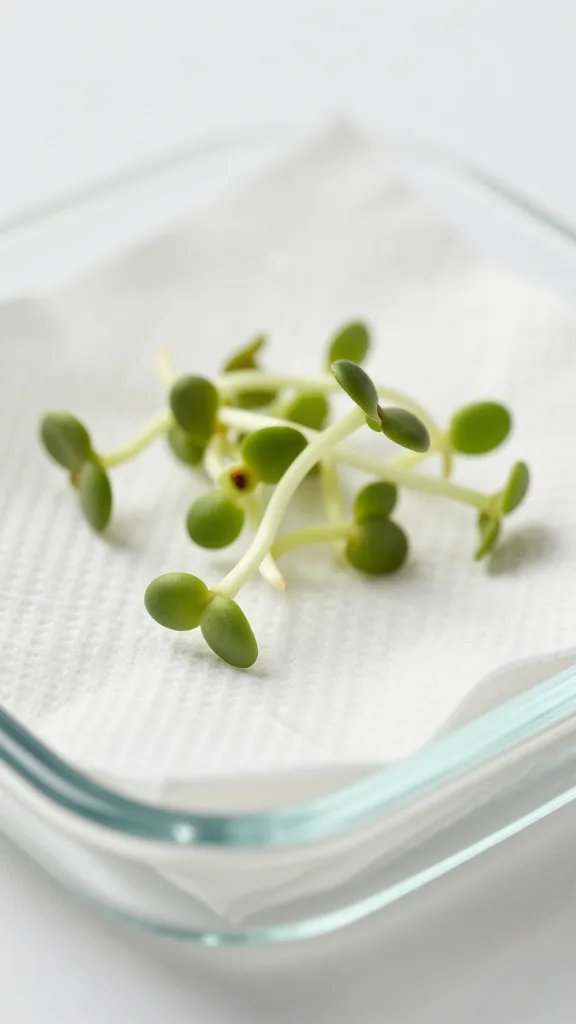
- Paper towel method: Cheap, fast germination, great for testing seed viability.
- Rockwool or foam plugs: Clean, uniform cubes that fit into trays or net pots.
- Rapid rooters/peat plugs: Pre-formed plugs that retain moisture well.
- Hydroponic sprouting trays: Ideal for microgreens and herbs.
- Coco/perlite mixes: Technically “soilless,” but behaves like potting mix.
Why Bother? The Real Advantages
Soilless starting can give you sleek, Instagram-ready seedlings, sure—but it also brings legit benefits.
- Faster, more uniform germination: Moisture stays consistent, so seeds pop more predictably.
- Fewer pathogens: Sterile media means lower risk of damping-off and fungus gnats. Yes, fewer gnats. Rejoice.
- Space efficiency: You can cram more starts in a small area with plug trays or hydro setups.
- Easier root observation: You can peek at roots and know exactly when to transplant.
- Cleaner workflow: Less mess in your kitchen. Your roommate will thank you, IMO.
When It’s a Game-Changer
- Microgreens and sprouts: You harvest before soil even makes sense.
- Hydroponic systems: You’ll stay soilless from seed to harvest—no awkward transitions.
- Expensive or rare seeds: You’ll control variables and maximize success.
- Cold, wet climates: Sterile media in a warm setup beats mucky, slow spring soil.
Where It Falls Short (And Annoys You)
Here’s the spicy take: soilless isn’t “better” for everyone. It can be fussier.
- Transplant shock risk: Moving delicate roots from paper towels or rockwool into soil can go sideways if you delay.
- More monitoring: Water and nutrient levels matter more. Forget a day? Seedlings sulk.
- Cost and gear creep: Plugs, trays, domes, lights—it adds up fast.
- Nutrient management: After germination, you must feed lightly and correctly. Overdo it and you’ll scorch babies.
The “Timing Trap”
Biggest rookie mistake: letting roots overgrow the plug or paper towel. They tangle, dry out on transplant, and stall. Transplant as soon as you see the first true leaves or when roots just start to peek.
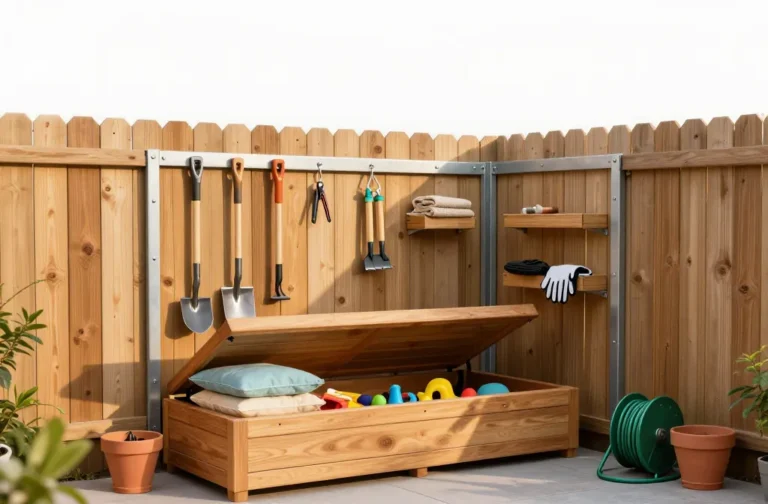
Transform Your Home With 7,250+ Stunning Landscaping Designs—No Expensive Designers Needed!
- 🌿 Access 7,250+ stunning landscaping designs.
- 💰 Save thousands—no pro designer needed.
- 🏡 Plans for gardens, patios, walkways, and more.
- ✨ Simple, beginner-friendly DIY layouts.
- 🛠️ Customize any design to fit your yard.
Soilless vs. Potting Mix: Which Should You Choose?
Let’s make this easy. Pick the lane that matches your goals and tolerance for tinkering.
Choose Soilless If…
- You want faster, cleaner germination.
- You plan to grow hydroponically or keep things indoors long-term.
- You love data, timers, and dialing in nutrient solutions (nerds unite).
Stick With Potting Mix If…
- You want simple, low-maintenance seed starting.
- You’ll transplant outdoors into garden beds—soil-to-soil transitions just feel easier.
- You don’t want to buy extra gear or manage EC/pH. FYI: it’s not hard, but it’s a thing.
Bottom line: For many home gardeners, a high-quality seed-starting mix still wins on convenience and transplant success. But for speed and cleanliness, soilless steals the show.
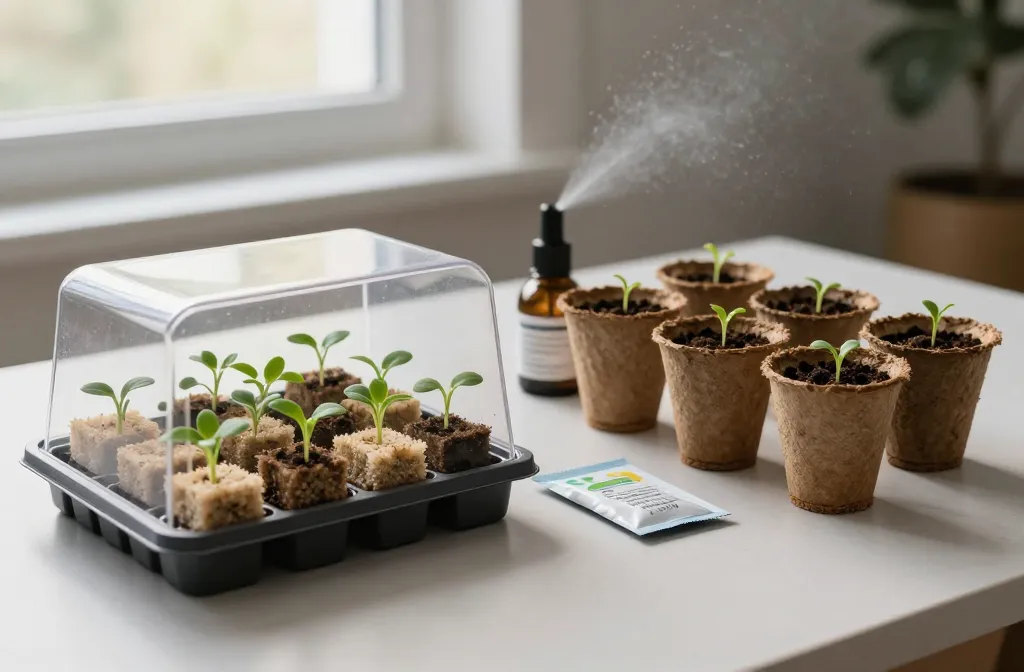
What You Actually Need To Start (Without Wasting Money)
- Media: Rockwool cubes or bio plugs for most veggies; paper towels for viability tests; coco/perlite for a “soil-like” feel without soil.
- Tray + humidity dome: Keeps moisture steady. You can DIY with a shallow container and clear lid.
- Heat mat: Germination skyrockets with stable warmth (especially peppers and tomatoes).
- Grow light: Full-spectrum LED, about 2–4 inches above seedlings. Window light usually disappoints, sorry.
- Mild nutrient solution: Start at 1/4 strength once cotyledons open and first true leaves emerge.
- pH control (optional but helpful): 5.8–6.2 for most hydro-style starts.
Simple Step-By-Step
- Hydrate plugs or moisten paper towels until damp, not dripping.
- Place 1–2 seeds per plug; cover lightly if they need darkness (e.g., basil likes a light cover).
- Use a heat mat until germination; keep the dome vented to prevent mold.
- Once sprouted, move under lights for 14–16 hours/day.
- Begin light feeding at the first true leaf stage.
- Transplant promptly into your final medium before roots mat together.

Common Mistakes (And How To Dodge Them)
- Overwatering: Plugs should feel springy, not soggy. If algae forms, you’ve gone swamp mode.
- Neglecting airflow: Add a small fan. It prevents damping-off and builds stronger stems.
- Waiting too long to transplant: Act at first true leaves. Don’t admire them into oblivion.
- Ignoring light distance: Keep LEDs close to avoid leggy stems. Raise the light as seedlings grow.
- Skipping hardening off: Even soilless-started seedlings need gradual outdoor exposure.
Is It Worth It? My Honest Take
Yes, with a caveat: If you love control and cleanliness, soilless seed starting feels amazing and delivers quick wins. It shines for herbs, greens, microgreens, and hydro grows. For outdoor veggies headed to soil, I still prefer a fluffy seed-starting mix for fewer transplant hiccups, IMO.
That said, mixing methods works great. Germinate in plugs for speed, then pot up into a light mix. Best of both worlds, zero drama.
FAQs
Do seeds need nutrients to germinate in soilless media?
No. Seeds come packed with enough energy to germinate. Start feeding lightly after the first true leaves appear. Go gentle—1/4 strength is plenty at first.
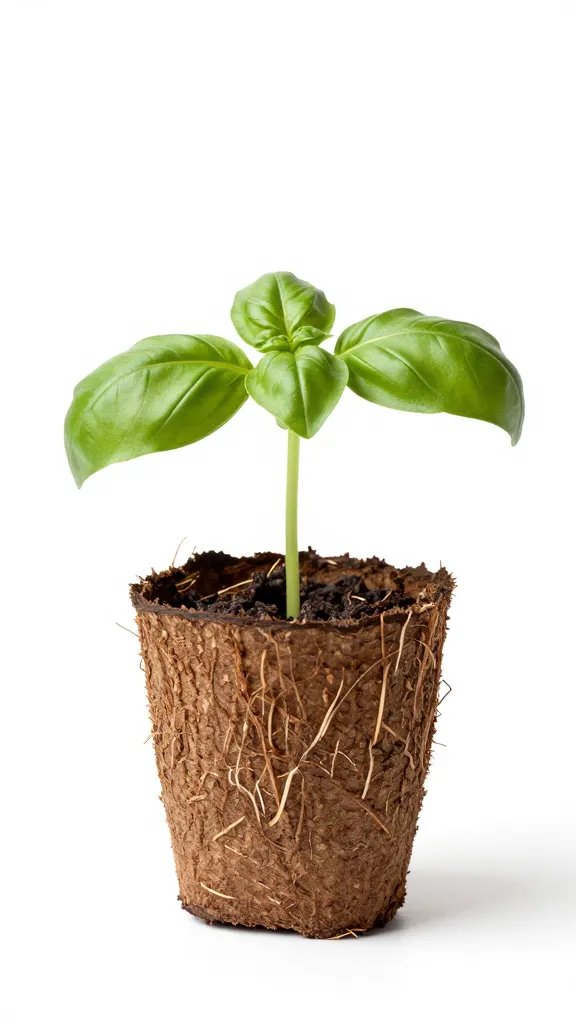
Can I transplant rockwool-started seedlings into soil?
Yes, but plant the entire cube to avoid root damage. Ensure the surrounding soil stays evenly moist for the first week so roots bridge from cube to soil easily.
Is the paper towel method good for all seeds?
It’s great for testing viability and for large seeds like peas and beans. Tiny seeds (e.g., lettuce) can stick to paper or dry out fast, so plugs or fine media work better.
What pH should I use for soilless starts?
For hydro-style starts, aim for 5.8–6.2. If you’re using coco/perlite and feeding lightly, 5.8–6.0 still hits the sweet spot for most veggies and herbs.
Do I still need a grow light if I have a sunny window?
Usually, yes. Windows rarely deliver the intensity or duration seedlings crave. A modest LED grow light prevents leggy, weak stems and pays for itself in plant health.
How soon should I start fertilizing in a soilless start?
Begin once the first true leaves appear. Use a balanced, mild nutrient at 1/4 strength, then increase gradually each week based on growth and color.
Conclusion
Seed starting without soil can be totally worth it—especially if you value speed, cleanliness, and control. It isn’t magic, though. You’ll trade dirt for dialing in water, light, and nutrients. If that sounds fun, go for it. If you want simple and forgiving, a classic seed-starting mix still slaps. Either way, start small, take notes, and let your plants vote with their roots.