Turn Pocket Change Into Plants Diy Seed Starting Setup for Under $20
You don’t need a fancy grow lab to start seeds like a pro. You need twenty bucks, a little creativity, and maybe a sunny windowsill. This setup gets you strong seedlings without the overpriced gadgets. Ready to turn pocket change into a jungle of baby plants?
What You Actually Need (And What You Don’t)
Let’s keep it real: you don’t need a designer heat mat or $40 trays. You need simple tools that work. Here’s the under-$20 shopping list that covers it.
Tired of snacking when you’re not even hungry? This reset helps you stop the loop and feel back in control.
A simple reset for moments when cravings take over. Easy to use, easy to repeat, and designed to help you feel satisfied instead of stuck.
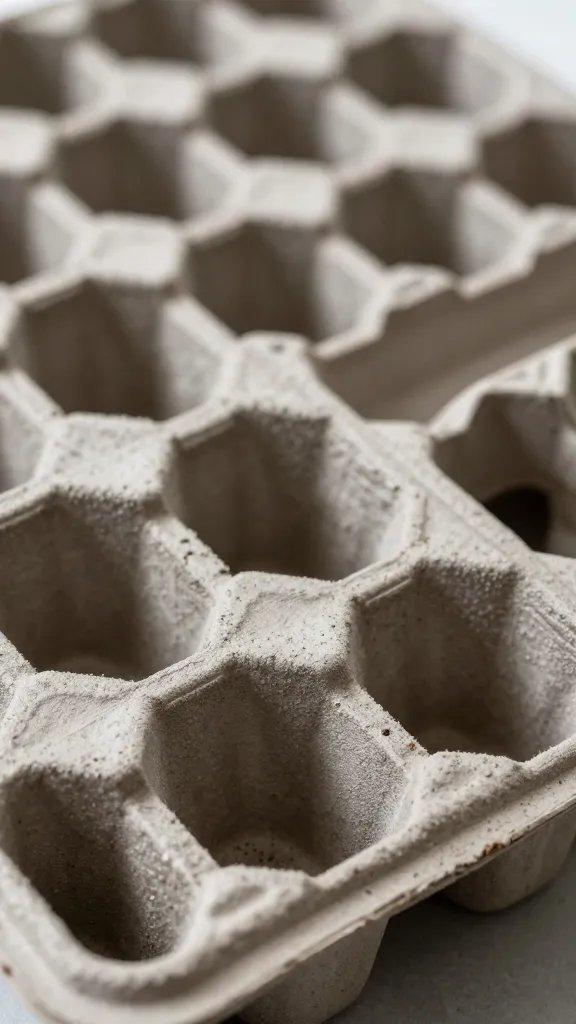
- Containers: Recycled produce clamshells, yogurt cups, egg cartons, or dollar-store aluminum tins with clear lids.
- Seed-Starting Mix: One small bag of seed-starting mix (not heavy potting soil). Usually $5–$8.
- Labels: Popsicle sticks, cut-up yogurt lids, or masking tape + a Sharpie.
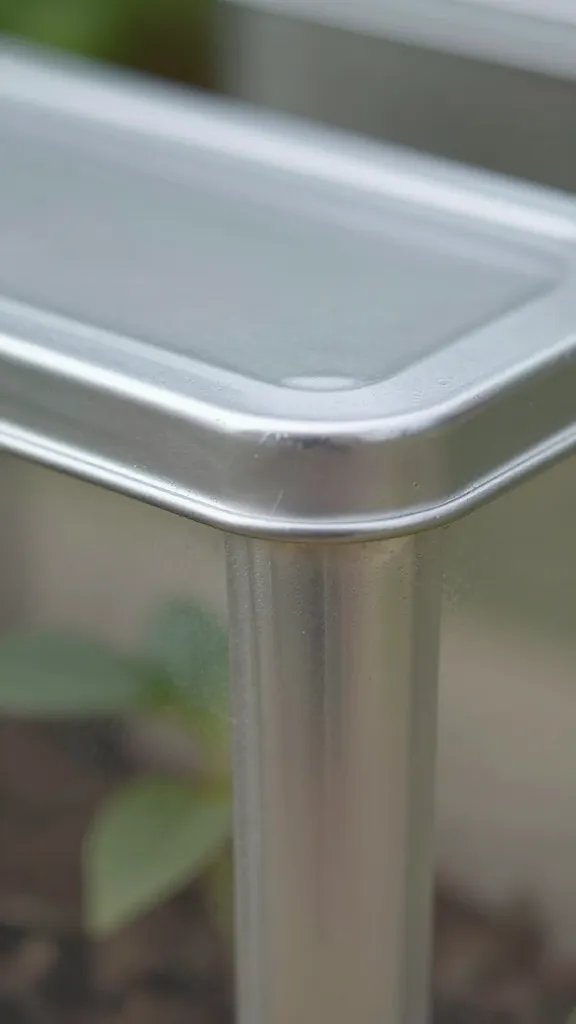
- Tray: A baking sheet, takeout tray, or any waterproof shallow bin you already own.
- Light Source: A sunny window or a cheap clamp light with a daylight LED bulb (optional but clutch).
- Watering Tool: Spray bottle or a tiny cup. Controlled watering = fewer oopsies.
Total cost: $10–$18 if you scavenge most containers. If you already have a window and a spray bottle, even better.
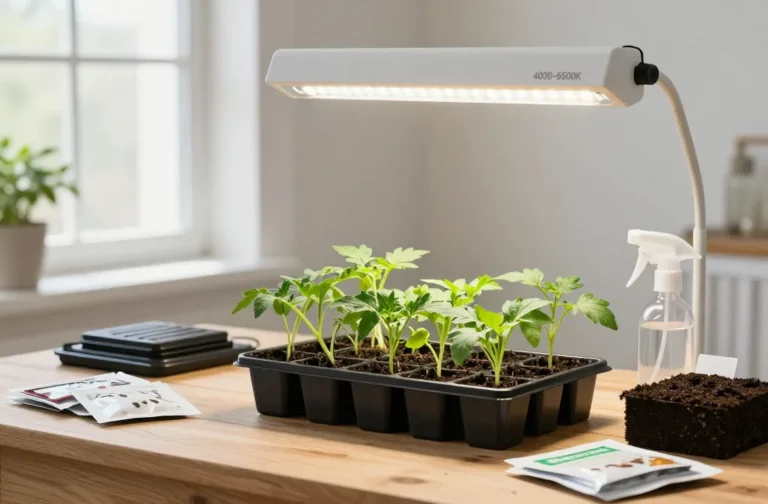
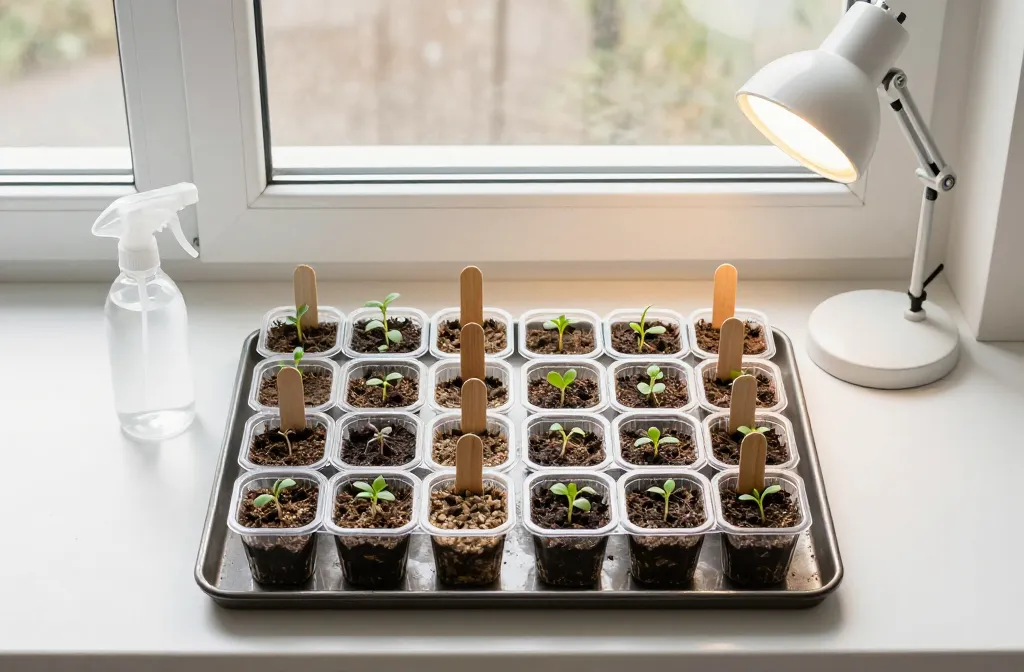
Set Up Your Budget-Friendly Seed Station
You’ll build a mini greenhouse that holds moisture, drains excess water, and keeps seedlings happy without cooking them.
1) Prep Containers The Smart Way
– Punch 3–5 drainage holes in the bottom of any opaque container.
– If you use clear clamshells, poke a few holes on the bottom and one or two near the top for gentle airflow.
– Place all containers on your waterproof tray to catch drips (your future self will thank you).
2) Mix And Fill
– Moisten your seed-starting mix until it feels like a squeezed-out sponge.
– Fill containers almost to the top and gently tap down. Don’t compact the mix like you’re building a sandcastle.
Transform Your Home With 7,250+ Stunning Landscaping Designs—No Expensive Designers Needed!
- 🌿 Access 7,250+ stunning landscaping designs.
- 💰 Save thousands—no pro designer needed.
- 🏡 Plans for gardens, patios, walkways, and more.
- ✨ Simple, beginner-friendly DIY layouts.
- 🛠️ Customize any design to fit your yard.
3) Sow Like A Minimalist
– Plant 2–3 seeds per cell or small container, or sprinkle seeds in rows if using bigger trays.
– Follow seed packet depth rules: generally, bury seeds at 2–3x their diameter. Tiny seeds? Press onto the surface and barely cover.
– Label immediately. Future you will not remember which tomatoes are which, IMO.
4) Humidity Dome = Free
– Cover with a clear lid, plastic wrap with a few holes, or a shower cap (yes, really).
– You just made a microclimate that keeps moisture steady for germination.
Light: The Make-Or-Break Factor
Sunny window? You’re golden—mostly. But leggy seedlings happen when light lacks intensity. Here’s how to hack it cheap.
Sunny Window Strategy
– South-facing wins. East or west works too. North-facing? Tough luck.
– Rotate trays every day to prevent leaning.
– Move seedlings as close to the glass as possible without touching cold panes.
$8–$12 Clamp Light Hack (Optional But Awesome)
– Snag a hardware store clamp light and add a 1000–1500 lumen daylight (5000–6500K) LED bulb.
– Hang it 3–4 inches above seedlings. Raise it as they grow.
– Keep lights on 14–16 hours a day. Cheap timer if you’ve got it; otherwise, set a phone alarm. FYI, consistent light = sturdy stems.
Watering Without Drowning
Overwatering wrecks more seedlings than underfunding ever will. You want moist, not soggy.
Bottom-Watering For The Win
– Pour a little water into the tray and let containers wick it up for 10–20 minutes.
– Dump any leftover water. No swamp vibes allowed.
– Between waterings, let the top 1/4 inch dry out. This fends off fungal nasties.
When To Ditch The Dome
– As soon as most seeds sprout, remove the humidity cover.
– Keep strong airflow: crack a window or use a tiny fan set on low a few feet away.
– This reduces damping-off disease and builds stronger stems. Think boot camp for plants.
Feeding And Potting Up On The Cheap
Your seed-starting mix has almost no nutrients. That’s fine—let roots develop first. But after the first set of true leaves appears, it’s snack time.
Easy, Budget-Friendly Feeding
– Use a balanced liquid fertilizer diluted to 1/4 strength every 1–2 weeks.
– No fertilizer? Compost tea works in a pinch—just keep it light and well-strained so you don’t clog everything.
When To Pot Up
– Crowded roots or leaves overlapping? Move to bigger containers.
– DIY options: Solo cups with drainage holes, cut-off milk cartons, or yogurt tubs.
– Fill with a light potting mix, not garden soil. Your back (and seedlings) will be happier.

Hardening Off: Don’t Skip This, Please
You raised tender babies indoors. The outdoors is… less tender. Acclimate them or watch them sulk.
- Day 1–2: Shade outdoors for 1–2 hours, then bring inside.
- Day 3–4: Bright shade/partial sun for 3–4 hours, add a gentle breeze.
- Day 5–6: 4–6 hours of sun.
- Day 7+: Full sun if that’s their destiny. Plant out when nights stay above your crop’s threshold.
Small tip: Withhold fertilizer the week before transplanting, then feed lightly one week after planting. Less shock, more growth.
Quick Troubleshooting (Because Stuff Happens)
– Leggy, floppy seedlings? More light, closer light, and a light breeze.
– Mold on soil? Increase airflow, water less, and sprinkle a little cinnamon on top (natural antifungal).
– Yellow leaves? Usually hunger. Start that diluted feed.
– No germination? Old seeds or too cold. Try again with fresh seed and warmer spot (top of fridge works).
FAQ
Can I just use garden soil instead of seed-starting mix?
Short answer: don’t. Garden soil compacts and harbors pests. Seed-starting mix stays fluffy and sterile, which means roots breathe and seedlings don’t keel over. It’s worth the few bucks.
Do I absolutely need a grow light?
Not if you have strong sun for most of the day. But many homes don’t, especially in late winter. A cheap clamp light with a daylight LED bulb bridges the gap and prevents that sad, stretched look. IMO, it’s the best low-cost upgrade.
What’s the ideal temperature for germination?
Most veggies sprout best at 70–80°F. Peppers and eggplants like it warmer; lettuce prefers cooler. If your place runs chilly, put trays on top of the fridge or near a warm appliance. No heat mat required.
How many seeds should I start?
Start 20–30% more than you need to account for duds and accidents. If you only want four tomato plants, sow six. Friends will happily adopt extras, and you’ll feel like a generous plant wizard.
When do I transplant into the garden?
Wait until seedlings have several true leaves, roots hold the soil together, and your last frost date has passed (for frost-tender plants). Harden off for a week first. Your future harvest depends on this calm, patient week—don’t skip it.
Why are my seedlings falling over at the soil line?
That’s likely damping-off, a fungal issue. Improve airflow, remove the humidity cover after sprouting, bottom-water, and keep the surface slightly drier. A sprinkle of cinnamon can help, FYI.
Conclusion
You don’t need a fat wallet to grow a head start on spring—just smart hacks and a $20 plan. Reuse containers, grab a small bag of seed-starting mix, and give seedlings bright light plus steady moisture. Do that, and your windowsill becomes a mini nursery. Fair warning: once you see those first sprouts, you might start seeds for everything—herbs, tomatoes, even that random melon you bought on a whim.