How to Start Seeds Indoors Without Fancy Equipment Fast
You don’t need a grow tent or a Hollywood lighting rig to start seeds indoors. You need curiosity, a sunny spot, and a few things you probably already own. I’ll show you how to get strong, happy seedlings with a shoestring setup and zero intimidation. Ready to turn windowsills into mini jungles? Let’s go.
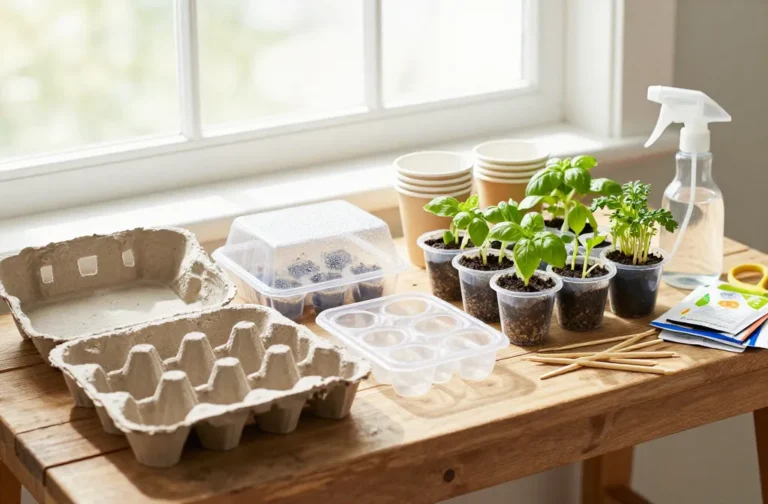
Gather The Bare-Minimum Gear (You Already Own Most Of It)
You can start seeds with everyday items. Think “clean and improvise,” not “buy and brag.”
Tired of snacking when you’re not even hungry? This reset helps you stop the loop and feel back in control.
A simple reset for moments when cravings take over. Easy to use, easy to repeat, and designed to help you feel satisfied instead of stuck.
- Containers: Yogurt cups, takeout clamshells, egg cartons, muffin tins with liners, or shallow food trays.
- Drainage tools: A nail, thumbtack, or scissors to poke holes. No holes = swampy roots. Hard pass.
- Soilless mix: Seed-starting mix or sifted potting mix. Avoid garden soil—too heavy and germ-spoilery.
- Labels: Tape + marker. You’ll forget what’s what in two days. Ask me how I know.
- Light source: Bright window or cheap clamp light with a daylight LED bulb (5000–6500K).
- Humidity cover: Plastic lid, plastic wrap, or a clear produce bag.
- Watering: Spray bottle or turkey baster. Gentle is the vibe.
Quick Clean = Fewer Problems
Rinse used containers with hot, soapy water. Then give a 1:10 bleach rinse or a splash of white vinegar. Let them dry. This tiny step dodges fungus and mystery mold, IMO.
Choose Seeds That Actually Like Indoor Starts
Not every seed wants an indoor spa. Some direct-sow champs hate transplant drama.
- Great indoors: Tomatoes, peppers, eggplants, brassicas (broccoli, kale), herbs (basil, parsley), flowers like zinnias and marigolds.
- Direct-sow outside: Root crops (carrots, radishes, beets), peas, beans, most squash and cucumbers (unless you must jump-start).
Timing Matters More Than Gear
Check your last frost date and count backward. Most veggies need 4–8 weeks indoors. Peppers take longer (8–10). Starting too early creates leggy, sulky plants. Starting a little late? You’ll still get a harvest. FYI, nature forgives procrastinators.
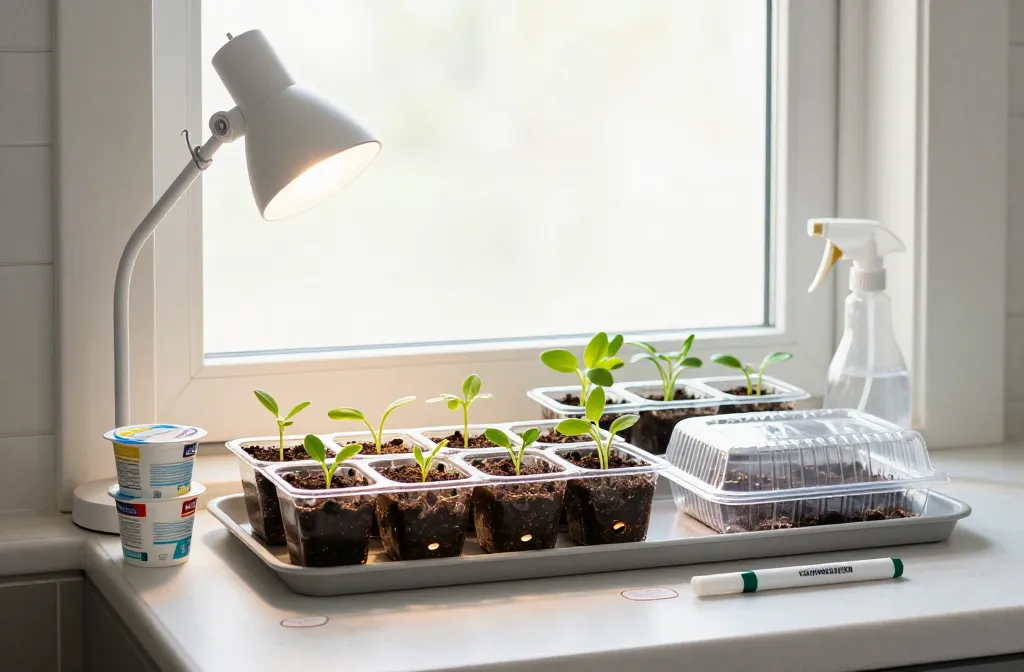
Set Up Your No-Fuss Seed Station
Think simple assembly line: fill, moisten, sow, cover.
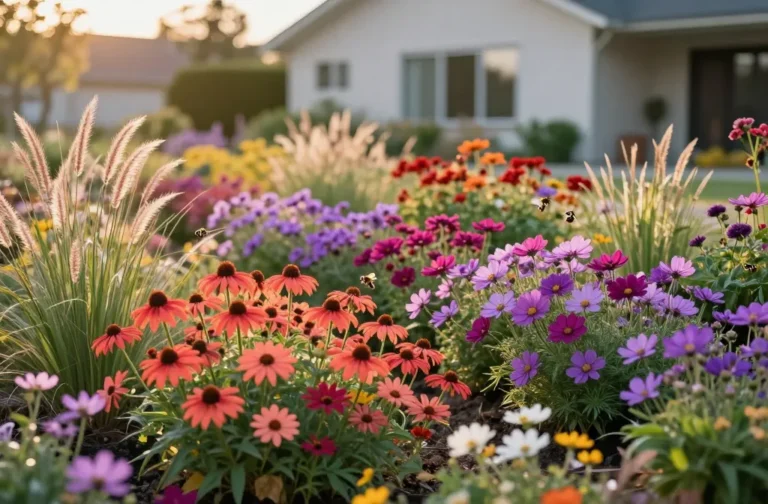
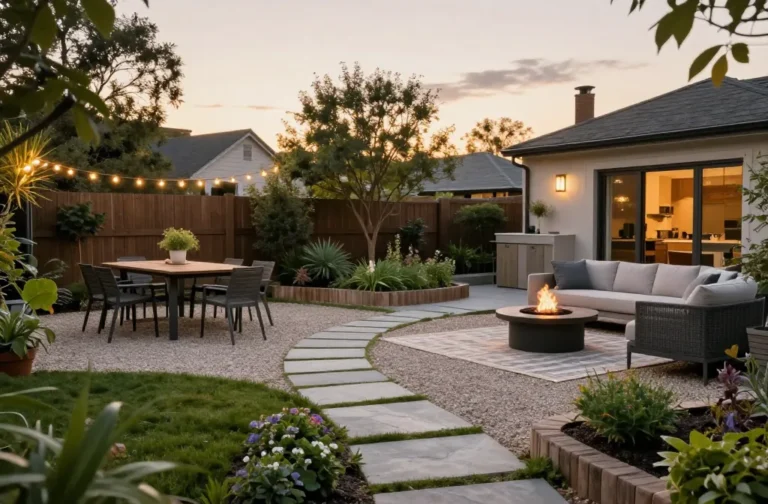
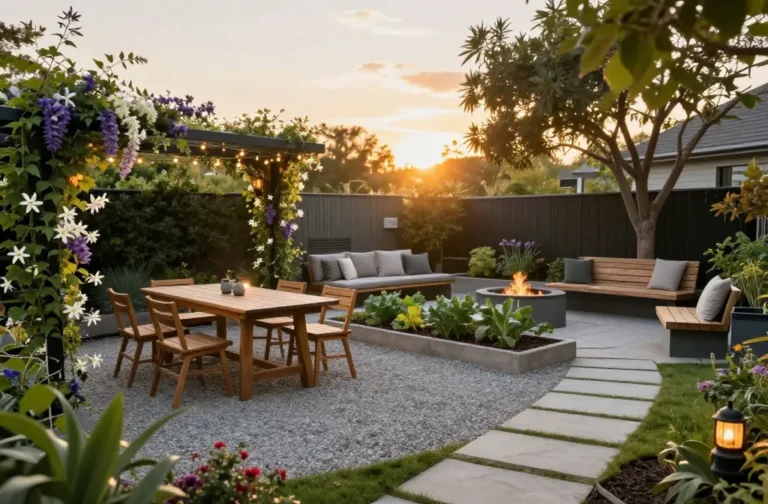
Transform Your Home With 7,250+ Stunning Landscaping Designs—No Expensive Designers Needed!
- 🌿 Access 7,250+ stunning landscaping designs.
- 💰 Save thousands—no pro designer needed.
- 🏡 Plans for gardens, patios, walkways, and more.
- ✨ Simple, beginner-friendly DIY layouts.
- 🛠️ Customize any design to fit your yard.
- Poke drainage holes. Aim for 3–5 holes in small cups.
- Pre-moisten the mix. Add water until it feels like a wrung-out sponge—damp, not drippy.
- Fill containers. Gently press to remove big air pockets but don’t compact it like a brick.
- Sow seeds shallow. Rule: plant seeds about 2–3x their width. Dust small seeds on top and barely cover.
- Label immediately. Future-you will send present-you a fruit basket.
- Cover lightly. Use a clear lid or plastic wrap to hold humidity until germination.
Warmth Without Gadgets
Seeds pop faster around 70–75°F. No heat mat? Park trays on top of the fridge, near a radiator (not on it), or in the warmest room. For peppers and eggplants, warmth really speeds things up.
Light: The Make-Or-Break Factor
Most “leggy seedling” tragedies come from weak light. You don’t need a fancy grow light, but you do need brightness and proximity.
- Best window: South-facing if you’ve got it. East/West works with extra hours.
- DIY light boost: Clip a daylight LED bulb (5000–6500K) 4–6 inches above seedlings. Keep it close.
- Run time: Aim for 14–16 hours of light daily. A cheap timer saves brain cells.
- Reflectors: Prop foil-covered cardboard or a white poster board behind trays to bounce light back. It’s low-tech magic.
Leggy Emergency Fix
If stems stretch, lower the light, increase hours, and brush your hand over the tops twice a day. That gentle nudge toughens them up. Also, cool the room a smidge at night.
Watering And Airflow: Keep It Moist, Not Mushy
Overwatering sinks more seedlings than anything, IMO.
- Before sprout: Keep covered and just mist as needed. Condensation = good. Puddles = bad.
- After sprout: Remove covers. Bottom-water by placing containers in a tray of water for a few minutes.
- Airflow: Crack a window on mild days or run a small fan on low. It prevents damping off and builds stronger stems.
Signs You’re Overdoing It
– Mushy stems at soil line? That’s damping off. Start a new batch and sanitize.
– Green slime or gnats? You’re keeping it too wet. Let the top dry slightly between waterings.

Feeding, Potting Up, And Keeping Things Chill
Seedlings don’t need a buffet right away. They need a snack after their first true leaves arrive.
- First feed: Use a diluted, balanced liquid fertilizer (about 1/4 strength) every 1–2 weeks.
- Pot up: When roots hit the edges or leaves crowd, move to a slightly bigger cup with holes.
- Bury leggy stems: Tomatoes love it. Bury them deeper when potting up.
- Keep temps steady: Around 60–70°F. Too hot + low light = noodle plants.
Transplant Readiness Checklist
– 2–3 sets of true leaves
– Roots hold soil together but don’t circle like a strangling octopus
– Sturdy stems and no yellowing
Harden Off Without Tears
Hardening off is plant boot camp. Skip it, and the sun will roast your babies like marshmallows.
- Day 1–2: 1–2 hours in bright shade, no wind.
- Day 3–4: Add gentle morning sun for 1–2 hours.
- Day 5–7: Increase to 4–6 hours, include midday dappled sun.
- Day 8+: Full days, then leave out overnight if temps stay above your crop’s comfort zone.
If wind kicks up or temps dip, pause. Plants are tough, but they appreciate reasonable management.
Zero-Waste Hacks That Actually Help
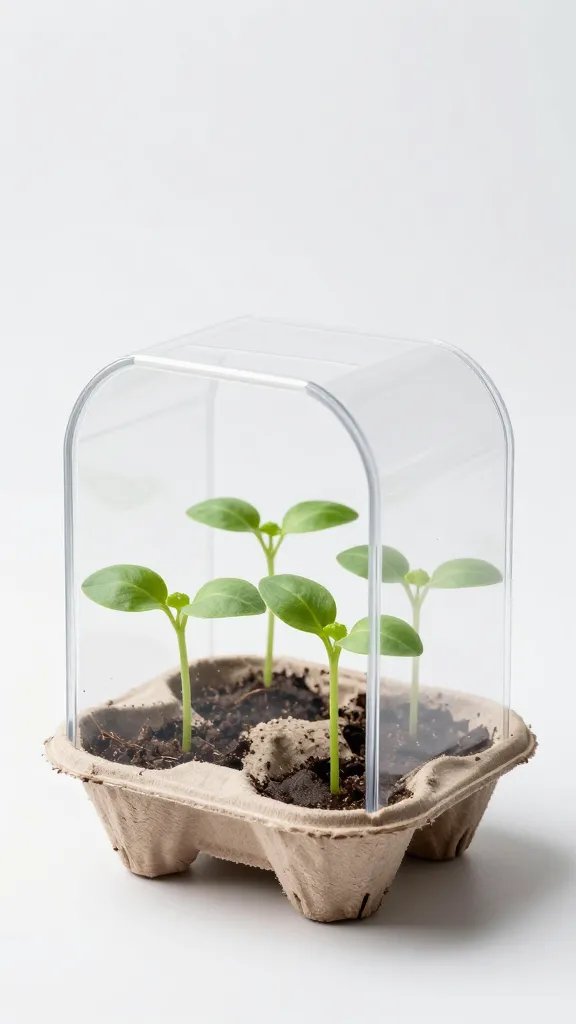
– Mini greenhouses: Clear rotisserie chicken lids are perfect humidity domes.
– Wicking mat: Set containers on an old towel with one end in a water tray—self-waters slowly.
– Label upgrades: Cut plastic from milk jugs into tags. Permanent marker for the win.
– Compost boost: Mix a handful of finished compost into potting mix when potting up (not for initial sowing).
– Free reflectors: Mylar snack bags rinsed and opened—flashy and effective.
FAQ
Why do my seedlings fall over and die at soil level?
That’s usually damping off, a fungal issue from too much moisture and not enough airflow. Sanitize containers, use fresh seed-starting mix, avoid overwatering, and remove humidity covers once seeds sprout. A small fan on low helps a lot.
Do I need special grow lights?
Nope. A bright window plus a daylight LED bulb close to the plants works. Keep lights 4–6 inches above the canopy and run them 14–16 hours daily. If seedlings stretch, you need more light or closer placement.
How wet should the soil stay?
Aim for consistently damp like a wrung-out sponge. Bottom-water after sprouting and let the top layer dry slightly between sessions. If you see algae or gnats, you’re keeping it too wet.
When should I fertilize?
Start after the first set of true leaves (the second set overall). Use a diluted, balanced liquid fertilizer at 1/4 strength every week or two. More isn’t better—tiny plants burn easily.
What if I started too early?
Pot up to larger containers, give strong light, and pinch back certain plants (basil, some flowers) to keep them compact. Keep temps on the cooler side and don’t overfeed. You’ll be fine, FYI.
Which seeds are easiest for beginners?
Tomatoes, basil, marigolds, kale, and zinnias. They sprout fast, forgive mistakes, and reward you with quick growth and good vibes.
Conclusion: You’ve Got This, No Gizmos Required
Seed starting doesn’t demand a lab coat or a spendy setup—it wants light, warmth, and a little routine. With recycled containers, a sunny spot, and a cheap LED bulb, you’ll grow sturdy seedlings that crush it outside. Start simple, stay consistent, and adjust as you learn. Your future garden will thank you, loudly and deliciously.