Fix Seed Starting Mistakes That Are Killing Your Plants
You lovingly tucked those seeds into soil, whispered encouraging words, and… nothing. Or worse: spindly sprouts that collapse like sad noodles. Don’t toss the tray yet. Let’s break down the sneaky seed-starting mistakes that silently sabotage your future garden—and show you how to turn things around, pronto.
You’re Using The Wrong Soil (Yes, It Matters A Lot)
“Dirt is dirt,” said no successful seed starter ever. Seeds crave light, fluffy, sterile mix—not heavy garden soil that compacts and suffocates roots. If your mix holds water like a sponge or feels dense, your seeds can rot before they even sprout.
Tired of snacking when you’re not even hungry? This reset helps you stop the loop and feel back in control.
A simple reset for moments when cravings take over. Easy to use, easy to repeat, and designed to help you feel satisfied instead of stuck.
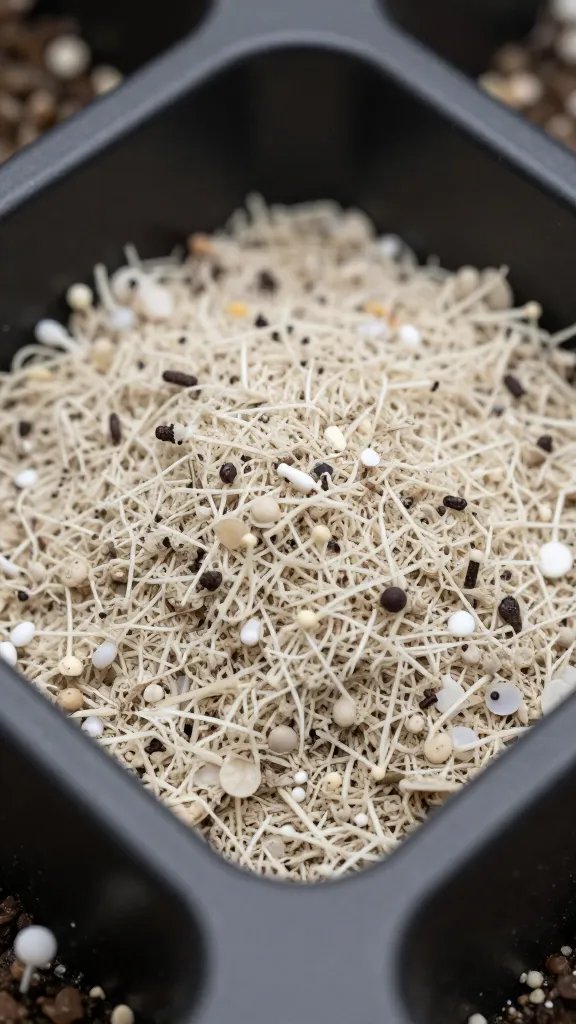
What To Use Instead
- Seed-starting mix only: It’s fine, sterile, and drains well. Not the same as potting soil.
- DIY blend: 2 parts peat or coco coir + 1 part perlite + 1 part vermiculite.
- Avoid compost early on: Too dense and can harbor pathogens.
You’re Drowning Or Dehydrating Them
Overwatering invites damping-off disease, the grim reaper of seedlings. Underwatering crusts the surface and blocks tiny sprouts from breaking through. Balance matters, and your tray design helps or hurts.
Watering That Actually Works
- Bottom-water: Fill the tray beneath your cells, let them wick moisture for 15–30 minutes, then drain.
- Keep it evenly moist: Aim for a wrung-out sponge feel—never soggy, never bone-dry.
- Use a humidity dome—briefly: Keep it on only until most seeds sprout, then remove to prevent fungal issues.
Your Seeds Are Too Cold (Or Weirdly Hot)
Seeds love consistency. Many common veggies germinate best around 70–75°F (21–24°C). A chilly windowsill can stall them for weeks, while a hot radiator bakes them into oblivion.
Dial In The Sweet Spot
- Use a heat mat: Especially for peppers, tomatoes, eggplant, and basil. Turn it off once most seeds sprout.
- Check actual temp: A cheap soil thermometer beats guessing. FYI, air temp ≠ soil temp.
- Species specifics: Lettuce and kale prefer cooler germination (60–70°F); peppers want it toasty (75–85°F).
Not Enough Light = Leggy, Floppy Seedlings
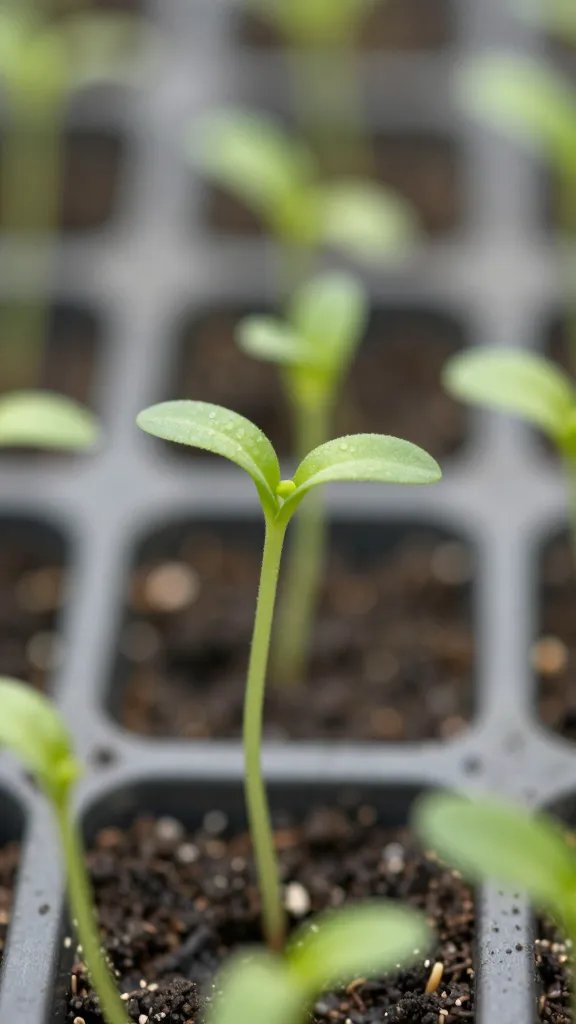
Those stretched, pale stems? That’s your plants begging for light. A sunny window rarely cuts it for spring sowing, especially on cloudy days. You’ll get stronger, stockier seedlings with dedicated lighting.
Lighting Basics, No Fancy Gear Required
- Use LED grow lights: Full-spectrum is great, but even bright shop LEDs work.
- Distance and timing: Keep lights 2–4 inches above seedlings; run them 14–16 hours daily.
- Raise the tray, not the light: Keep that close distance as seedlings grow.
- Rotate or use a fan: Gentle airflow and periodic rotation prevent leaning and strengthen stems.
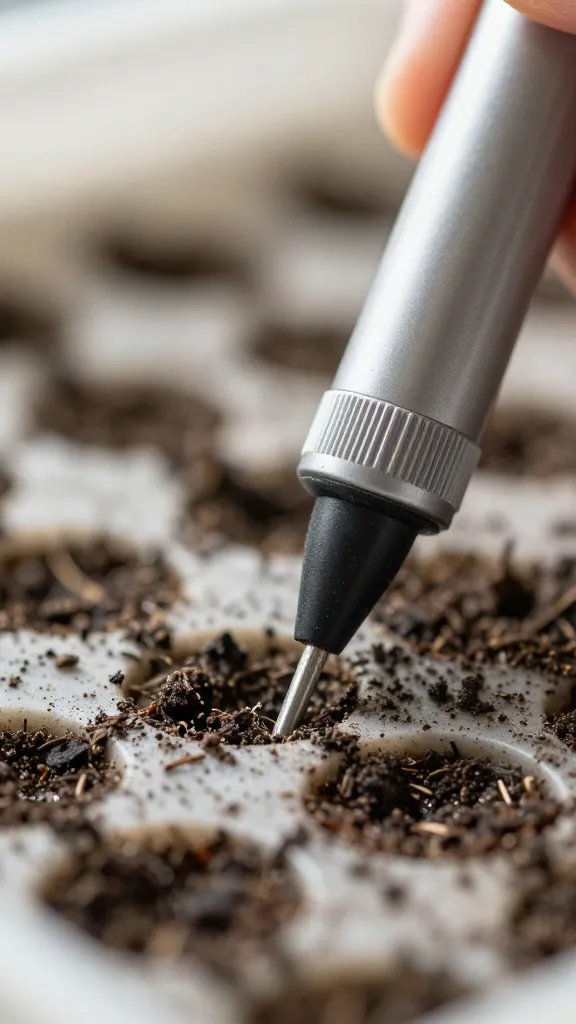
You Buried The Seeds Alive
Seed depth isn’t a suggestion; it’s the difference between life and “why didn’t anything sprout?” Tiny seeds need light and minimal covering, while bigger seeds want a snug, deeper seat.
Transform Your Home With 7,250+ Stunning Landscaping Designs—No Expensive Designers Needed!
- 🌿 Access 7,250+ stunning landscaping designs.
- 💰 Save thousands—no pro designer needed.
- 🏡 Plans for gardens, patios, walkways, and more.
- ✨ Simple, beginner-friendly DIY layouts.
- 🛠️ Customize any design to fit your yard.
Depth Rules Of Thumb
- Tiny seeds (basil, lettuce): Surface-sow and press gently, or cover with a whisper of mix.
- Medium seeds (tomato, brassicas): About 1/4 inch deep.
- Large seeds (squash, beans): 1 inch deep, but these often prefer direct sowing outdoors.

You Skipped Labeling And Timing (Chaos Ensues)
All sprouts look the same at 10 days old. If you don’t label, you’ll play botanical roulette later. And starting too early? You’ll get root-bound teenagers sulking under lights for months.
Timing And Tracking Tips
- Back-calc from your last frost date: Most seed packets list “start indoors X weeks before frost.” Follow that.
- Label everything: Use waterproof markers or pencil; include variety and sow date.
- Succession sow: Start smaller batches every 1–2 weeks for steadier harvests.
You Ignored Airflow, Cleanliness, And Nutrition
Stagnant air breeds fungus. Dirty trays spread disease. And while seeds don’t need fertilizer at first, seedlings do once they form true leaves. Ignore these, and you’ll watch them stall out.
Keep Them Healthy
- Airflow: Run a small fan on low to reduce disease and build stronger stems.
- Sanitation: Wash and, IMO, sanitize trays and tools (1:10 bleach or hydrogen peroxide).
- Feeding: After the first set of true leaves, use a half-strength, balanced liquid fertilizer weekly.
You Didn’t Pot Up Or Harden Off (The Final Bosses)
Seedlings outgrow tiny cells fast. If you don’t “pot up,” roots circle and growth stalls. Then people plant them straight into harsh sun and wind without hardening off—cue crispy leaves and drama.
Potting Up
- When: Once roots reach the cell edges or you see slowed growth.
- How: Move to 3–4 inch pots with quality potting mix (not seed-starting mix).
- Tomato trick: Bury stems deeper when potting up; they grow more roots. Magic.
Hardening Off
- Start 7–10 days before transplant: Begin with 1–2 hours of bright shade, then increase light and wind daily.
- Avoid extremes: No midday scorch or surprise frost. Morning sessions work best.
- Water well: Slightly drier is fine indoors, but don’t let them wilt outside.
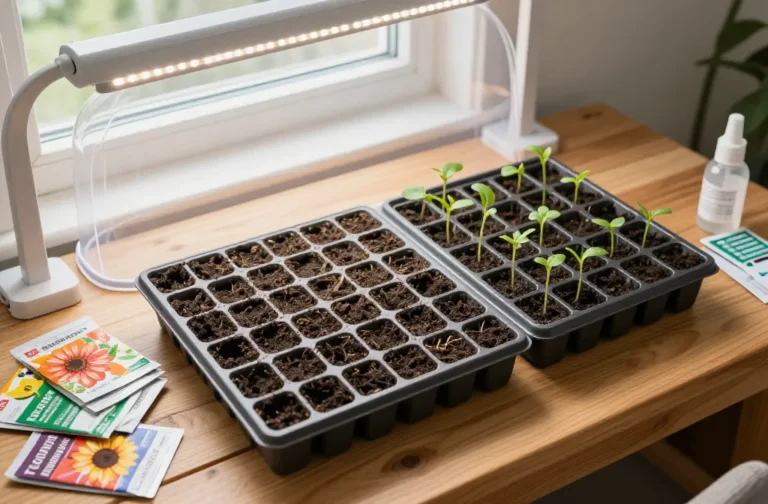
Common Seed-Starting Setups That Actually Work
- Budget: Seed tray with cells + dome, shop LEDs on a simple rack, basic timer, heat mat for warm-lovers.
- Mid-range: LED grow panels with adjustable height, oscillating fan, soil thermometer, capillary mat for bottom watering.
- Low-lift: Pre-filled plugs (like rockwool or peat) + clear tote as a DIY humidity chamber—works shockingly well, FYI.
FAQ
Why do my seedlings keep collapsing at the soil line?
That’s likely damping-off, a fungal disease fueled by soggy media, poor airflow, or dirty equipment. Switch to bottom-watering, remove humidity domes after germination, run a fan, and sanitize trays before sowing. Use a sterile seed-starting mix and avoid overwatering.
Do I really need grow lights if I have a sunny window?
You can try, but expect legginess. Indoor light intensity drops fast a few feet from glass, and clouds don’t care about your basil dreams. A basic LED setup gives consistent, close light and produces stockier, happier seedlings—worth it, IMO.
When should I start feeding my seedlings?
Wait for the first true leaves (the second set after the cotyledons). Then feed with a half-strength, balanced liquid fertilizer every 7–10 days. Watch for signs of overfeeding like leaf tip burn and dial back if needed.
How wet should my seed-starting mix be?
Aim for evenly moist—like a wrung-out sponge. If water pools on top, it’s too wet. If the surface crusts or pulls from the sides of the cell, it’s too dry. Bottom-watering keeps that balance with fewer mistakes.
Can I reuse seed-starting mix?
You can, but it’s risky. Old mix can harbor pathogens and compacts more. If you must reuse, bake it to sterilize (tricky) or repurpose it for outdoor containers instead. Fresh sterile mix gives you a cleaner start and better odds.
Why didn’t my seeds germinate at all?
Check the seed’s age and storage; old or overheated seeds lose vigor. Confirm correct depth and temperature, and keep the medium consistently moist. Some seeds also need light or darkness to trigger germination—always read the packet. Simple, but it saves headaches.
Conclusion
Seed starting isn’t mystical—it’s about light, temperature, moisture, timing, and airflow. Fix those, and your tiny green babies will thrive instead of ghosting you. Tweak your setup, skip the common traps, and watch your seed trays turn into a mini jungle. Your future garden will thank you—loudly.