10 Kitchen Storage Ideas That Use Awkward Spaces Perfectly (you’ll Wish You Tried Sooner)
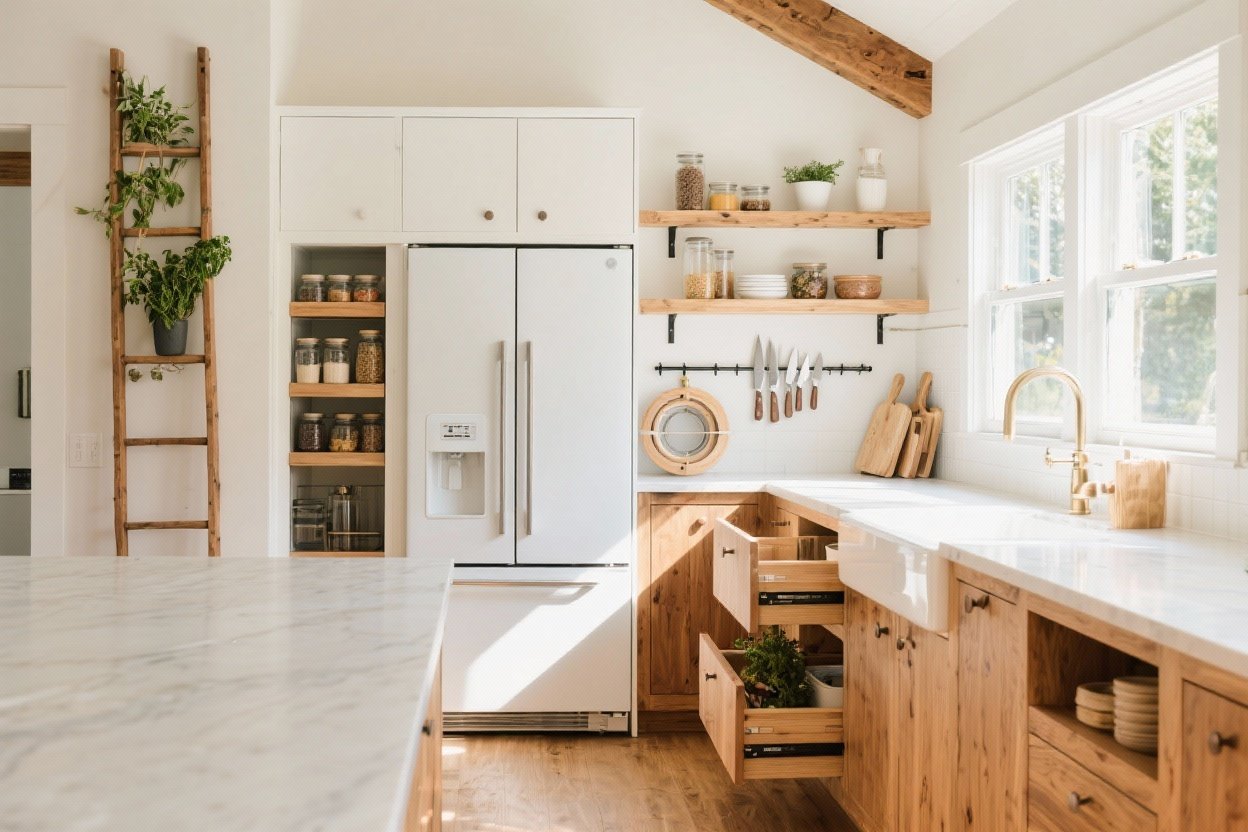
Your kitchen has secrets. Not spooky ones—just wasted inches, weird nooks, and “what even is this corner?” spaces begging for a glow-up. The good news? Those awkward gaps and slivers are storage gold mines waiting for a plan and a screwdriver. Let’s turn every odd angle into something useful—and cute—because you deserve a kitchen that works as hard as you do.
1. Slide In a Skinny Pull-Out Where Nothing Fits
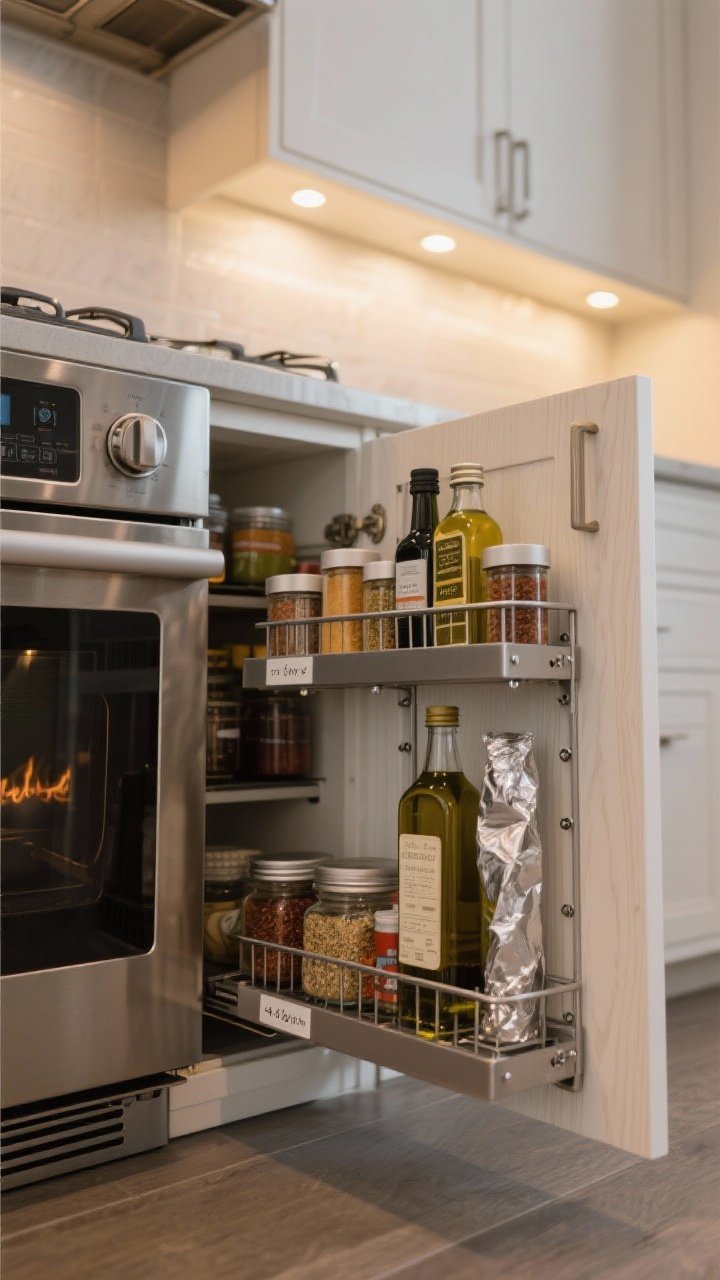
That weird 4–6 inch sliver next to the range? It’s not useless—it’s a future pull-out pantry. Think vertical trays on glides holding spices, oil, foil, and all those random jars eating your countertop space.
Tired of snacking when you’re not even hungry? This reset helps you stop the loop and feel back in control.
A simple reset for moments when cravings take over. Easy to use, easy to repeat, and designed to help you feel satisfied instead of stuck.
Why It Works
- Full visibility: Pull it out and see everything at once—no more lost paprika.
- Heat-adjacent but safe: Keep metal racks and heat-tolerant items near the stove.
Pro Tips
- Install soft-close slides to prevent tipping and rattling.
- Use adjustable shelves or pegs so tall bottles don’t wobble.
- Label the tops of lids for quick grabs at dinner rush. Tiny hack, huge payoff.
2. Claim the Toe Kick With Hidden Drawers
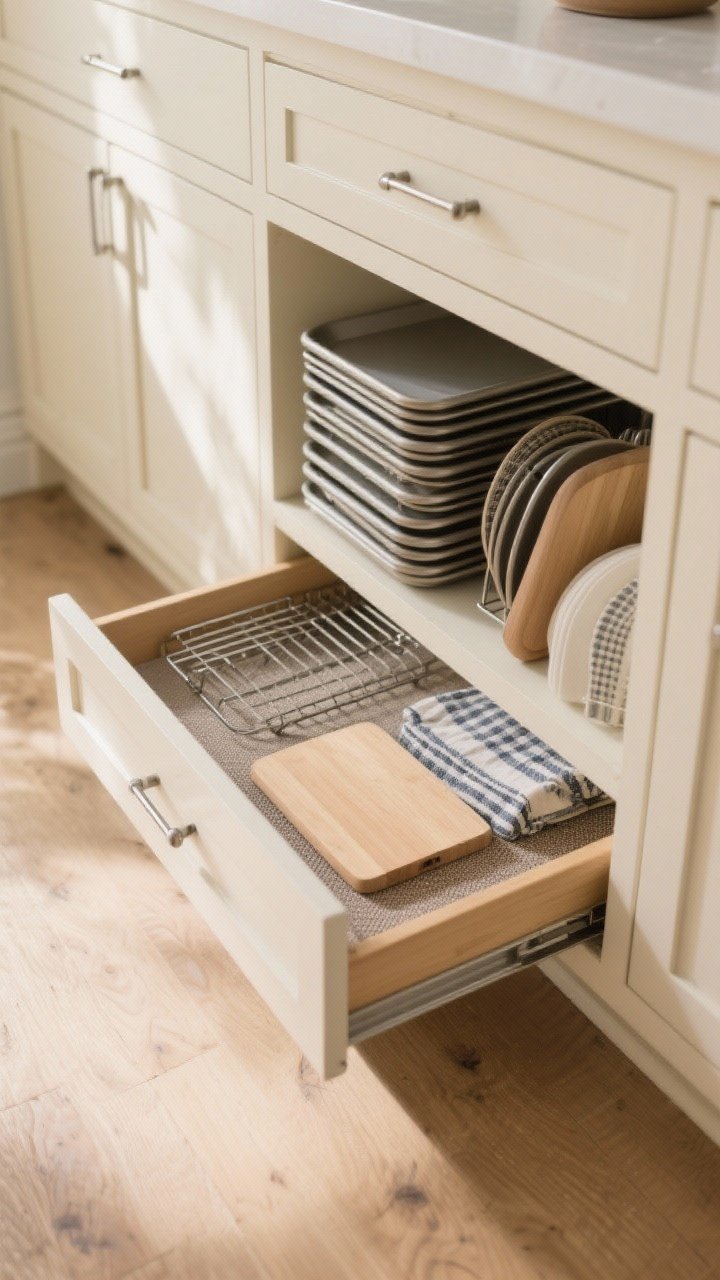
The space under your cabinets—aka the toe kick—is secretly huge. Slide in slim drawers for baking sheets, placemats, pet bowls, or that awkward cutting board you never know where to stash.
Why It Works
- Low-profile storage: Doesn’t change the look of your cabinets at all.
- Perfect for flat, bulky stuff: Sheet pans, cooling racks, and serving trays fit like a dream.
Pro Tips
- Add finger pulls or push-to-open hardware for a seamless look.
- Line with drawer mats to keep metal from clanking (your midnight snack raids will be quieter).
3. Turn the Sink False Front Into a Tilt-Out Tray
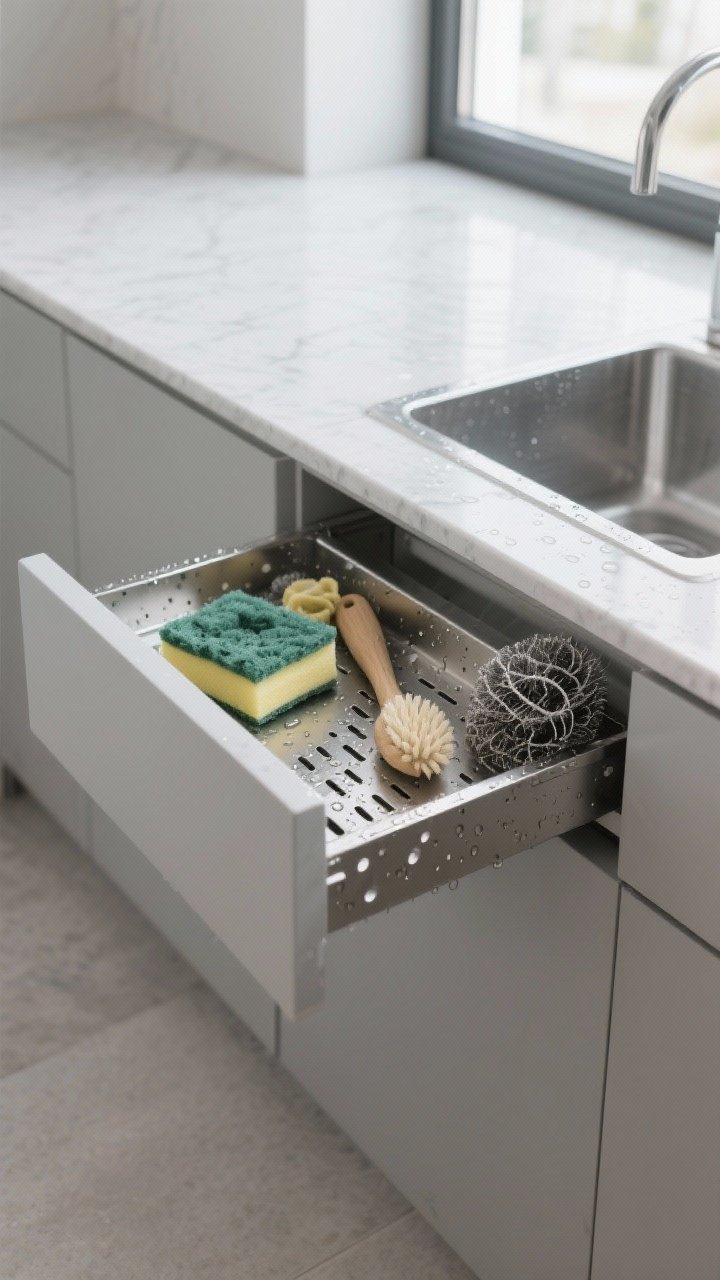
That dummy drawer front under the sink? Make it useful. A tilt-out tray holds sponges, brushes, and scrubbers—so they’re not lounging on your counter like gremlins.
Why It Works
- Keeps wet things contained: Easy to clean, easy to hide.
- Protects under-sink storage: Fewer drippy items below means more space for paper towels and cleaners.
Pro Tips
- Choose stainless or plastic trays to resist moisture.
- Add vented holes or leave a tiny gap for airflow—FYI, mildew is not invited.
4. Build a Back-of-Door Command Center
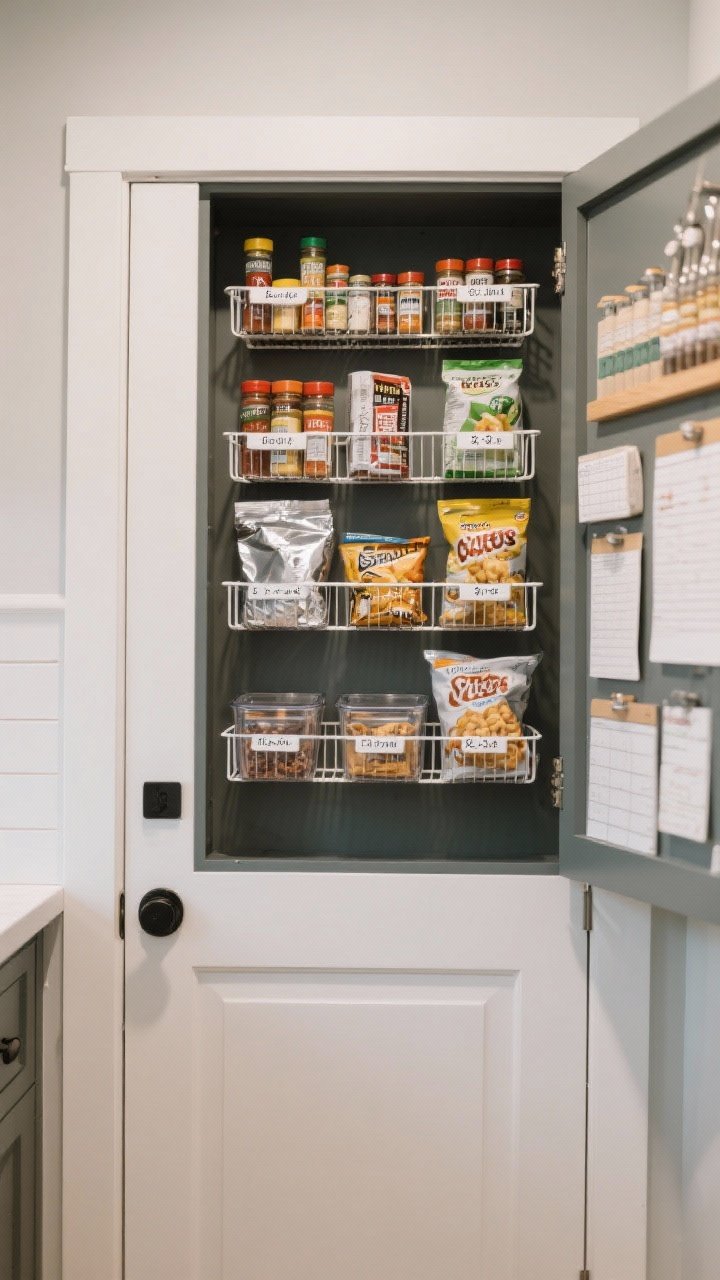
Those pantry or cabinet doors? They’re vertical real estate. Install shallow racks for spices, foil, zip bags, or snack packs. It’s like adding a second pantry without moving a wall.
Why It Works
- Ultra-thin storage: 2–3 inches deep fits behind doors without smashing into shelves.
- Custom zones: Create a coffee station door, a baking door, or a kids’ snack door.
Pro Tips
- Check clearance: Leave a 0.5–1 inch gap between door rack and shelf contents.
- Use clear bins so you can spot refills fast.
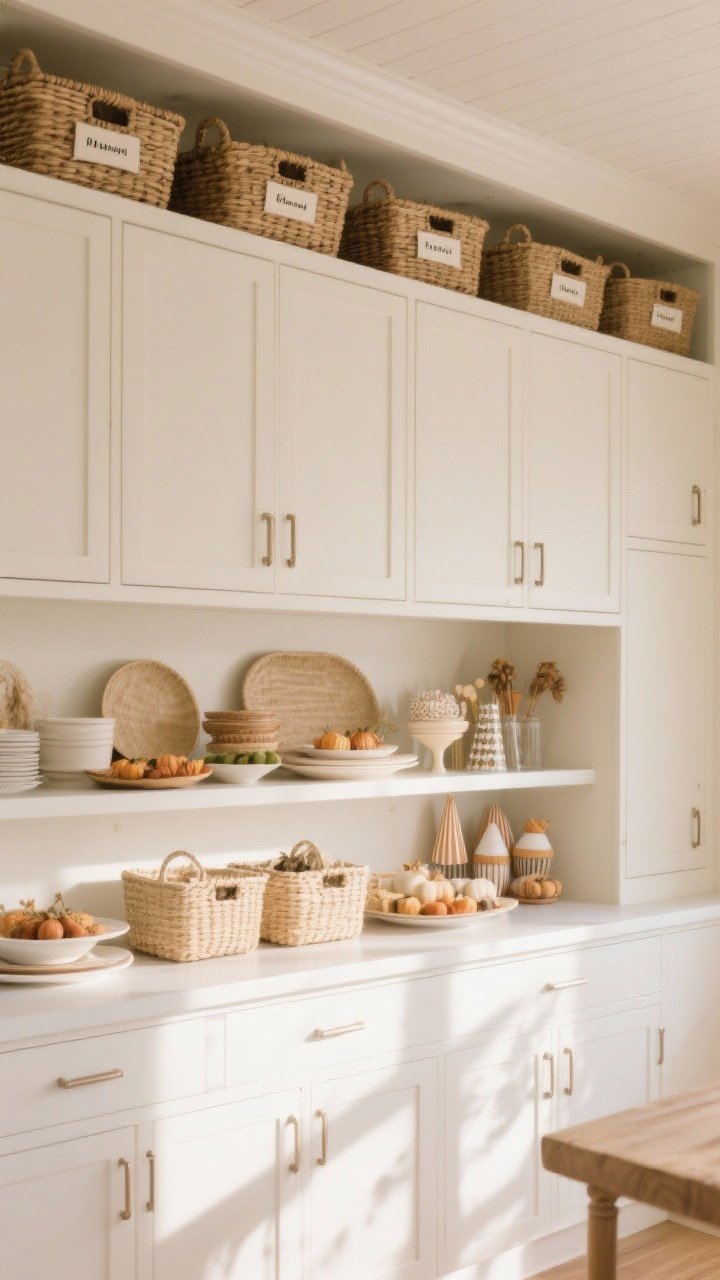
5. Harness the High-Above Cabinet Void

If your cabinets don’t hit the ceiling, you’ve got a “Decor Graveyard” up there. Turn it into smart storage with labeled baskets or even a shallow shelving riser to stack seldom-used items beautifully.
Transform Your Home With 7,250+ Stunning Landscaping Designs—No Expensive Designers Needed!
- 🌿 Access 7,250+ stunning landscaping designs.
- 💰 Save thousands—no pro designer needed.
- 🏡 Plans for gardens, patios, walkways, and more.
- ✨ Simple, beginner-friendly DIY layouts.
- 🛠️ Customize any design to fit your yard.
Why It Works
- Great for seasonal stuff: Holiday platters and party gear live up high, not under your bed.
- Looks intentional: Matching baskets tidy the chaos and add texture.
Pro Tips
- Use lightweight bins with handles—no heroic ladder stunts, please.
- Stick to a neutral palette so it feels styled, not stacked.

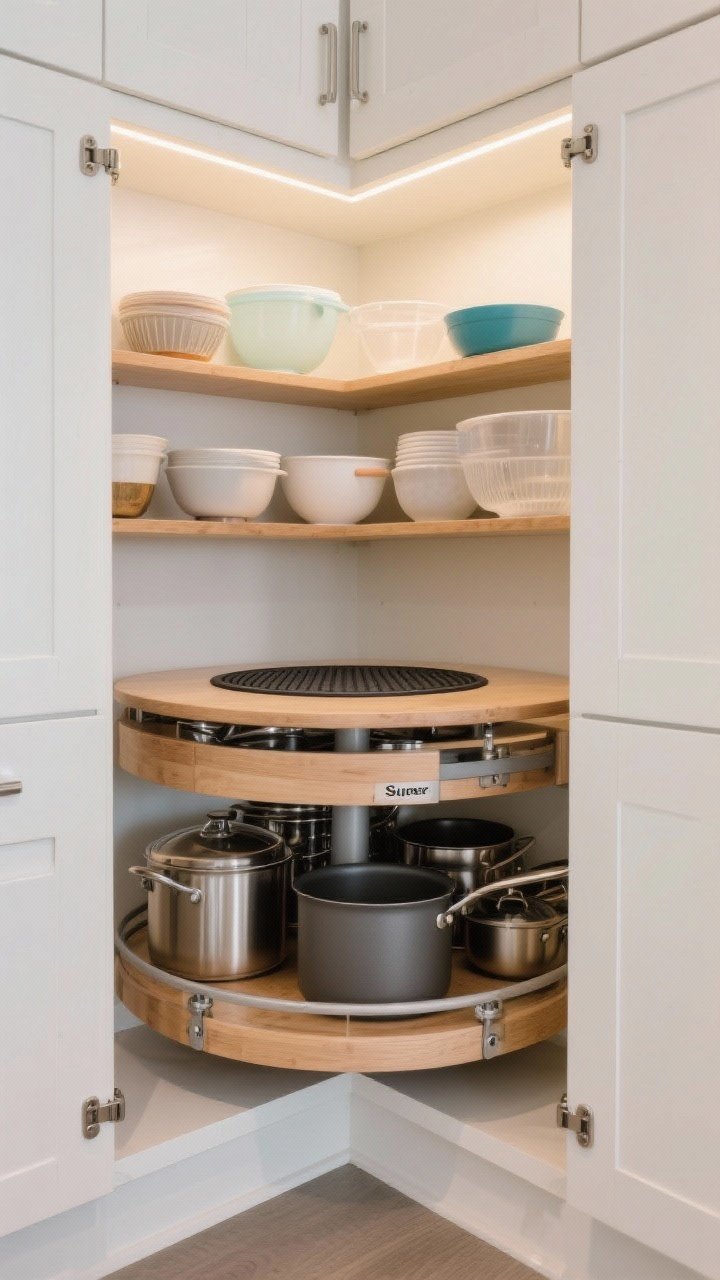
6. Use the Dead Corner With a Super Susan (Not Lazy)
Corner cabinets are notorious for swallowing mixing bowls whole. Swap the old lazy Susan for a Super Susan—solid shelves on heavy-duty bearings—or try a blind corner pull-out that brings trays straight to you.
Why It Works
- Max capacity: No flimsy center pole eating space.
- Everything reachable: Pull-outs eliminate crouching into the dark abyss.
Pro Tips
- Group by weight: Heavier pots low, lighter plastics high.
- Add rubber liners to stop spinny chaos when you rotate.
7. Create a Rolling Island That Tucks Away
Have an awkward empty patch that’s too tight for a full island? Meet the rolling cart. Park it under a peninsula overhang or in a niche, then roll it out for prep, storage, or drinks duty.
Why It Works
- Flexible footprint: You get counter + storage only when you need it.
- Multi-tasker: Use drawers for linens, lower shelves for appliances, top for coffee bar vibes.
Pro Tips
- Choose locking casters for stability.
- Match the finish to your cabinets for a built-in look—or go bold for contrast, IMO.
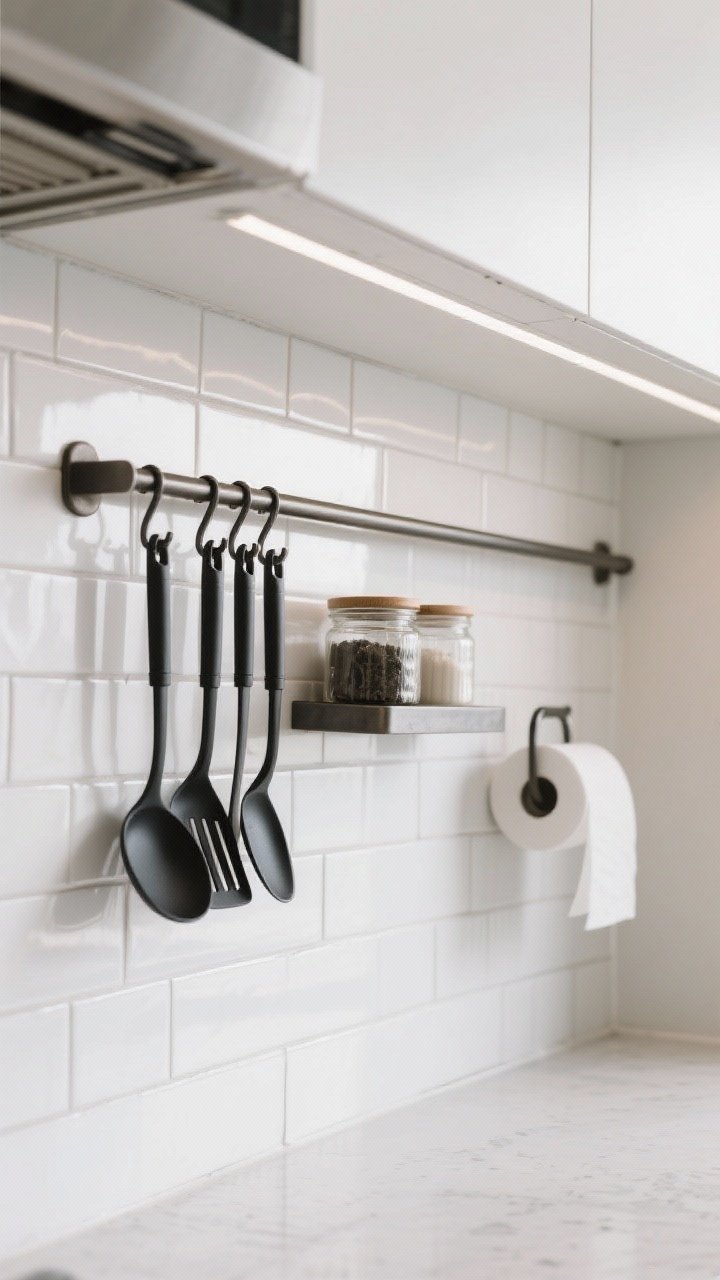
8. Add a Slim Rail System to Backsplashes and Sides

No counter space? Vertical to the rescue. Install a slim rail or peg system along the backsplash or on the side of a cabinet to hang utensils, mini shelves, or even your most-used pan.
Why It Works
- Zero footprint: Keeps tools at hand without crowding the counter.
- Modular: Move hooks, add cups, or clip on a paper towel holder.
Pro Tips
- Keep it under 3 inches deep so it doesn’t feel cluttered.
- Use matching metals for cohesion—brass, matte black, stainless, your call.
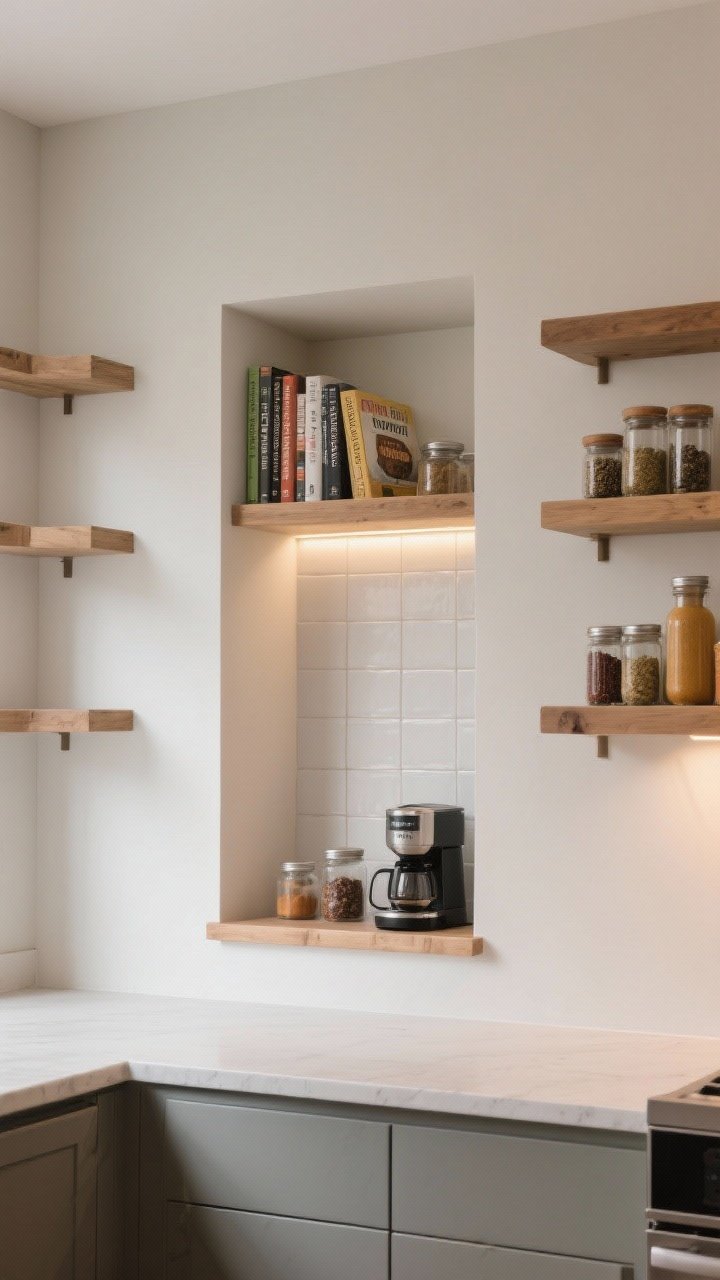
9. Build a Niche Into That Weird Wall Bump-Out
Got a partial wall, column, or fridge enclosure that just… sticks out? Carve a recessed niche between studs for cookbooks, spices, or a sleek coffee cubby. It’s like discovering a secret room for your cinnamon.
Why It Works
- Uses wall depth: No protruding shelves or stubbed hips.
- Custom fit: Add dividers, tile the back, or light it up for a mini moment.
Pro Tips
- Check for electrical or plumbing before cutting. Non-negotiable.
- Install a micro lip at the shelf edge so jars don’t wander.
10. Go Under the Stairs or Along the Hall With a Pantry Pull
If your kitchen shares a wall with a hallway or stair void, you might be sitting on a hidden pantry. A shallow cabinet or tall pull-out can live in that in-between space and still look original to your home.
Why It Works
- Steals space invisibly: Gains storage without changing the kitchen layout.
- Perfect for overflow: Canned goods, bulk snacks, and small appliances go here.
Pro Tips
- Choose 15–18 inch depth to avoid the black hole effect.
- Use clear bins + labels so everything stays findable, even on busy days (FYI, future you will be thrilled).
Conclusion

Your kitchen’s oddballs—the skinny gaps, the dusty corners, the “why is this here?” bump-outs—are basically VIP storage zones in disguise. With a few clever add-ons and some hardware magic, every inch can work harder and look better. Start with one idea, then keep going—because once you unlock one awkward space, the rest practically volunteer.


