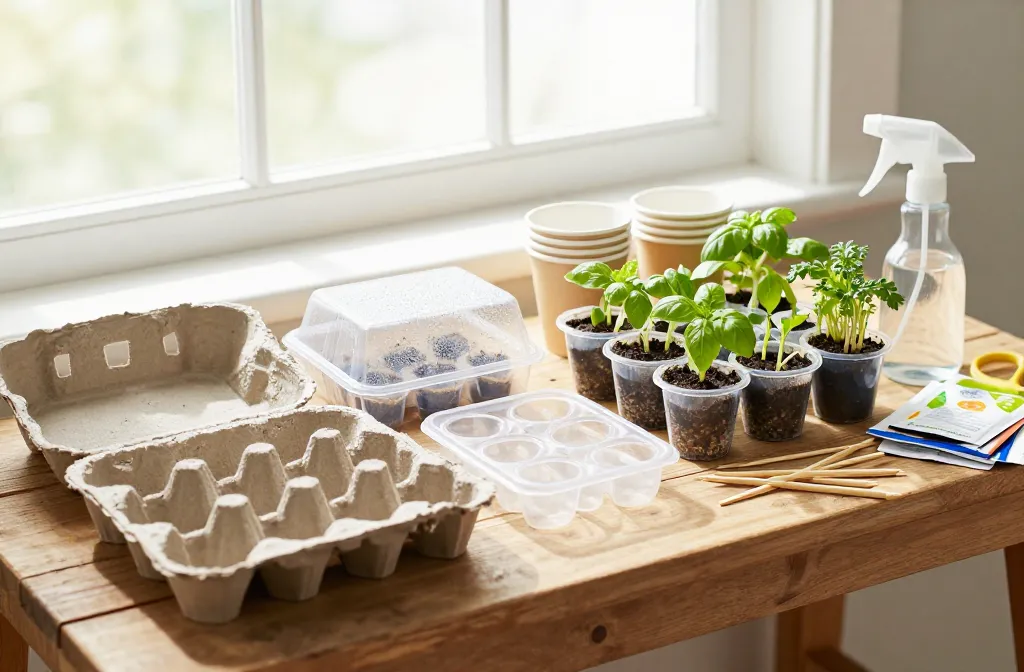
Genius Reuse Household Items for Seed Starting (Egg Cartons, Cups & More)
You don’t need fancy trays to grow a jungle from scratch. Your recycling bin already hides a starter kit your seedlings will love. We’ll raid it together, hack it with holes and labels, and turn “trash” into a mini greenhouse army. Ready to plant now and brag later? Let’s go.
Why Start Seeds With Stuff You Already Own?
You save money, obviously, but you also get flexible sizes, better airflow, and way less plastic waste. Plus, you customize everything—depth, drainage, labels—without fighting a flimsy store-bought tray. And when you upcycle, you start seeds right away instead of waiting for a delivery. Instant gardener mode: activated.
Tired of snacking when you’re not even hungry? This reset helps you stop the loop and feel back in control.
A simple reset for moments when cravings take over. Easy to use, easy to repeat, and designed to help you feel satisfied instead of stuck.
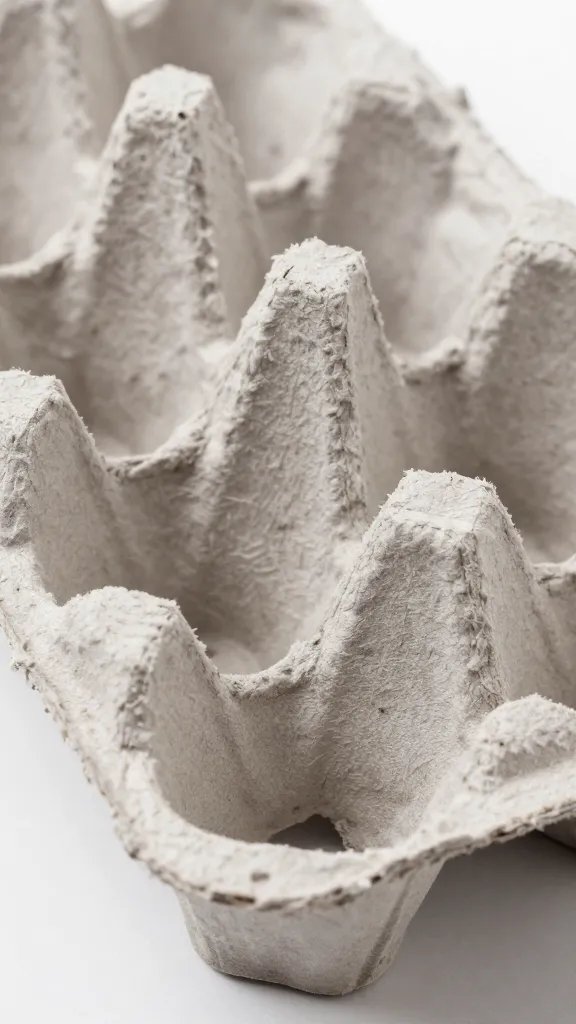
Egg Cartons: The Classic, But Do Them Right
Cardboard egg cartons work beautifully for small seeds and quick movers like lettuce, basil, and flowers. They breathe, which helps prevent soggy roots, but they also dry out faster—so watch the moisture like a hawk.
How To Set Them Up
- Slice the lid off. Poke a drainage hole in each cup with a skewer or scissors.
- Fill cups with quality seed-starting mix, not garden soil. Seed mix stays light and resists compaction.
- Sow tiny seeds shallowly—about 2–3x the seed’s width. Mist to settle.
- Place the whole carton in a shallow tray so excess water has somewhere to go.
Transplanting From Egg Cartons
- Water well first so the roots hold together.
- Peel or tear the cup walls and slip the plug out. If using cardboard, you can plant the whole cup, but tear off the bottom so roots escape fast.
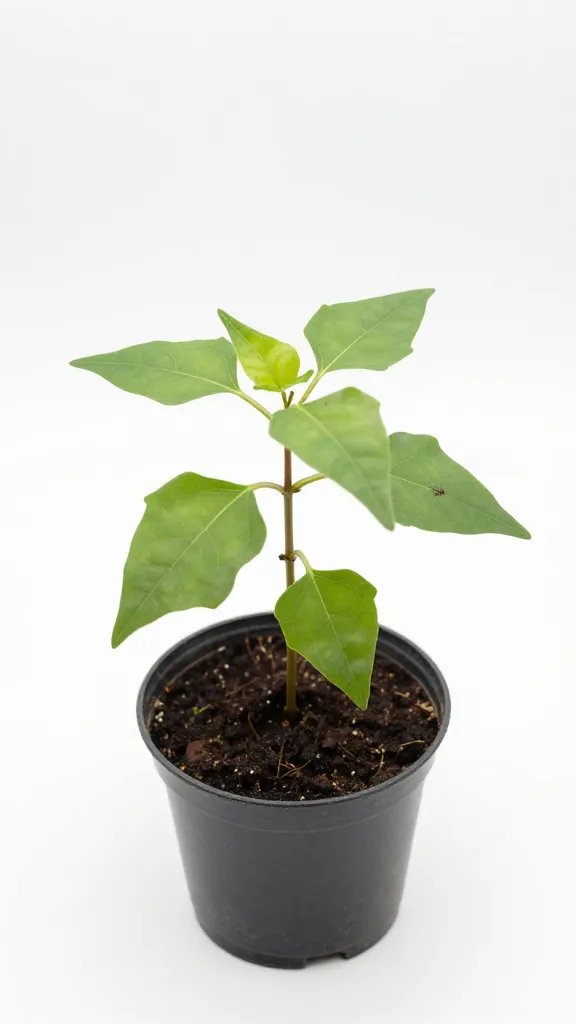
Plastic Cups: The MVP For Stronger Starts
Solo-style cups and yogurt containers make sturdy, roomy homes for tomatoes, peppers, and squash. They handle deep roots and don’t dry out in 12 minutes flat.
Drainage And Size Matters
- Drill or stab 4–6 holes in the bottom. No holes? Root rot city.
- Stick to 8–12 oz for most seedlings. Bigger cups = more soil = slower to dry, which helps busy humans (FYI).
- Plant labels right on the cup with a paint pen or grease pencil. Sharpie fades after a few waterings—ask me how I know.
Bottom Watering For The Win
- Nest cups in a storage bin or baking tray.
- Pour water into the tray; let soil sip from the holes for 15–20 minutes.
- Dump leftover water. Bottom watering keeps foliage dry and prevents damping off.
Clamshells And Takeout Boxes: Built-In Mini Greenhouses
Clear salad boxes, berry clamshells, and pastry domes give you humidity control and light—two VIPs for germination.
How To Convert
- Wash well. Poke 3–5 tiny vent holes in the lid for airflow.
- Layer 2 inches of seed-starting mix or set in smaller pots inside.
- Mist, close the lid, and place under bright light. Crack the lid more once you see sprouts to prevent mold.
Pro Tip
If condensation pours down like rainforest rain, you closed it too tight. Vent more. Seedlings love humidity, but they hate stale, wet air.
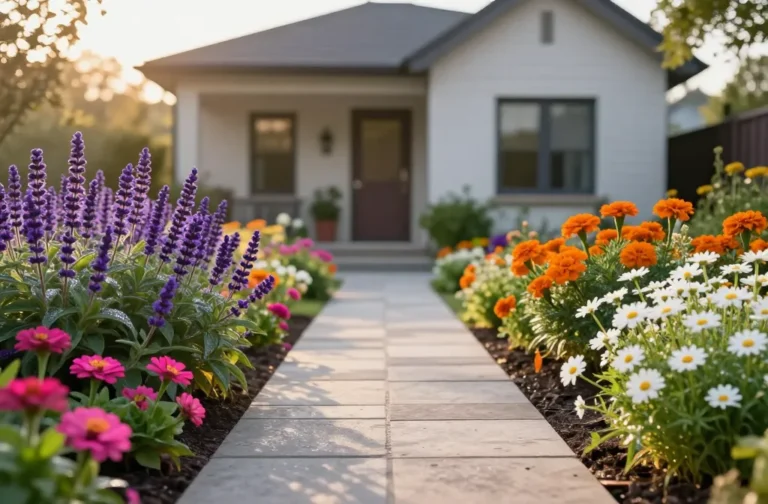
Transform Your Home With 7,250+ Stunning Landscaping Designs—No Expensive Designers Needed!
- 🌿 Access 7,250+ stunning landscaping designs.
- 💰 Save thousands—no pro designer needed.
- 🏡 Plans for gardens, patios, walkways, and more.
- ✨ Simple, beginner-friendly DIY layouts.
- 🛠️ Customize any design to fit your yard.
Paper Rolls, Newspaper Pots, And Muffin Liners
Toilet paper rolls and newspaper become biodegradable pots you can plant straight into the garden. Perfect for tap-rooters like beans and sweet peas that loathe transplant drama.
Paper Roll Pots
- Cut rolls in half. Snip four slits on one end and fold into a base.
- Stand them in a box so they don’t collapse. Fill with mix and sow.
- Keep them evenly moist. Paper wicks water out faster; check daily.
Newspaper Pots
- Wrap a strip around a can, fold the bottom, slide off, and done.
- Plant the whole pot later, but bury rims fully so they don’t wick moisture away from your seedling.
Silicone Muffin Liners
They’re reusable, flexible, and easy to pop seedlings out of. Set them in a tray since they don’t have drainage unless you punch holes.

Milk Jugs, Soda Bottles, And Cartons: Big-Kid Seed Apartments
Need more headroom? Half-gallon milk jugs, juice cartons, and 2-liter bottles give you space for roots and an easy humidity dome.
Milk Jug Method
- Slice around the jug about 4 inches up, leaving a 1-inch hinge at the handle.
- Poke drainage holes in the bottom. Add 3–4 inches of mix.
- Sow, water, close with tape, and leave the cap off for venting.
- Great for “winter sowing” outdoors in late winter, IMO.
Juice Cartons And Tetra Paks
- Rinse, slice the top, poke drainage, and plant.
- Foil lining reflects light and keeps soil slightly warmer—handy for peppers.
Soil, Light, And Water: The Non-Negotiables
You can MacGyver containers all day, but seedlings still need the basics dialed in.
Use The Right Mix
- Seed-starting mix only: fine texture, sterile, great drainage.
- Pre-moisten until it feels like a wrung-out sponge. No dry pockets.
Light Them Up
- Place 2–4 inches under LED shop lights or grow lights for 14–16 hours daily.
- No grow lights? A south window works for some, but rotate daily and expect leggier growth.
Water Like A Pro
- Bottom-water whenever the top looks dry and the cup feels lighter.
- Use a fan on low for an hour or two daily. Airflow prevents fungus and strengthens stems.
Fertilizing, Potting Up, And The Great Outdoors
Once seedlings get their first “true leaves,” they’ll ask for a snack. Start gentle and scale up.
Feeding Schedule
- Mix a half-strength liquid fertilizer every 7–10 days after true leaves appear.
- Organic fish/kelp blends work great. Yes, they smell. Your plants don’t mind.
Potting Up
- When roots hit the sides or growth stalls, shift into a bigger cup or container.
- Plant a little deeper for tomatoes; bury part of the stem to grow extra roots.
Hardening Off
- Over 7–10 days, expose seedlings to outdoor life gradually: shade first, then partial sun, then full.
- Skip this step and you’ll cook or windburn your babies. Ask me how I know, part two.
Smart Labeling And Organization (Future You Will Thank You)
Nothing hurts like growing “Mystery Green Thing #4.” Label early and redundantly.
Three-Point Label System
- Write on the container with a paint pen.
- Stick a plastic plant tag inside each cell or cup.
- Keep a simple map on paper or your phone. Backups save sanity.
Common Pitfalls To Dodge
- Overwatering: soggy mix invites fungal disease. Bottom-water and drain.
- No drainage: every DIY pot needs holes. Non-negotiable.
- Too little light: leads to floppy, pale stems. Get lights close.
- Skimping on mix: garden soil compacts. Use seed-starting mix for real.
FAQs
Can I reuse plastic cups and containers next season?
Absolutely. Wash with hot soapy water, then sanitize with a 1:10 bleach solution or hydrogen peroxide. Dry thoroughly. Clean containers mean fewer disease problems.
Do I need heat mats?
Not always, but they speed up germination for heat-lovers like tomatoes and peppers. If your house runs cool, a mat plus a thermostat gives you consistent, quick sprouts.
What’s the best homemade option for deep-rooted plants?
Use plastic cups, tall yogurt tubs, or cut-down milk jugs. Aim for 4–6 inches of soil depth. Deep containers reduce transplant shock for tap-rooted seedlings.
Are cardboard and newspaper safe to plant in the ground?
Yes, mostly. Avoid glossy, heavily inked papers. Tear off the bottom before planting and bury rims to prevent moisture wicking. They break down fast in active soil.
Why do my seedlings keep collapsing at the base?
That’s likely damping off, a fungal disease. Increase airflow, bottom-water, thin seedlings for space, and consider sprinkling a light layer of vermiculite on top of the soil.
How many seeds should I sow per cup or cell?
For larger seeds, one per cell. For tiny seeds, two or three, then thin to the strongest. Aim for one sturdy plant per container before transplanting.
Conclusion
You don’t need shiny gear to grow killer seedlings—just a stack of “trash,” a few holes, and some patience. Egg cartons, cups, clamshells, and cartons all shine when you match them to the right plant and care routine. Start simple, tweak as you go, and IMO, enjoy the smug satisfaction of turning leftovers into lush greens. Your future harvest will flex for you.