The Secret to How to Make Seed Starting Mix at Home (Better Than Store-Bought)
Seedlings don’t care about fancy packaging—they care about air, moisture, and a gentle hug for their roots. Store-bought mixes often compact, dry out, or come loaded with mystery ingredients. You can DIY a seed starting mix that costs less, performs better, and feels ridiculously satisfying to make. Ready to outgrow the garden aisle? Let’s mix.
What Makes A Great Seed Starting Mix, Anyway?
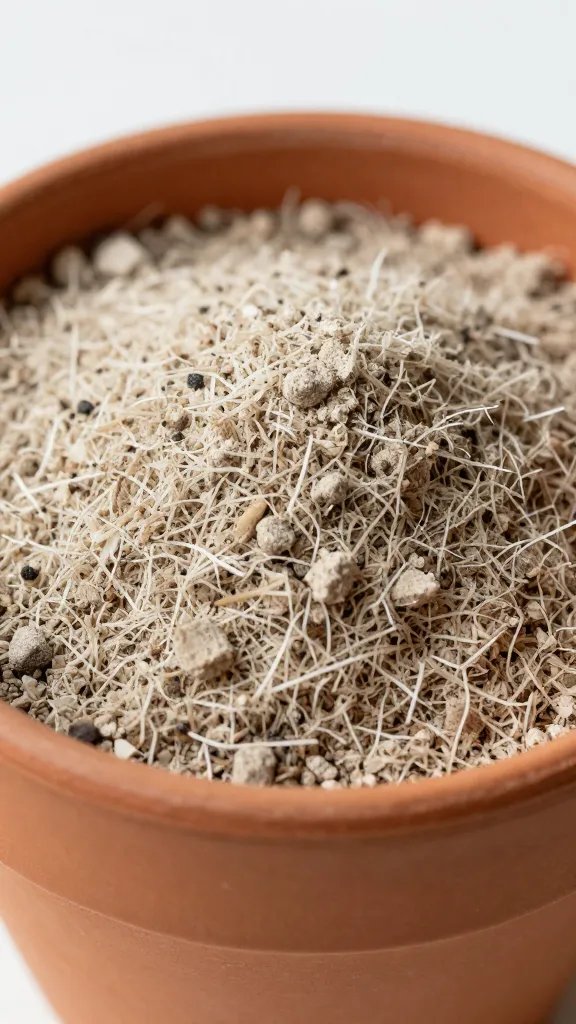
Seed starting mix isn’t regular potting soil. It’s a lightweight, sterile-ish, low-nutrient medium that helps seeds wake up without drowning or suffocating. Think fluffy, airy, and quick-draining with just enough moisture retention.
Key traits your mix needs:
Tired of snacking when you’re not even hungry? This reset helps you stop the loop and feel back in control.
A simple reset for moments when cravings take over. Easy to use, easy to repeat, and designed to help you feel satisfied instead of stuck.
- Airiness: Tiny roots need oxygen. Compaction = doom.
- Moisture balance: Hold water, but never soggy.
- Low nutrients: Seeds carry their own food to start. Too much fertilizer can burn them.
- Cleanliness: Fewer pathogens means fewer damping-off tragedies.
The Core Recipe (Simple, Reliable, Affordable)
This base mix nails the seedling sweet spot. It’s easy to hydrate, easy to handle, and very forgiving.
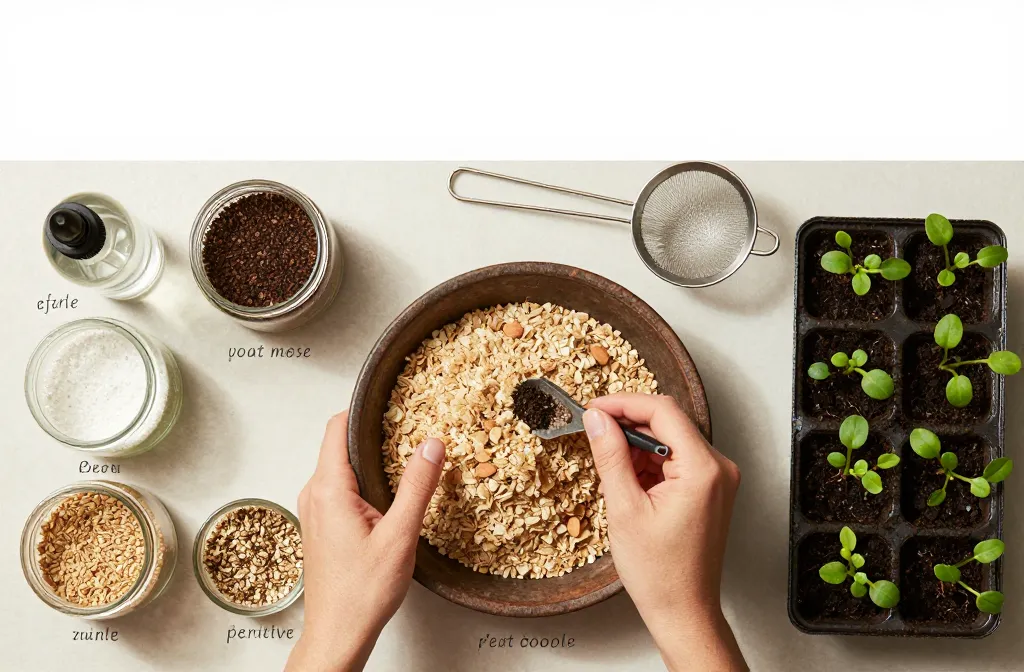
Base Mix (By Volume):
- 2 parts coco coir or peat moss (pre-moistened)
- 1 part fine perlite
- 1 part vermiculite
Optional Add-Ins (Choose 0–2):
- 1 tablespoon finely sifted worm castings per quart of mix (gentle biology, minimal NPK)
- A pinch of mycorrhizal inoculant (especially for transplant resilience)
- 1 teaspoon garden lime per quart if you use peat (balances acidity)
Why This Works
– Coir/peat provides structure and moisture.
– Perlite boosts drainage and airflow.
– Vermiculite holds water like a champ without waterlogging.
– Castings add microbes and trace nutrients without overfeeding.
Step-By-Step: Mix It Like A Pro
Gear you need:
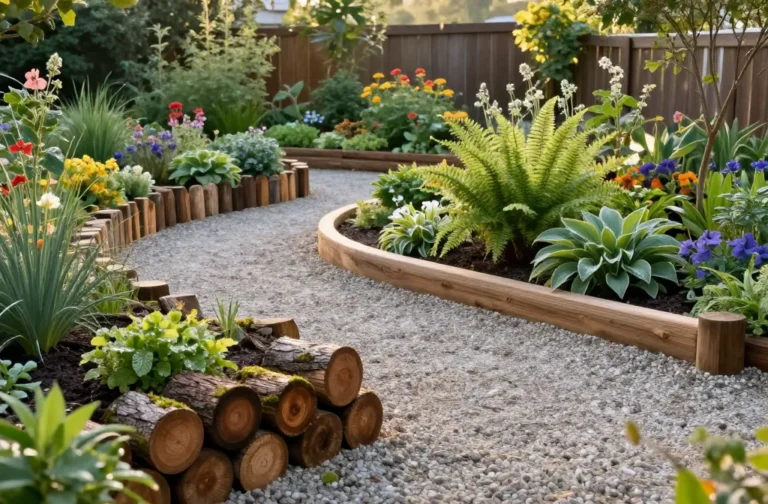
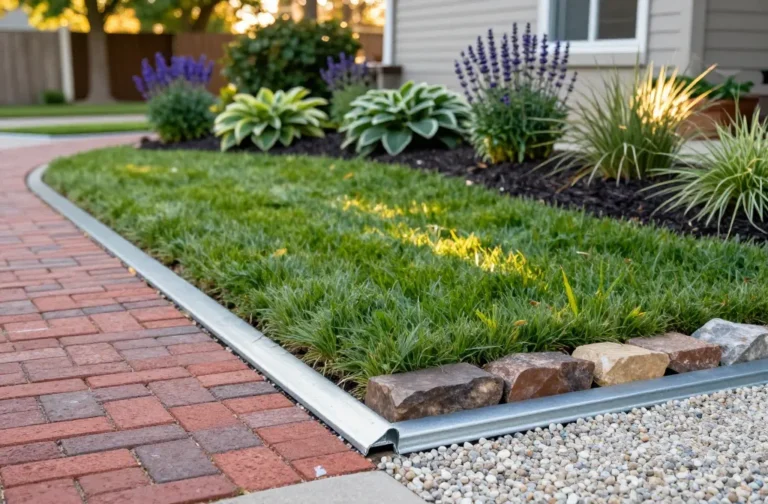
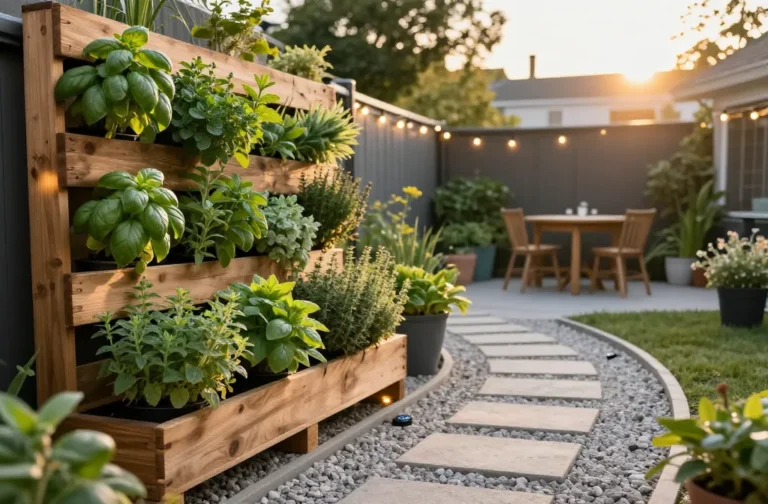
Transform Your Home With 7,250+ Stunning Landscaping Designs—No Expensive Designers Needed!
- 🌿 Access 7,250+ stunning landscaping designs.
- 💰 Save thousands—no pro designer needed.
- 🏡 Plans for gardens, patios, walkways, and more.
- ✨ Simple, beginner-friendly DIY layouts.
- 🛠️ Customize any design to fit your yard.
- A clean bucket or tub
- Measuring container (old yogurt cup works)
- Gloves and a mask (FYI: perlite dust is not lung-friendly)
- Spray bottle or watering can
Steps:
- Hydrate the coir or peat. Add warm water until it’s evenly damp—no dry pockets, no dripping. Aim for the “wrung-out sponge” feel.
- Stir in perlite and vermiculite. Mix gently so you don’t crush the perlite into dust.
- Add optional extras. Lime if using peat, worm castings if you want a microbe boost, mycorrhizae if you’re feeling fancy.
- Test the squeeze. Grab a handful and squeeze. A drop or two of water should appear. If it streams, add more dry ingredients. If it crumbles, mist more water.
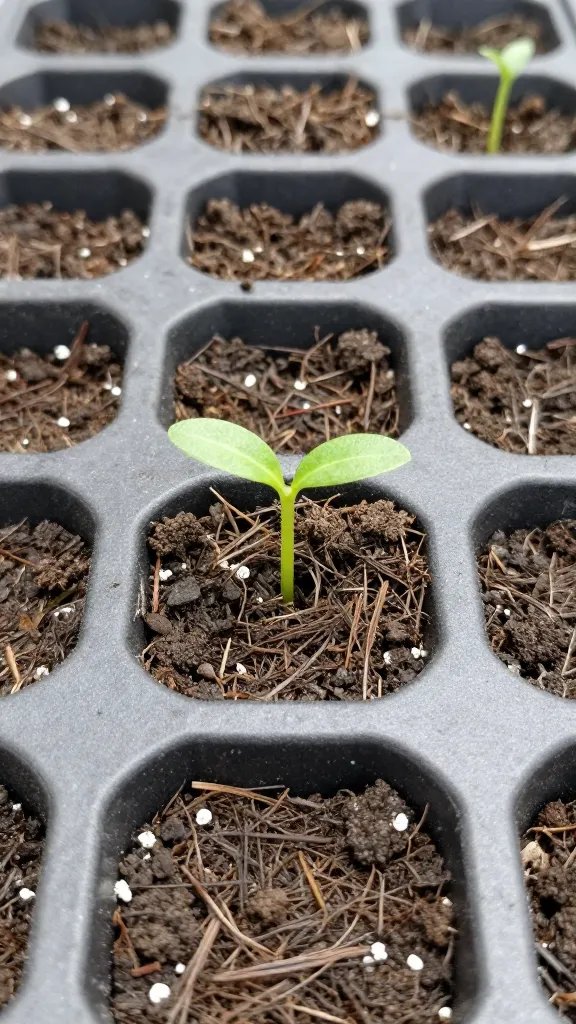
- Fill your trays or cells loosely. Don’t pack it down. Tap the tray to settle the mix naturally.
Pro Hydration Tip
Mix a big batch in a tote, then let it sit 30 minutes. Dry spots disappear, and the texture evens out. Patience now saves headaches later.
Sterilize? Pasteurize? Or Chill Out?

You don’t need lab-level sterility, but damping-off fungi love sloppy conditions. If your coir/peat comes clean and bagged, you’re usually good. Using homemade compost? IMO, skip it for seed starting and save it for potting up.
If you want extra insurance:
- Oven pasteurization: Spread moist (not wet) base mix on a tray, cover with foil, bake at 180–200°F for 30–45 minutes. Let it cool fully before use.
- Boiling-water method: Pour boiling water over the mix in a bucket, stir, cover, and let it steam-cool for a few hours. Drain excess.
FYI: Overheating can make mixes hydrophobic. Keep temps moderate.
Dial It In For Different Seeds
Not all seeds want the exact same vibe. Customize the base to match plant personalities.
Tiny-Seed Specialists (Lettuce, Poppy, Begonia)
– Use 2 parts coir/peat, 1.5 parts vermiculite, 0.5 part perlite.
– Vermiculite on top helps with surface moisture since these seeds often need light to germinate.
Moisture-Lovers (Basil, Celery)
– Go 2:1:1 base but top-dress sown seeds with a thin layer of vermiculite to keep humidity high.
Dry-Averse But Air-Hungry (Tomatoes, Peppers, Eggplants)
– Stick with the standard base. Add 10–15% extra perlite if your environment runs humid to prevent damping-off.
Native/Perennial Weirdos
– Some want cold stratification or sandier textures. For those, blend in 10–20% washed sand for extra drainage and realism.

Common Mistakes (And How To Dodge Them)
Avoid these seedling sabotages:
- Packing the mix. Compaction strangles roots. Fill loosely and water gently.
- Overwatering. Soggy mix invites fungus. Water from the bottom and let the surface dry slightly.
- Too much fertilizer. Save the nutrients for after the first true leaves. Seedlings don’t need a buffet on day one.
- Bad light + high heat. Stretchy, weak seedlings happen when they chase light. Give them bright grow lights 2–4 inches above.
- Skipping airflow. A small fan on low toughens stems and reduces disease.
Care Tips That Make Your Mix Shine
Watering: Bottom-water until the top looks evenly moist, then drain trays. If the surface crusts, gently rake it with a fork or top with a dusting of vermiculite.
Light and Heat: Most seeds pop best at 70–75°F. Use a heat mat for peppers and tomatoes. As soon as they sprout, give them 14–16 hours of strong light daily.
Feeding: After the first set of true leaves, start a diluted liquid feed (quarter strength) once a week. I like fish/seaweed blends—gentle but effective.
When To Pot Up
Transplant to a richer potting mix when roots reach the cell edges and seedlings have 2–3 sets of true leaves. Your seed starting mix did its job; now they want more nutrients and space.
Eco And Budget Notes (Because You Asked)
– Coir vs. Peat: Coir is a renewable byproduct; peat forms slowly. Both work. If you choose peat, add lime to buffer acidity.
– Reusing mix: For seed starting, I don’t. For potting up or as a soil amendment? Absolutely. Bake or solarize if disease visited last season.
– Cost hack: Buy coir bricks and big bags of perlite/vermiculite. Your wallet will notice, and you’ll never run out mid-tray again.
FAQs
Can I use regular potting soil to start seeds?
You can, but I wouldn’t. Potting soil often runs too coarse and nutrient-heavy for germination. Seedlings prefer a finer, lighter, lower-nutrient medium that drains fast and doesn’t compact.
Do I really need both perlite and vermiculite?
They do different jobs. Perlite boosts air and drainage; vermiculite holds moisture. Using both gives you that Goldilocks zone—especially helpful if your environment swings between dry and humid.
Are worm castings safe for seedlings?
Yes, in small doses. A tablespoon per quart of mix adds beneficial microbes and trace nutrients without overwhelming tender roots. Don’t shovel in handfuls—that’s overkill.
How do I prevent damping-off?
Start with a clean mix, avoid overwatering, and give seedlings airflow and light. Bottom-water, sanitize trays, and consider a light vermiculite top layer. If you see fuzzy stems or sudden collapse, reduce moisture and increase air movement immediately.
What if my mix won’t wet evenly?
Hydrophobic peat or coir happens. Pre-mix with warm water, let it sit, then mix again. A drop of unscented dish soap in a gallon of water can help break surface tension in stubborn cases.
When should I start fertilizing?
Wait until the first true leaves appear, then feed lightly once a week. Start at quarter strength and watch how they respond. Pale, slow growth? Bump to half strength. Dark green and happy? You nailed it.
Conclusion: Your Seedlings, Upgraded
You don’t need fancy bags to grow strong, squat, unstoppable seedlings. With a light, airy mix and a few smart tweaks, your germination rates jump and your plants hit the garden like tiny gladiators. Mix a batch, sow a tray, and prepare to feel smug the next time you pass the seed-starting aisle—IMO, you just built something better.