Seed Starting for Beginners: Everything You Need to Know to Grow Anything Unleashed
You want lush tomatoes, sassy zinnias, and herbs that don’t flake out on you? Start them from seed and you control everything—variety, timing, cost. It’s way easier than you think, and yes, you can do it on a sunny windowsill (with a few upgrades). I’ll walk you through the basics, the gear, and the sneaky tricks the pros use—minus the gatekeeping. Ready to turn tiny packets into a jungle?
Why Start Seeds Instead of Buying Plants?
You get more choice, more control, and more bang for your buck. Garden centers carry the same five varieties; seed catalogs offer hundreds. You can grow heat-tolerant lettuce, purple sprouting broccoli, or a tomato that tastes like August sunshine in a sandwich. Plus, starting seeds costs less, so you can plant more and experiment like a mad scientist (the fun kind).
Tired of snacking when you’re not even hungry? This reset helps you stop the loop and feel back in control.
A simple reset for moments when cravings take over. Easy to use, easy to repeat, and designed to help you feel satisfied instead of stuck.
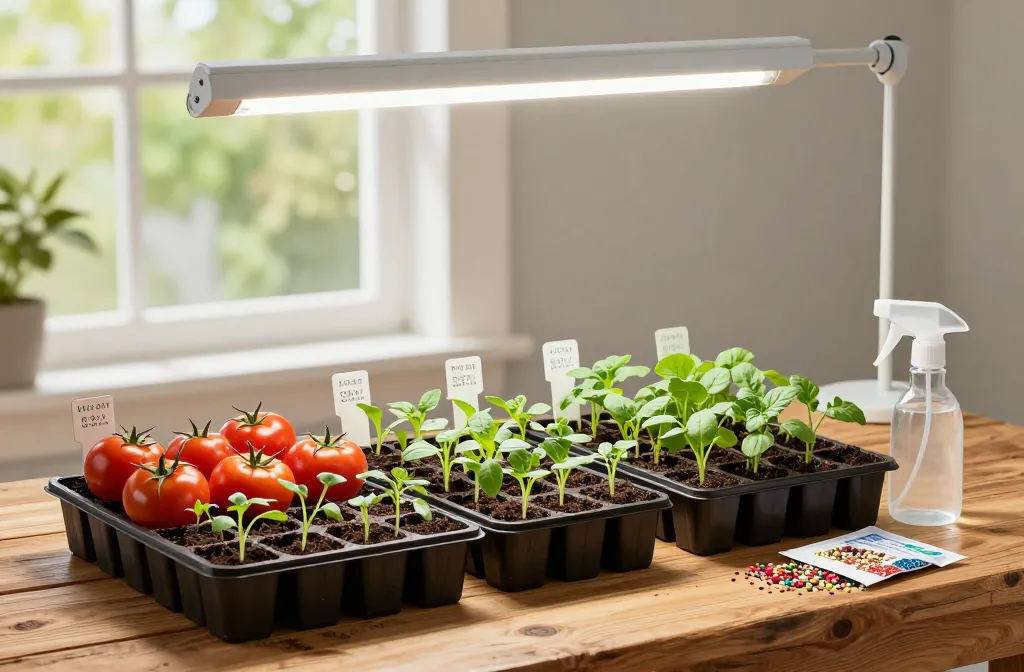
Gather Your Essentials (Don’t Overthink It)
You don’t need a lab. You need a few basics that actually matter:
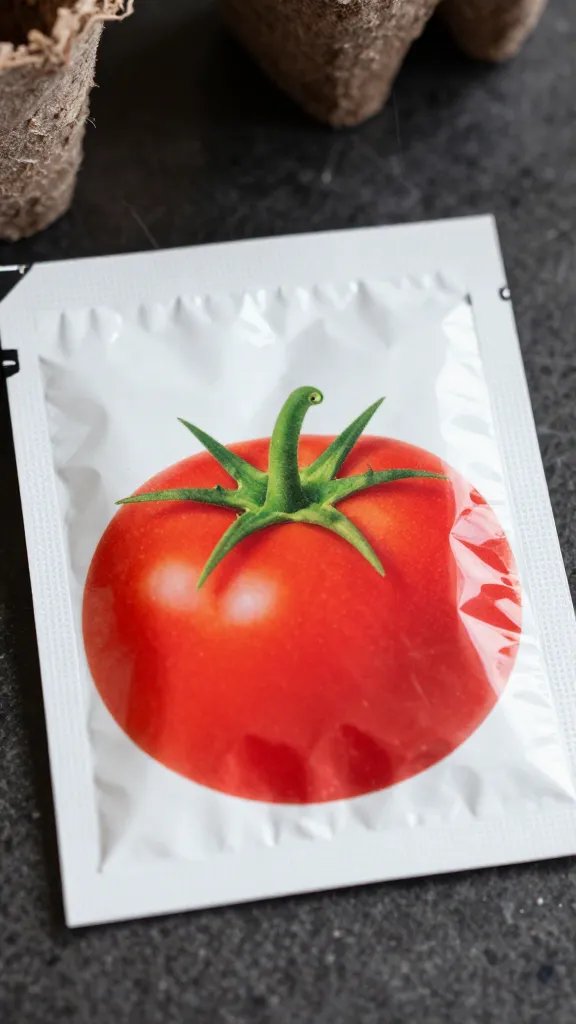
- Seeds: Choose varieties matched to your climate and season. Read the packet—those tiny words are gold.
- Containers: Cell trays, plug trays, reused yogurt cups with holes, or soil blocks. Drainage is non-negotiable.
- Seed-Starting Mix: Light, sterile, and fluffy. Not heavy potting soil. FYI, “garden soil” in trays = sadness.
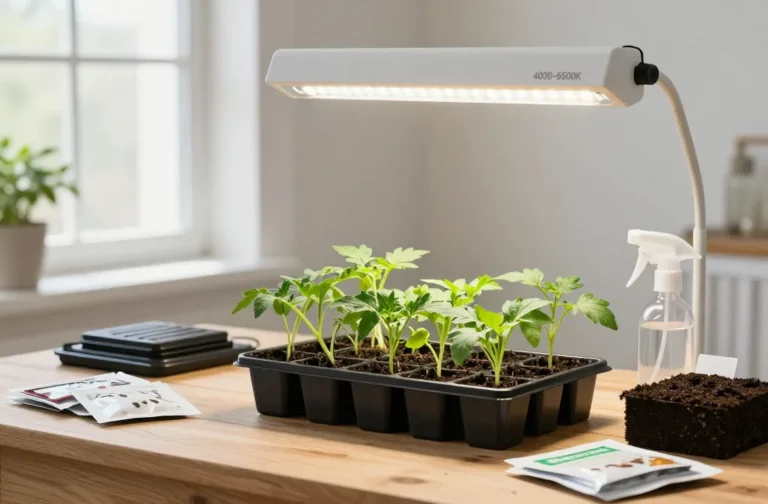
- Light Source: A bright window might work for herbs and greens. For everything else, use grow lights (LED shop lights count).
- Heat Mat (optional but clutch): Speeds up germination for warm-lovers like tomatoes, peppers, and basil.
- Labels and a Marker: You’ll forget what’s what by Tuesday. Ask me how I know.
- Watering Tool: Bottom-watering tray or a gentle mister to avoid seed avalanches.
What to Skip (Save Your Money)
- Fancy humidity domes past germination. They trap moisture too long and invite fungi to the party.
- Fertilizer at sowing. Seeds pack their own lunch for the first couple of weeks.
Sow Like a Pro: Timing and Techniques
Timing makes or breaks you. Sow too early and you grow leggy monsters indoors. Too late and summer steamrolls your cool crops.
Figure Out Your Dates
- Find your average last frost date (search your zip code + “last frost date”).
- Check the seed packet for “start indoors X weeks before last frost.” Work backward from that date.
- Cold crops (broccoli, kale, lettuce): 4–8 weeks before last frost.
- Warm crops (tomatoes, peppers, eggplant): 6–10 weeks before last frost.
- Fast flowers/herbs (zinnias, dill, cosmos): Often easier direct-sown outdoors after frost.
The Actual Sowing Steps
- Moisten your seed-starting mix until it feels like a wrung-out sponge.
- Fill containers and level the surface—no compaction.
- Plant depth: As a rule, sow seeds 2–3 times their width. Dust-fine seeds? Press onto the surface—don’t bury.
- Mist gently or bottom-water so you don’t blast seeds into orbit.
- Cover with a humidity dome or plastic wrap until you see sprouts, then remove immediately.
- Move seedlings under lights ASAP. Keep lights 2–4 inches above the tops and adjust as they grow.
Light, Heat, and Water: The Big Three

Your seedlings don’t want vibes—they want consistent care.
Light
- 16 hours on, 8 hours off with a cheap timer. Seedlings nap better than toddlers.
- Keep bulbs close to prevent legginess. If plants stretch, they need more light, not more pep talks.
Temperature
- Germination: 70–80°F for warm crops; 60–70°F works for many cool crops.
- After sprouting: Slightly cooler (65–70°F) to keep plants sturdy.
Water
- Bottom-water by filling the tray and letting cells wick moisture for 10–20 minutes. Then drain.
- Let the top dry slightly between waterings. Constant sogginess = damping-off disease.
Feeding, Potting Up, and Airflow
After seedlings pop their second set of true leaves, they start getting hungry.
Transform Your Home With 7,250+ Stunning Landscaping Designs—No Expensive Designers Needed!
- 🌿 Access 7,250+ stunning landscaping designs.
- 💰 Save thousands—no pro designer needed.
- 🏡 Plans for gardens, patios, walkways, and more.
- ✨ Simple, beginner-friendly DIY layouts.
- 🛠️ Customize any design to fit your yard.
Fertilizing
- Use a half-strength liquid fertilizer every 1–2 weeks (fish/seaweed or balanced synthetic). IMO, gentle and regular beats strong and rare.
Potting Up
- If roots fill the cell or growth stalls, move to a bigger pot (3–4 inches).
- Bury tomatoes deeper when potting up—they’ll root along the buried stem. Peppers? Keep them at the same depth.
Airflow
- Run a small fan on low to strengthen stems and prevent fungal issues.
- Give plants personal space. Overcrowding turns them dramatic.

Hardening Off and Transplanting Without Tears
You can’t toss pampered seedlings into the wild and expect applause. Harden them off first.
Hardening Off Schedule (7–10 Days)
- Day 1–2: Bright shade for 2–3 hours; bring inside.
- Day 3–4: Morning sun for 3–4 hours; protect from wind.
- Day 5–6: Half-day sun; keep watering consistent.
- Day 7–10: Full-day exposure; leave out overnight if above 50°F.
Transplant Day Tips
- Plant on a cloudy day or late afternoon to reduce shock.
- Water the hole first, set the plant, backfill, and water again.
- Mulch lightly to keep moisture and cut weeding in half. You’re welcome.
Common Oopsies (And How to Fix Them)
- Leggy seedlings: Move lights closer, drop temps a bit, and give more light time.
- Damping-off (stems pinch and flop): Improve airflow, sanitize trays, and avoid overwatering. Cinnamon dusting can help, FYI.
- Yellow leaves: Usually hunger or overwatering. Feed lightly and check drainage.
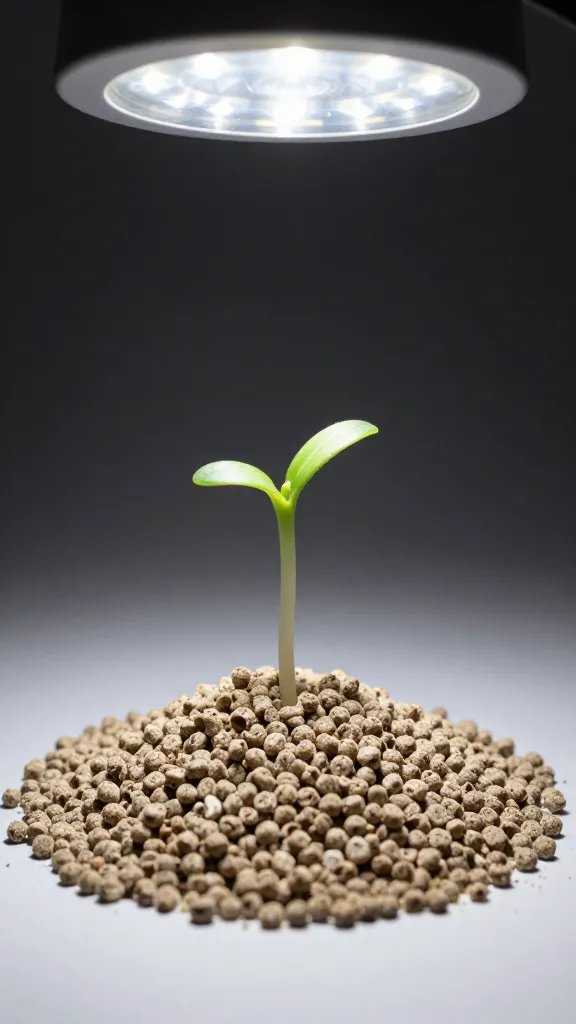
- Slow germination: Warm it up with a heat mat and keep evenly moist. Some seeds just like drama.
Starter Crops That Practically Beg to Succeed
- Greens: Lettuce, kale, chard—fast and forgiving.
- Herbs: Basil, parsley, cilantro (direct sow cilantro in cool weather for best results).
- Flowers: Zinnias, calendula, marigolds—color therapy in a tray.
- Veggies: Tomatoes are iconic; peppers take longer but feel epic when they fruit.
FAQ
Do I need special grow lights, or will a window work?
A south-facing window can work for hardy greens and some herbs, but most seedlings grow sturdier under lights. A basic LED shop light 2–4 inches above the plants does the job. The difference between floppy and fierce often comes down to light intensity.
How often should I water seedlings?
Water when the surface looks slightly dry and the tray feels light. Bottom-water for 10–20 minutes, then drain. If you see algae or gnats, you’re probably keeping things too wet—let it dry a bit more between waterings.
When do I start fertilizing?
Begin once seedlings have their first or second set of true leaves. Use a half-strength liquid fertilizer every 1–2 weeks. More isn’t better—steady and mild keeps growth compact and healthy.
Why do my seedlings keep falling over?
That’s likely damping-off, caused by fungi in soggy, still air. Ditch the humidity dome after germination, improve airflow with a fan, water less, and consider a sterile seed-starting mix. You can also surface-sprinkle cinnamon as a mild antifungal, IMO.
Can I reuse soil or trays?
Trays, yes—just wash and sanitize (10% bleach rinse or hot soapy water). Soil, not so much for starting seeds. Reuse old mix in outdoor containers or beds, but start new seeds in fresh, sterile mix to avoid pathogens.
How do I know it’s time to transplant outside?
Check three boxes: danger of frost has passed, seedlings are hardened off, and they have several true leaves. For warm crops, wait until nights hold above 50°F. If the soil still feels like an ice bath, wait a few days.
Conclusion
Seed starting isn’t mystical—it’s a simple routine done well. Give seeds light, warmth, and steady moisture, then toughen them up before they move outside. Start with easy wins, tweak as you learn, and celebrate every sprout. Before long you’ll grow anything you want—and yes, your friends will ask for plants. You’ve been warned.